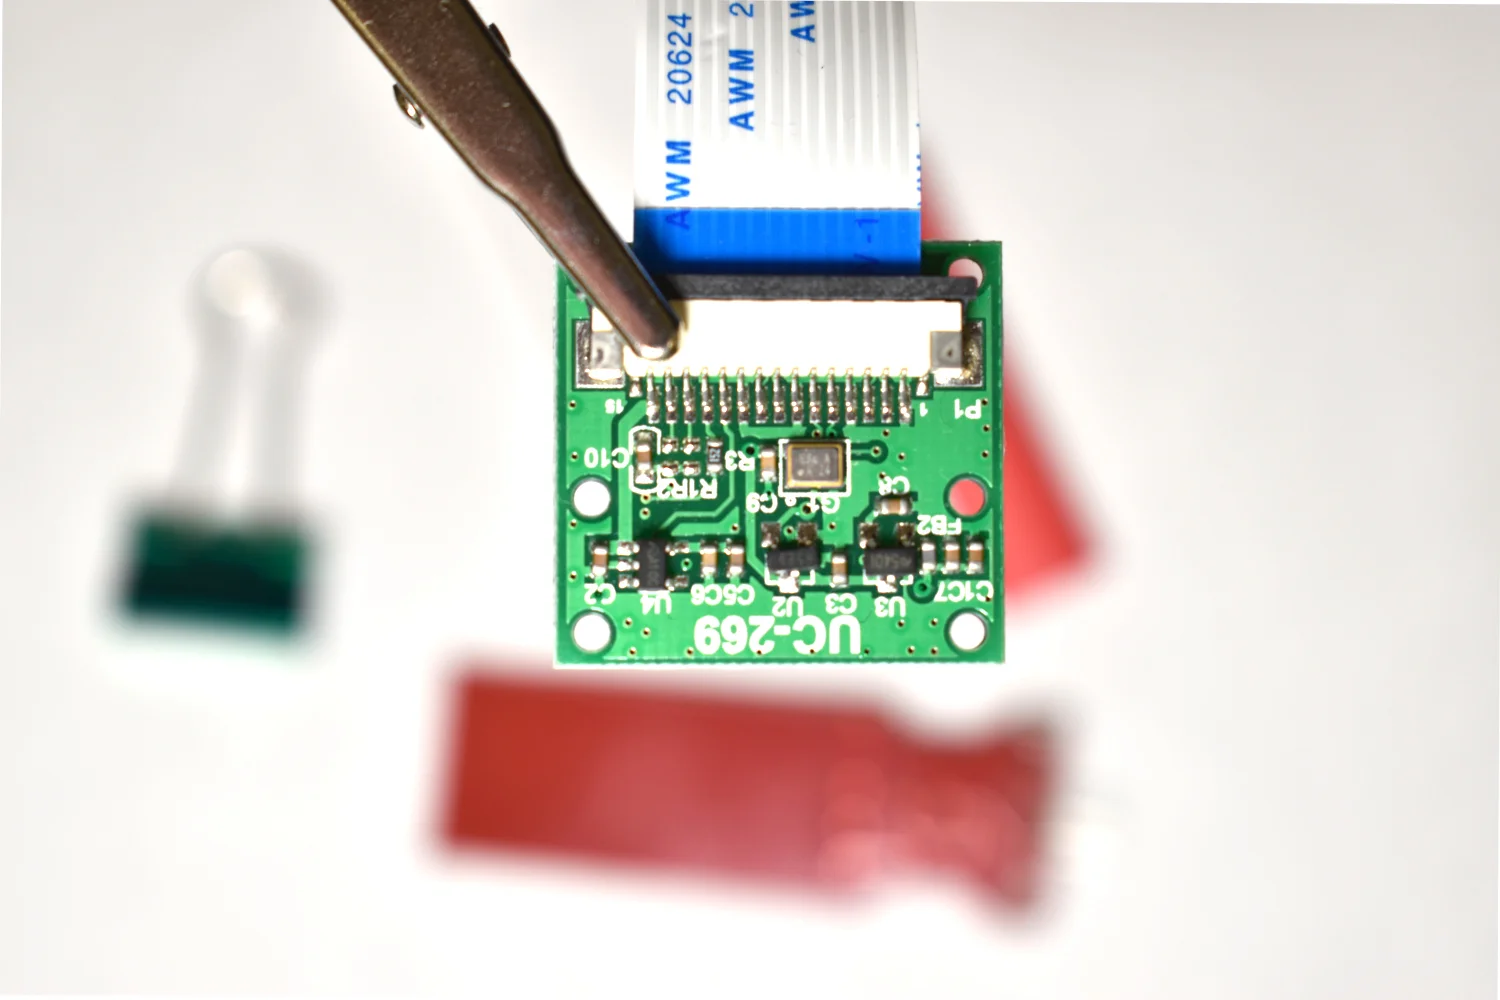
The picamera and edge detection routines will be used to identify individual objects, predict each object’s color, and approximate each object’s orientation (rotation). By the end of the tutorial, the user will be capable of dividing an image into multiple objects, determining the rotation of the object, and drawing a box around the subsequent object.
Read MoreIn this entry, image processing-specific Python toolboxes are explored and applied to object detection to create algorithms that identify multiple objects and approximate their location in the frame using the picamera and Raspberry Pi. The methods used in this tutorial cover edge detection algorithms as well as some simple machine learning algorithms that allow us to identify individual objects in a frame.
Read MoreThe Raspberry Pi has a dedicated camera input port that allows users to record HD video and high-resolution photos. Using Python and specific libraries written for the Pi, users can create tools that take photos and video, and analyze them in real-time or save them for later processing. In this tutorial, I will use the 5MP picamera v1.3 to take photos and analyze them with Python and an Pi Zero W. This creates a self-contained system that could work as an item identification tool, security system, or other image processing application. The goal is to establish the basics of recording video and images onto the Pi, and using Python and statistics to analyze those images.
Read MoreTime of flight (ToF) is an approximation of the time it takes a traveling wave to come in contact with a surface and reflect back to the source. Time of flight has applications in automotive obstacle detection, resolving geographic surface composition, and computer vision and human gesture recognition. In the application here, the VL53L1X ToF sensor will be used to track the displacement of a ping pong ball falling down a tube. We can predict the acceleration and behavior of a falling ping pong ball by balancing the forces acting on the ball, and ultimately compare the theory to the actual displacement tracked by the time of flight sensor.
Read MoreThis tutorial will explore the range of capabilities available to the Arduino SD library by using a real-world example of data logging. The SD library allows users to read/write, list files, create/remove files, and make/delete directories. Additionally, we will develop an algorithm that creates a new file every time the Arduino board is restarted, which will prevent overwriting of existing data records. The resulting data file will be in comma separated format and contain multiple data points, including a time stamp in milliseconds since the program started. Therefore, it is important to record the program start time. For very accurate time monitoring tasks, a real-time clock is recommended, however, for the experiments conducted here, relative time suffices.
Read MoreJust as the signal lights of your car help to indicate when your car plans to take a turn or change lanes, the silkscreen is also used in the PCB process to help in testing and troubleshooting the board. The layer of silkscreen contains information regarding the PCB assembly process. This includes the location of components, their polarity and details for their placement and orientation, identifiers, labels and logos for various components. Your silkscreen must have a clear and readable font. In order to explain why silkscreen is so crucial let us discuss its importance in assembly and testing of PCBs.
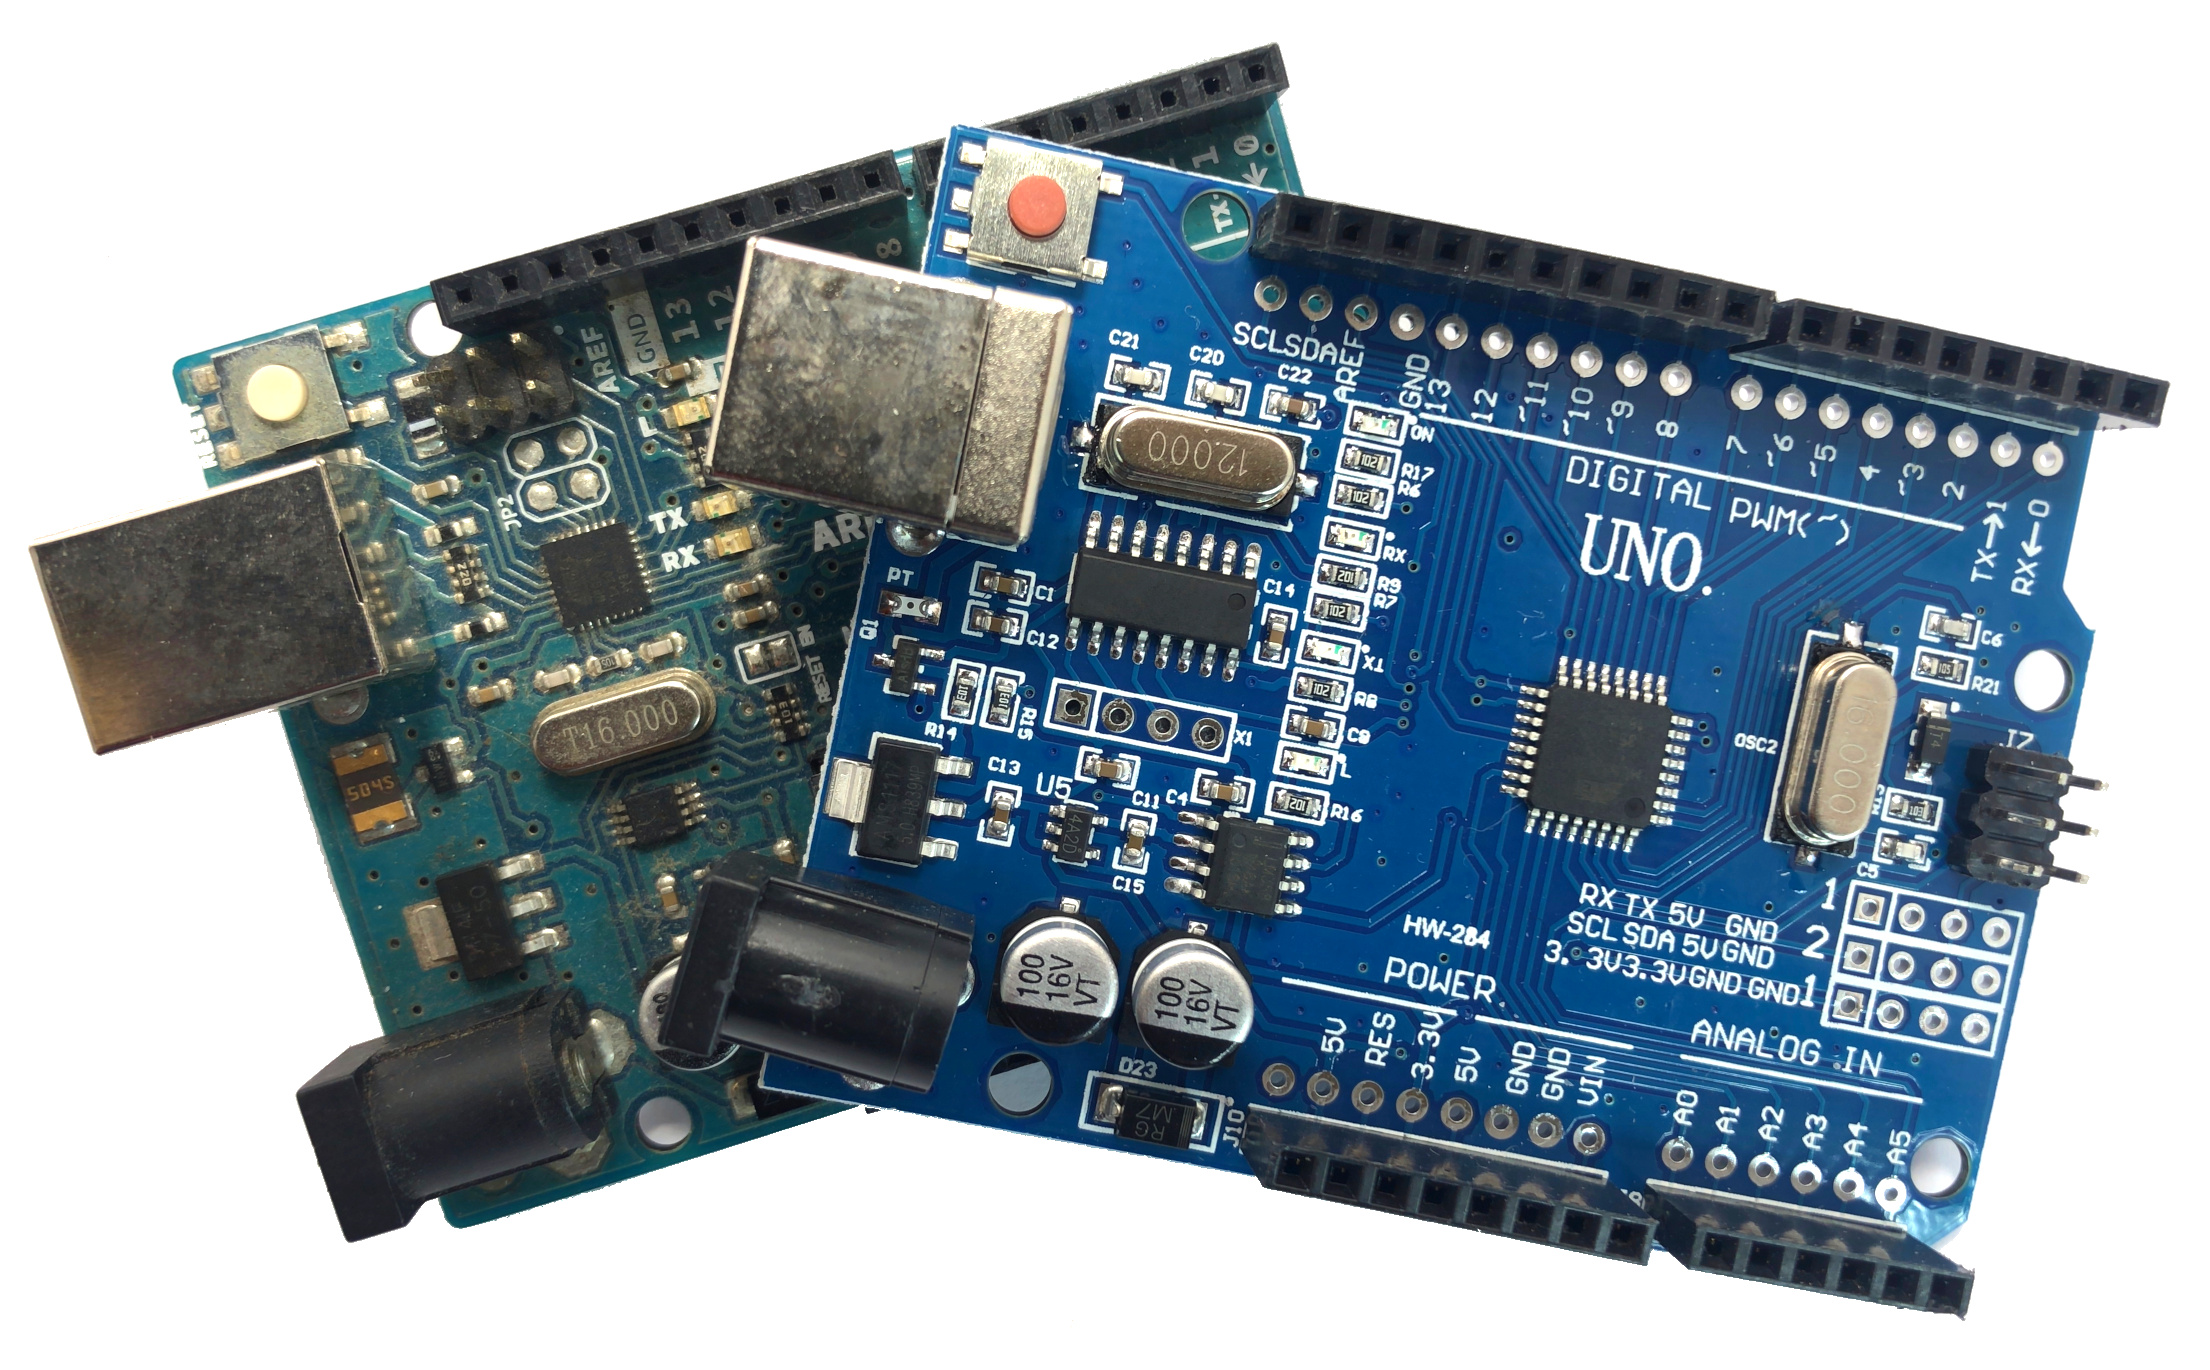
Read MoreThe CH340 Arduino board contains an ATmega328P-U-TH chip, which differs from the classic ATmega328P-PU in official Arduino Uno Rev3 boards. The CH340 is an inexpensive USB-to-Serial chip (datasheet here) that takes the place of the Rev3 board’s more expensive ATmega16U2. This creates issues when programming the Arduino board with certain operating systems (specifically Windows), however, for most Linux and Mac systems - there appears to be no issue. In this tutorial, I will explore the CH340 Arduino board to see whether there are differences in performance and power under different operating conditions. This will definitively answer whether the CH340 is a worthy alternative to the Rev3 or if it’s just a cheap imposter.
Read MoreA demultiplexer will be used to control 8 LEDs using just 3 digital pins on the Arduino board. This method of demultiplexing frees up pins on the Arduino, but also makes control of multiple LEDs easier by consolidating the power given to each LED. This will allow us to use LEDs without resistors. In general, a demultiplexer uses N boolean outputs to control 2N switches. In our case, the CD4051 multiplexer will be used as a demultiplexer using 3 digital pins and boolean logic to control 8 individual LEDs. Several skills will also be developed, specifically with regard to programming in the Arduino programming language. Pulse-width modulation (or brightening and dimming) of LEDs will be explored, as well as randomization of LED blinks, along with the general selection process for boolean switching with the demultiplexer.
Read MoreUsing the Euler-Bernoulli beam theory, the resonant frequencies of a beam will be measured using a thin film piezoelectric transducer and compared to the theoretical calculations. A Raspberry Pi will be used along with a high-frequency data acquisition system (Behringer UCA202, sample rate: 44.1kHz) and the Python programming language for analysis. The fast fourier transform will allow us to translate the subtle beam deflections into meaningful frequency content. This tutorial is meant to introduce Python and Raspberry Pi as formidable tools for vibration analysis by using measurements as validation against theory.
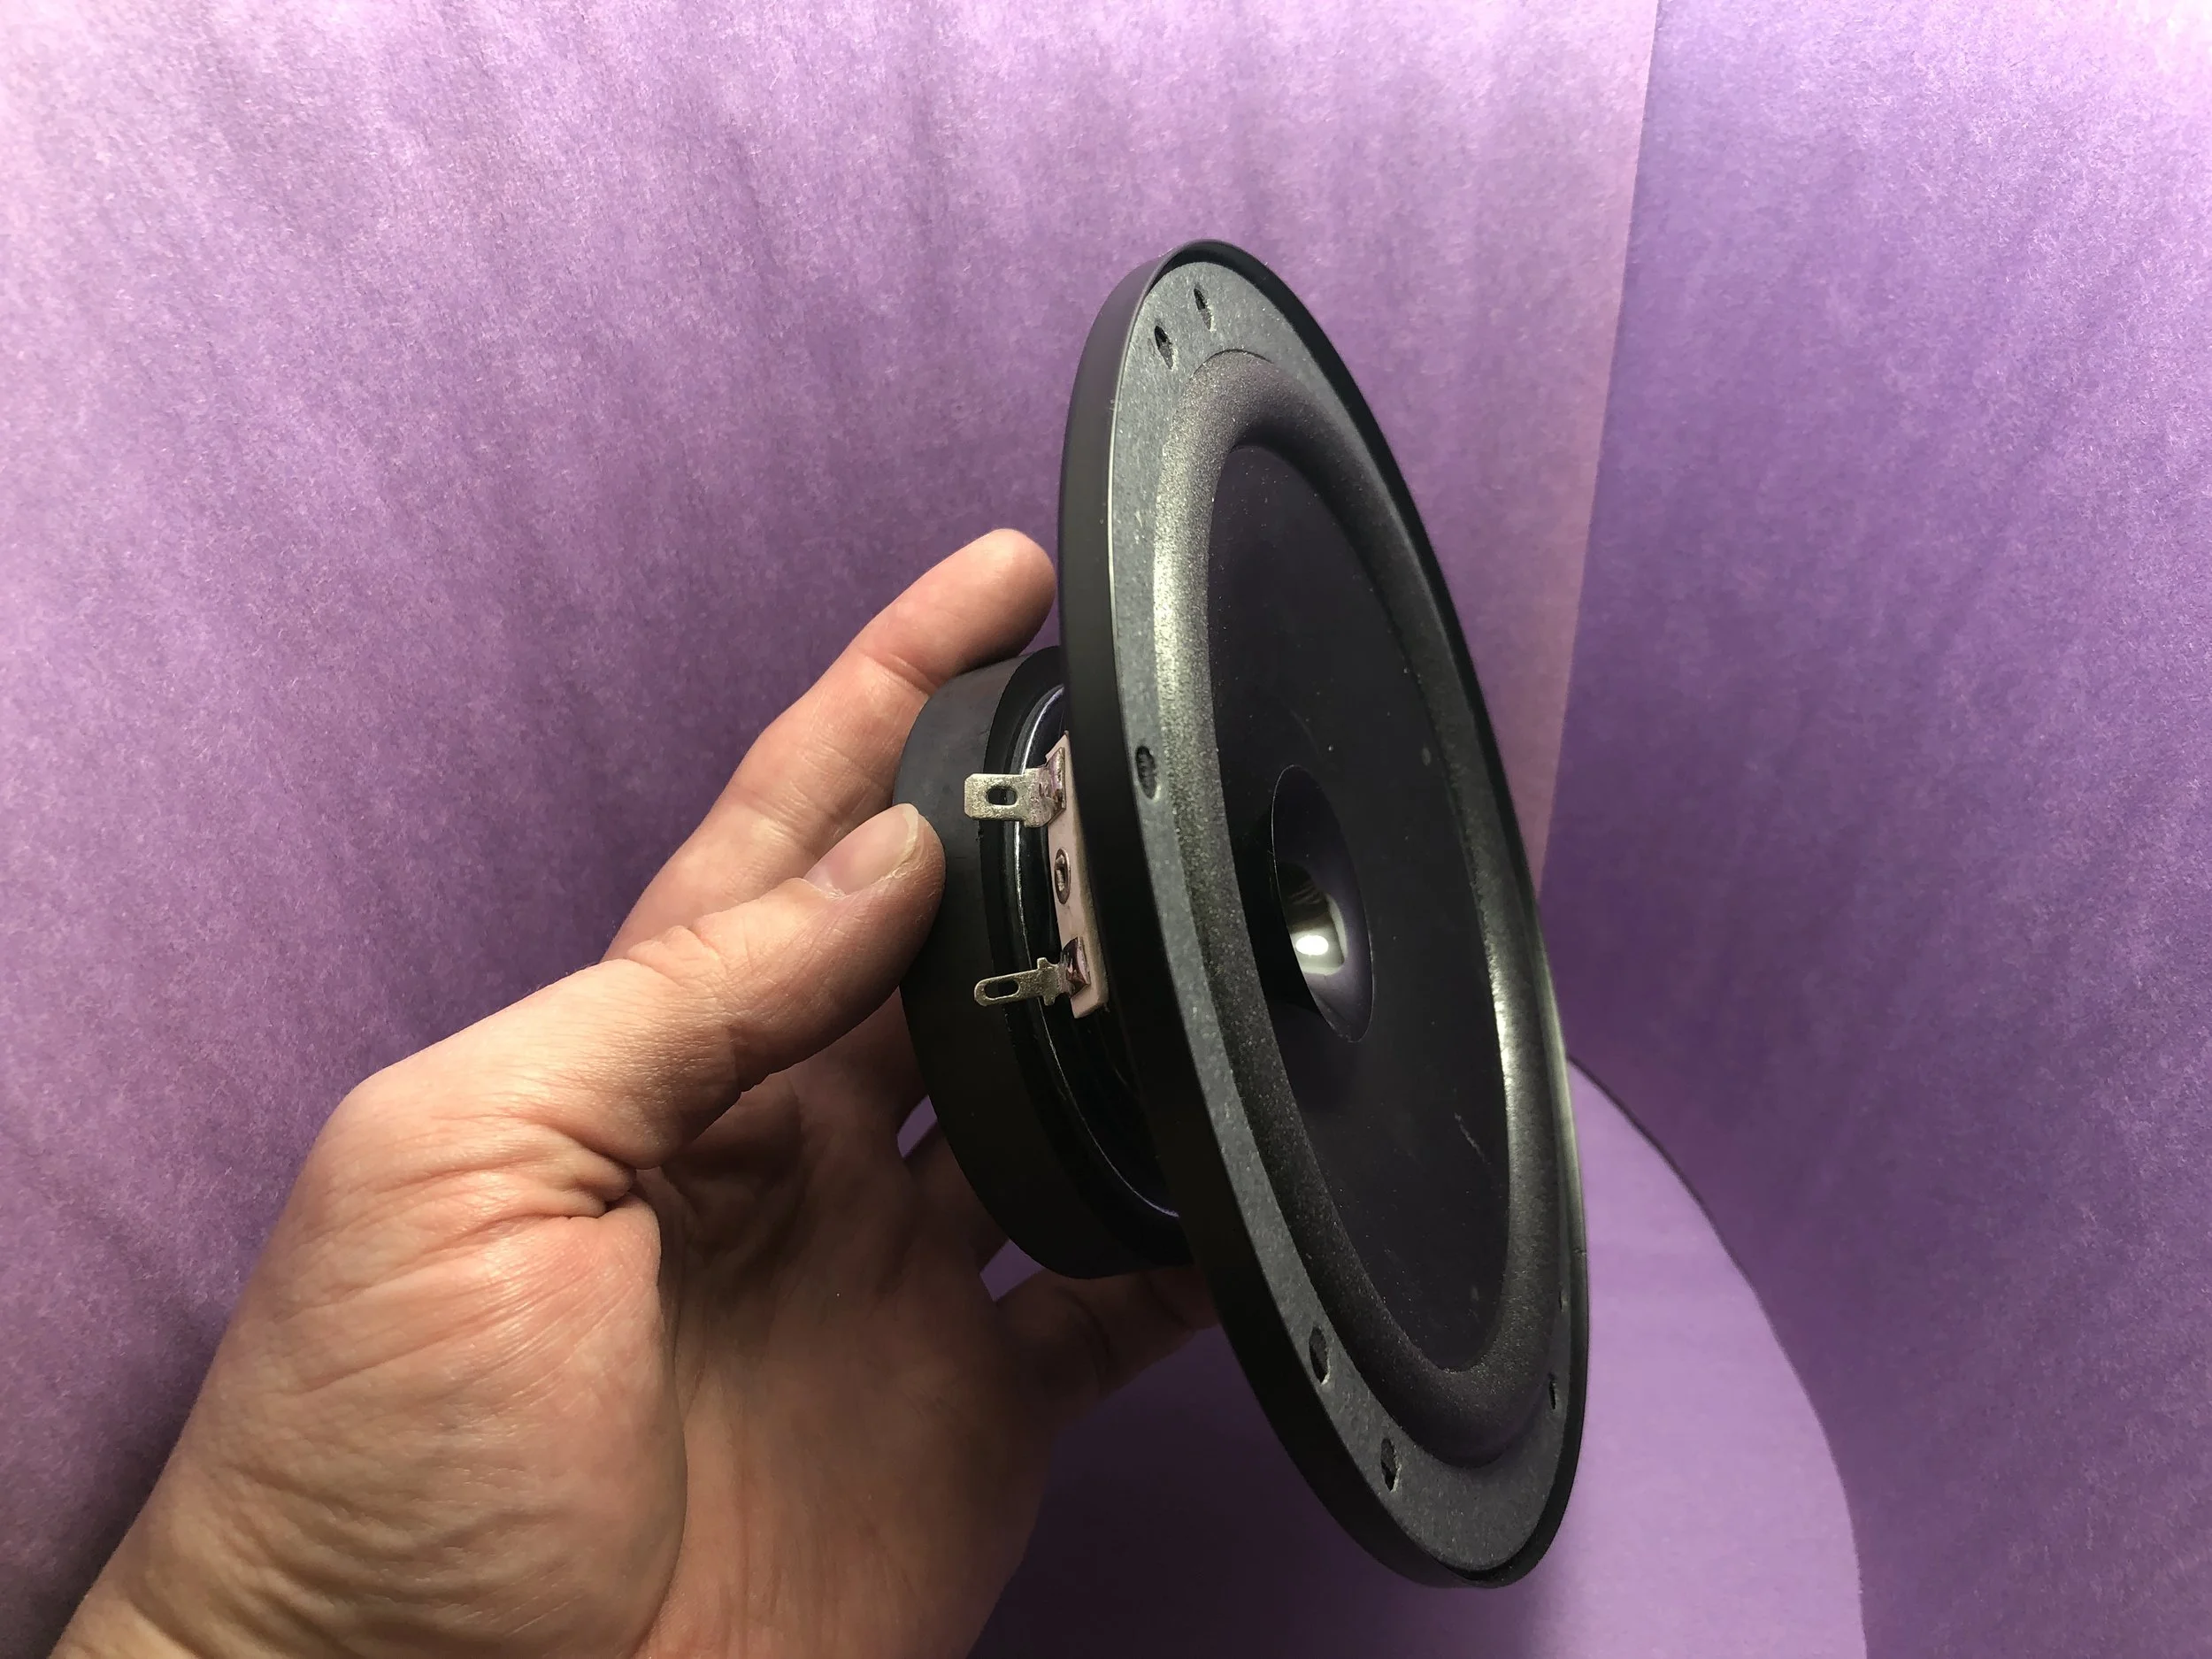
Read MorePart II of the tutorial series on loudspeaker analysis and experiments. The majority of this entry focuses on finding Thiele-Small parameters to fully characterize an electrodynamic loudspeaker in free air.
Read MoreIn this tutorial, a loudspeaker will be analyzed by calculating the Thiele-Small parameters from impedance measurements using an inexpensive USB data acquisition system (minimum sampling rate of 44.1 kHz). The methods used in this project will educate the user on multiple engineering topics ranging from: data acquisition, electronics, acoustics, signal processing, and computer programming.
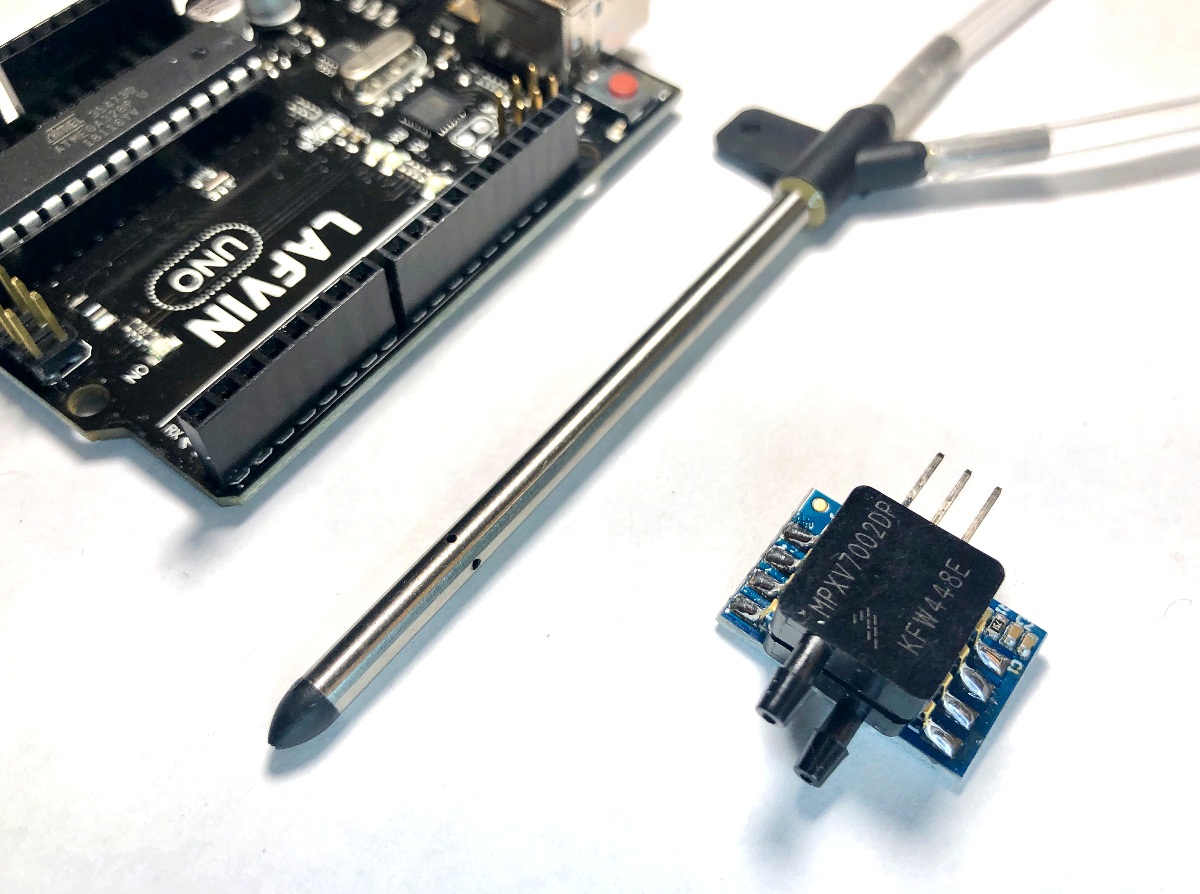
Read MoreThe pitot tube is a device used to approximate the speed of vehicles traveling by air and water. An in-depth article on NASA's website is dedicated to pitot tubes (also called pitot-static tubes, Prandtl tubes), where it cites the primary application as airspeed indicator on aircraft. For more information on design and limitations of the instrument, I recommend perusing that page. For this tutorial, only the basic theory is explored using Bernoulli's equation and a practical application. An inexpensive pitot tube and a digital differential pressure sensor are used to measure pressure, which is converted to a digital signal using an Arduino board.
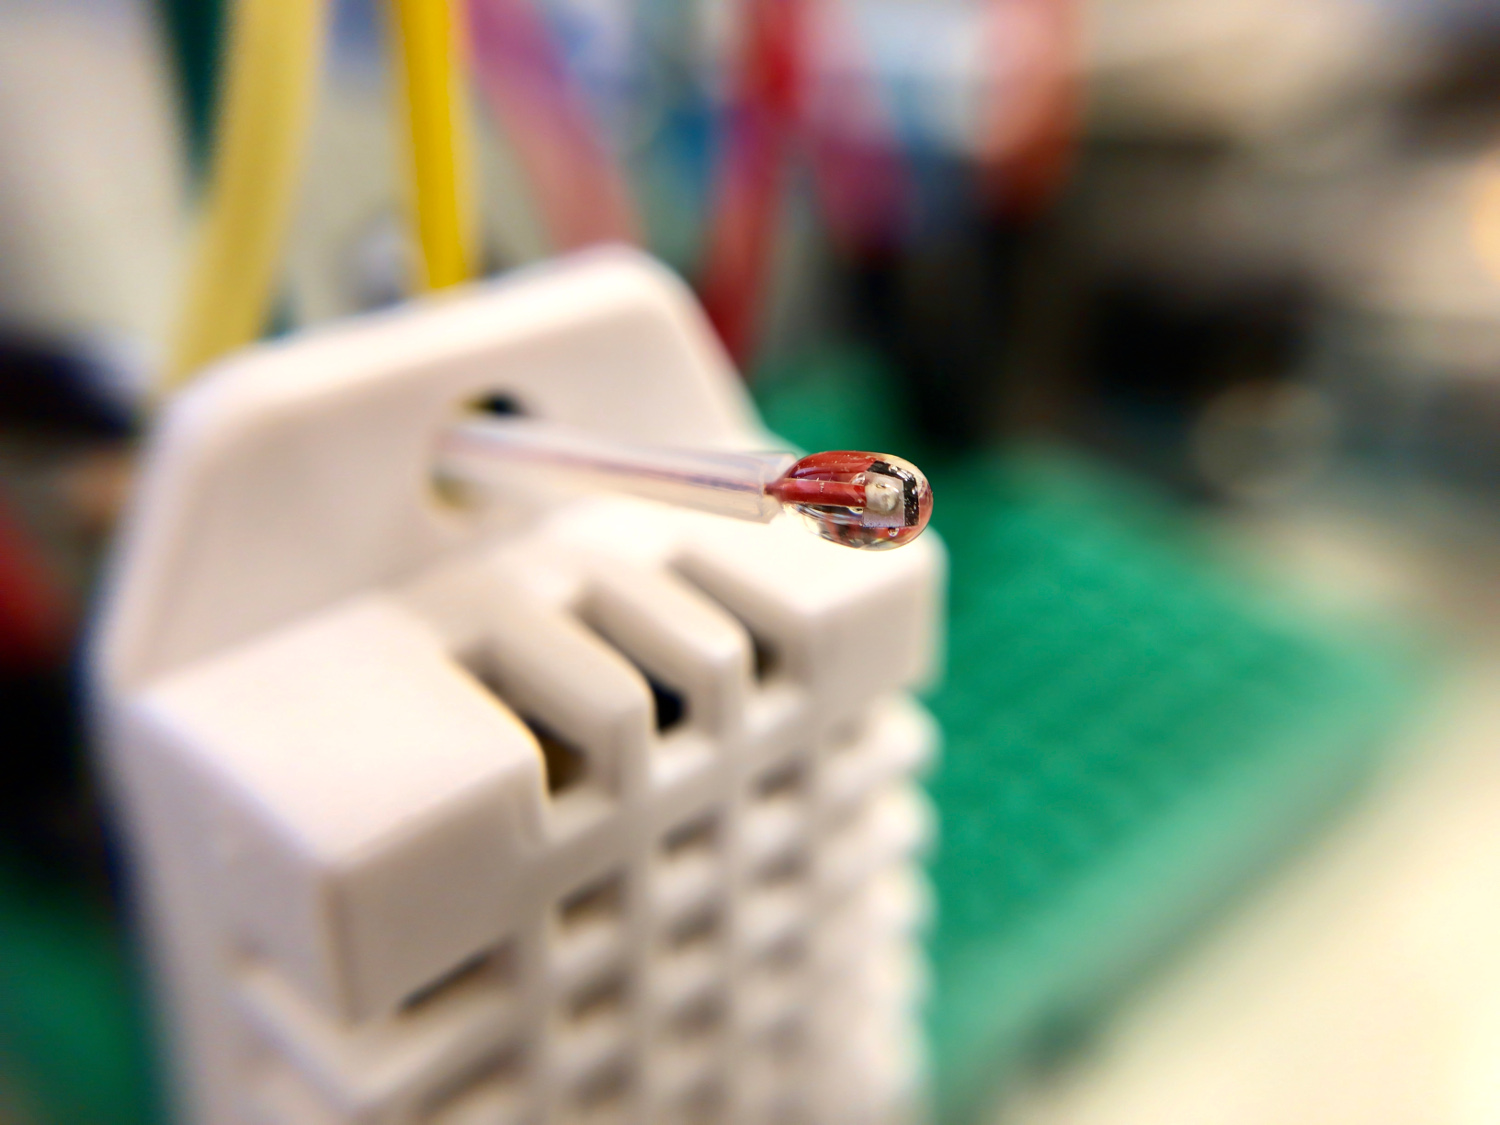
Read MoreThermistor, whose name is derived from a combination of thermal and resistor, is a temperature sensing device that registers changes in internal resistance as a function of temperature. Thermistors are often chosen over thermocouples because they are more accurate, have a shorter response time, and are generally cheaper. For most applications, thermistors are the smart and easy selection for temperature sensing below 300 degrees Celsius. In our case, we will be using a Negative Temperature Coefficient (NTC) thermistor, where the resistance decreases as the temperature increases. NTC thermistors are most common in commercial products that operate in the tens of degrees like thermostats, toasters, and even 3-D printers. An NTC 3950 100k thermistor will be used, which is designed for 100kOhm resistance at 25 degrees Celsius. This tutorial will introduce methods for relating resistance to temperature by fitting factory calibration data. The performance of the thermistor will also be evaluated using an Arduino board and a simple Newton’s law of cooling experiment.
Read MoreThis tutorial takes full advantage of the ESP8266 WiFi chip by serving a local webpage to control the general purpose input and output (GPIO) pins on a NodeMCU microcontroller. Some basic HTML and CSS programming methods will be utilized to create a stylish webpage that is both asynchronous (AJAX) and input-driven - this will give the user the ability to control the pins on the microcontroller. For the current example, an electromagnet and LED will be controlled using pulse width modulation (PWM) and simple high/low logic, respectively. The PWM control allows the user to change the voltage to the component, altering the magnetic field of the electromagnet. For the LED, the traditional digitalWrite() method will turn the LED on and off.
Read MoreNodeMCU is a WiFi platform that integrates the ESP8266 system on chip hardware with the familiarities of open-source software. The NodeMCU is powerful because it endows users with the ability to create Internet of Things (IoT) projects at a relatively low cost with tools readily available and open to the maker community. NodeMCU is fully compatible with the Arduino IDE, which is the method for programming the board in this tutorial.
Read MoreThe use of LED based electronics has significantly increased in the past few years. They have proven to be more efficient and nearly 5 times cheaper than normal incandescent units. But with their use came one downside: heat. Some devices tend to use a number of LEDs that remain on for a long period of time and so can overheat. The LEDs are usually mounted on PCBs and can therefore cause significant damage. There is however one alternative to common PCBs i.e. metal core printed circuits (MCPCBs).
Read MoreCalculating latitude and longitude from a GOES-R L1b data file. The GOES-R L1b radiance files contain radiance data and geometry scan information in radians. This information is not enough to plot geographic radiance data right from the file, however, after some geometric manipulation harnessing satellite position and ellipsoid parameters, we can derive latitude and longitude values from the one-dimensional scan angles and plot our data in projected formats familiar to many geographic information tools.
Read MoreIn the tutorial, the simplest integrated IoT mesh network is explored, where Argon (WiFi + BLE) and Xenon (BLE) Particle boards are used to create an ultrasonic range detector (HC-SR04) that notifies an LED whether a threshold value has been crossed in front of the sensor. When the threshold is reached, a ‘trip’ is communicated to the mesh network and notifies the system via Bluetooth and WiFi.
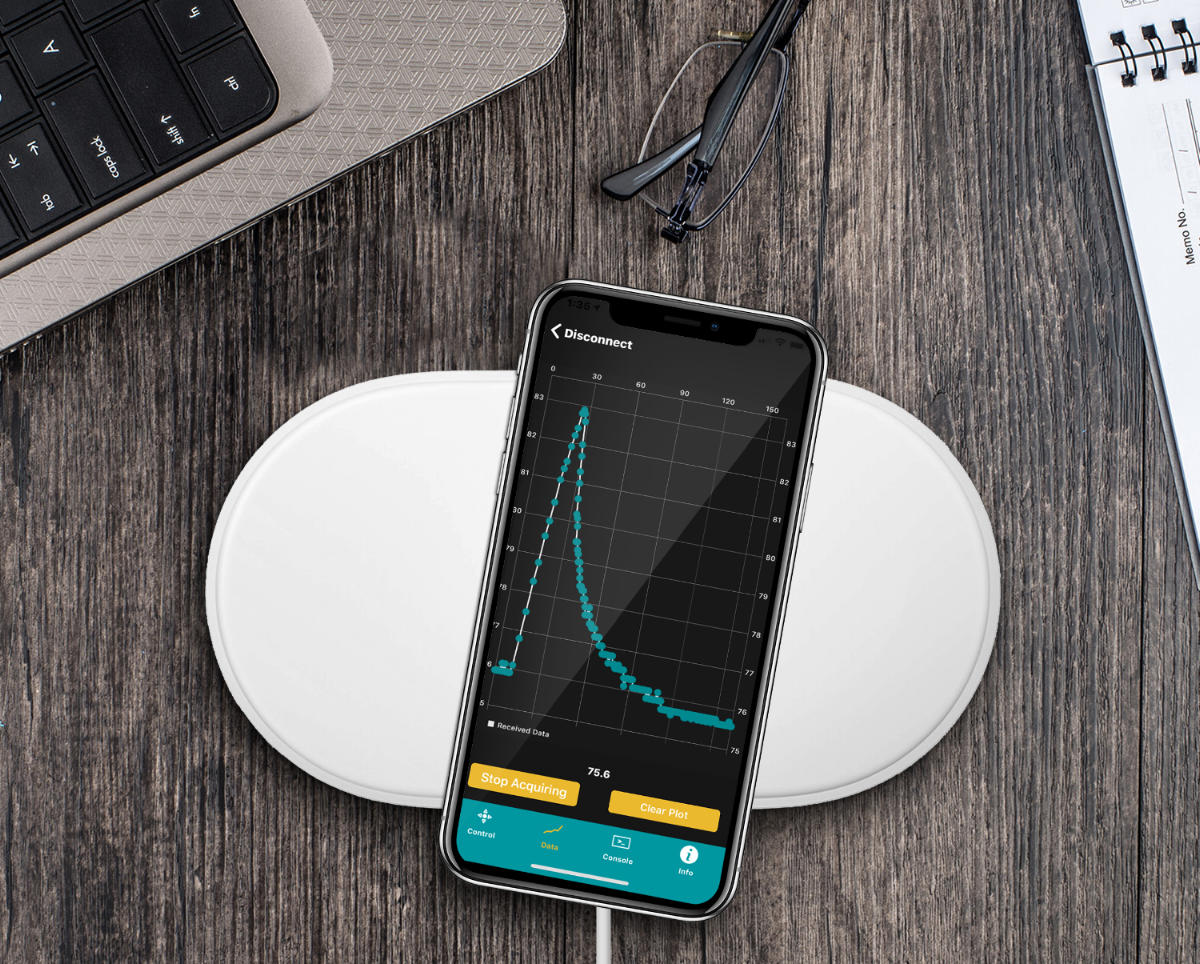
Read MoreThe BLExAR app will be used in conjunction with a CC2541 (HM-10, JDY-08, AT-09, SH-M08) Bluetooth module and an Arduino (ATmega328) board to create a simple data acquisition system. A DHT22 sensor will provide temperature and humidity data to the Arduino which will be recorded by an iOS device via the BLExAR app. This experiment is a real-world example of an Arduino application demonstrating data acquisition from a real sensor. This tutorial will allow users to solve their own engineering problems using the modern Arduino platform and wireless communication through the BLExAr app, which will ultimately expand the reach and compatibility of technology in the classical sciences through exploration and experimentation.
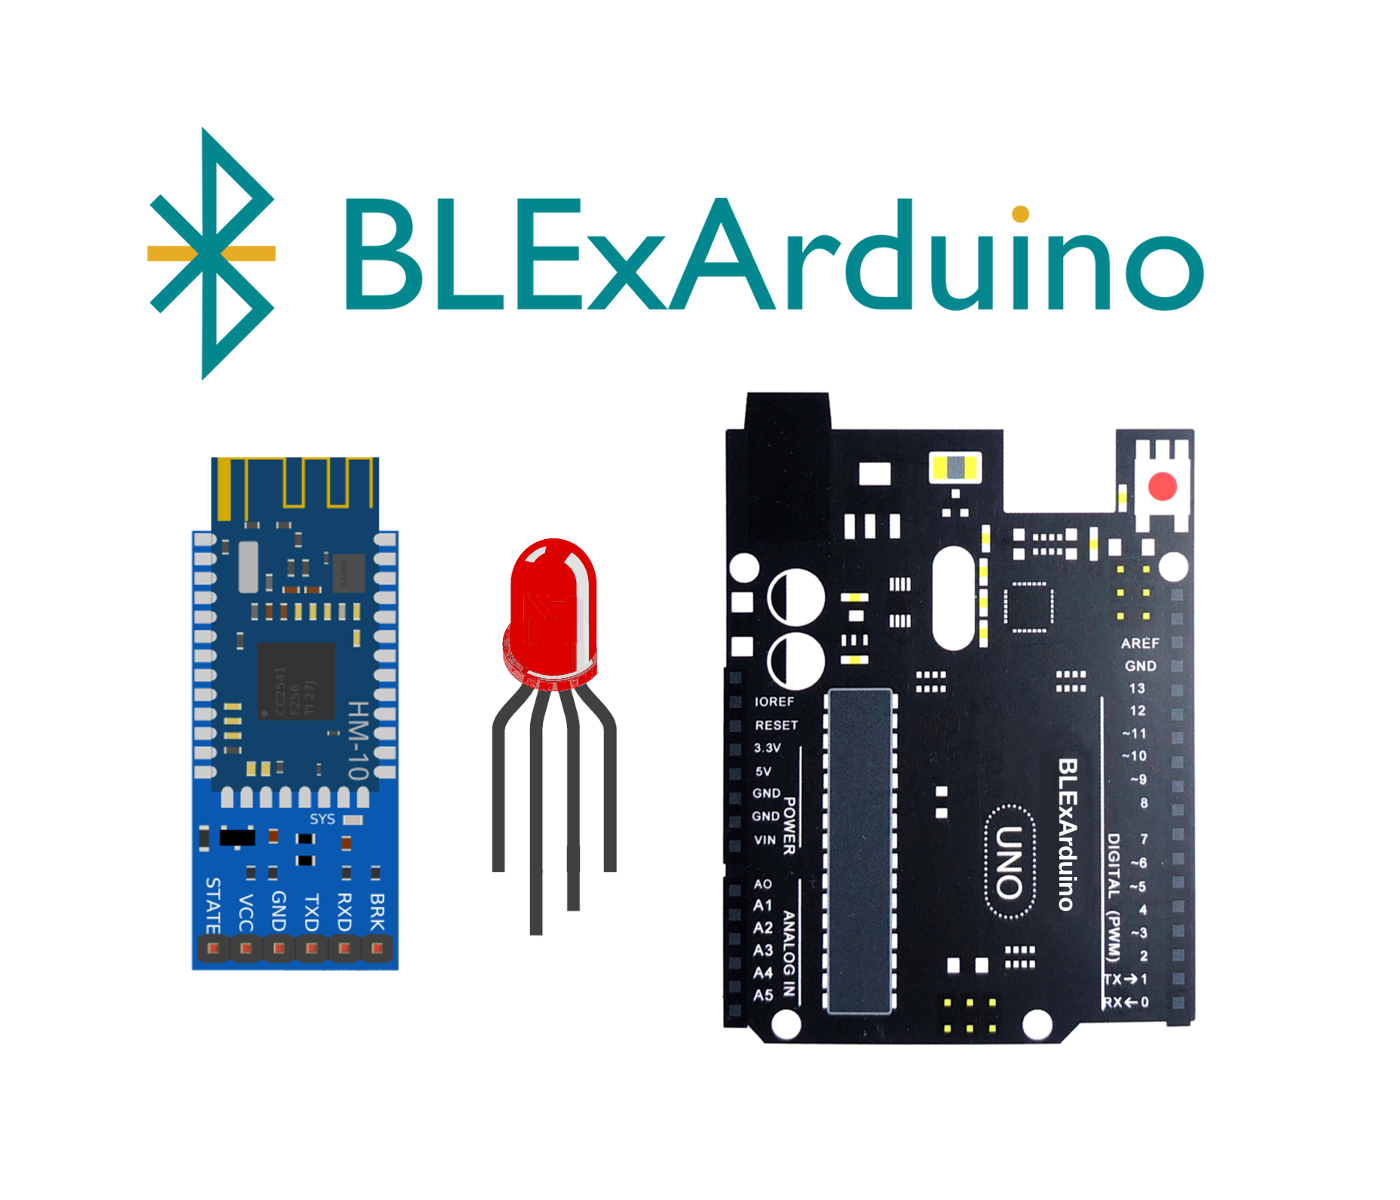
Read MoreControl an RGB LED using three PWM pins on an Arduino Uno board via Bluetooth communication. An RGB LED is a single casing with three cathode (or anode) pins and one anode (or cathode) pin. This results in a 4-pin LED. In this tutorial, I will be using an RGB LED with three anodes and one common cathode. This means that we can change the color of the LED to over 16.7 million different variations (assuming each anode produces a different luminosity for each voltage change of the Arduino PWM pin). This tutorial will help demonstrate the power of the BLExAR app, and the flexibility of an Arduino board under iOS Bluetooth control. In my case, I will be using an iPhone with the BLExAR app, but an iPad would suffice as well.
Read More

