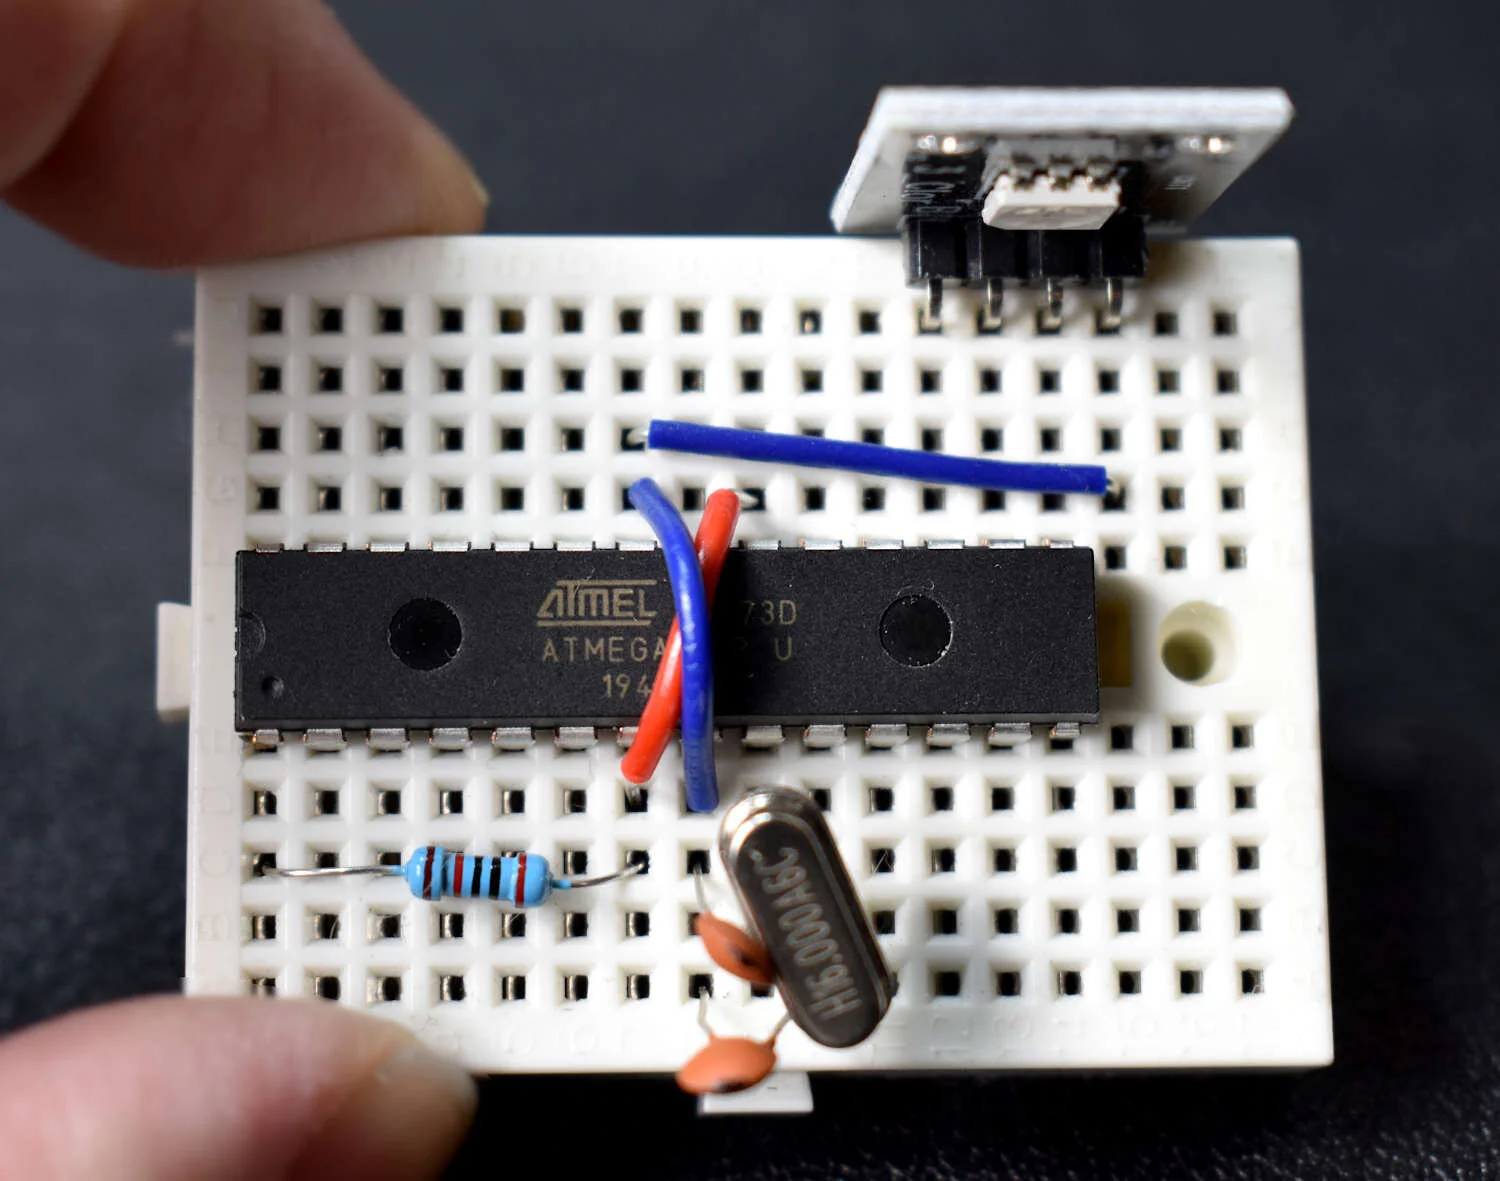
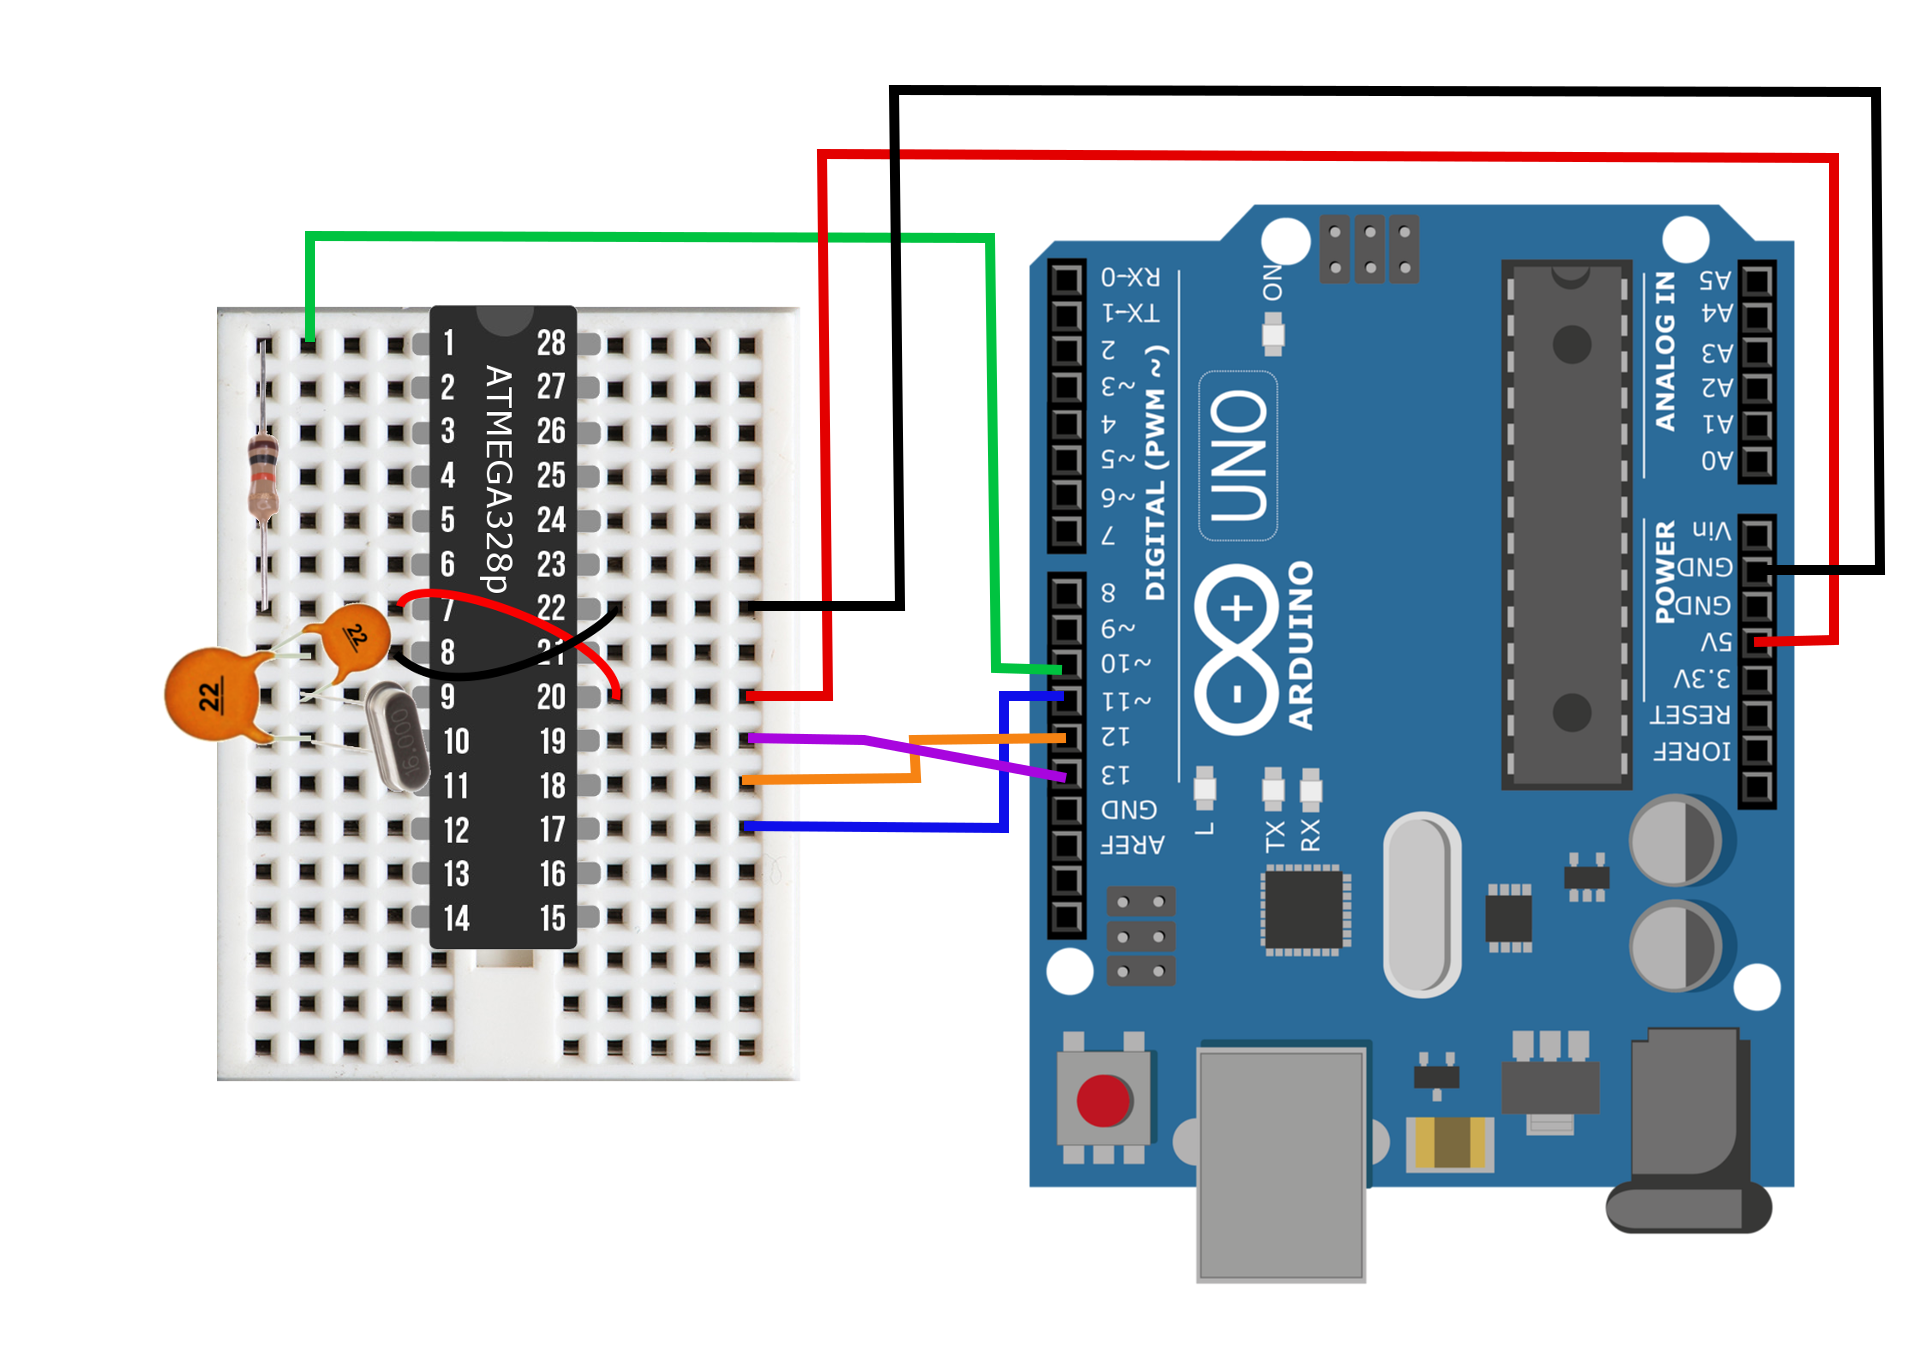
A DIY Arduino board is presented here, with most of the capabilities of the classic Arduino Uno board, but with a slimmer profile and more flexibility in hardware. The advantage to using the DIY Arduino board is its ability to change the input voltage (2.7V - 5.5V), the crystal oscillator (0-16MHz), and the use of LEDs and regulators when needed. The DIY board is capable of very lower power modes, without the requirement of draining components such as LEDs or regulators. The ATmega328P chip is at the center of every Uno board (in recent years), and is also at the center of the DIY board, which allows the DIY Arduino to behave almost identically to the Uno board.
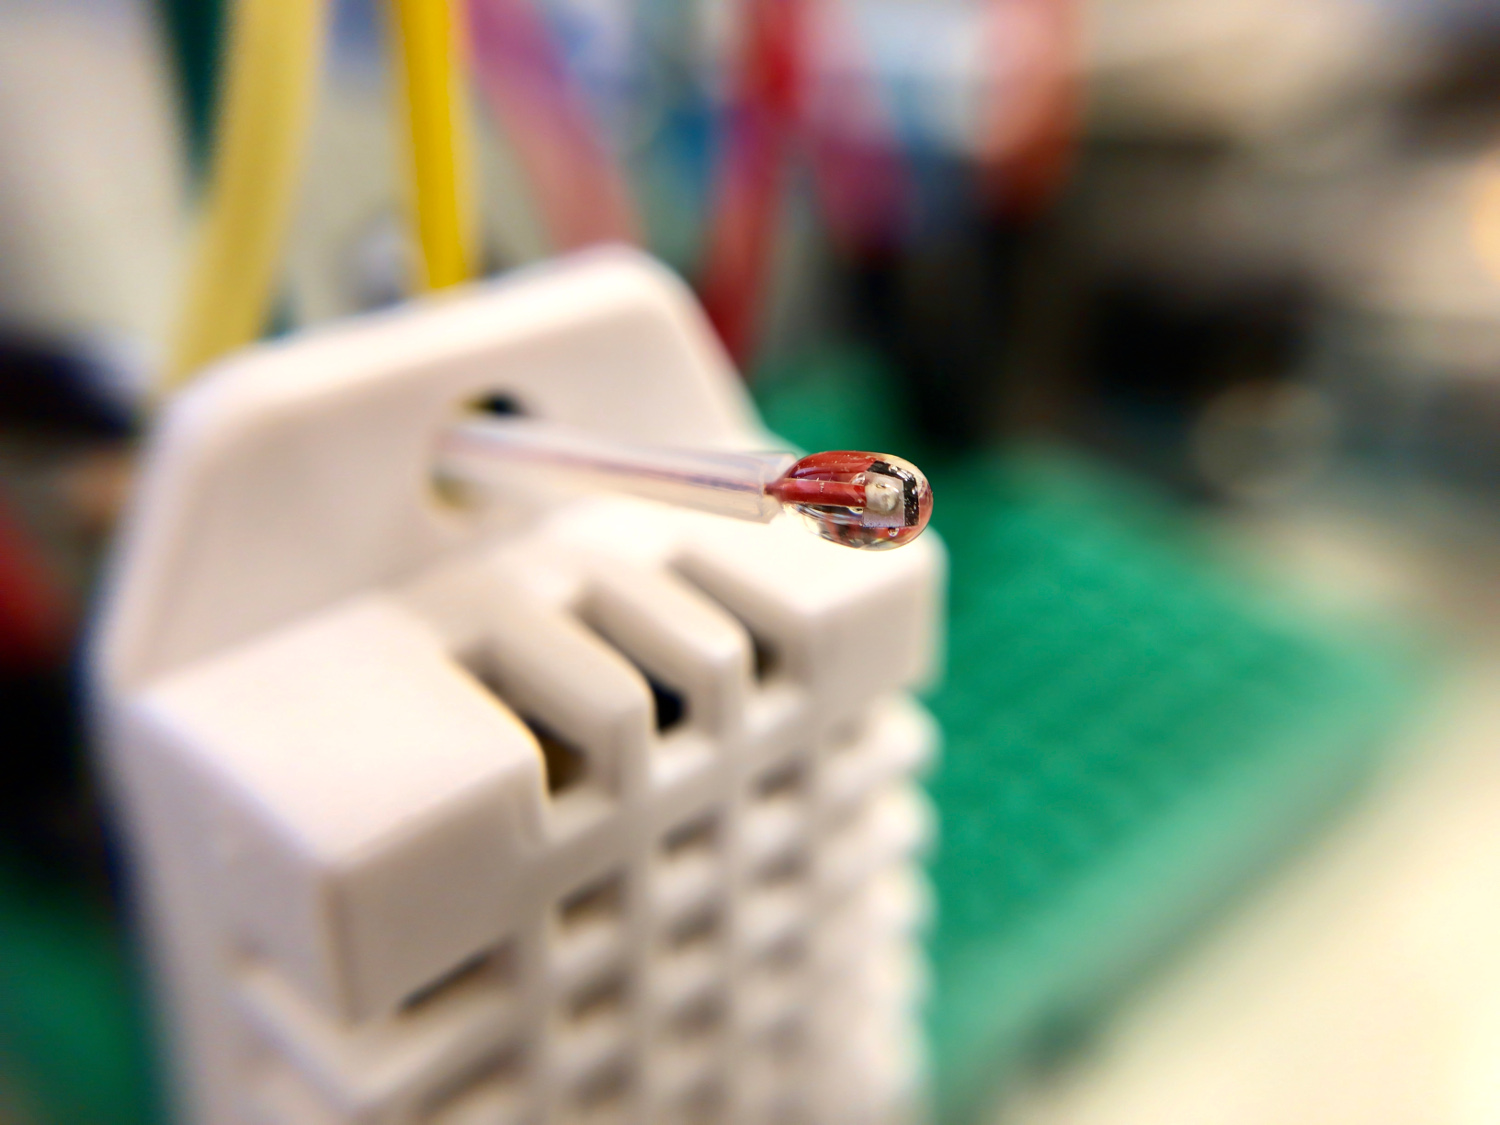
Read MoreThermistor, whose name is derived from a combination of thermal and resistor, is a temperature sensing device that registers changes in internal resistance as a function of temperature. Thermistors are often chosen over thermocouples because they are more accurate, have a shorter response time, and are generally cheaper. For most applications, thermistors are the smart and easy selection for temperature sensing below 300 degrees Celsius. In our case, we will be using a Negative Temperature Coefficient (NTC) thermistor, where the resistance decreases as the temperature increases. NTC thermistors are most common in commercial products that operate in the tens of degrees like thermostats, toasters, and even 3-D printers. An NTC 3950 100k thermistor will be used, which is designed for 100kOhm resistance at 25 degrees Celsius. This tutorial will introduce methods for relating resistance to temperature by fitting factory calibration data. The performance of the thermistor will also be evaluated using an Arduino board and a simple Newton’s law of cooling experiment.
Read More


