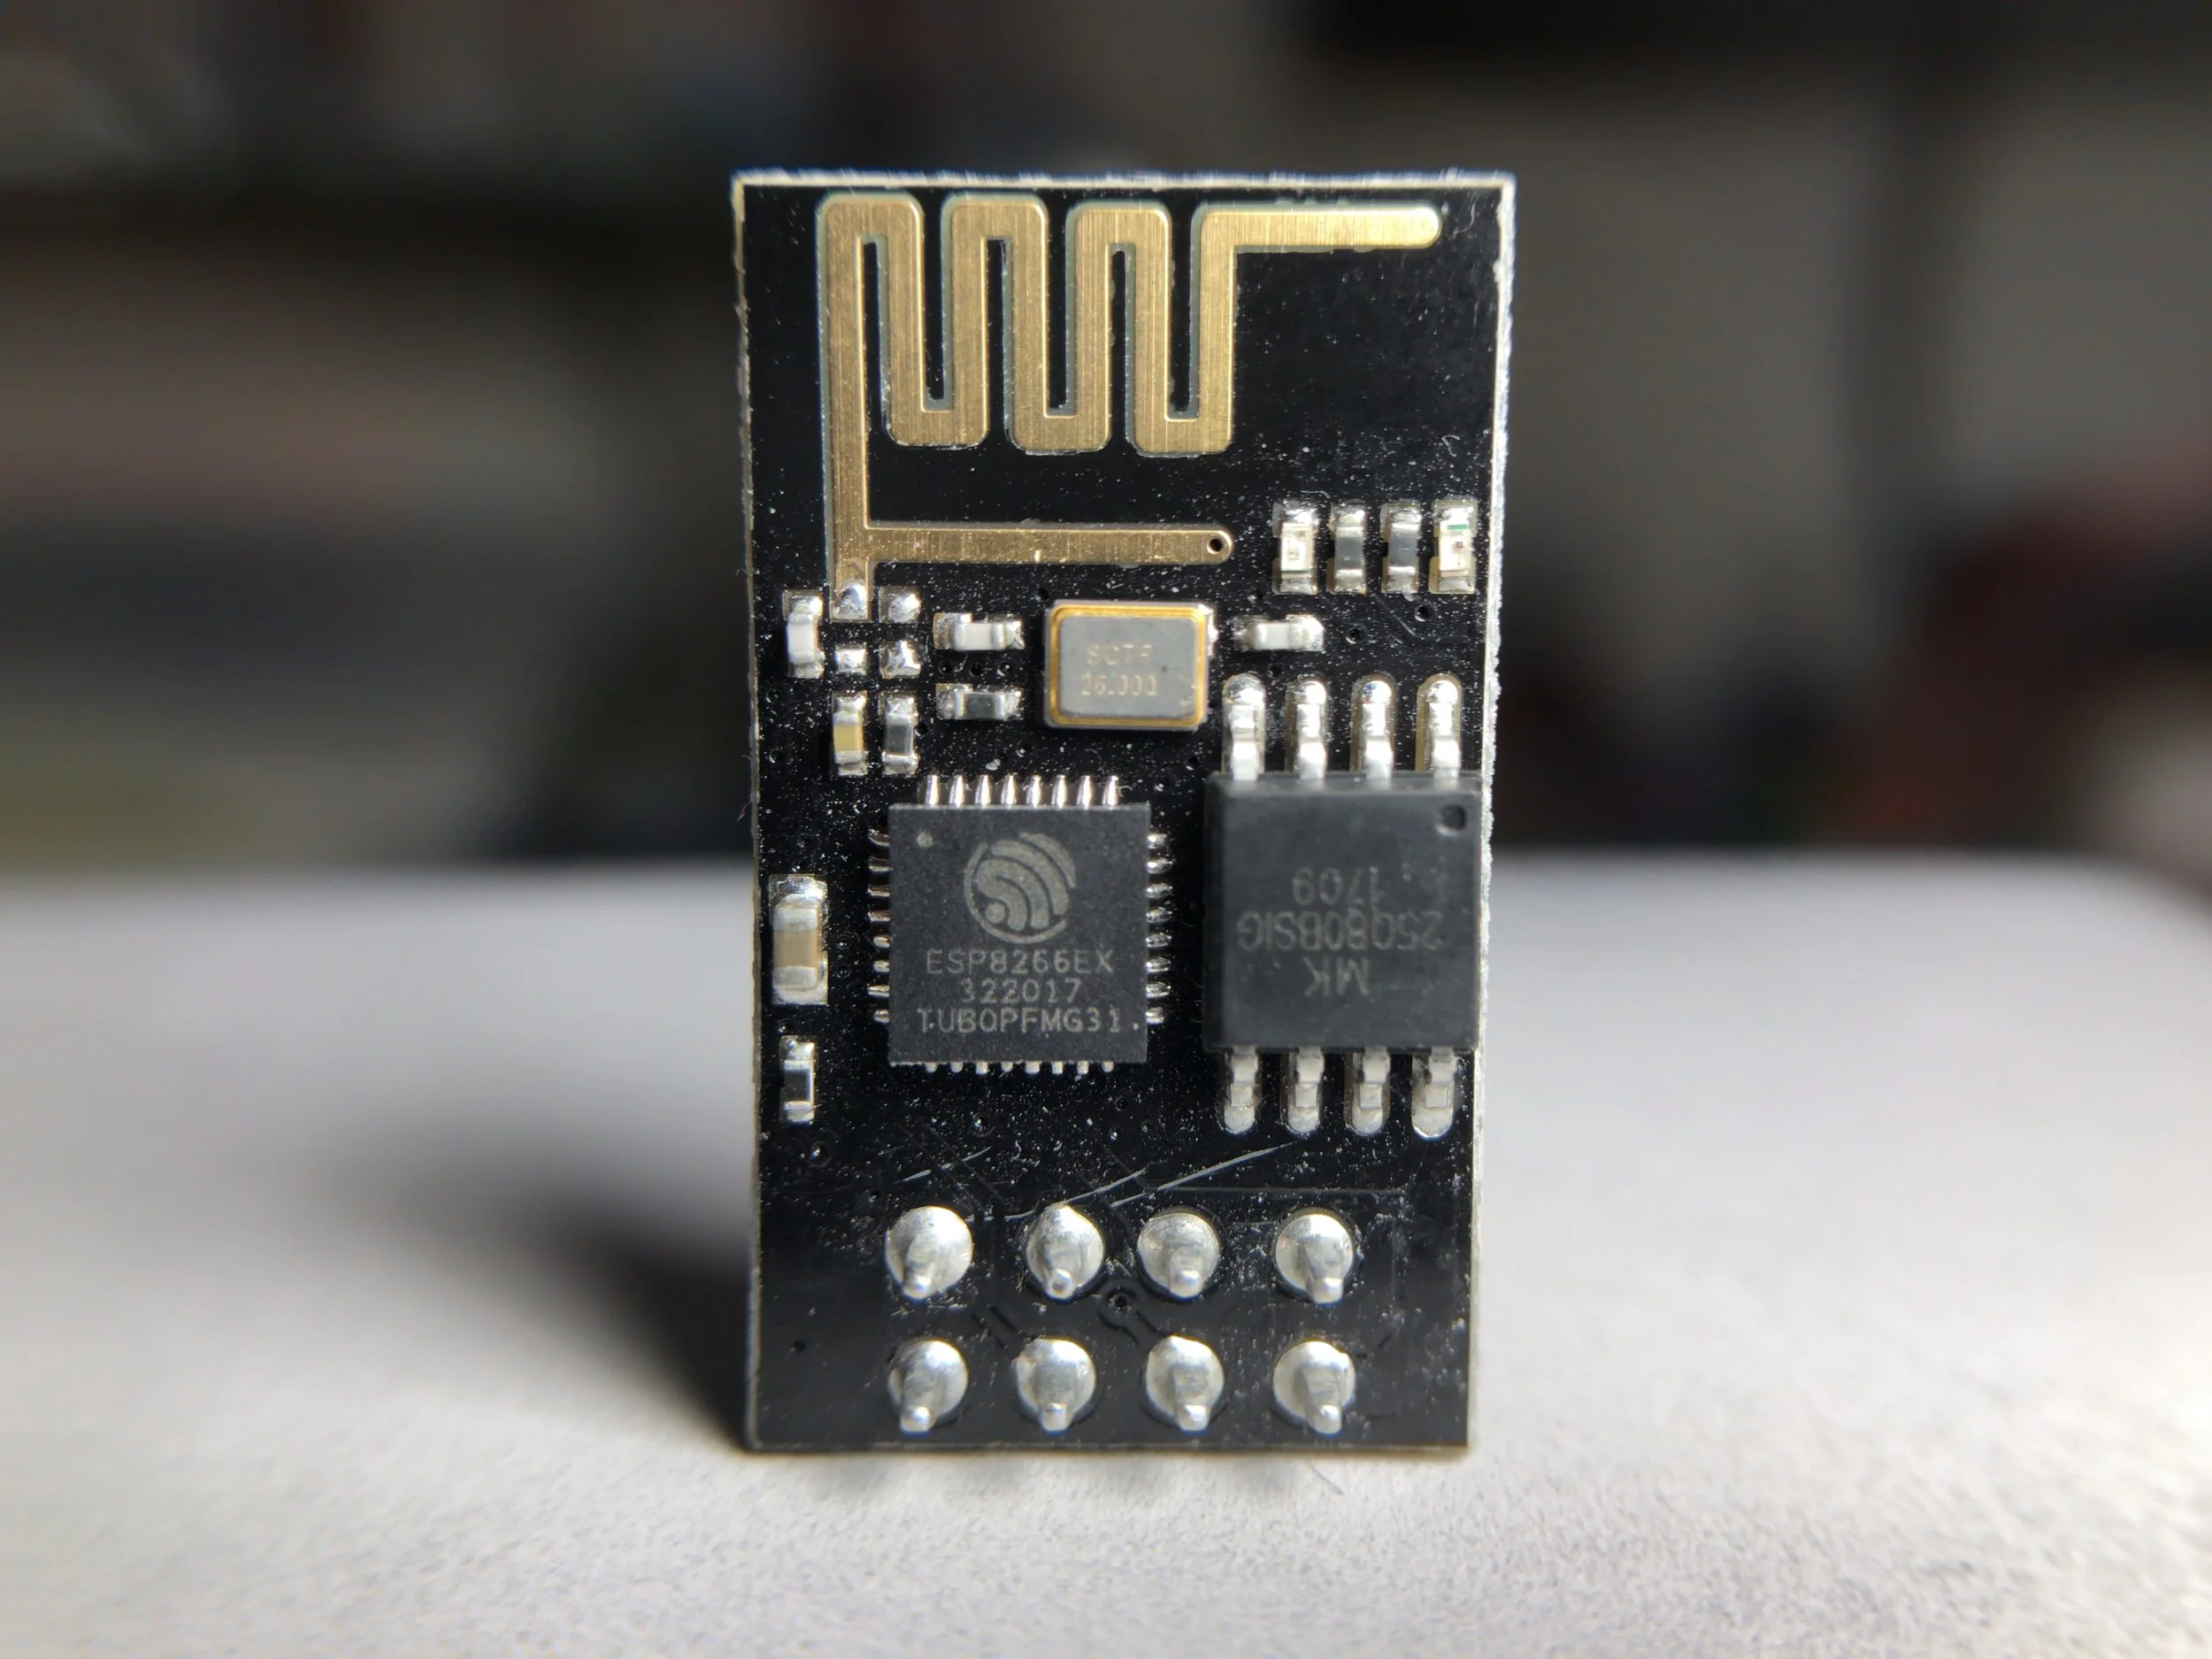
TinyBlueX - A Low Power Bluetooth Arduino Board
The TinyBlueX is a Bluetooth Low Energy-enabled microcontroller module that combines an ATtiny85 microcontroller and CC254x Bluetooth Low Energy chip. The TinyBlueX is compatible with the Arduino platform (IDE) and the BLExAR iOS Arduino app. The TinyBlueX is very low power and has a low profile, which makes it great for very low power internet of things (IoT) applications with analog and digital sensors. The TinyBlueX can read sensors and transmit the data back to an iOS device, while also being able to read iOS commands and control LEDs, indicators, and motors. Pins 2,3,7 are available on the ATtiny85 aboard the TinyBlueX, allowing users to control/read up to 3 different devices or sensors. In this tutorial series, the TinyBlueX will be explored by instructing users on how to upload code to the module, how to control LEDs, and how to send data back to an iOS device using the BLExAR app.
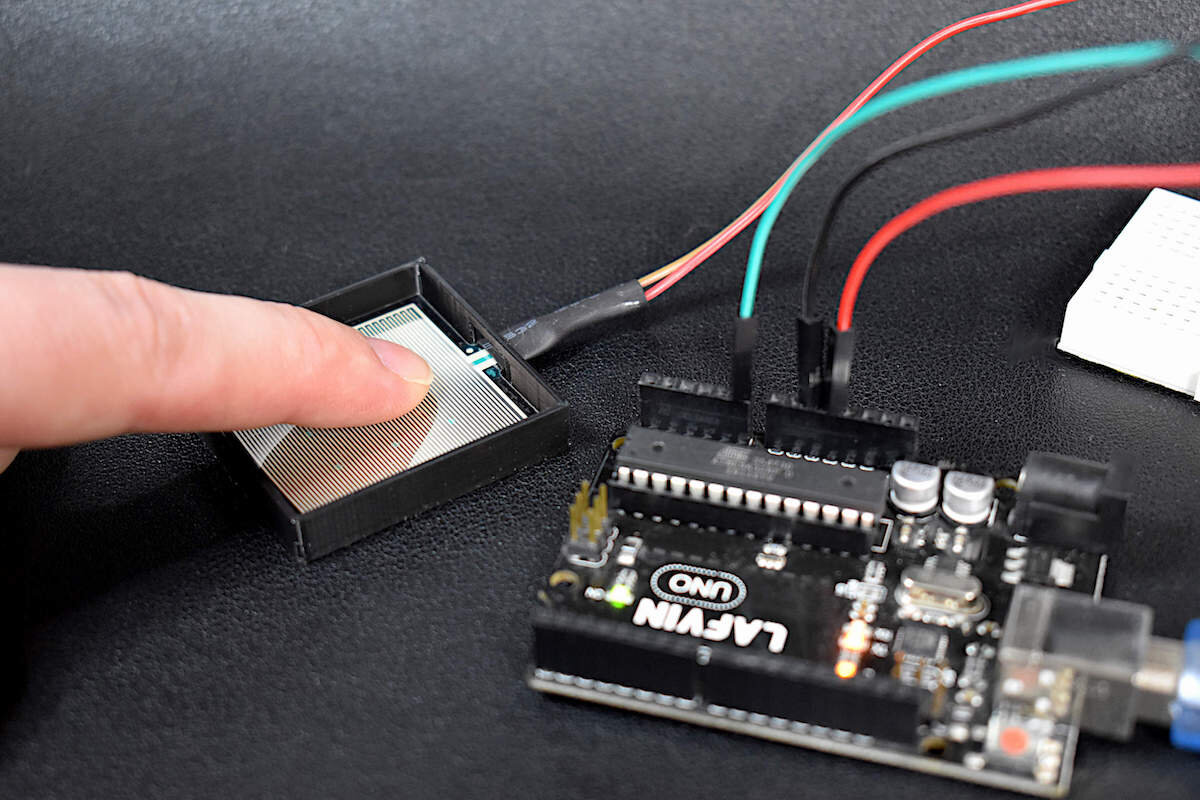
Force Sensitive Resistors (FSRs) with Arduino
A force sensitive resistor (FSR) is comprised of a conductive polymer material pressed between two electrode layers, giving it the ability to electrically respond to changes in stress and strain. FSRs are often used in ergonomic or rehabilitation applications where pressure is applied from human interaction and the response is recorded or translated. Force sensitive resistors are incredibly useful for human interactivity because of their slim profile, inexpensive construction, and multiplicative geometries. The sensor used in this tutorial is the RP-S40-ST, which is a 40mm x 40mm thin film FSR. An Arduino board will be used to read the analog signals outputted by the FSR in a voltage divider configuration, where the force applied to the FSR can be approximated using the sensor’s calibration curve.

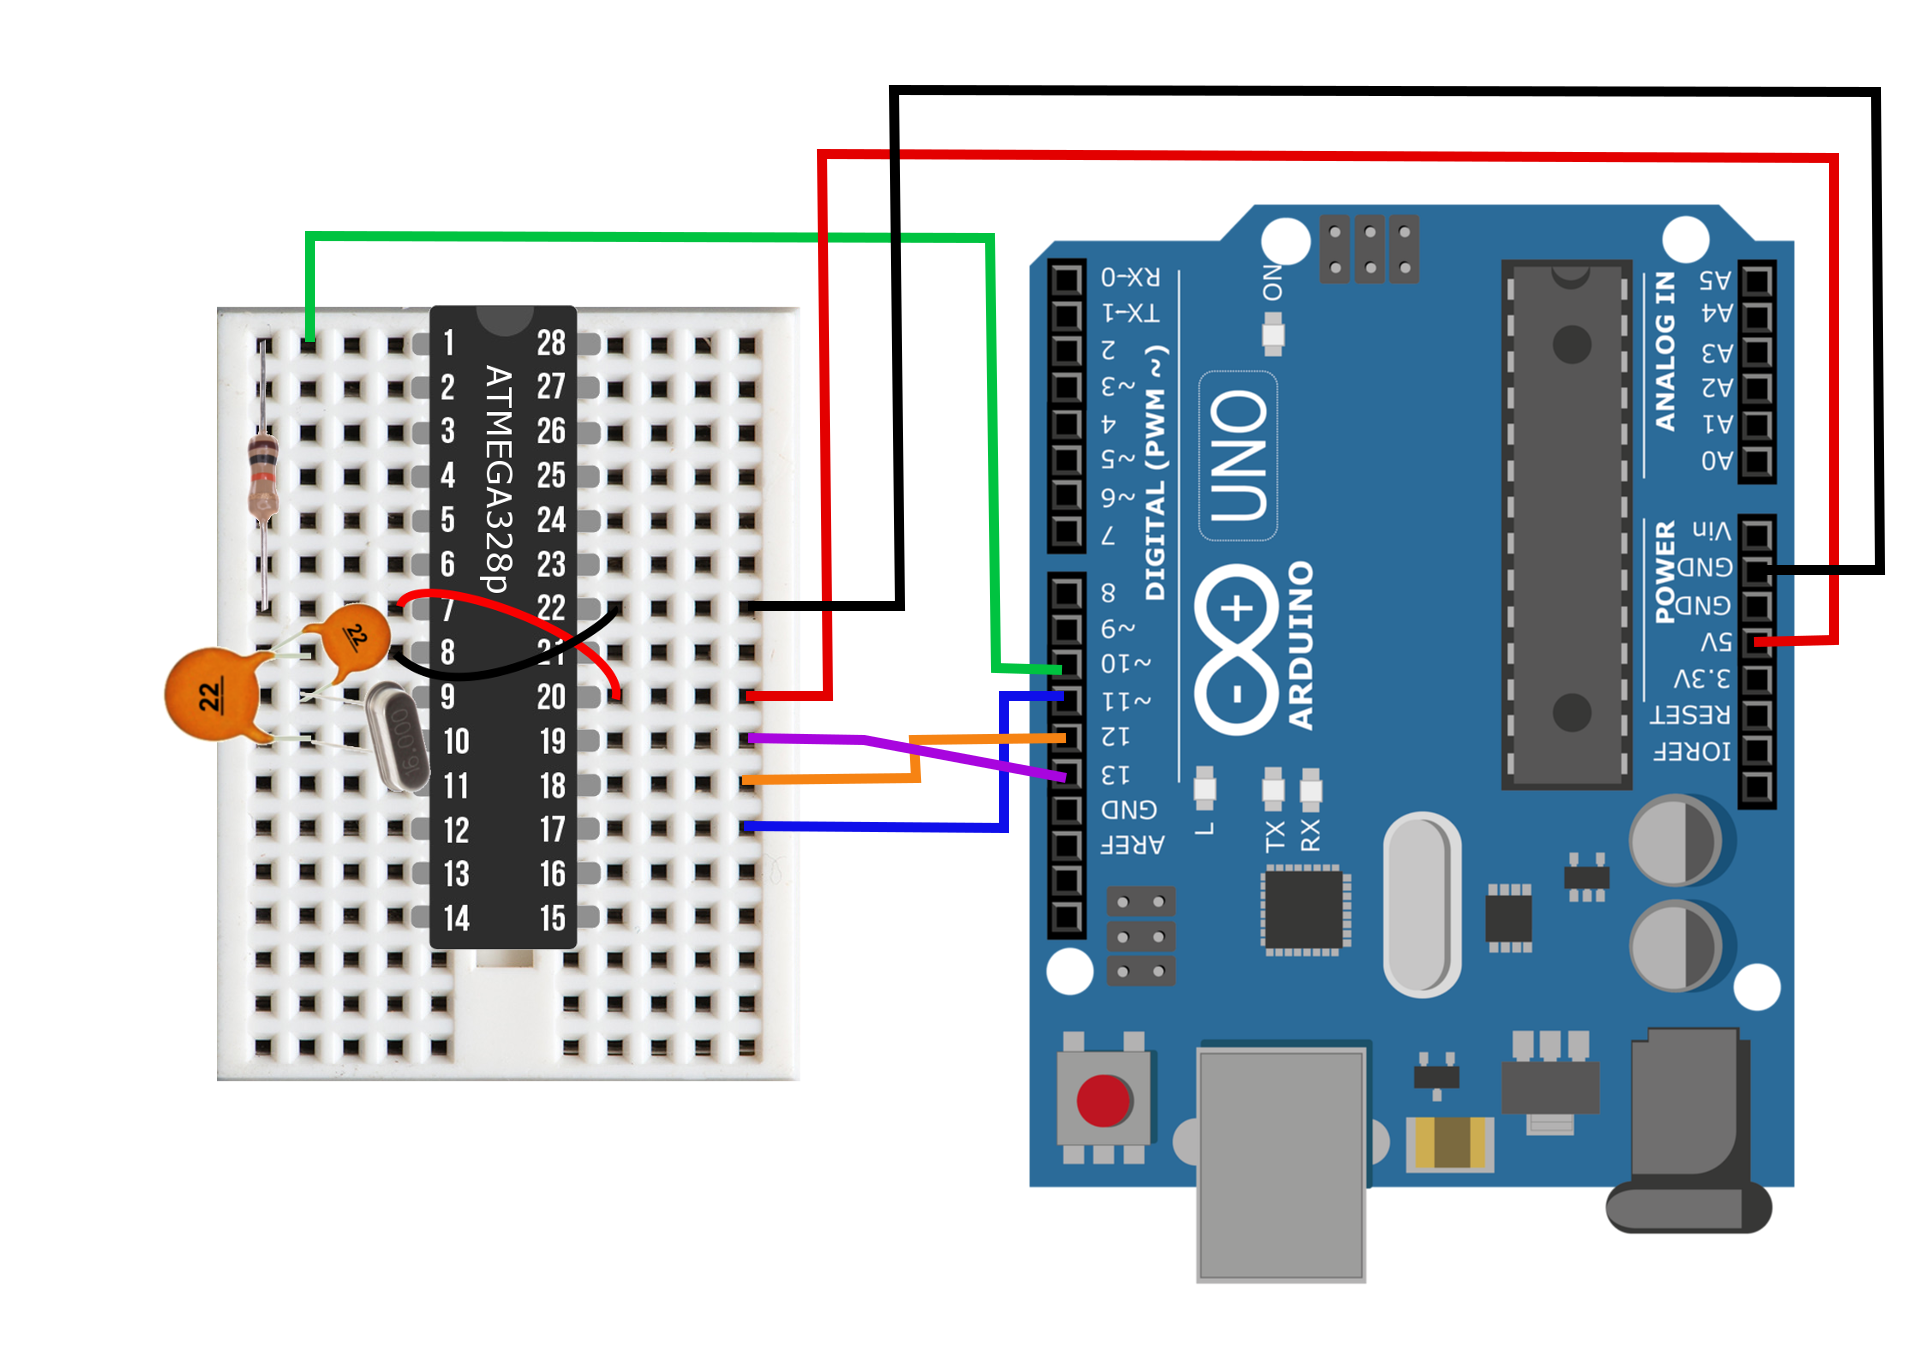
DIY Arduino Board
A DIY Arduino board is presented here, with most of the capabilities of the classic Arduino Uno board, but with a slimmer profile and more flexibility in hardware. The advantage to using the DIY Arduino board is its ability to change the input voltage (2.7V - 5.5V), the crystal oscillator (0-16MHz), and the use of LEDs and regulators when needed. The DIY board is capable of very lower power modes, without the requirement of draining components such as LEDs or regulators. The ATmega328P chip is at the center of every Uno board (in recent years), and is also at the center of the DIY board, which allows the DIY Arduino to behave almost identically to the Uno board.

Radar Emulator with Arduino + Python
In this tutorial, an ultrasonic sensor (HC-SR04) will be used in place of a radio emitter; and a plan position indicator will be constructed in Python by recording the angular movements of a servo motor. An Arduino board will both record the ranging data from the ultrasonic sensor while also controlling and outputting the angular position of the servo motor. This will permit the creation of a PPI for visualizing the position of various objects surrounding the radar system.
Arduino Breathing LED Functions
In this tutorial - an Arduino board will be used in conjunction with an RGB LED to investigate several ways of replicating the breathing LED effect. Using the equation for a triangular wave, circular wave, and Gaussian wave, a breathing LED will be constructed. The amount of code needed for the simplest breathing LED is as little as two lines of code, while the more complex breathing functions grow in difficulty from there.

Arduino Optical Fingerprint Sensor (AS608)
Optical fingerprint sensors take low-resolution snapshots of the tip of a finger and create arrays of identifiers that are then used to uniquely identify a given fingerprint. The AS608 is capable of storing up to 128 individual fingerprints. This tutorial will introduce the AS608 Arduino-compatible fingerprint sensor and how to validate and reject fingerprints based on the enrolled fingerprint information that will be given to the sensor. The fingerprint algorithm is handled by the AS608 and Arduino, so this tutorial will focus on implementation and putting the pieces together to make a working fingerprint sensor with Arduino.
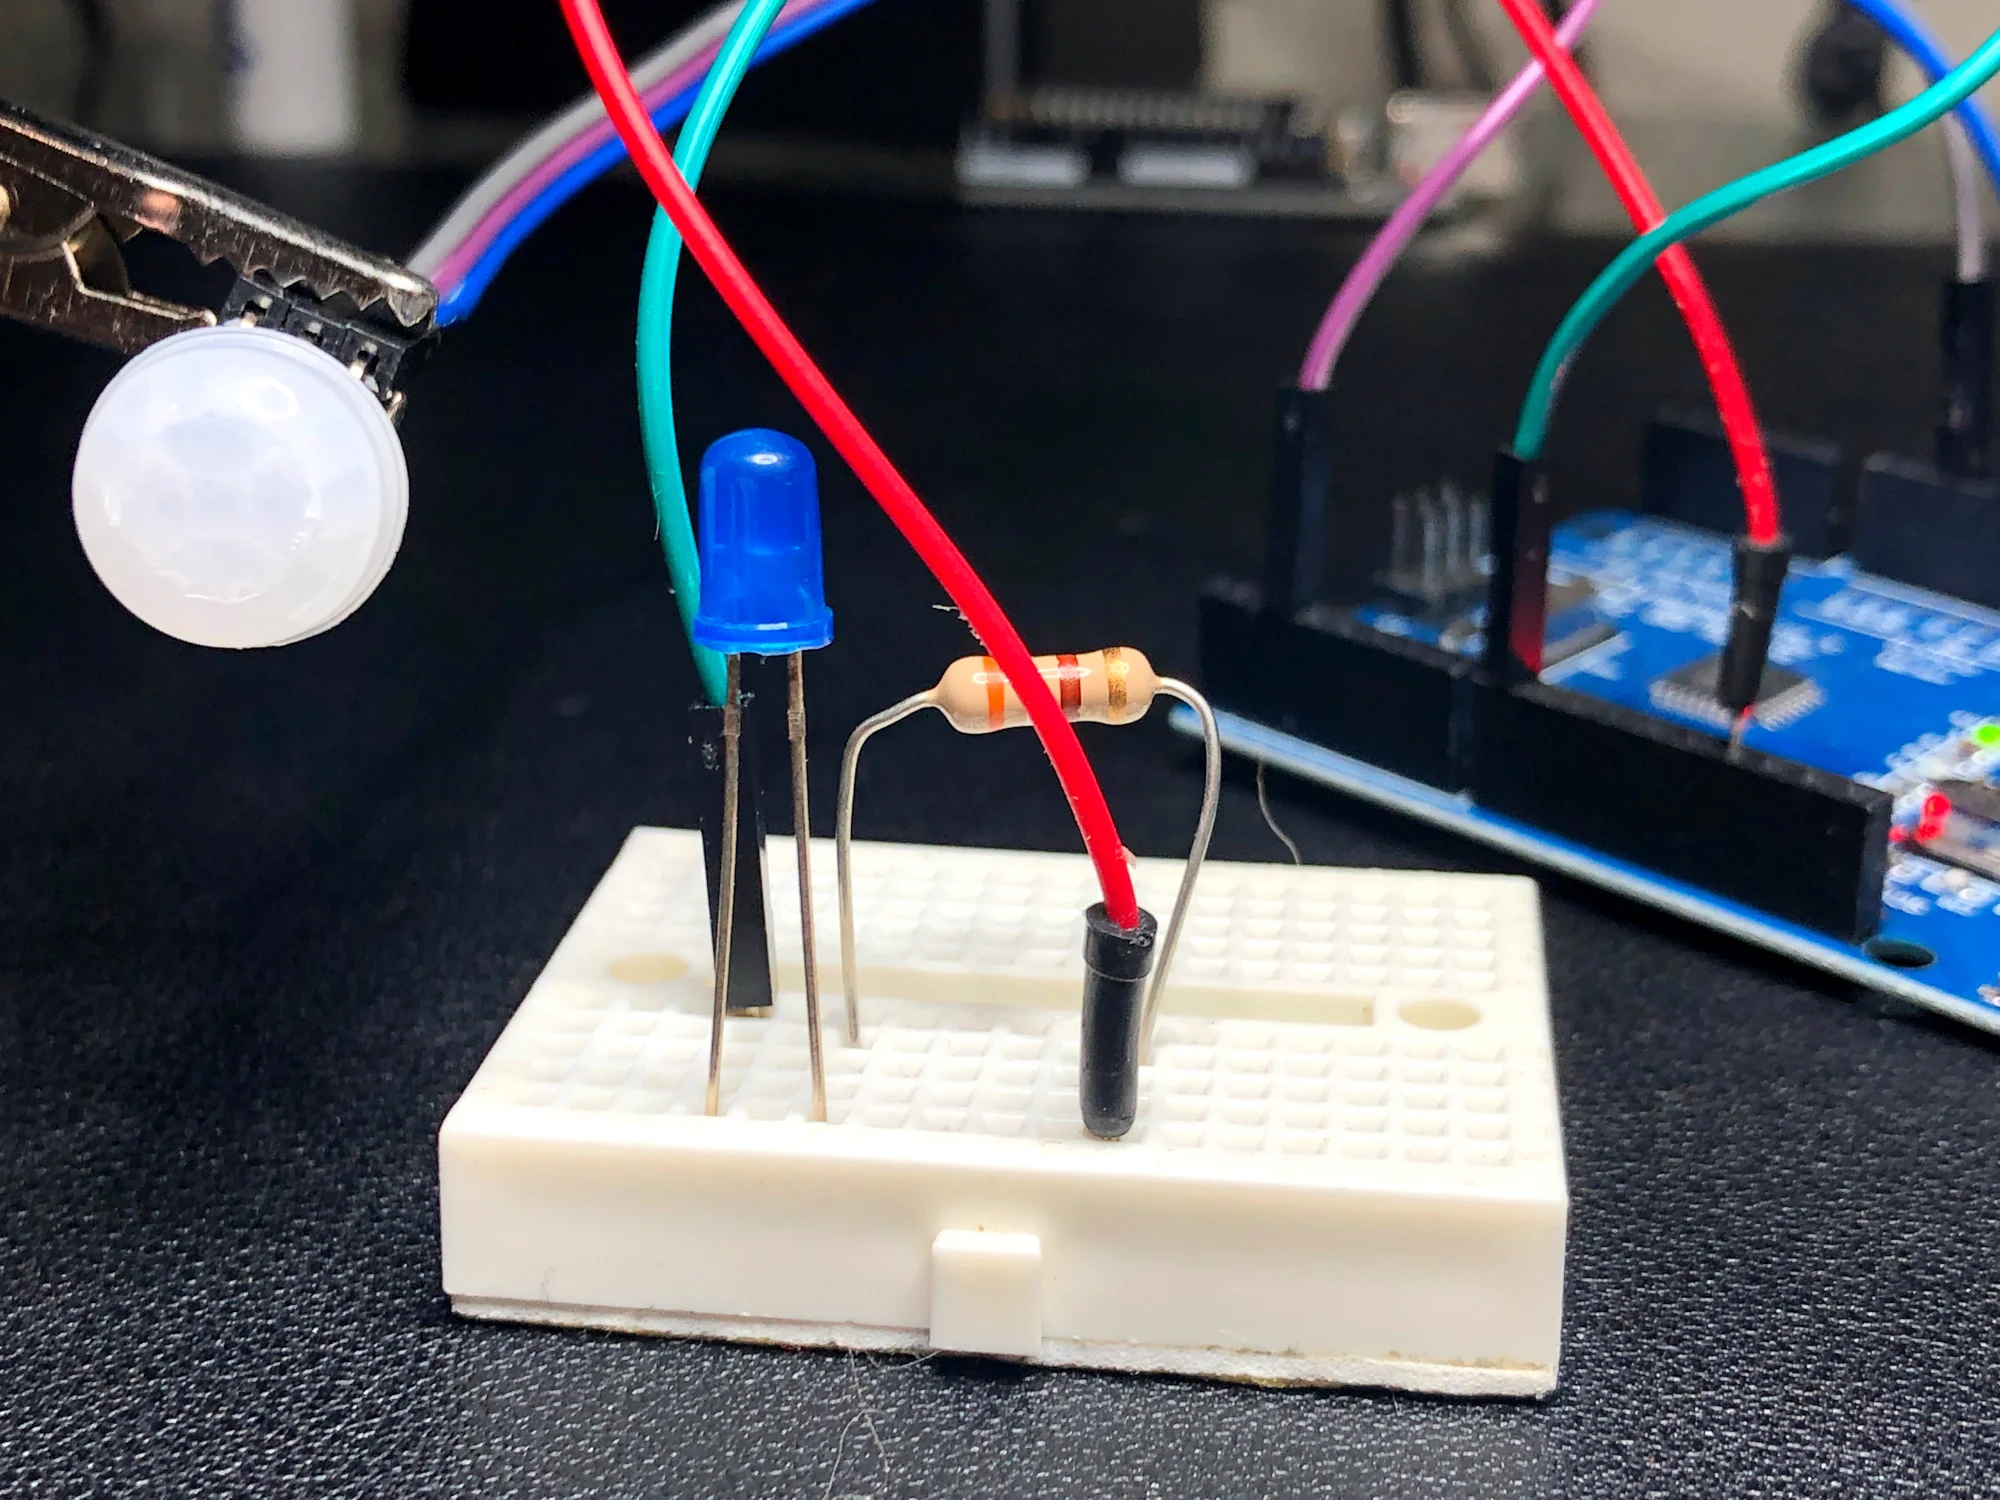
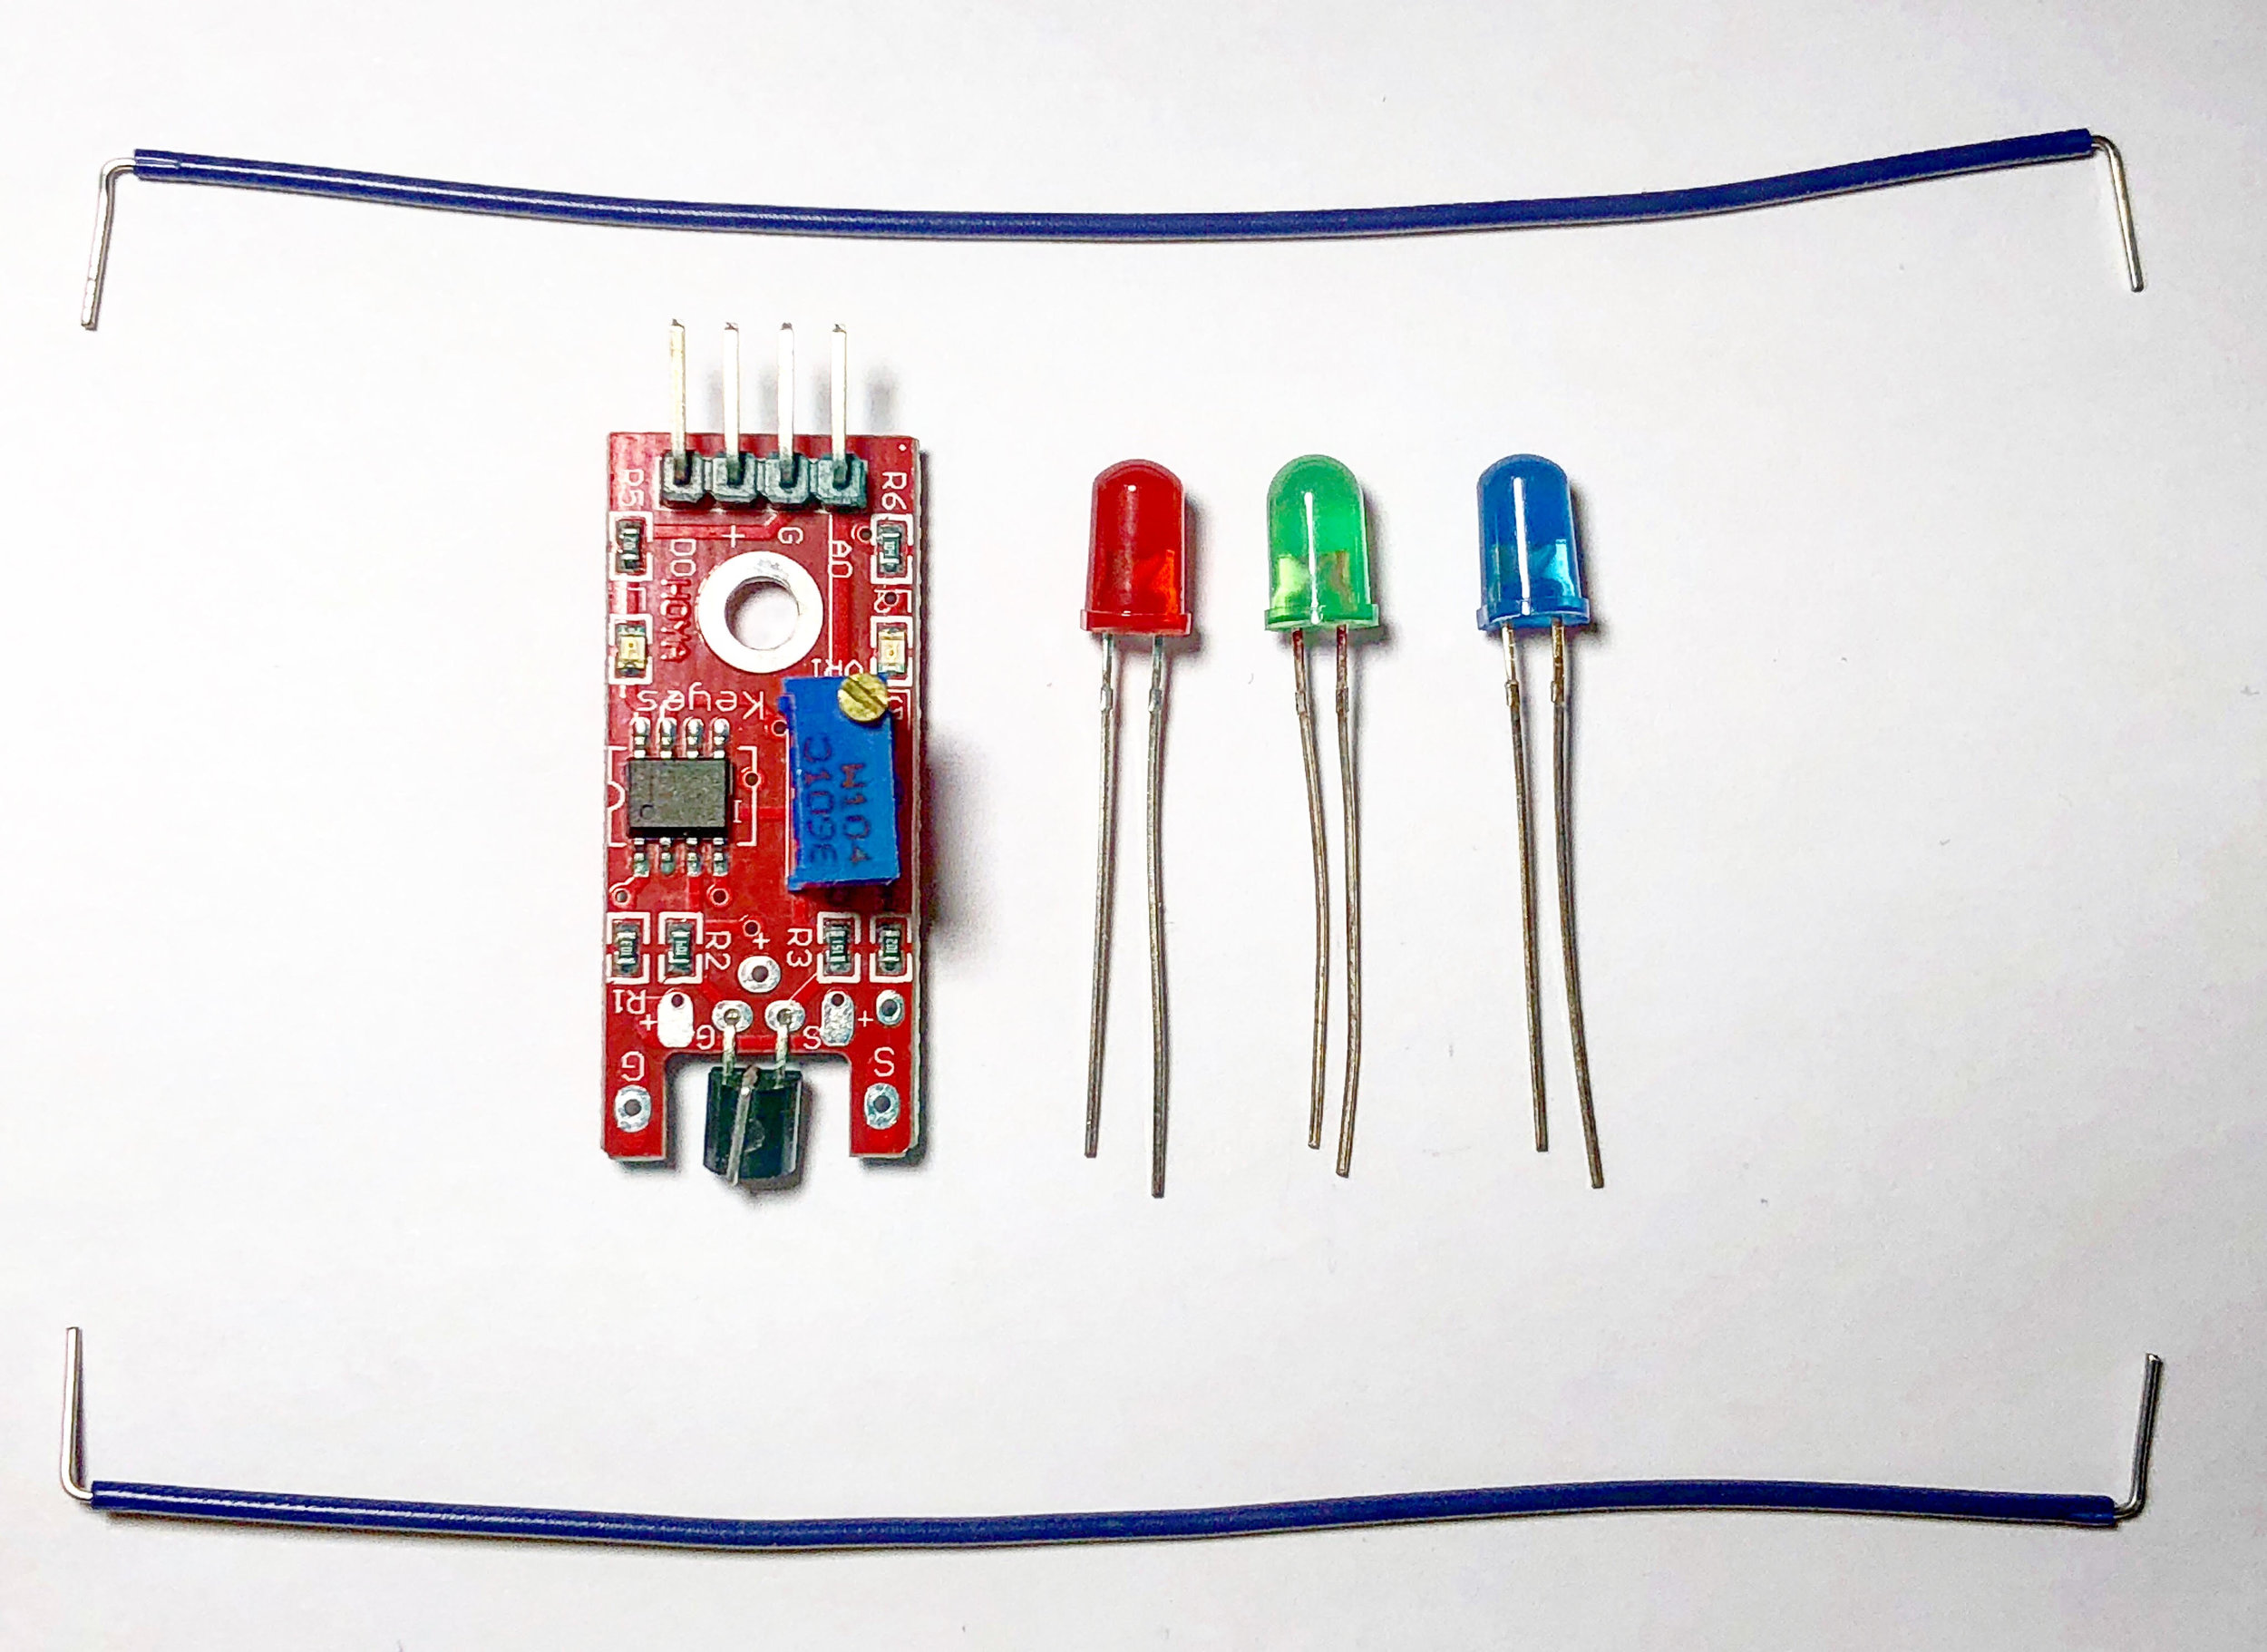
Arduino Interrupts with PIR Motion Sensor
The basics of Arduino’s hardware interrupt is explored through the use of a passive infrared (PIR) sensor. The passive infrared sensors used here operate at voltages from 2.7V - 5V and use very little energy when operating in the non-tripped state. The PIR sensor is ultimately tripped by an infrared source, typically human body heat (or another animal with similar radiative emission). When the PIR sensor is tripped it sends a HIGH signal to its OUT pin, which will be read by the Arduino’s interrupt pin (pin 2 or 3 on the Uno board). This process seems trivial, but when done correctly can save massive amounts of energy when dealing with battery-powered systems, as in home automation.

Arduino + VL53L1X Time of Flight Distance Measurement
Time of flight (ToF) is an approximation of the time it takes a traveling wave to come in contact with a surface and reflect back to the source. Time of flight has applications in automotive obstacle detection, resolving geographic surface composition, and computer vision and human gesture recognition. In the application here, the VL53L1X ToF sensor will be used to track the displacement of a ping pong ball falling down a tube. We can predict the acceleration and behavior of a falling ping pong ball by balancing the forces acting on the ball, and ultimately compare the theory to the actual displacement tracked by the time of flight sensor.
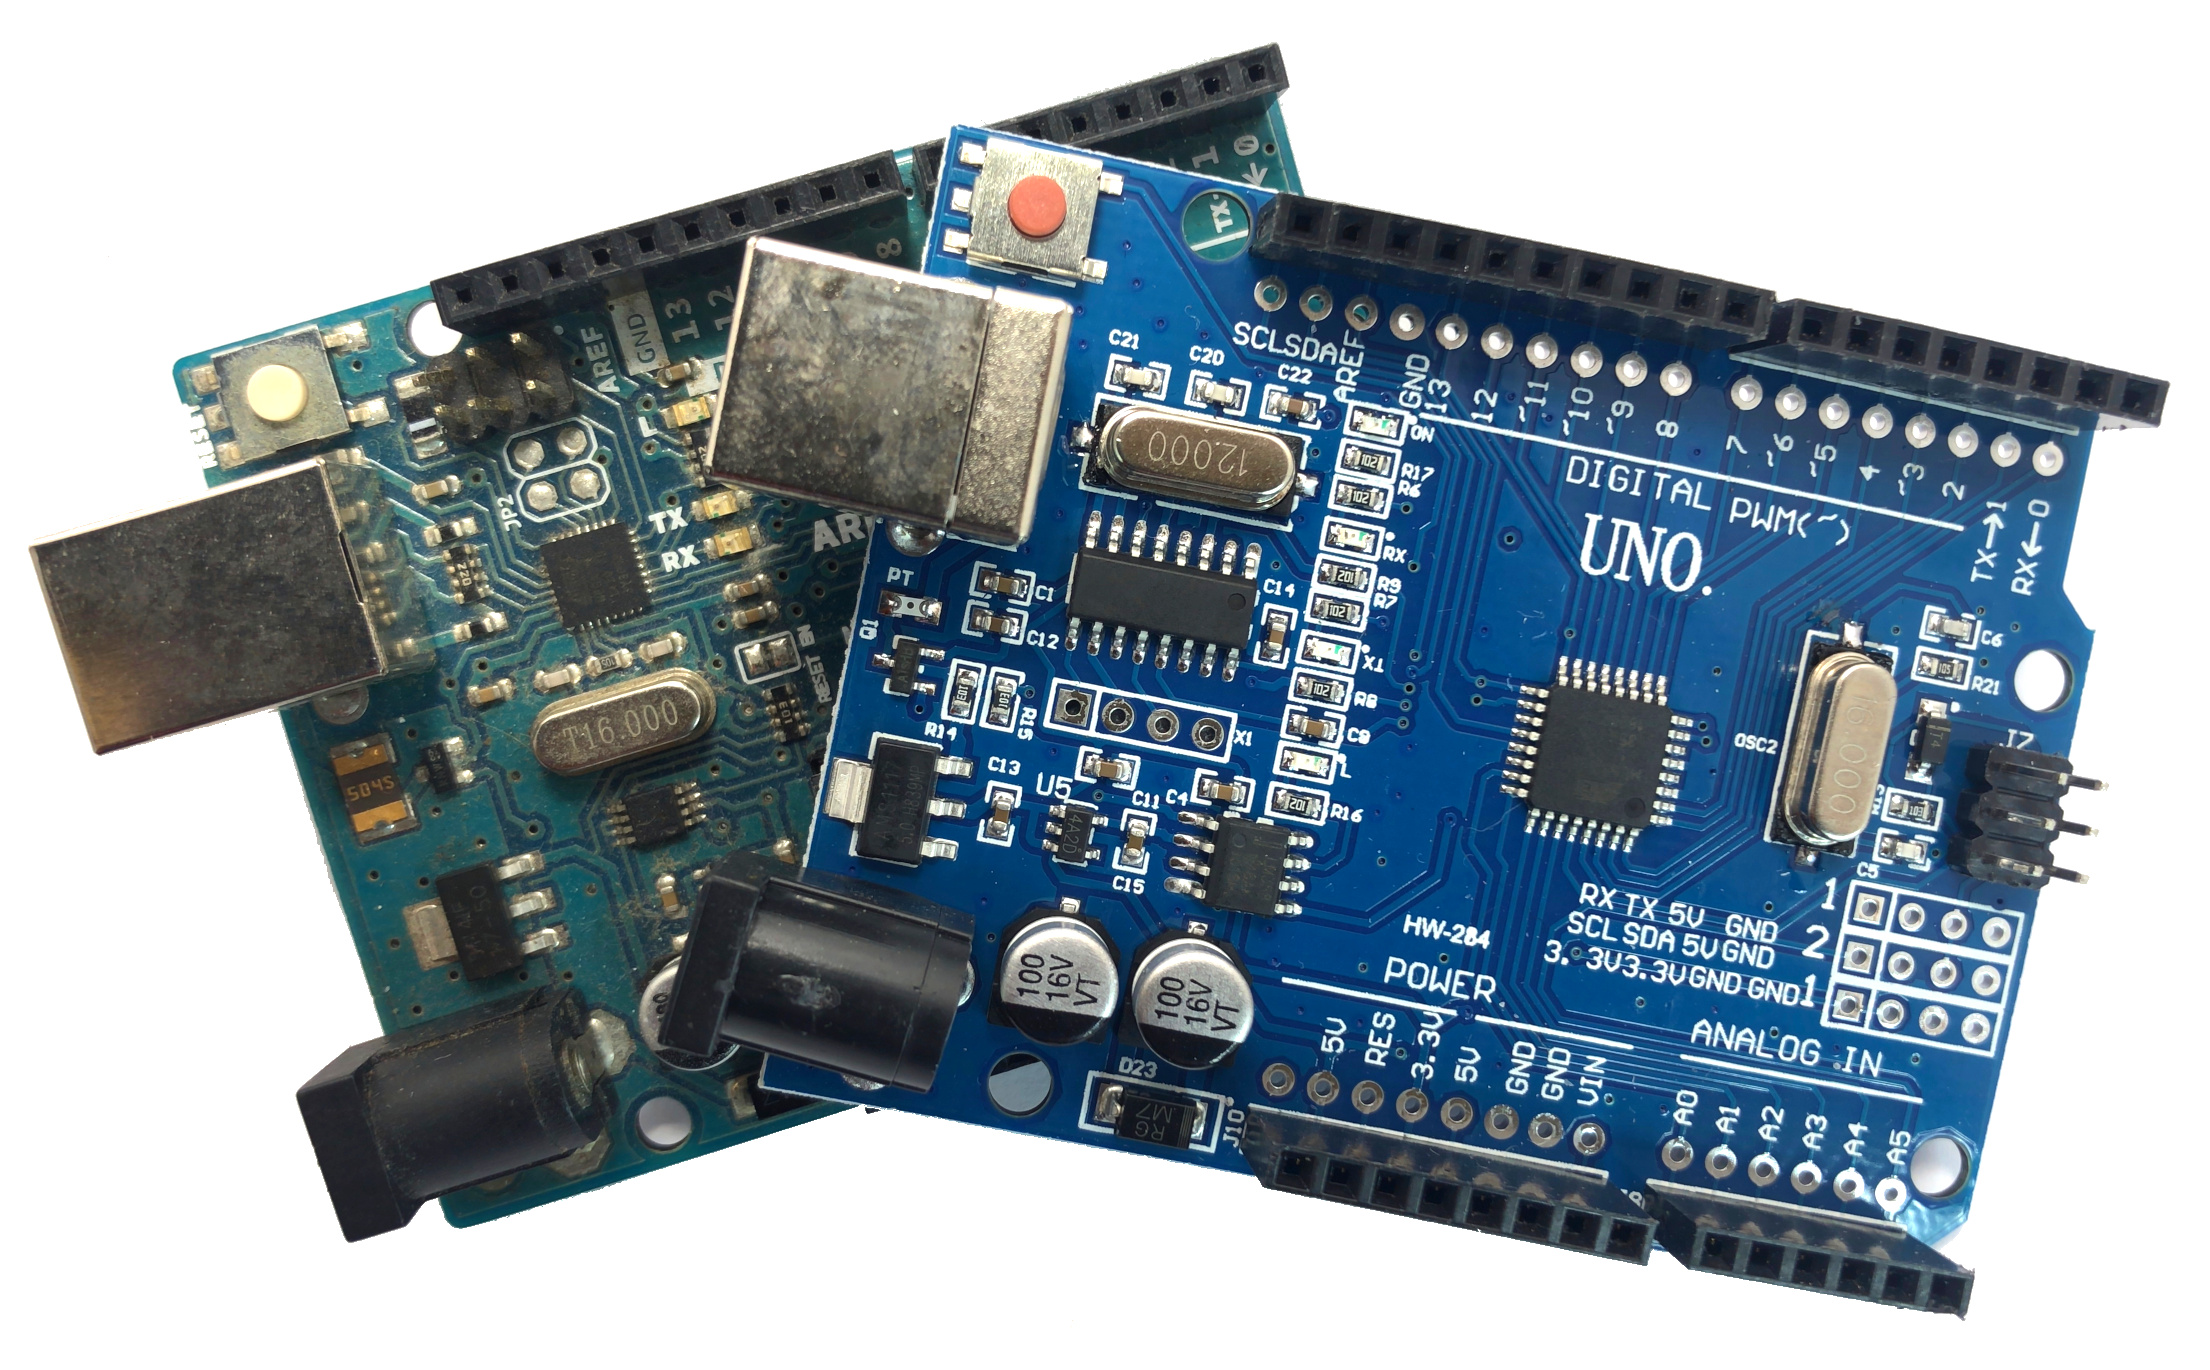
Arduino Uno R3 vs CH340
The CH340 Arduino board contains an ATmega328P-U-TH chip, which differs from the classic ATmega328P-PU in official Arduino Uno Rev3 boards. The CH340 is an inexpensive USB-to-Serial chip (datasheet here) that takes the place of the Rev3 board’s more expensive ATmega16U2. This creates issues when programming the Arduino board with certain operating systems (specifically Windows), however, for most Linux and Mac systems - there appears to be no issue. In this tutorial, I will explore the CH340 Arduino board to see whether there are differences in performance and power under different operating conditions. This will definitively answer whether the CH340 is a worthy alternative to the Rev3 or if it’s just a cheap imposter.

Controlling LEDs with A Multiplexer and Arduino
A demultiplexer will be used to control 8 LEDs using just 3 digital pins on the Arduino board. This method of demultiplexing frees up pins on the Arduino, but also makes control of multiple LEDs easier by consolidating the power given to each LED. This will allow us to use LEDs without resistors. In general, a demultiplexer uses N boolean outputs to control 2N switches. In our case, the CD4051 multiplexer will be used as a demultiplexer using 3 digital pins and boolean logic to control 8 individual LEDs. Several skills will also be developed, specifically with regard to programming in the Arduino programming language. Pulse-width modulation (or brightening and dimming) of LEDs will be explored, as well as randomization of LED blinks, along with the general selection process for boolean switching with the demultiplexer.
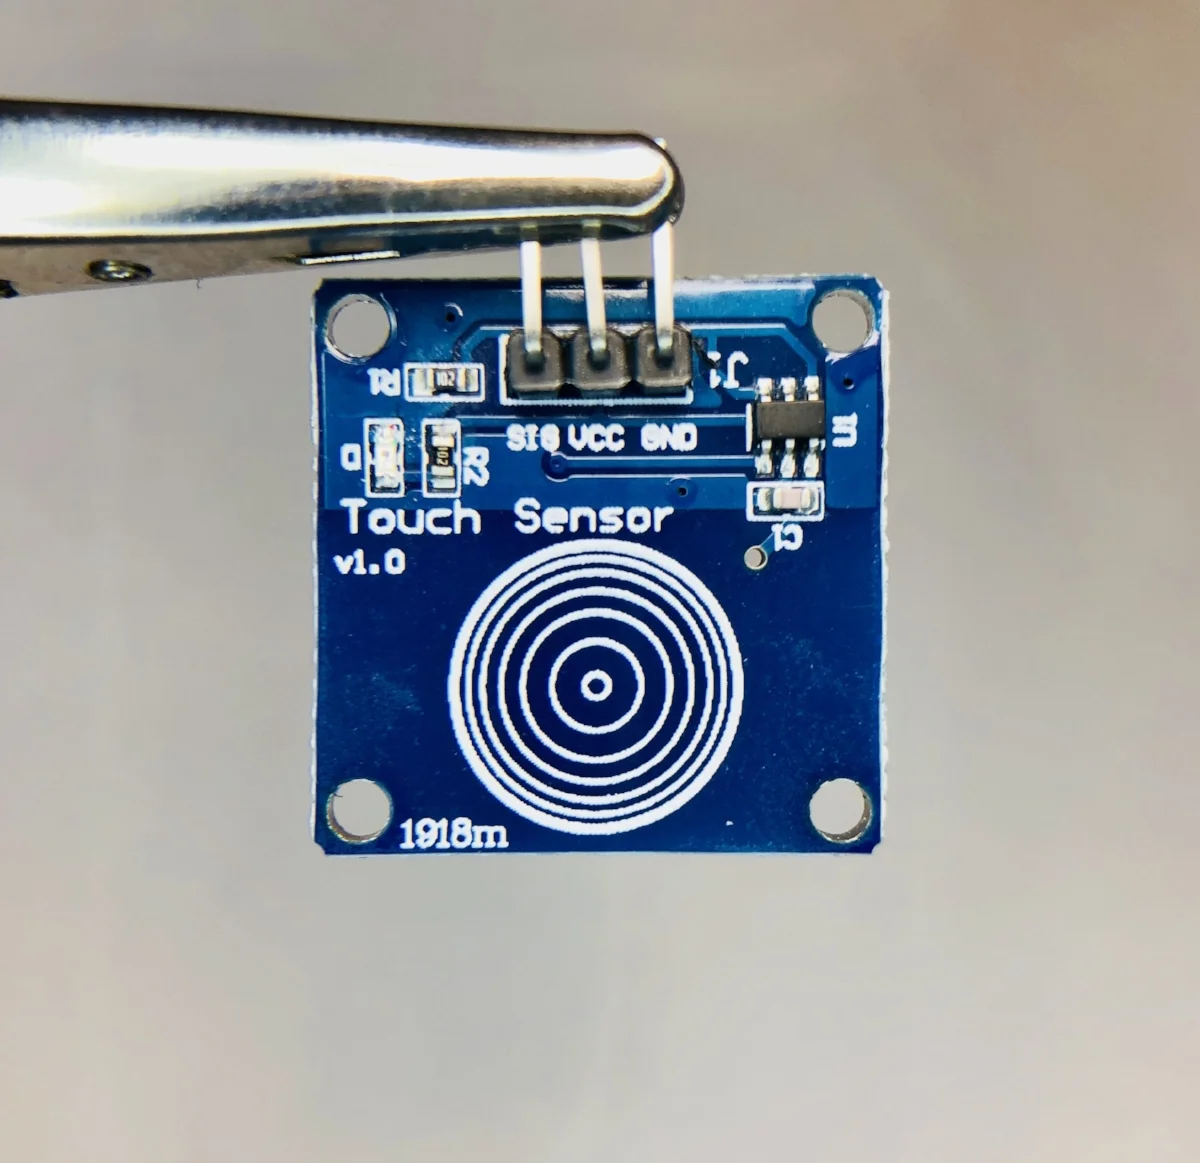
Capacitive Touch Sensor with Arduino
Capacitive sensing from human touch. Create a switch without any moving parts with an Arduino board and an inexpensive capacitive touch sensor.