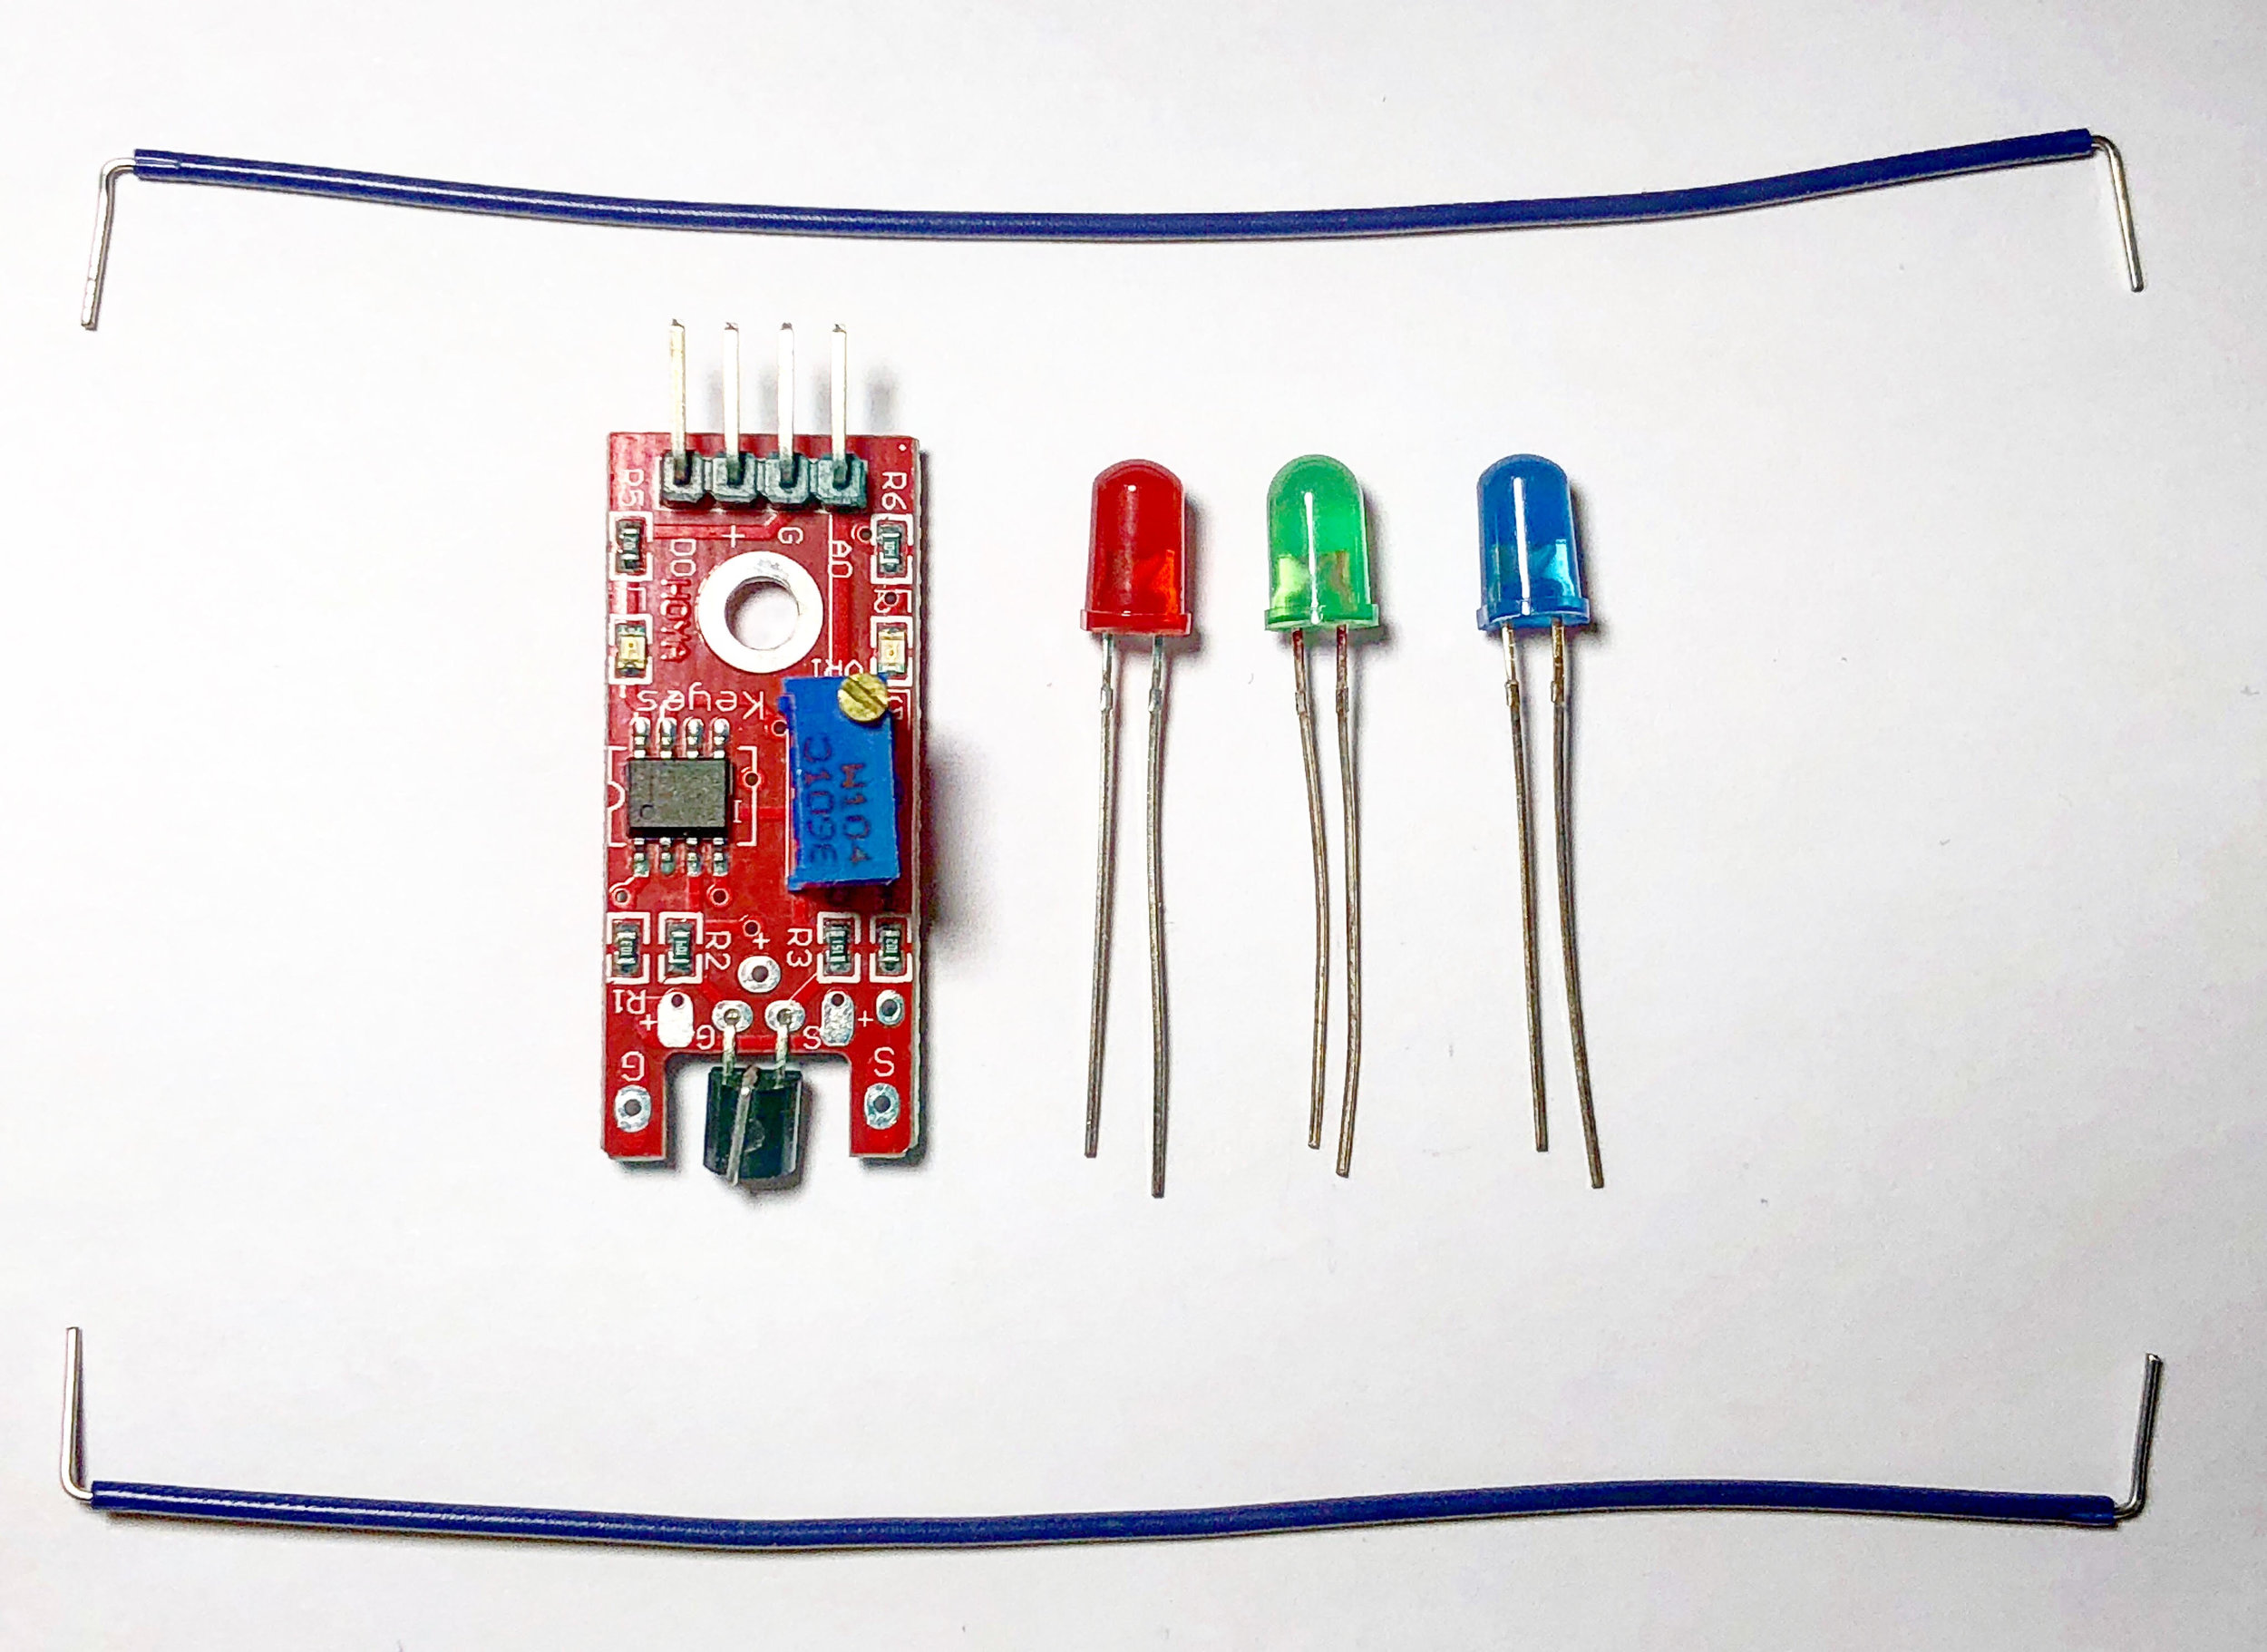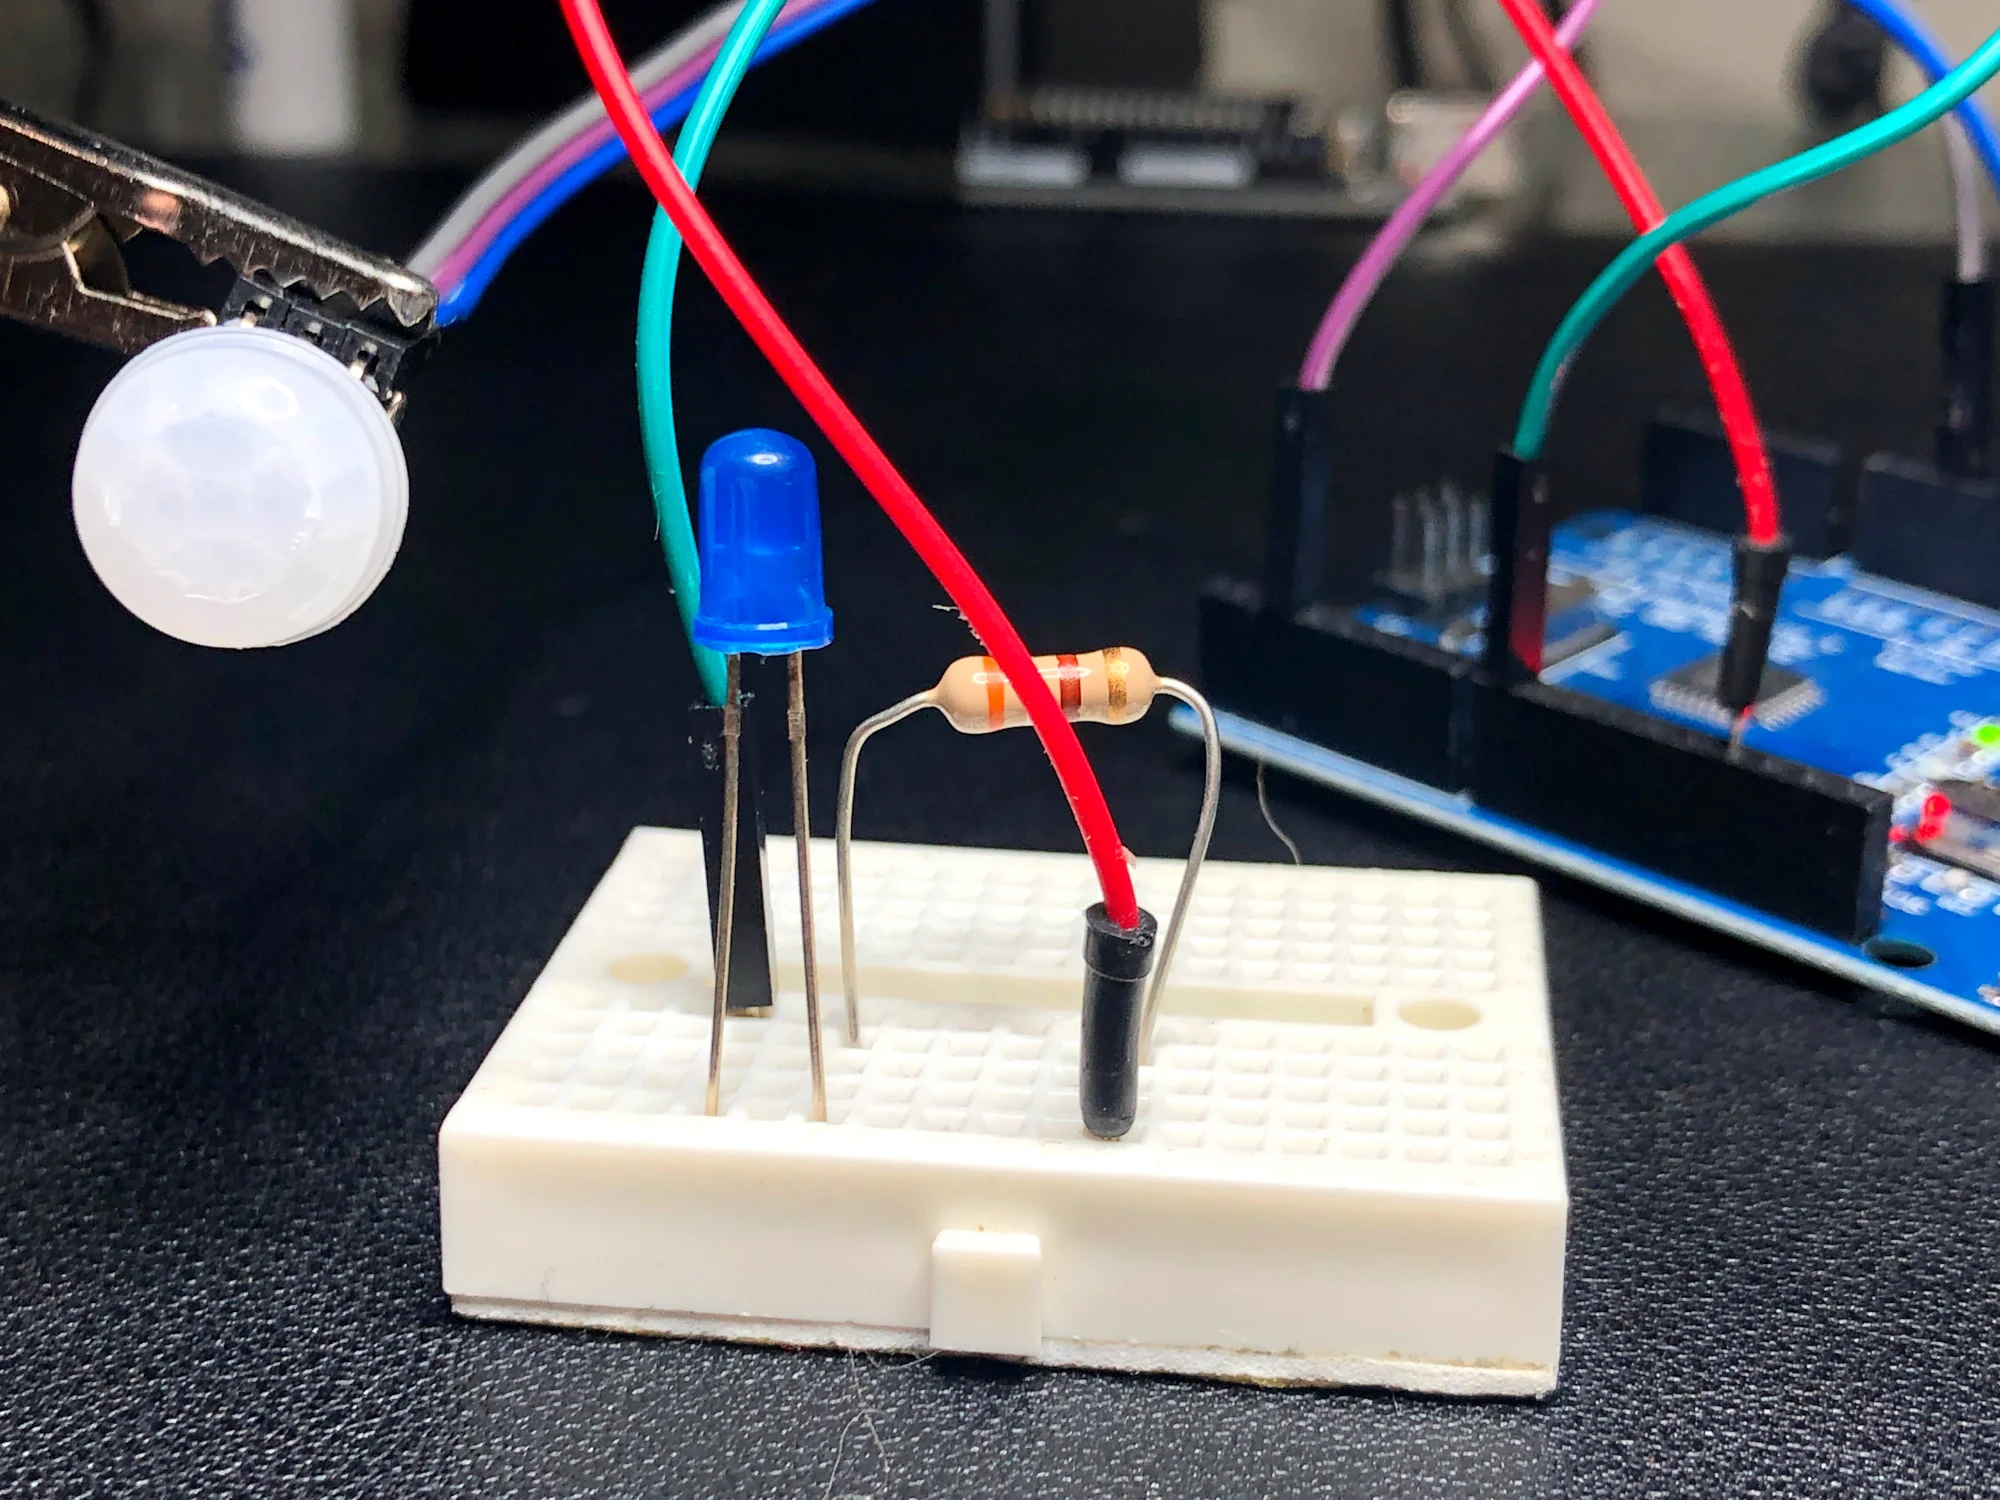
Arduino Interrupts with PIR Motion Sensor
The basics of Arduino’s hardware interrupt is explored through the use of a passive infrared (PIR) sensor. The passive infrared sensors used here operate at voltages from 2.7V - 5V and use very little energy when operating in the non-tripped state. The PIR sensor is ultimately tripped by an infrared source, typically human body heat (or another animal with similar radiative emission). When the PIR sensor is tripped it sends a HIGH signal to its OUT pin, which will be read by the Arduino’s interrupt pin (pin 2 or 3 on the Uno board). This process seems trivial, but when done correctly can save massive amounts of energy when dealing with battery-powered systems, as in home automation.

Arduino SD Card Module Data Logger
This tutorial will explore the range of capabilities available to the Arduino SD library by using a real-world example of data logging. The SD library allows users to read/write, list files, create/remove files, and make/delete directories. Additionally, we will develop an algorithm that creates a new file every time the Arduino board is restarted, which will prevent overwriting of existing data records. The resulting data file will be in comma separated format and contain multiple data points, including a time stamp in milliseconds since the program started. Therefore, it is important to record the program start time. For very accurate time monitoring tasks, a real-time clock is recommended, however, for the experiments conducted here, relative time suffices.

NodeMCU Tutorial Series Part II: NodeMCU Server Control Over Local Area Network
This tutorial takes full advantage of the ESP8266 WiFi chip by serving a local webpage to control the general purpose input and output (GPIO) pins on a NodeMCU microcontroller. Some basic HTML and CSS programming methods will be utilized to create a stylish webpage that is both asynchronous (AJAX) and input-driven - this will give the user the ability to control the pins on the microcontroller. For the current example, an electromagnet and LED will be controlled using pulse width modulation (PWM) and simple high/low logic, respectively. The PWM control allows the user to change the voltage to the component, altering the magnetic field of the electromagnet. For the LED, the traditional digitalWrite() method will turn the LED on and off.

NodeMCU Tutorial Series Part I: Arduino IDE and Blinking an LED
NodeMCU is a WiFi platform that integrates the ESP8266 system on chip hardware with the familiarities of open-source software. The NodeMCU is powerful because it endows users with the ability to create Internet of Things (IoT) projects at a relatively low cost with tools readily available and open to the maker community. NodeMCU is fully compatible with the Arduino IDE, which is the method for programming the board in this tutorial.
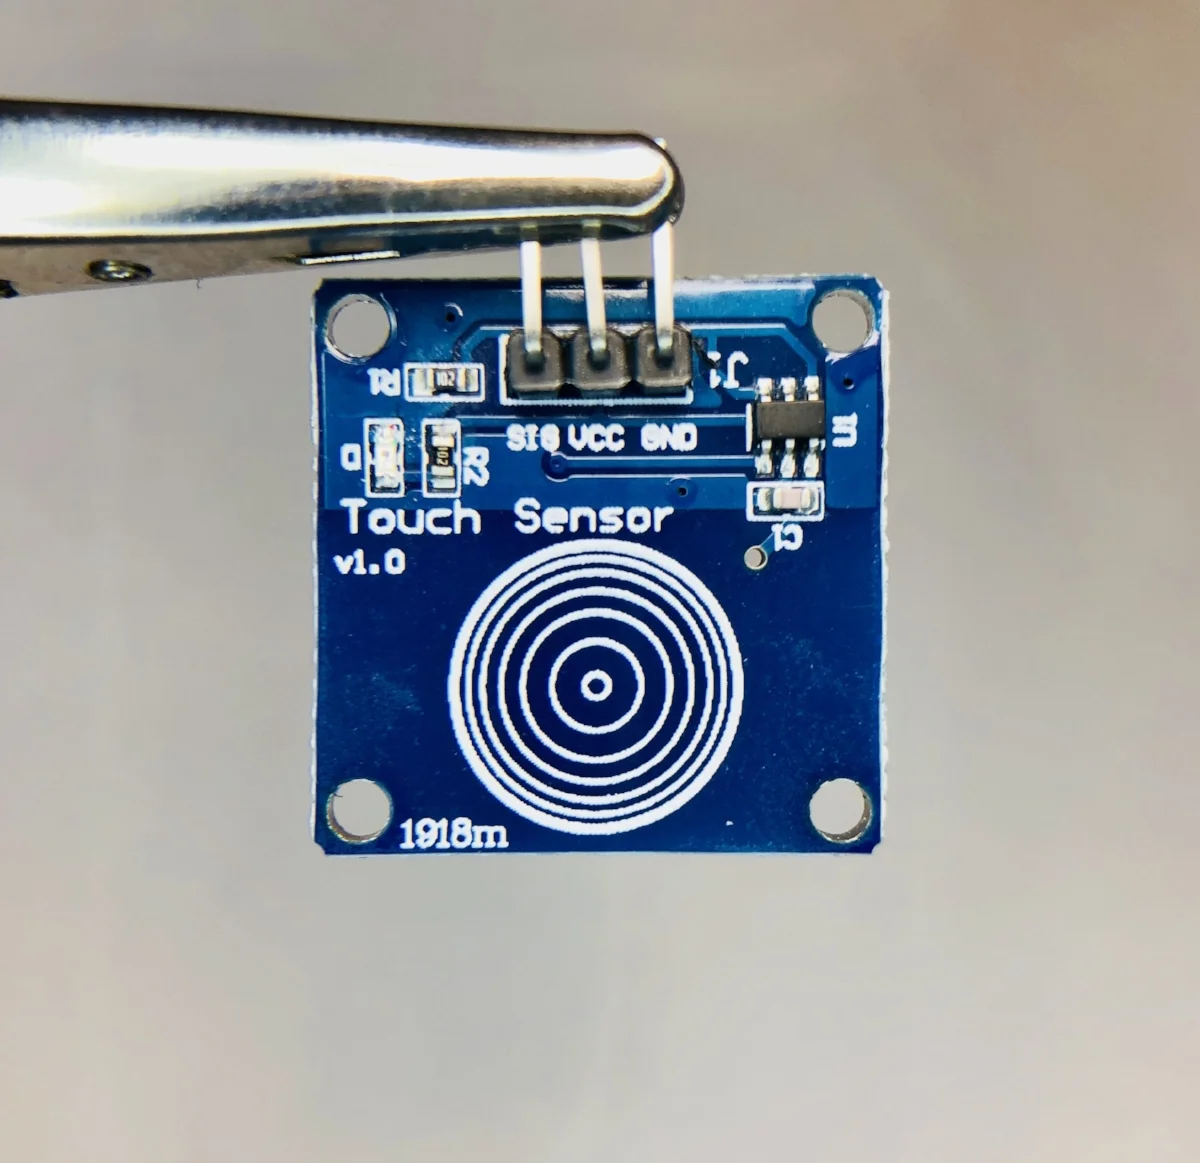
Capacitive Touch Sensor with Arduino
Capacitive sensing from human touch. Create a switch without any moving parts with an Arduino board and an inexpensive capacitive touch sensor.