The TF-Luna is an 850nm Light Detection And Ranging (LiDAR) module developed by Benewake that uses the time-of-flight (ToF) principle to detect objects within the field of view of the sensor. The TF-Luna is capable of measuring objects 20cm - 8m away, depending on the ambient light conditions and surface reflectivity of the object(s) being measured. A vertical cavity surface emitting laser (VCSEL) is at the center of the TF-Luna, which is categorized as a Class 1 laser, making it very safe for nearly all applications [read about laser classification here]. The TF-Luna has a selectable sample rate from 1Hz - 250Hz, making it ideal for more rapid distance detection scenarios. In this tutorial, the TF-Luna is wired to a Raspberry Pi 4 computer via the mini UART serial port and powered using the 5V pin. Python will be used to configure and test the LiDAR module, with specific examples and use cases.
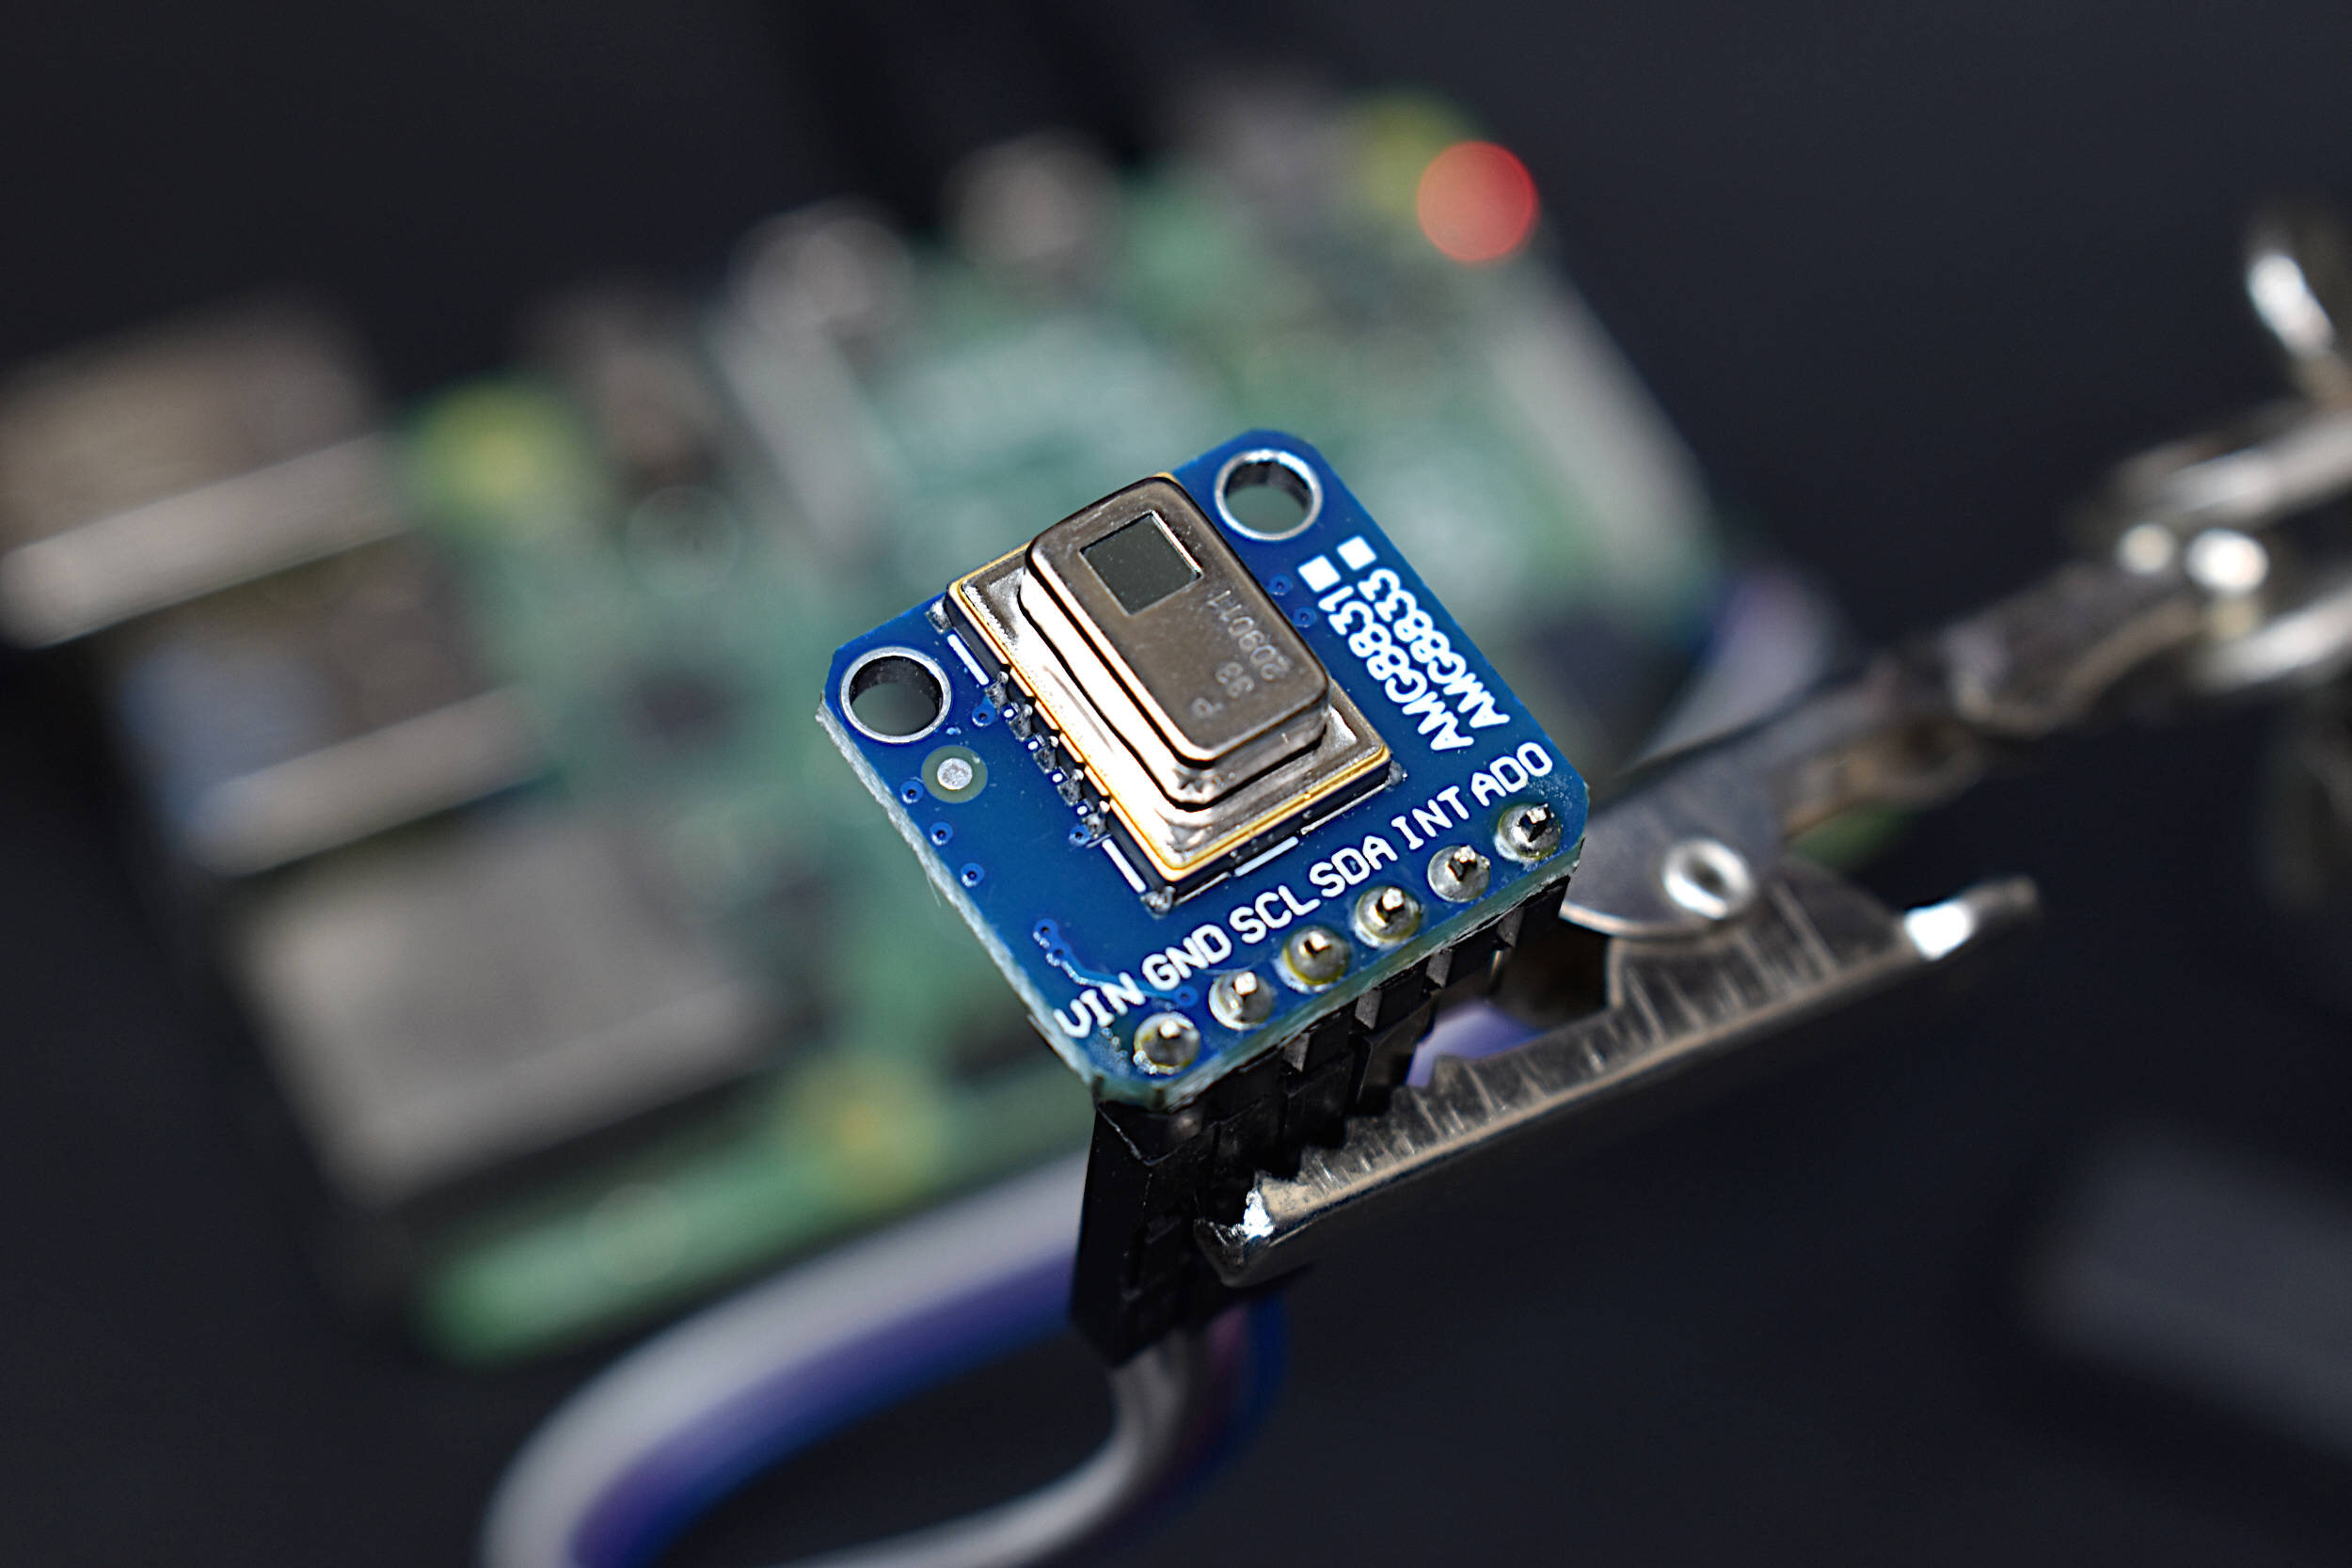
Read MoreThe AMG8833 infrared thermopile array is a 64-pixel (8x8) detector that approximates temperature from radiative bodies. The module is wired to a Raspberry Pi 4 computer and communicates over the I2C bus at 400kHz to send temperature from all 64 pixels at a selectable rate of 1-10 samples per second. The temperature approximation is outputted at a resolution of 0.25°C over a range of 0°C to 80°C. A real-time infrared camera (IR camera) was introduced as a way of monitoring temperature for applications in person counting, heat transfer of electronics, indoor comfort monitoring, industrial non-contact temperature measurement, and other applications where multi-point temperature monitoring may be useful. The approximate error of the sensor over its operable range is 2.5°C, making is particularly useful for applications with larger temperature fluctuations. This tutorial is meant as the first in a series of heat transfer analyses in electronics thermal management using the AMG8833.
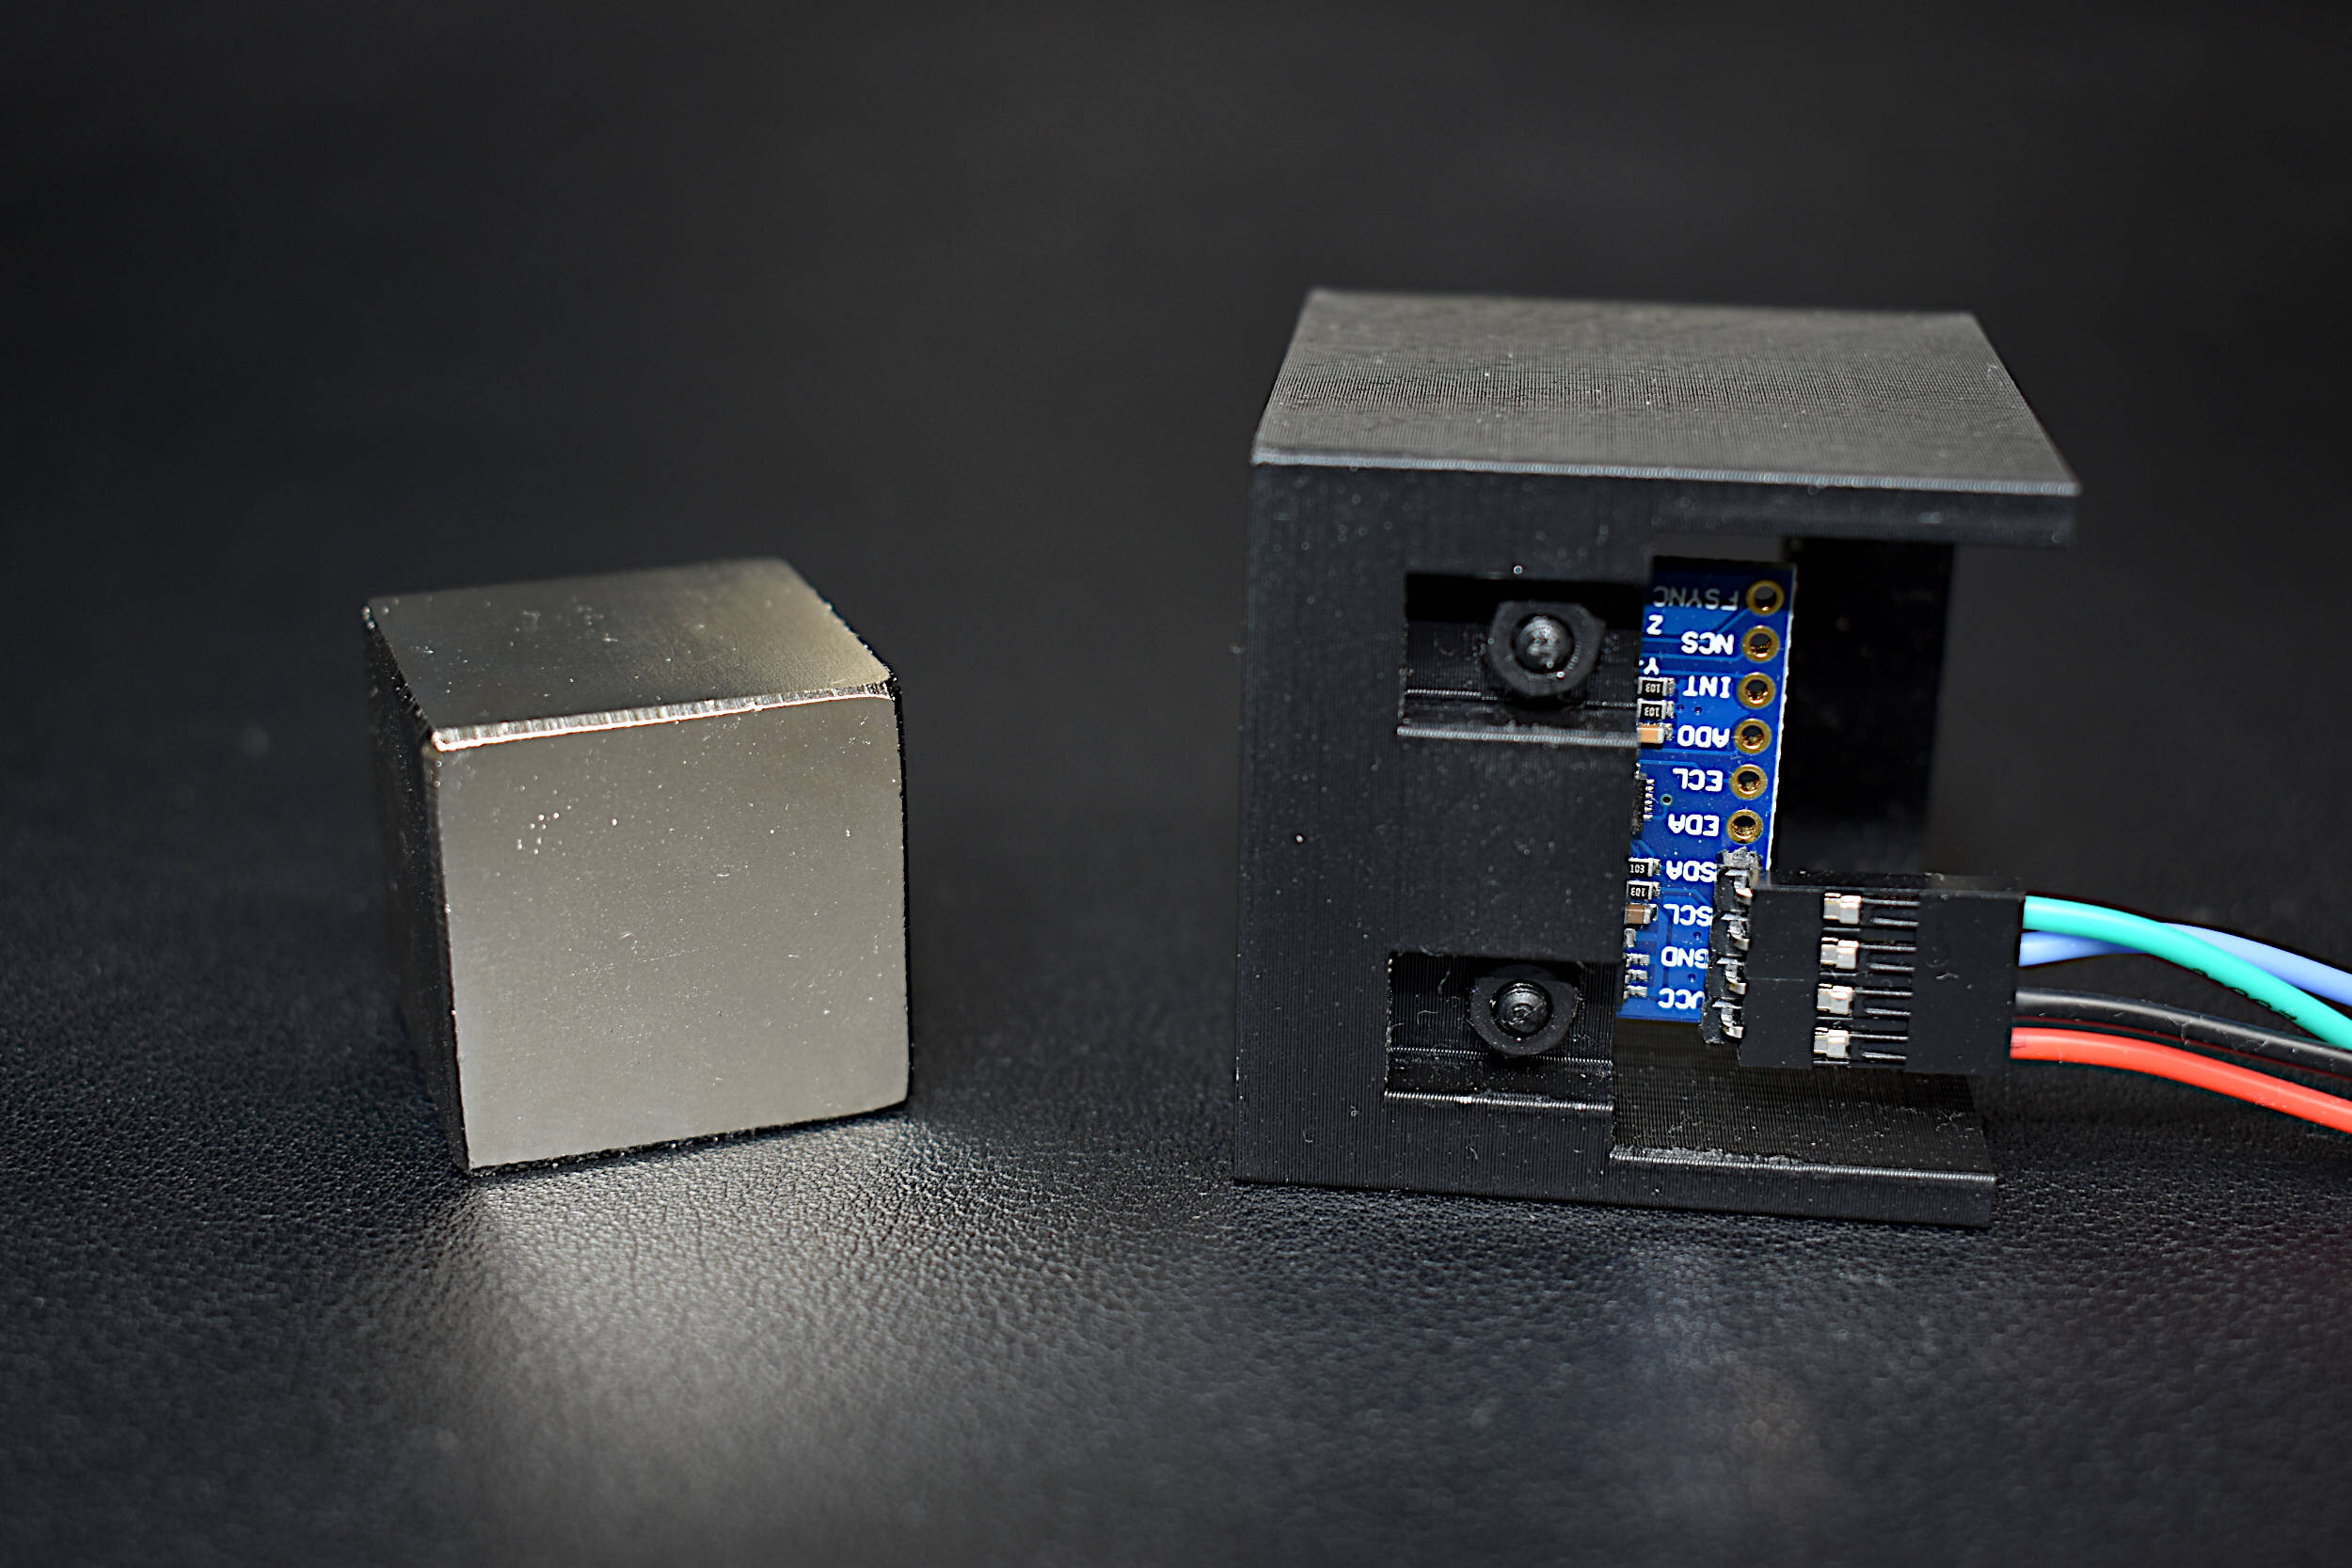
Read MoreIn this tutorial, methods for calibrating a magnetometer aboard the MPU9250 is explored using our Calibration Block. The magnetometer is calibrated by rotating the IMU 360° around each axis and calculating offsets for hard iron effects. Python is again used as the coding language on the Raspberry Pi computer in order to communicate and record data from the IMU via the I2C bus. The second half of this tutorial gives a full calibration routine for the IMU's accelerometer, gyroscope, and magnetometer. The final implementation will allow for moderate (first-order) calibration of the MPU9250 under reasonable conditions, requiring only the calibration block and IMU. Finally, the complete final code will save the coefficients for each sensor for future use in direct applications without the need for constant calibration. The use of the calibration coefficients will allow for improved estimates of orientation, displacement, vibration, and other relevant control and measurement analyses.
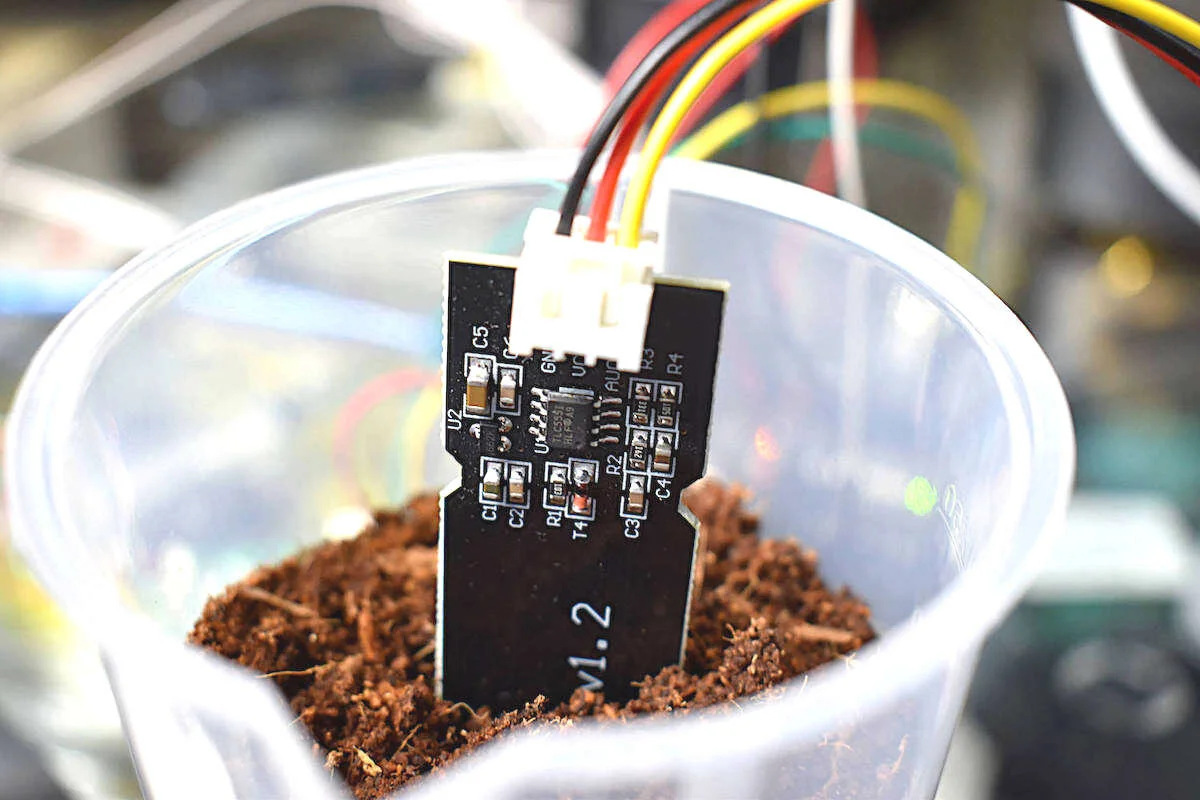
Read MoreSoil moisture can be measured using a variety of different techniques: gravimetric, nuclear, electromagnetic, tensiometric, hygrometric, among others. The technique explored here uses a gravimetric technique to calibrate a capacitive-type electromagnetic soil moisture sensor. Capacitive soil moisture sensors exploit the dielectric contrast between water and soil, where dry soils have a relative permittivity between 2-6 and water has a value of roughly 80. Accurate measurement of soil water content is essential for applications in agronomy and botany - where the under- and over-watering of soil can result in ineffective or wasted resources. With water occupying up to 60% of certain soils by volume, depending on the specific porosity of the soil, calibration must be carried out in every environment to ensure accurate prediction of water content. Luckily, the accuracy of measurement devices has been increasing while the cost of the sensors have been decreasing. In this experiment, an Arduino board will be used to read the analog signal from the capacitive sensor, which will output voltage values which can be calibrated to volumetric soil moisture content via gravimetric methods.
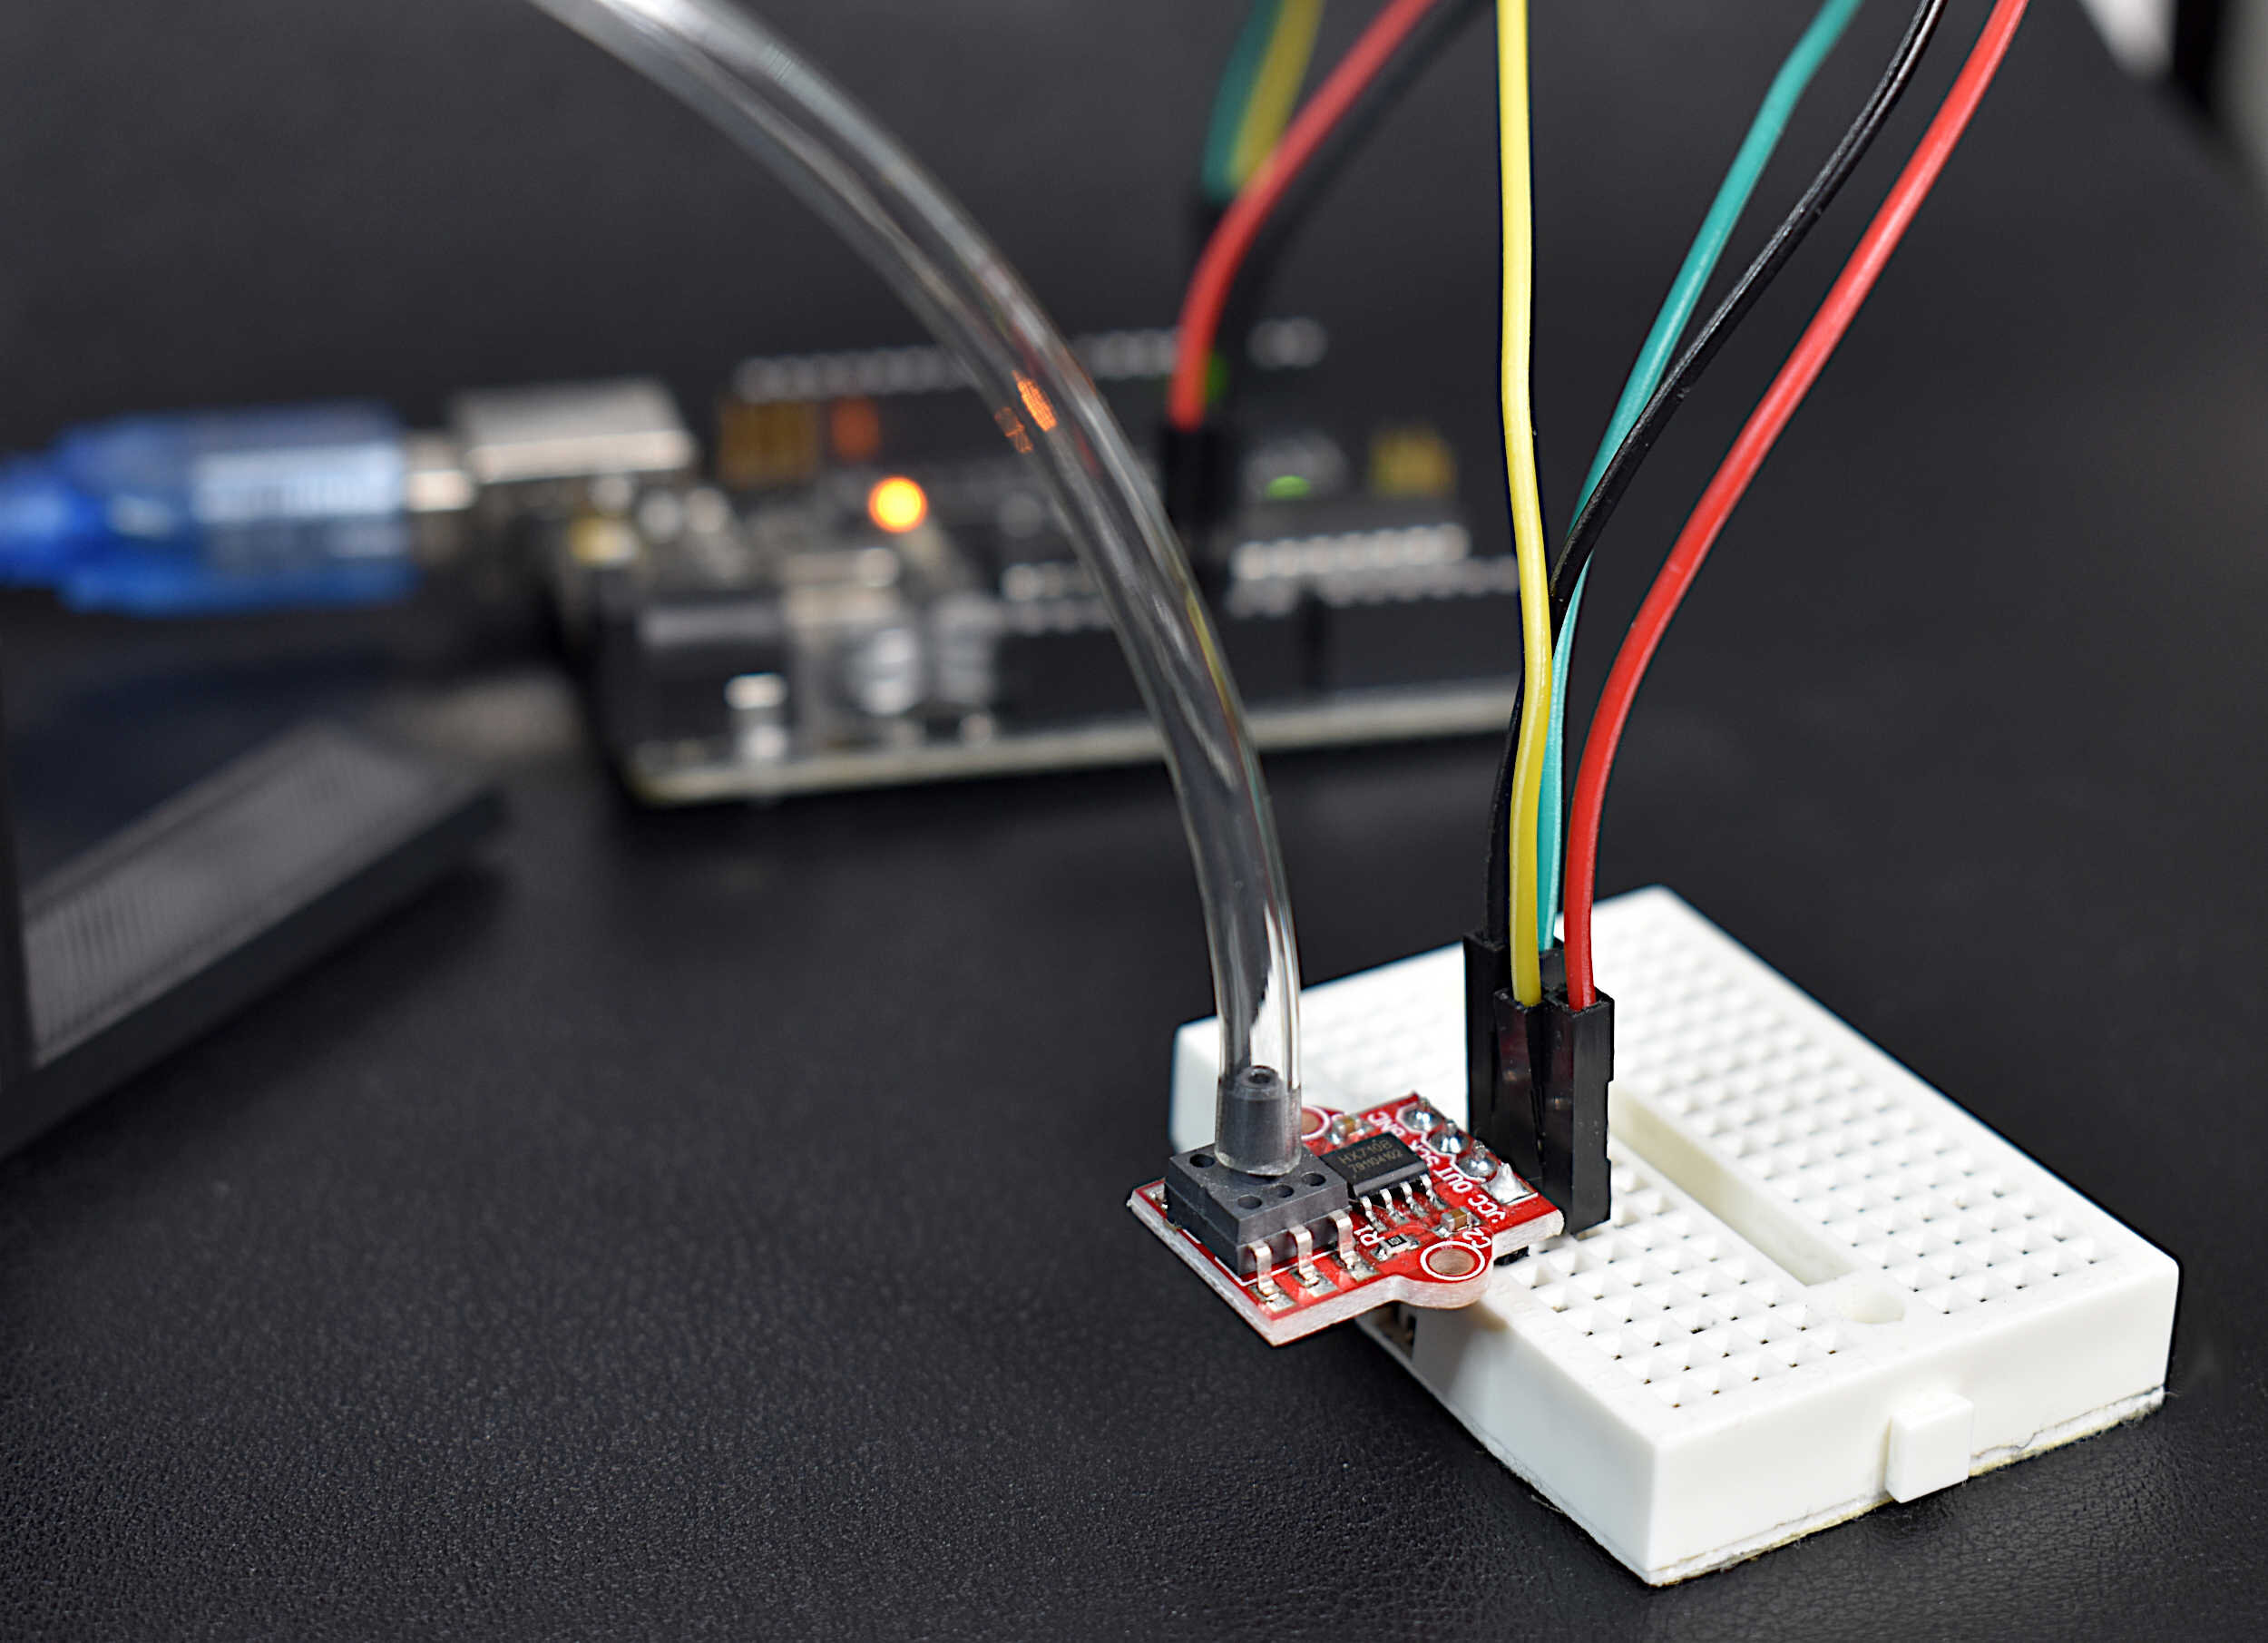
Read MorePressure is defined as an evenly distributed force acting over a surface with a given area. The accurate measurement of pressure is essential for applications ranging from material testing to weighing scales, aircraft altitude prediction, and evaluating biological functions in humans relating to respiration and blood flow In this tutorial, a digital pressure transducer and analog pressure manometer will be used to measure gauge pressure - where the analog manometer is used as the calibration tool for the digital pressure sensor. Arduino will be used to read the digital pressure transducer, an MPS20N0040D, and a 3D printed manometer will be used to measure analog pressure manually.
Read MoreOptical fingerprint sensors take low-resolution snapshots of the tip of a finger and create arrays of identifiers that are then used to uniquely identify a given fingerprint. The AS608 is capable of storing up to 128 individual fingerprints. This tutorial will introduce the AS608 Arduino-compatible fingerprint sensor and how to validate and reject fingerprints based on the enrolled fingerprint information that will be given to the sensor. The fingerprint algorithm is handled by the AS608 and Arduino, so this tutorial will focus on implementation and putting the pieces together to make a working fingerprint sensor with Arduino.
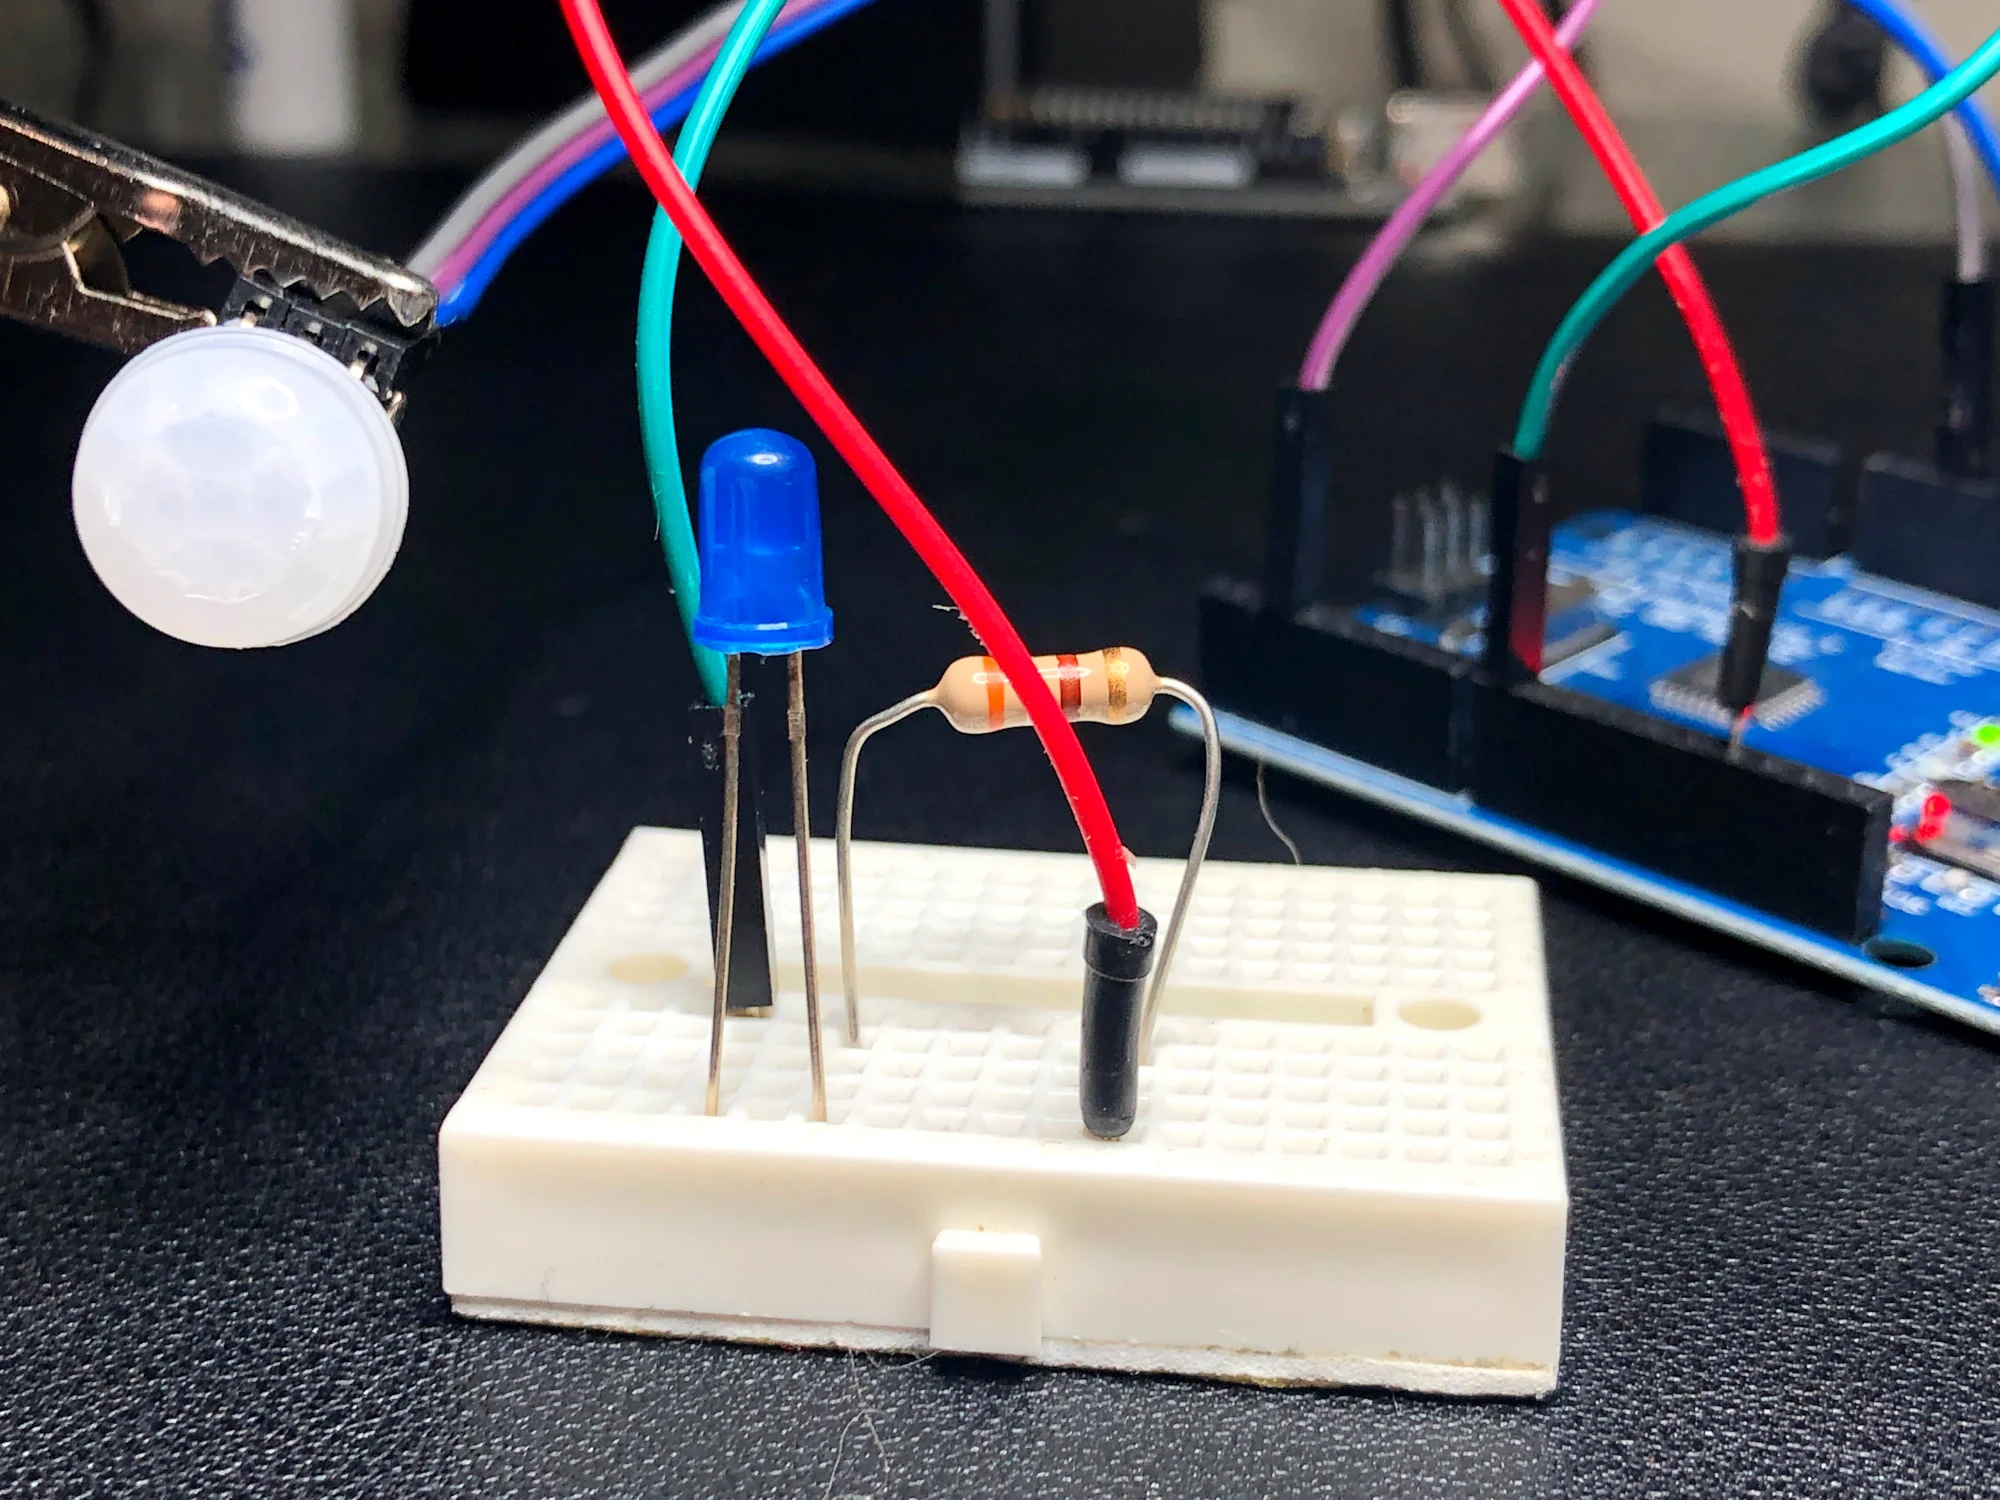
Read MoreThe basics of Arduino’s hardware interrupt is explored through the use of a passive infrared (PIR) sensor. The passive infrared sensors used here operate at voltages from 2.7V - 5V and use very little energy when operating in the non-tripped state. The PIR sensor is ultimately tripped by an infrared source, typically human body heat (or another animal with similar radiative emission). When the PIR sensor is tripped it sends a HIGH signal to its OUT pin, which will be read by the Arduino’s interrupt pin (pin 2 or 3 on the Uno board). This process seems trivial, but when done correctly can save massive amounts of energy when dealing with battery-powered systems, as in home automation.
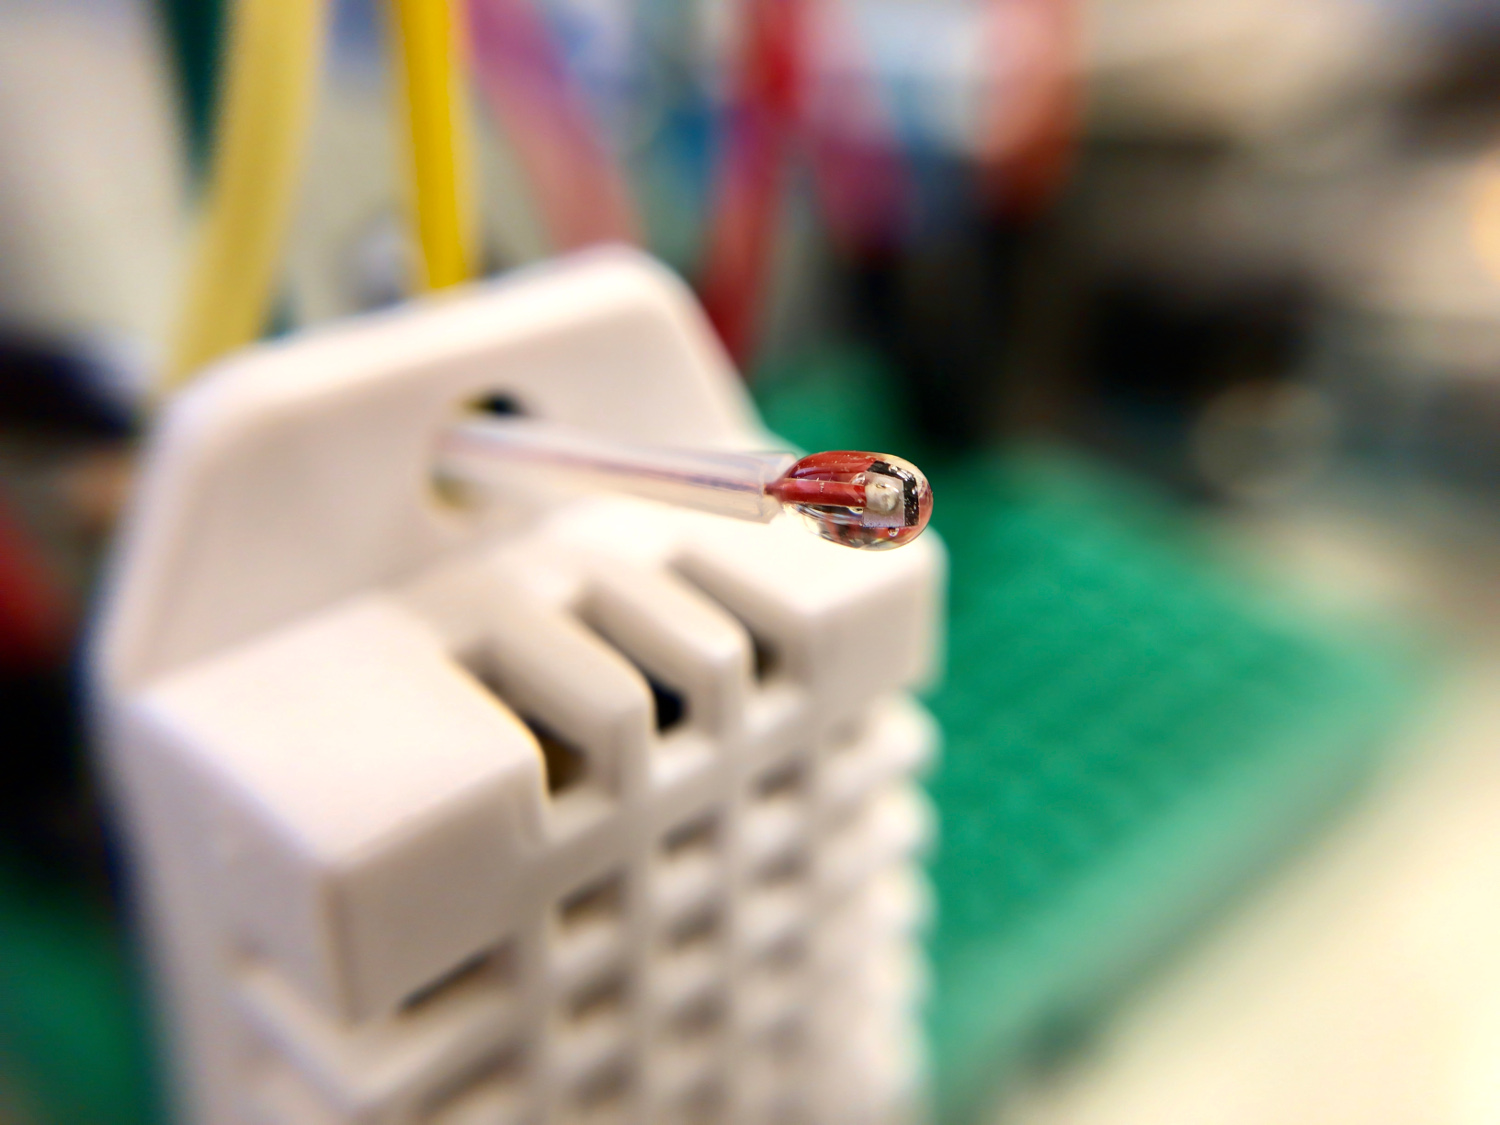
Read MoreThermistor, whose name is derived from a combination of thermal and resistor, is a temperature sensing device that registers changes in internal resistance as a function of temperature. Thermistors are often chosen over thermocouples because they are more accurate, have a shorter response time, and are generally cheaper. For most applications, thermistors are the smart and easy selection for temperature sensing below 300 degrees Celsius. In our case, we will be using a Negative Temperature Coefficient (NTC) thermistor, where the resistance decreases as the temperature increases. NTC thermistors are most common in commercial products that operate in the tens of degrees like thermostats, toasters, and even 3-D printers. An NTC 3950 100k thermistor will be used, which is designed for 100kOhm resistance at 25 degrees Celsius. This tutorial will introduce methods for relating resistance to temperature by fitting factory calibration data. The performance of the thermistor will also be evaluated using an Arduino board and a simple Newton’s law of cooling experiment.
Read MoreArduino tachometer used to calculate the rotational motion of a part. Tachometers read out revolutions per minute (RPM), which tells the user how often a rotating part completes one full rotation. RPM readings are used in the automotive, aerospace, and manufacturing fields. Tachometers can indicate fuel consumption and motor speed, safety of moving parts, and even wind speed indicators. In this tutorial, the speed of a fan is measured using a hall sensor and neodymium magnet to acquire an accurate depiction of fan speed.
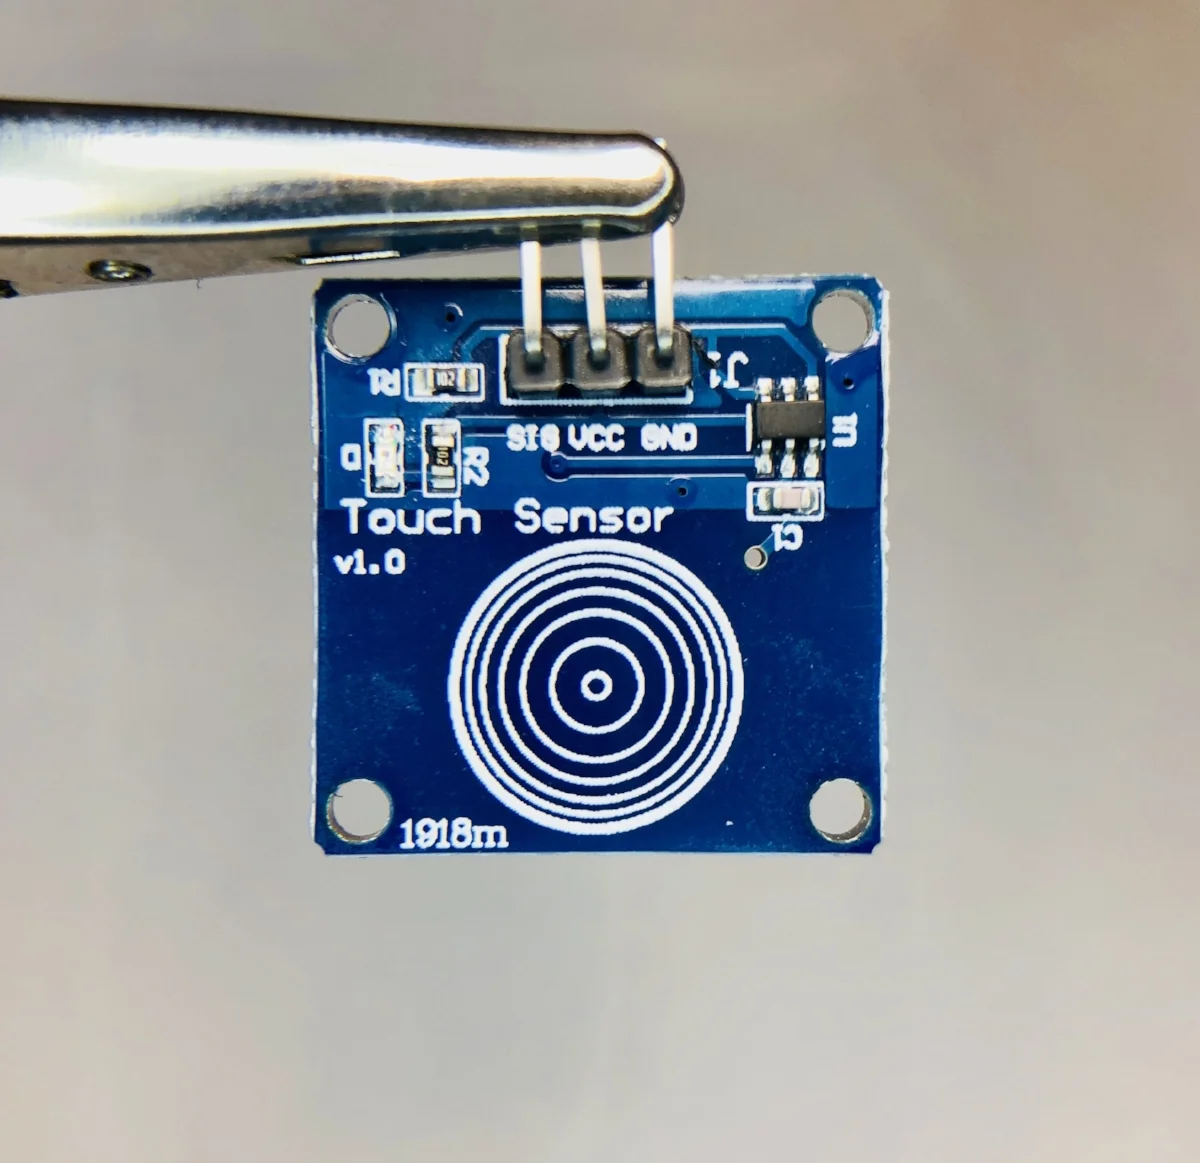
Read MoreCapacitive sensing from human touch. Create a switch without any moving parts with an Arduino board and an inexpensive capacitive touch sensor.
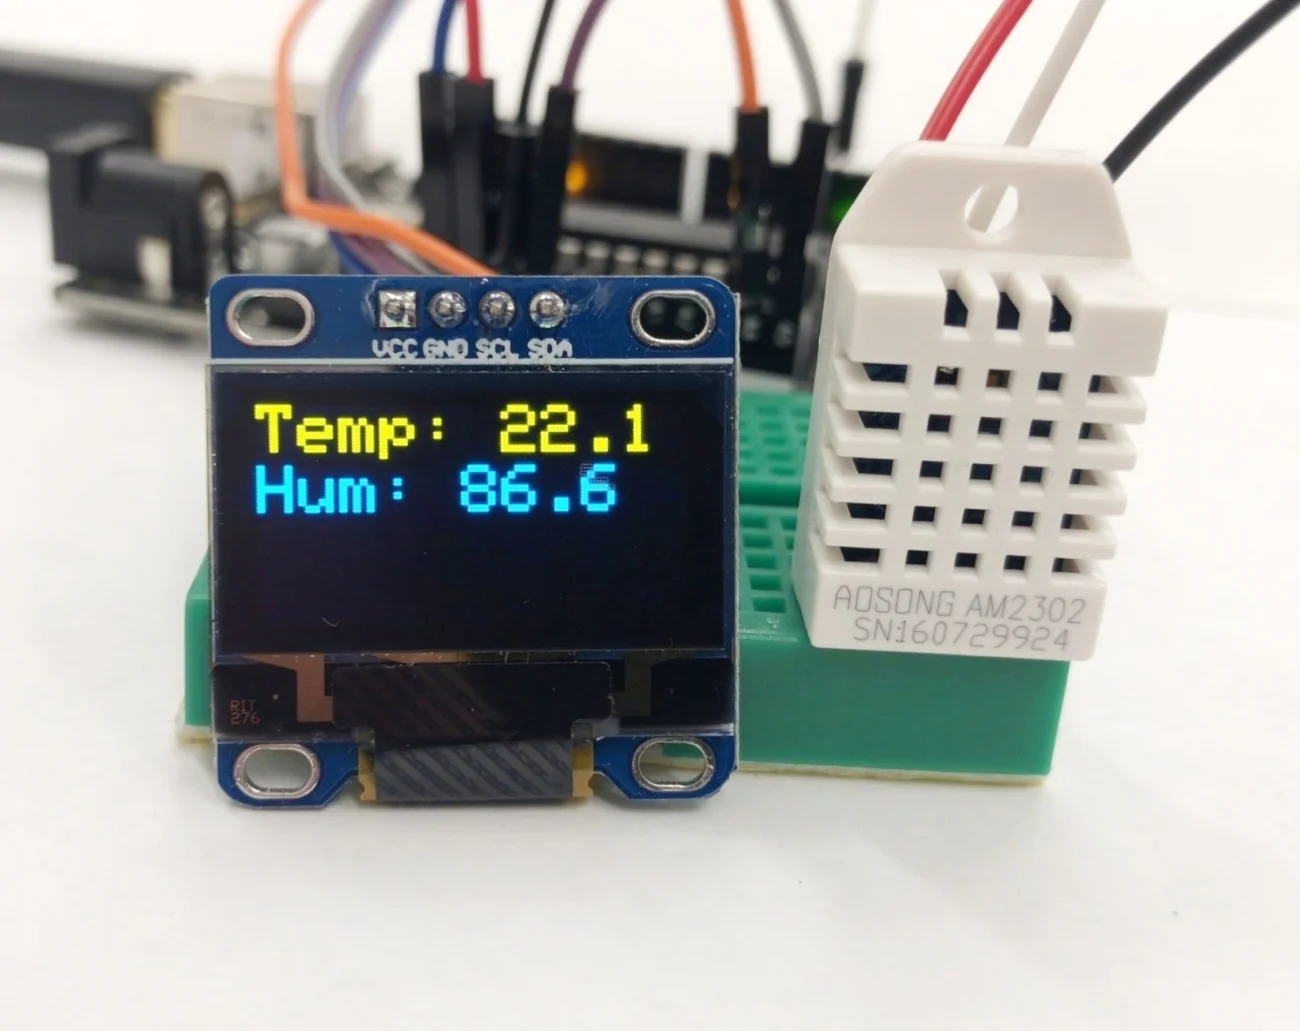
Read MoreHow to print temperature and humidity readings onto a 0.96 inch I2C OLED display. The device is DIYMall's inexpensive, high resolution (128x64 pixels), yellow and blue organic LED display that is designed for use with the Arduino platform. Together with a DHT22 temperature sensor, the tiny OLED screen will display real-time humidity and temperature data using an Adafruit library and an Arduino Uno board. This project can be expanded upon to print data from a wide array of sensors, and even grab data from the internet to print values for a smart and interactive display.
Read More

