Arduino Breathing LED Functions
In this tutorial - an Arduino board will be used in conjunction with an RGB LED to investigate several ways of replicating the breathing LED effect. Using the equation for a triangular wave, circular wave, and Gaussian wave, a breathing LED will be constructed. The amount of code needed for the simplest breathing LED is as little as two lines of code, while the more complex breathing functions grow in difficulty from there.

Controlling Arduino Pins from the Serial Monitor
In this tutorial, another method of control is introduced that involves manual control using input from the serial monitor. This means each pin can be turned on or off using the human input to the serial monitor. An RGB LED is used to demonstrate the capability of serial monitor control, where each color of the LED is controlled individually using dedicated Arduino pins.
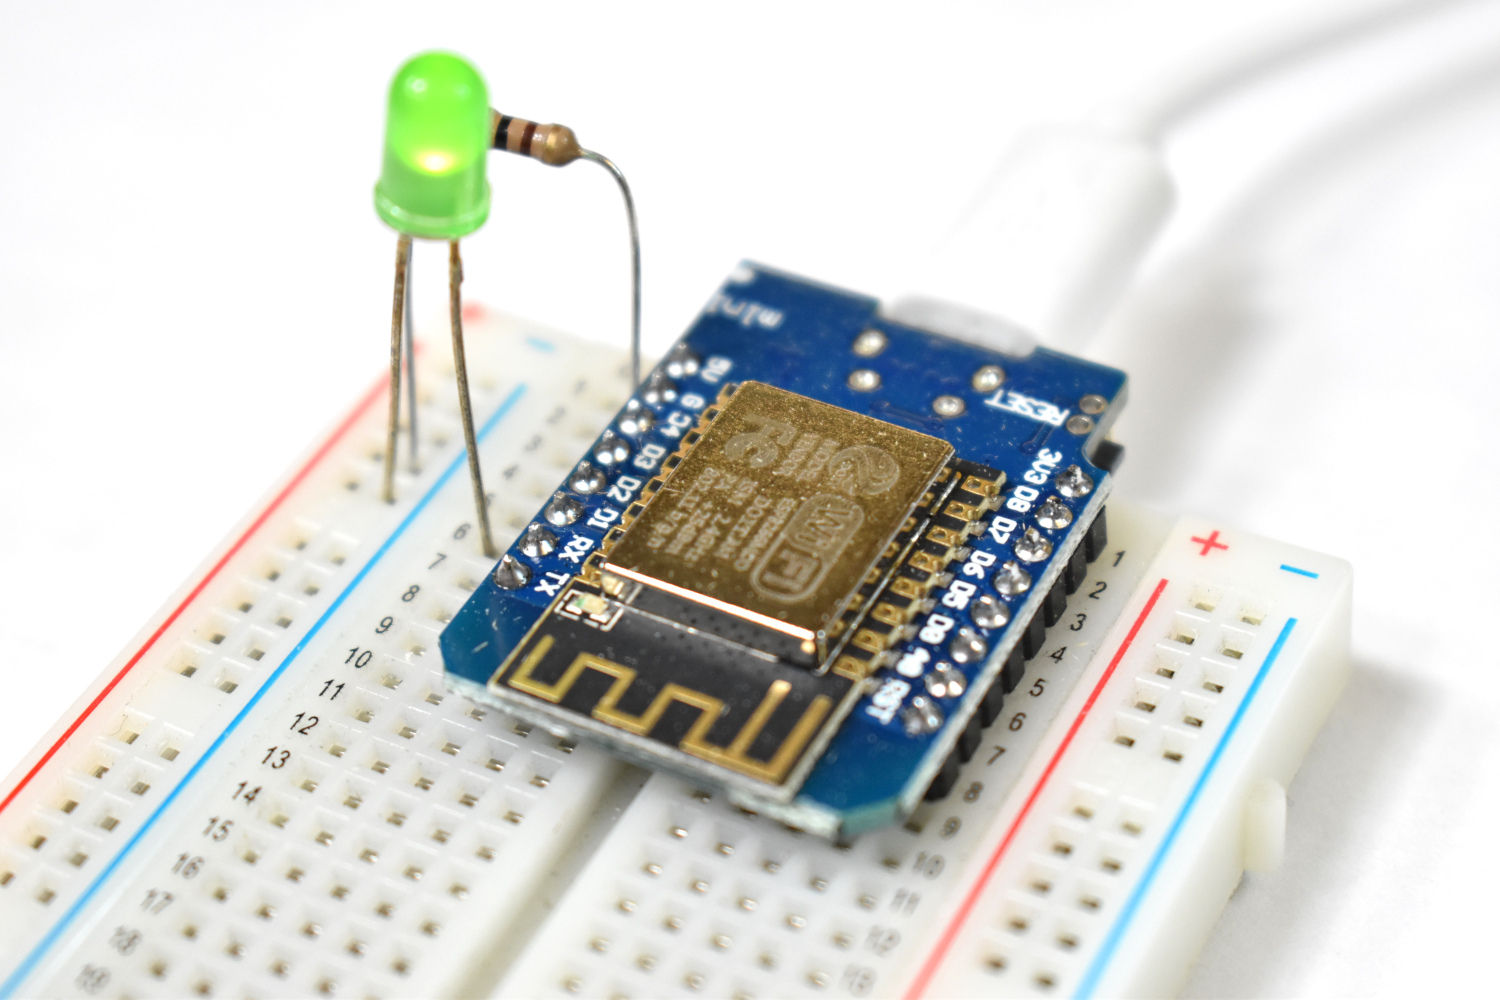
WeMos D1 Mini ESP8266 Arduino WiFi Board
The WeMos D1 Mini is an inexpensive ESP8266-based WiFi board that is low-profile but just as powerful as any NodeMCU or ESP8266-based microcontroller. The D1 Mini is incredibly versatile because it is inexpensive, WiFi-enabled, and fully compatible with the Arduino platform. In this tutorial, the ESP8266 library and board manager will be introduced in order to get the D1 Mini acting as an Arduino board. Then, a simple web page will be introduced with the intention of harnessing the WiFi capabilities of the module. The D1 Mini will act as a web server, allowing any WiFi-connected device to interact with the board and control its pins wirelessly.

Arduino Optical Fingerprint Sensor (AS608)
Optical fingerprint sensors take low-resolution snapshots of the tip of a finger and create arrays of identifiers that are then used to uniquely identify a given fingerprint. The AS608 is capable of storing up to 128 individual fingerprints. This tutorial will introduce the AS608 Arduino-compatible fingerprint sensor and how to validate and reject fingerprints based on the enrolled fingerprint information that will be given to the sensor. The fingerprint algorithm is handled by the AS608 and Arduino, so this tutorial will focus on implementation and putting the pieces together to make a working fingerprint sensor with Arduino.
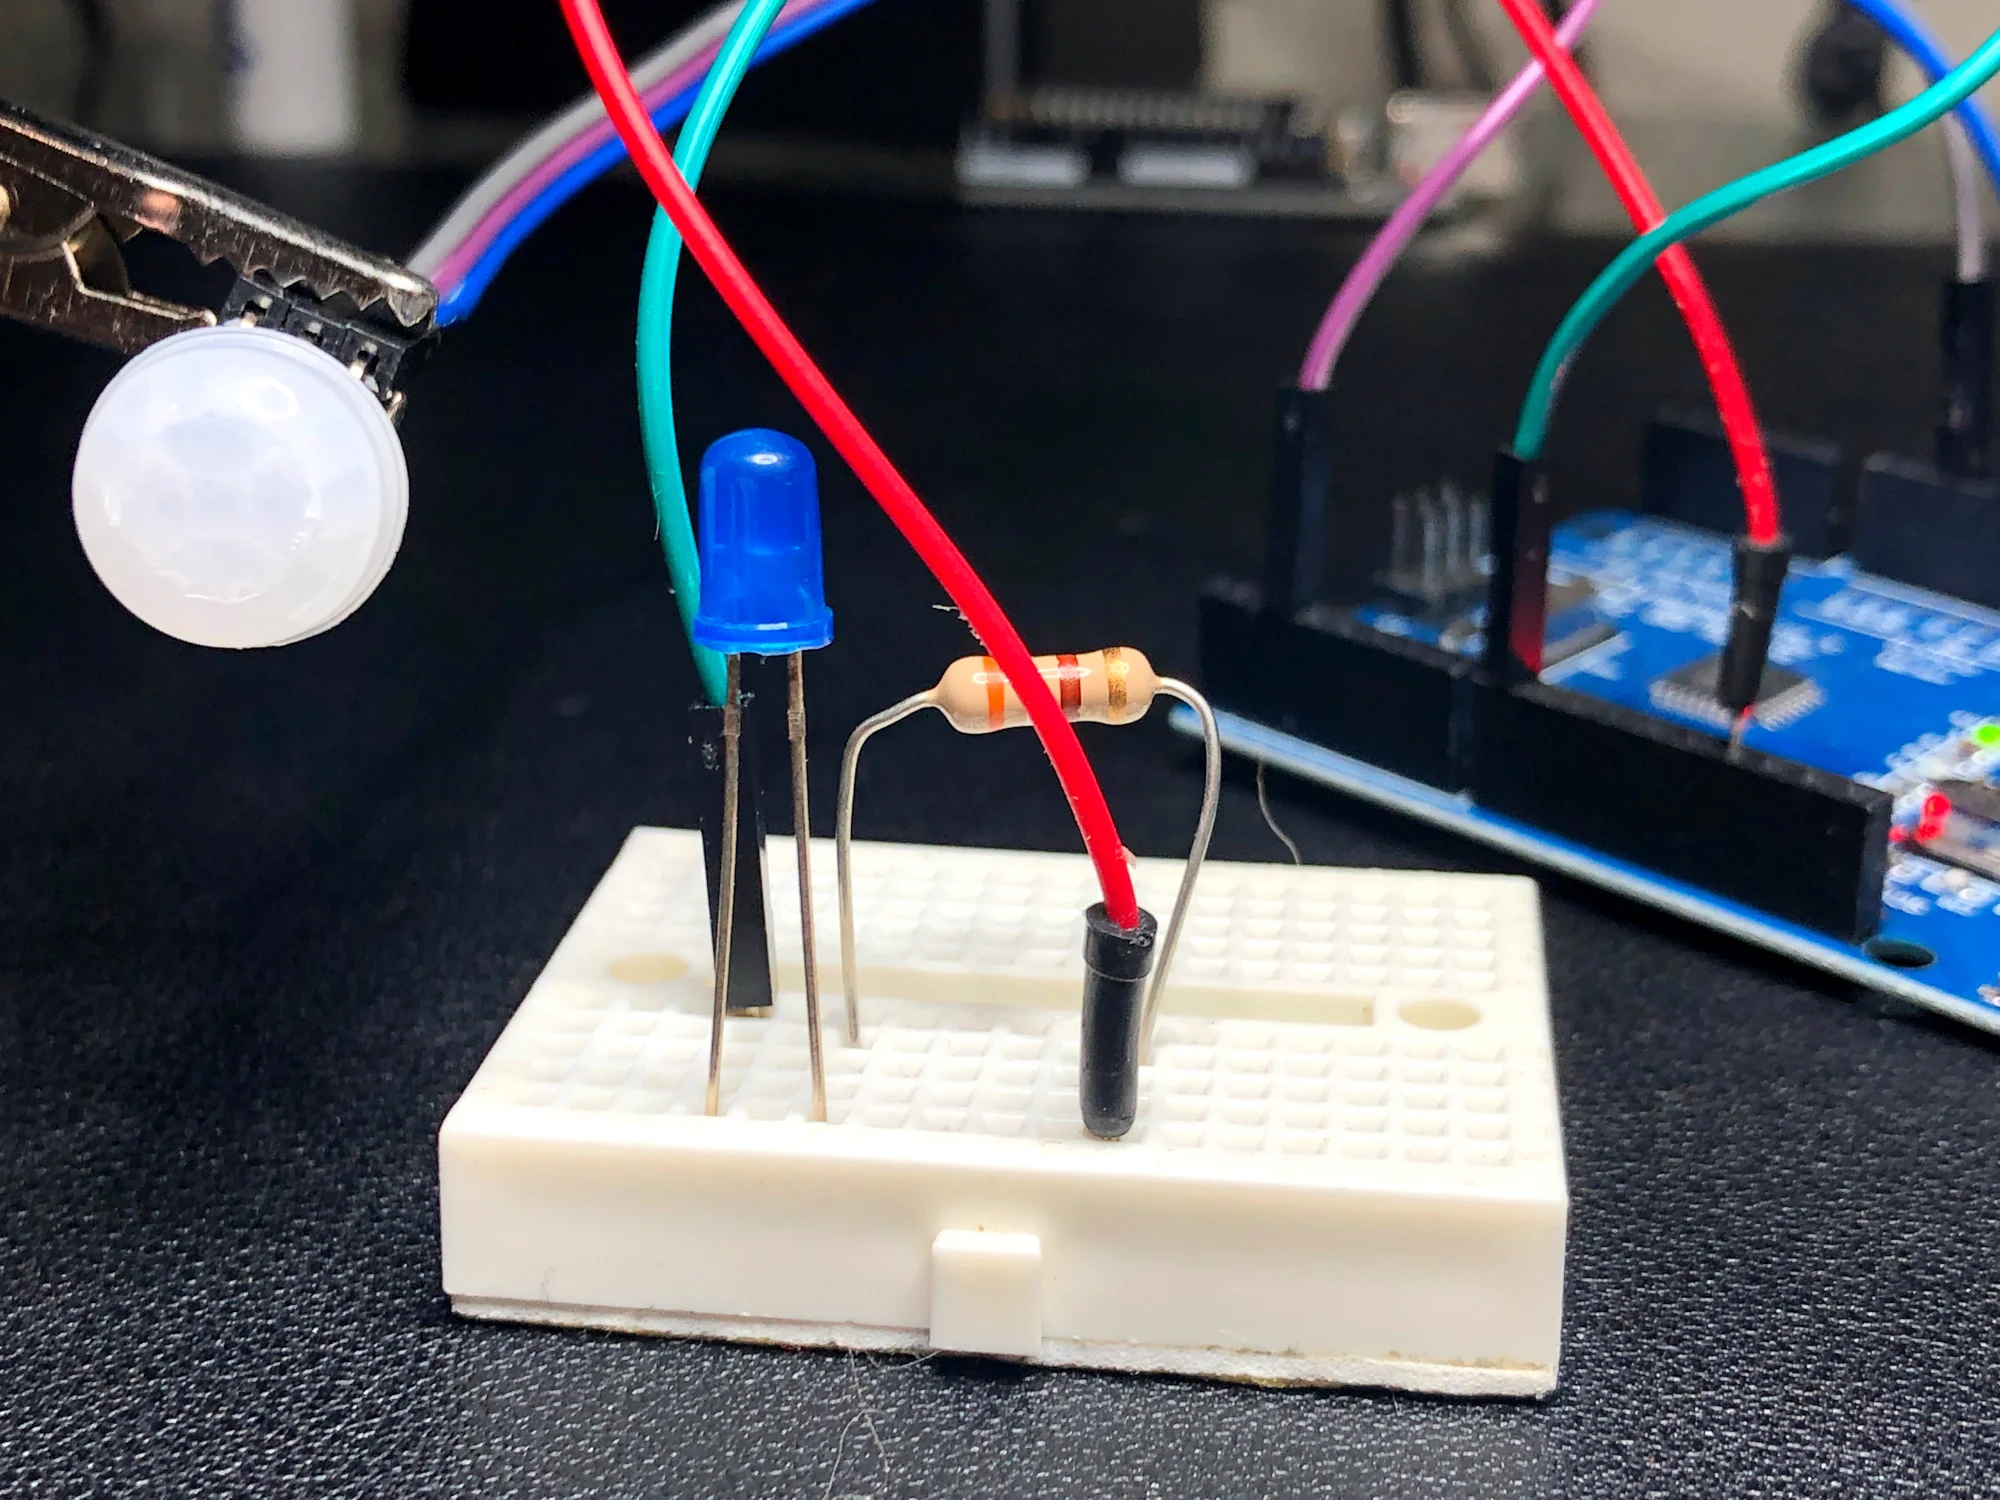
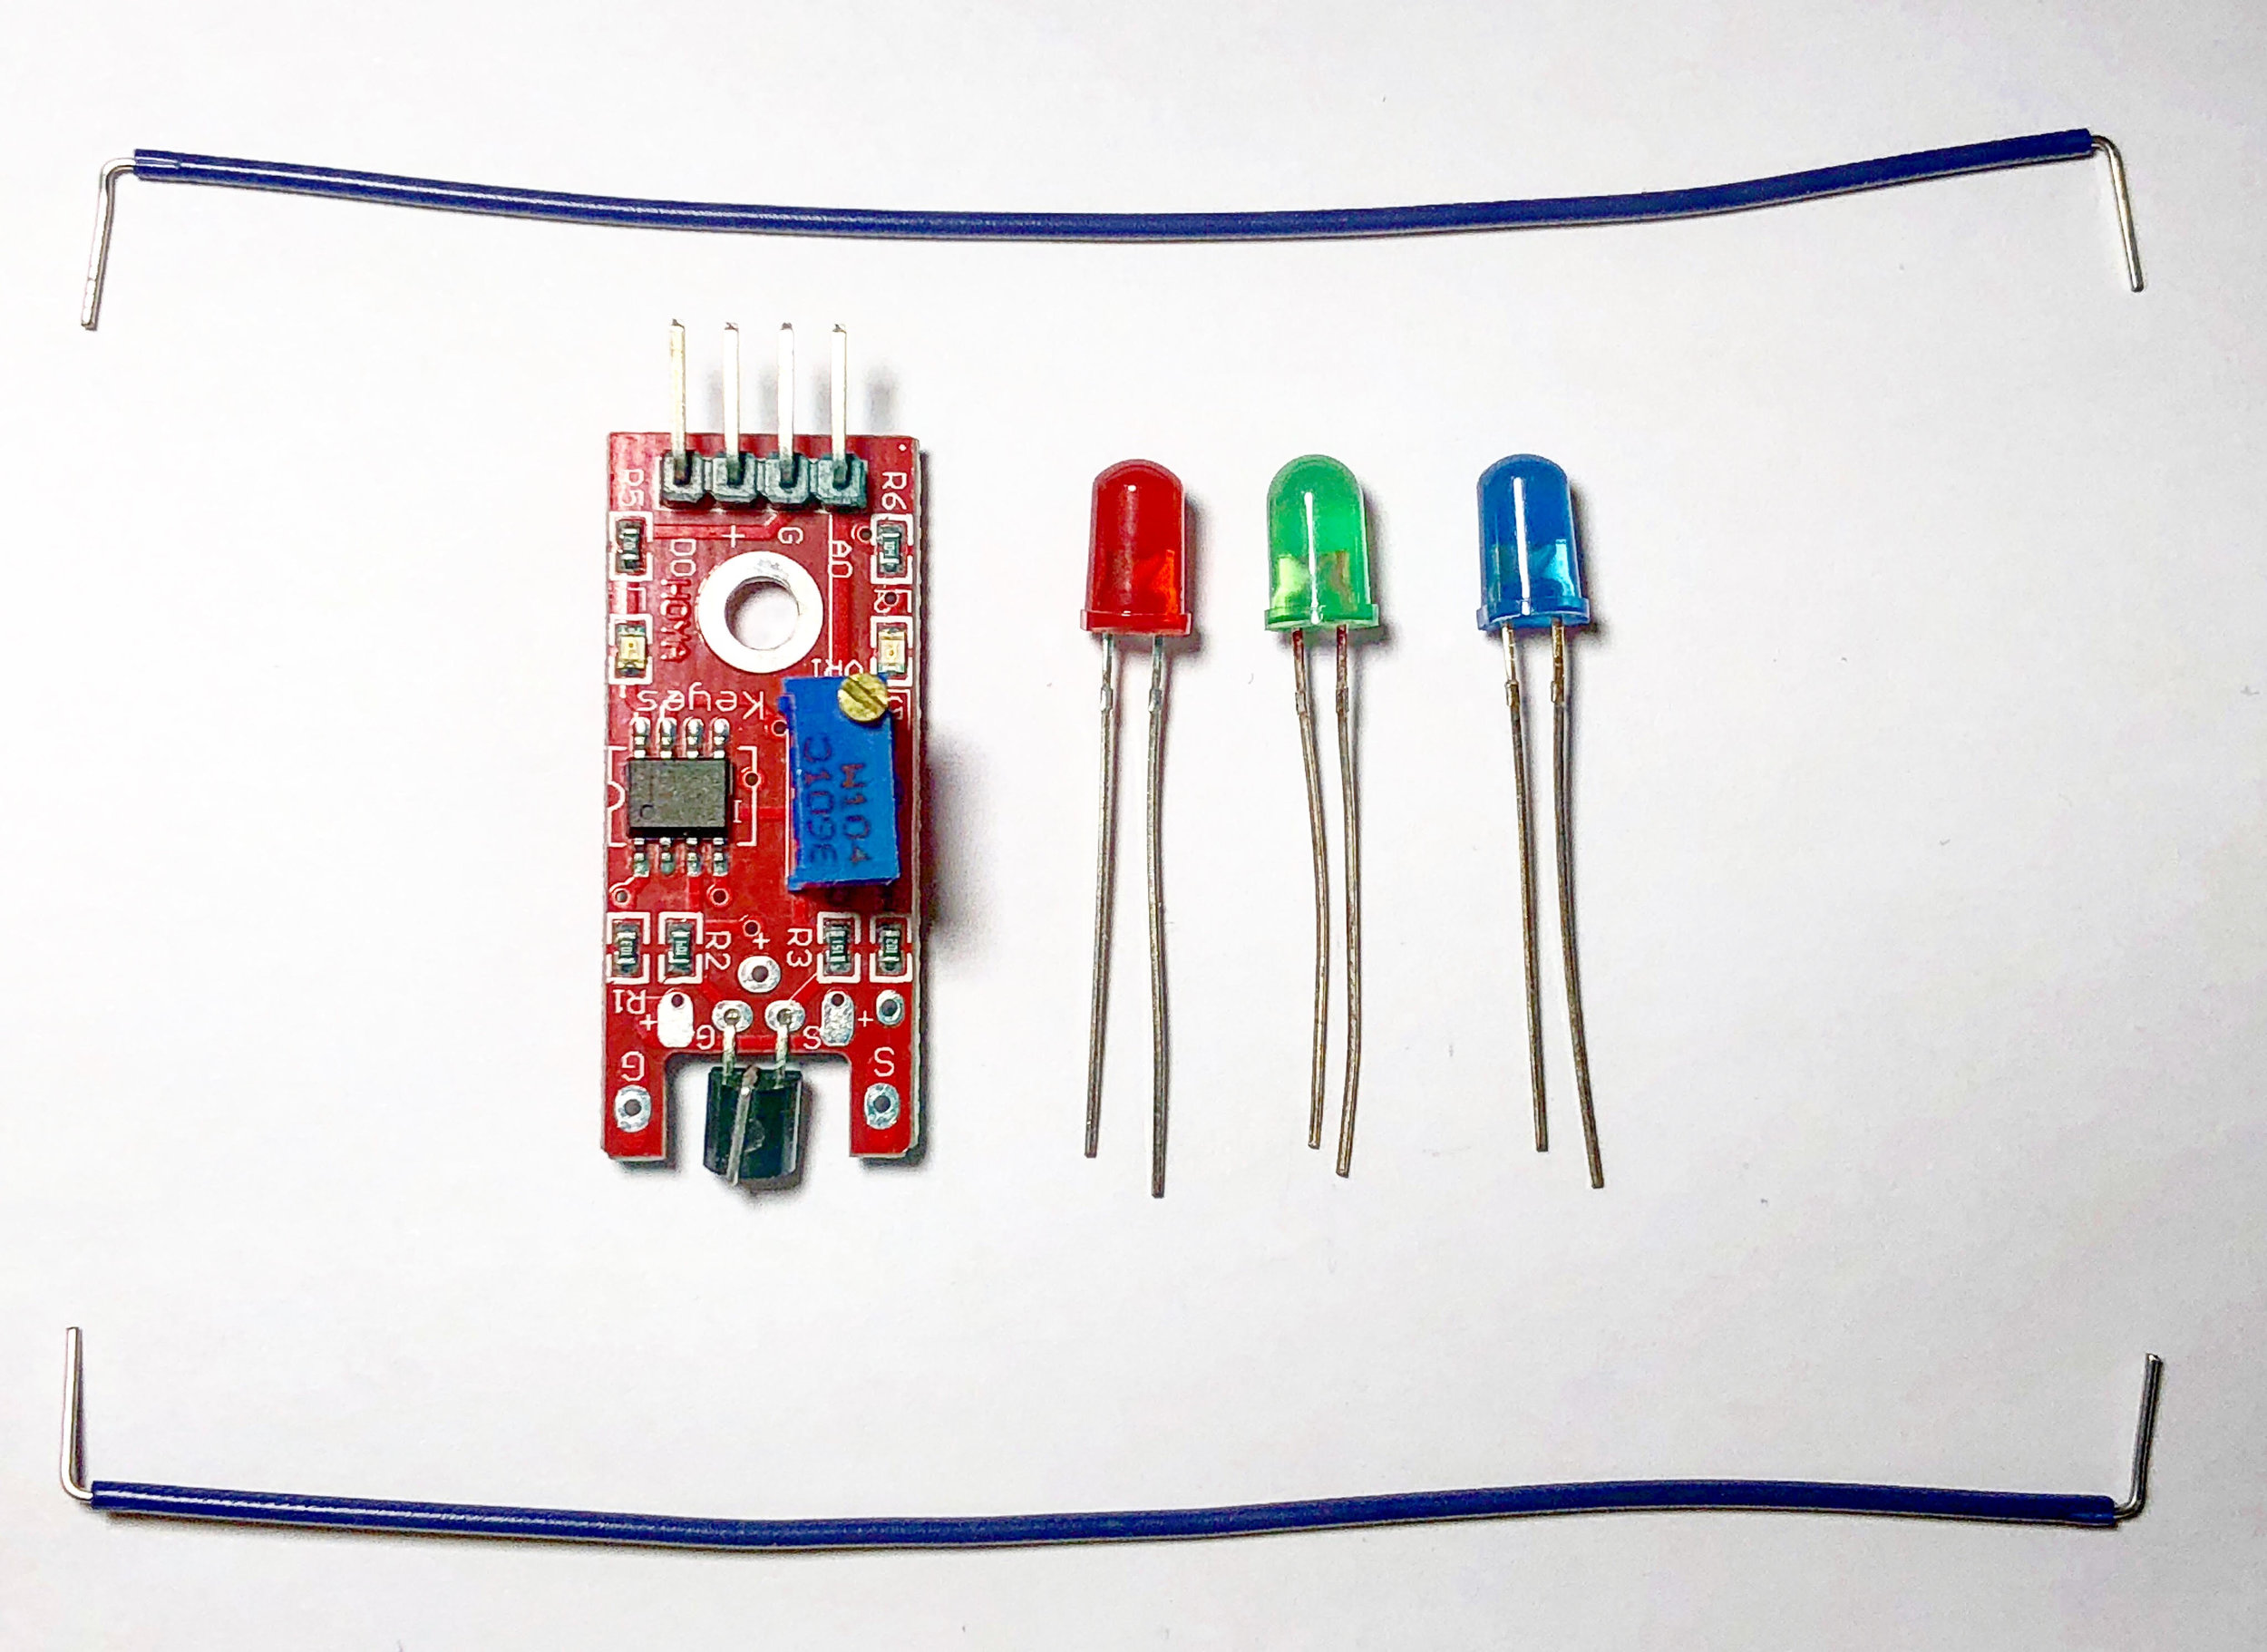
Arduino Interrupts with PIR Motion Sensor
The basics of Arduino’s hardware interrupt is explored through the use of a passive infrared (PIR) sensor. The passive infrared sensors used here operate at voltages from 2.7V - 5V and use very little energy when operating in the non-tripped state. The PIR sensor is ultimately tripped by an infrared source, typically human body heat (or another animal with similar radiative emission). When the PIR sensor is tripped it sends a HIGH signal to its OUT pin, which will be read by the Arduino’s interrupt pin (pin 2 or 3 on the Uno board). This process seems trivial, but when done correctly can save massive amounts of energy when dealing with battery-powered systems, as in home automation.

Controlling LEDs with A Multiplexer and Arduino
A demultiplexer will be used to control 8 LEDs using just 3 digital pins on the Arduino board. This method of demultiplexing frees up pins on the Arduino, but also makes control of multiple LEDs easier by consolidating the power given to each LED. This will allow us to use LEDs without resistors. In general, a demultiplexer uses N boolean outputs to control 2N switches. In our case, the CD4051 multiplexer will be used as a demultiplexer using 3 digital pins and boolean logic to control 8 individual LEDs. Several skills will also be developed, specifically with regard to programming in the Arduino programming language. Pulse-width modulation (or brightening and dimming) of LEDs will be explored, as well as randomization of LED blinks, along with the general selection process for boolean switching with the demultiplexer.
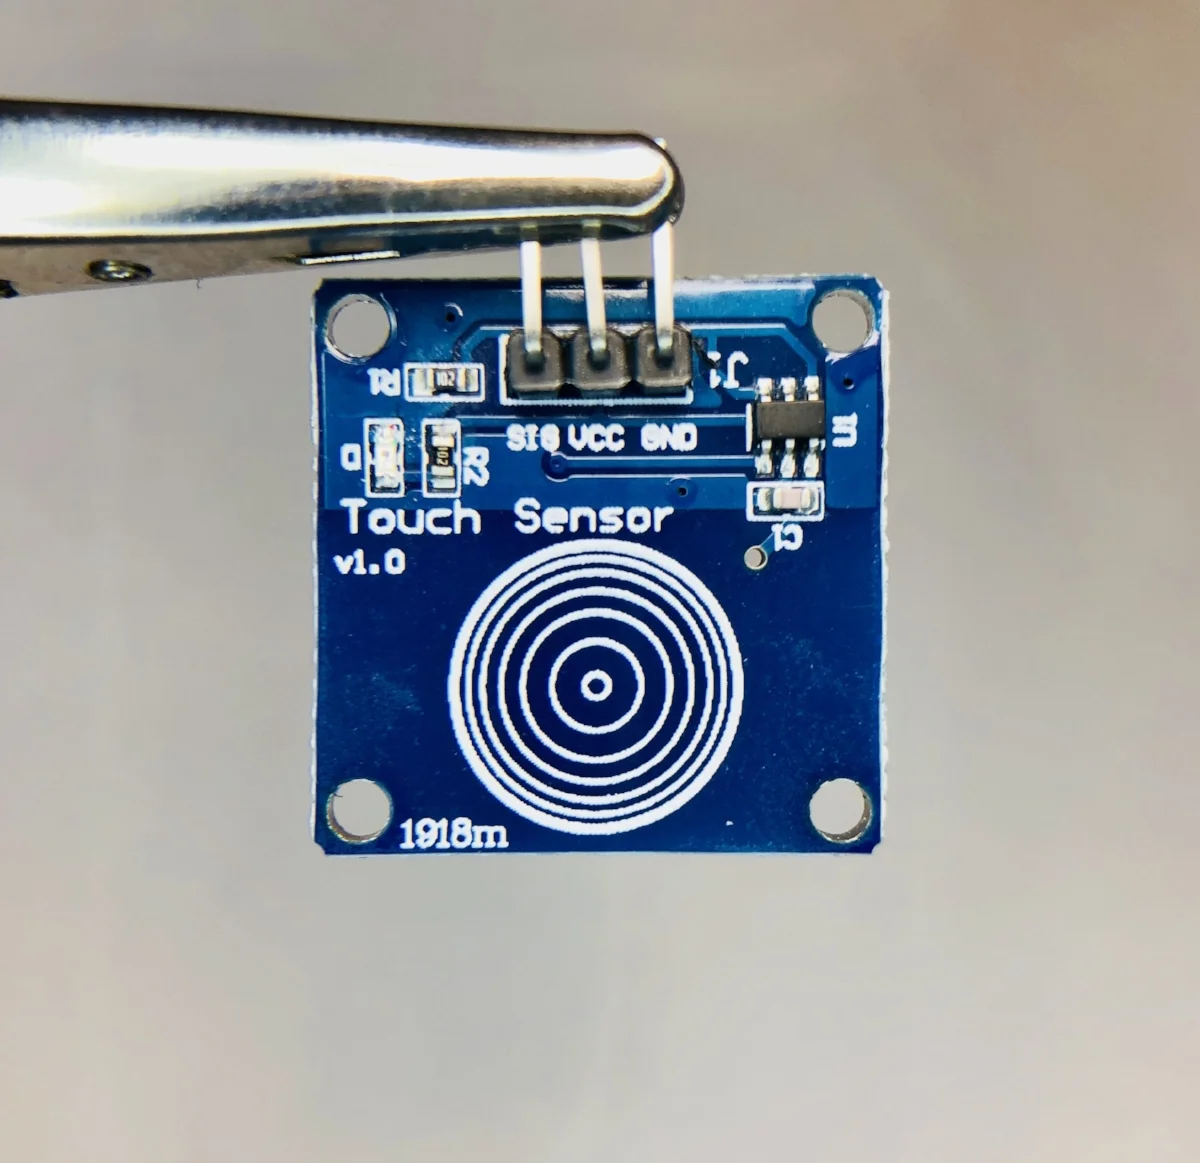
Capacitive Touch Sensor with Arduino
Capacitive sensing from human touch. Create a switch without any moving parts with an Arduino board and an inexpensive capacitive touch sensor.