WS2812 LED Ring Light with Raspberry Pi Pico
This is the second entry into the Raspberry Pi Pico tutorial series dedicated to exploring the capabilities of the Raspberry Pi Foundation's groundbreaking new Pico microcontroller. A WS2812 RGB LED is controlled via the programmable I/O system (PIO) on the Pico microcontroller. The code and methods used to control the WS2812 are based on Raspberry Pi Pico Micropython SDK the project entitled "Using PIO to drive a set of NeoPixel Ring (WS2812 LEDs)." A state machine is used on the Pico to control the WS2812 LED array, which allows users to test a range of algorithms that affect the ring light. The light mappings will subsequently be capable of emulating the LED effects similar to those demonstrated by the Amazon Alexa or Google Home devices. A universal wiring diagram is given that allows for any number of LEDs to be wired to the Pico, which we tested up to 60 LEDs.

An Introduction to the Raspberry Pi Pico with MicroPython
The Raspberry Pi Pico was recently released by the Raspberry Pi Foundation as a competitive microcontroller in the open-source electronics sphere. The Pico shares many of the capabilities of common Arduino boards including: analog-to-digital conversion (12-bit ADC), UART, SPI, I2C, PWM, among others. The board is just 21mm x 51mm in size, making it ideal for applications that require low-profile designs. One of the innovations of the Pico is the dual-core processor, which permits multiprocessing at clock rates up to 133 MHz. One particular draw of the Pico is its compatibility with MicroPython, which is chosen as the programming tool for this project. The focus on MicroPython, as opposed to C/C++, minimizes the confusion and time required to get started with the Pico. A Raspberry Pi 4 computer is ideal for interfacing with the Pico, which can be used to prepare, debug, and program the Pico. From start to finish - this tutorial helps users run their first custom MicroPython script on the Pico in just a few minutes. An RGB LED will be used to demonstrate general purpose input/output of the Pico microcontroller.

Audio Processing with The QuadMic 4-Microphone Array on the Raspberry Pi
The QuadMic Array is a 4-microphone array based around the AC108 quad-channel analog-to-digital converter (ADC) with Inter-IC Sound (I2S) audio output capable of interfacing with the Raspberry Pi. The QuadMic can be used for applications in voice detection and recognition, acoustic localization, noise control, and other applications in audio and acoustic analysis. The QuadMic will be connected to the header of a Raspberry Pi 4 and used to record simultaneous audio data from all four microphones. Some signal processing routines will be developed as part of an acoustic analysis with the four microphones. Algorithms will be introduced that approximate acoustic source directivity, which can help with understanding and characterizing noise sources, room and spatial geometries, and other aspects of acoustic systems. Python is also used for the analysis. Additionally, visualizations will aid in the understanding of the measurements and subsequent analyses conducts in this tutorial.

DIY Arduino Board
A DIY Arduino board is presented here, with most of the capabilities of the classic Arduino Uno board, but with a slimmer profile and more flexibility in hardware. The advantage to using the DIY Arduino board is its ability to change the input voltage (2.7V - 5.5V), the crystal oscillator (0-16MHz), and the use of LEDs and regulators when needed. The DIY board is capable of very lower power modes, without the requirement of draining components such as LEDs or regulators. The ATmega328P chip is at the center of every Uno board (in recent years), and is also at the center of the DIY board, which allows the DIY Arduino to behave almost identically to the Uno board.
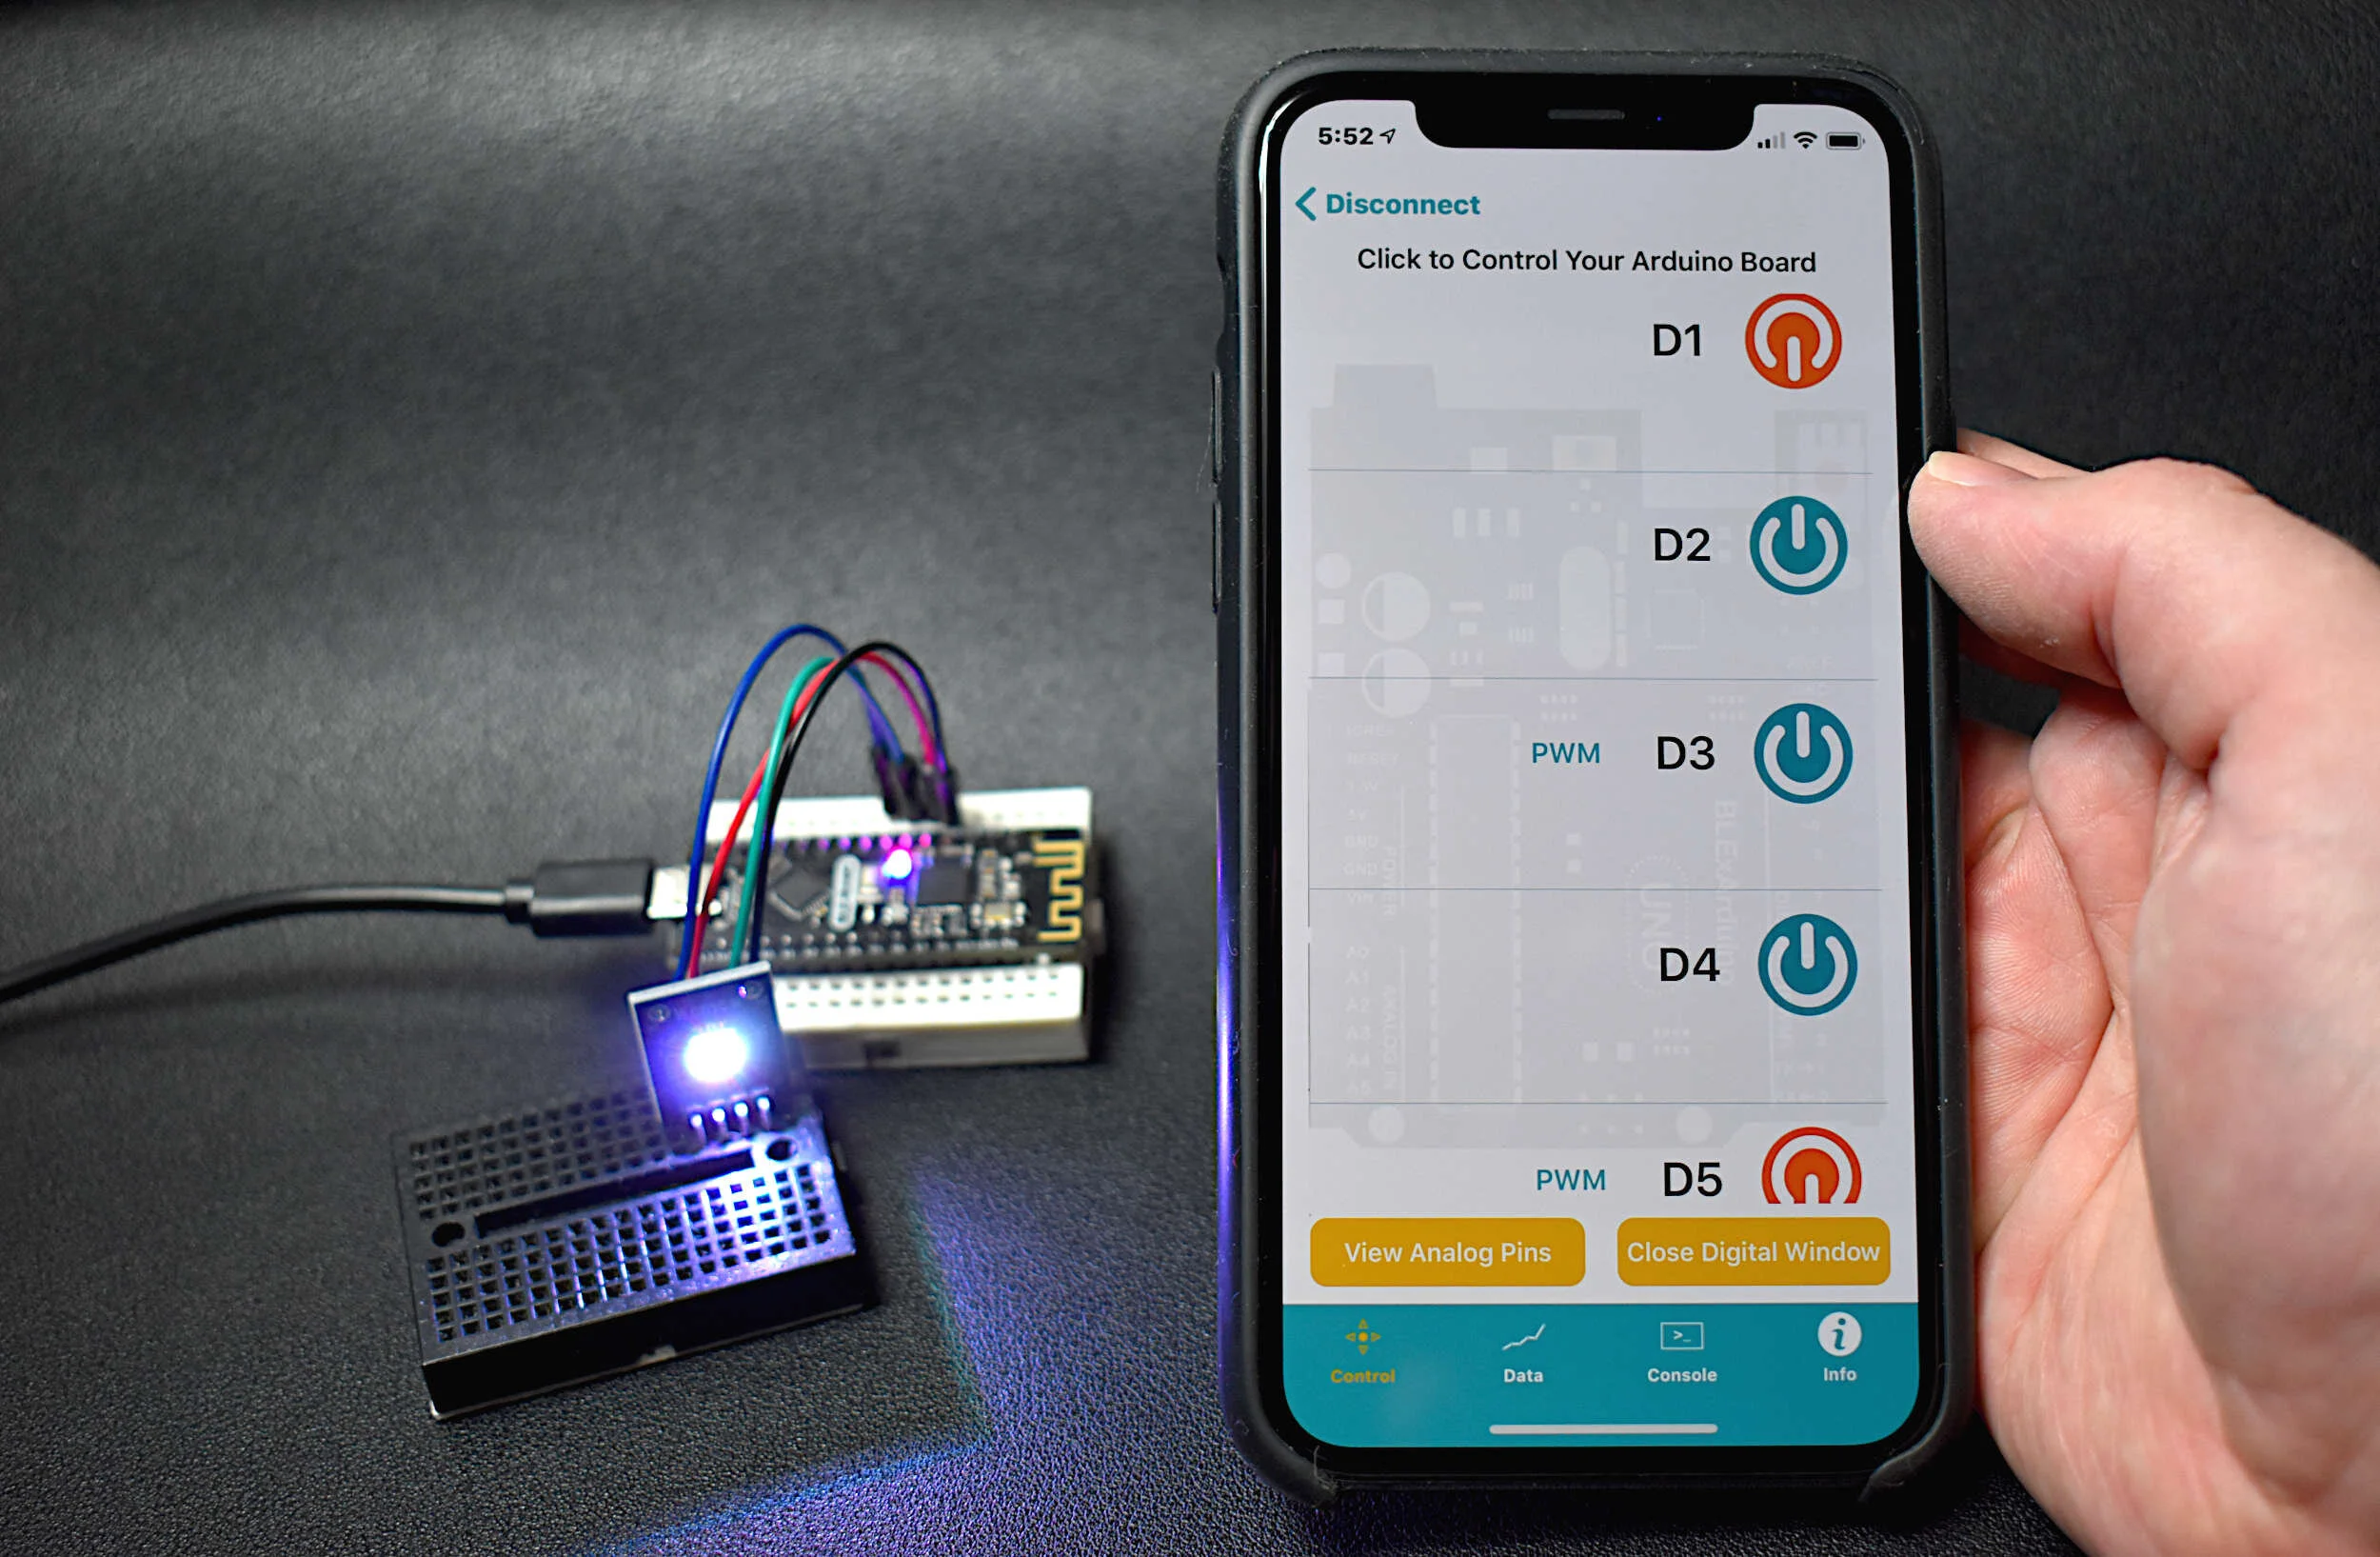
BLE Nano Arduino Board - Bluetooth Control with an iPhone (BLExAR App)
The BLE Nano is introduced as a hybrid between an Arduino Nano and a CC2540 Bluetooth Low Energy (BLE) module. The Arduino Nano has an ATmega328P as its main microprocessor, which communicates over the serial port to send and receive Bluetooth packets from the CC2540 BLE chip. This creates a Bluetooth-enabled Arduino device - encased in a Nano-sized circuit board! Using the BLExAR iOS app, the BLE-Nano will be controlled using an iPhone. BLExAR allows users to control the pins on the Nano, which will be demonstrated by switching an RGB LED on and off.

Controlling Arduino Pins from the Serial Monitor
In this tutorial, another method of control is introduced that involves manual control using input from the serial monitor. This means each pin can be turned on or off using the human input to the serial monitor. An RGB LED is used to demonstrate the capability of serial monitor control, where each color of the LED is controlled individually using dedicated Arduino pins.
Image Processing with Raspberry Pi and Python
The Raspberry Pi has a dedicated camera input port that allows users to record HD video and high-resolution photos. Using Python and specific libraries written for the Pi, users can create tools that take photos and video, and analyze them in real-time or save them for later processing. In this tutorial, I will use the 5MP picamera v1.3 to take photos and analyze them with Python and an Pi Zero W. This creates a self-contained system that could work as an item identification tool, security system, or other image processing application. The goal is to establish the basics of recording video and images onto the Pi, and using Python and statistics to analyze those images.
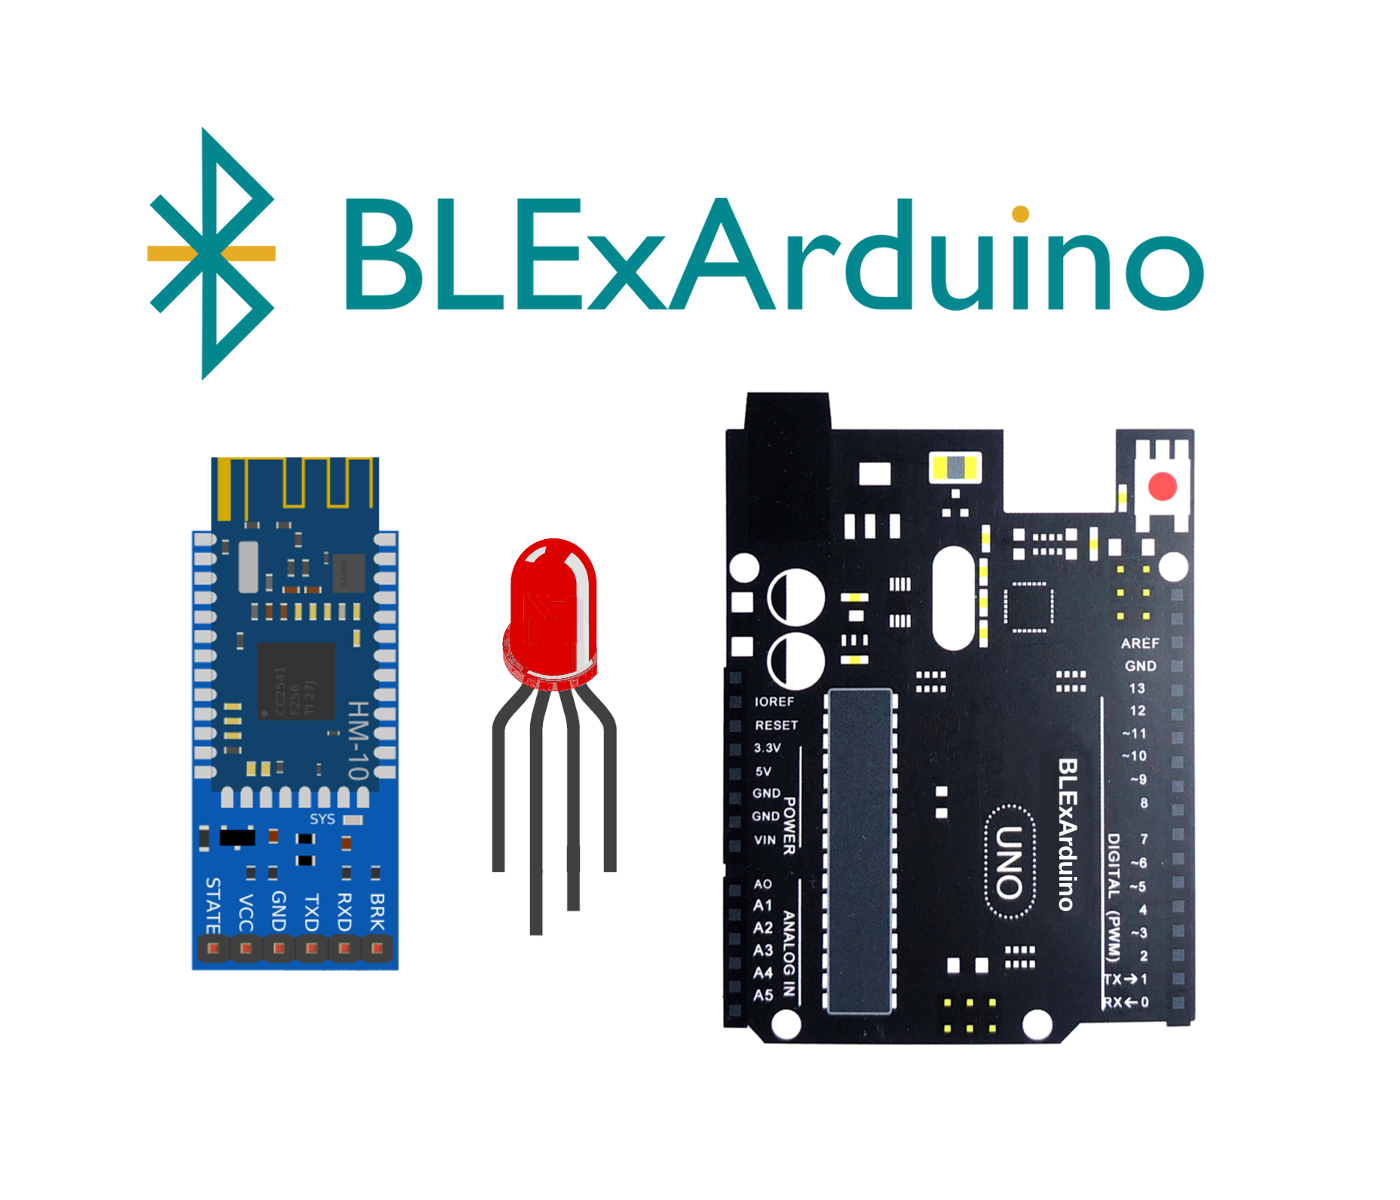
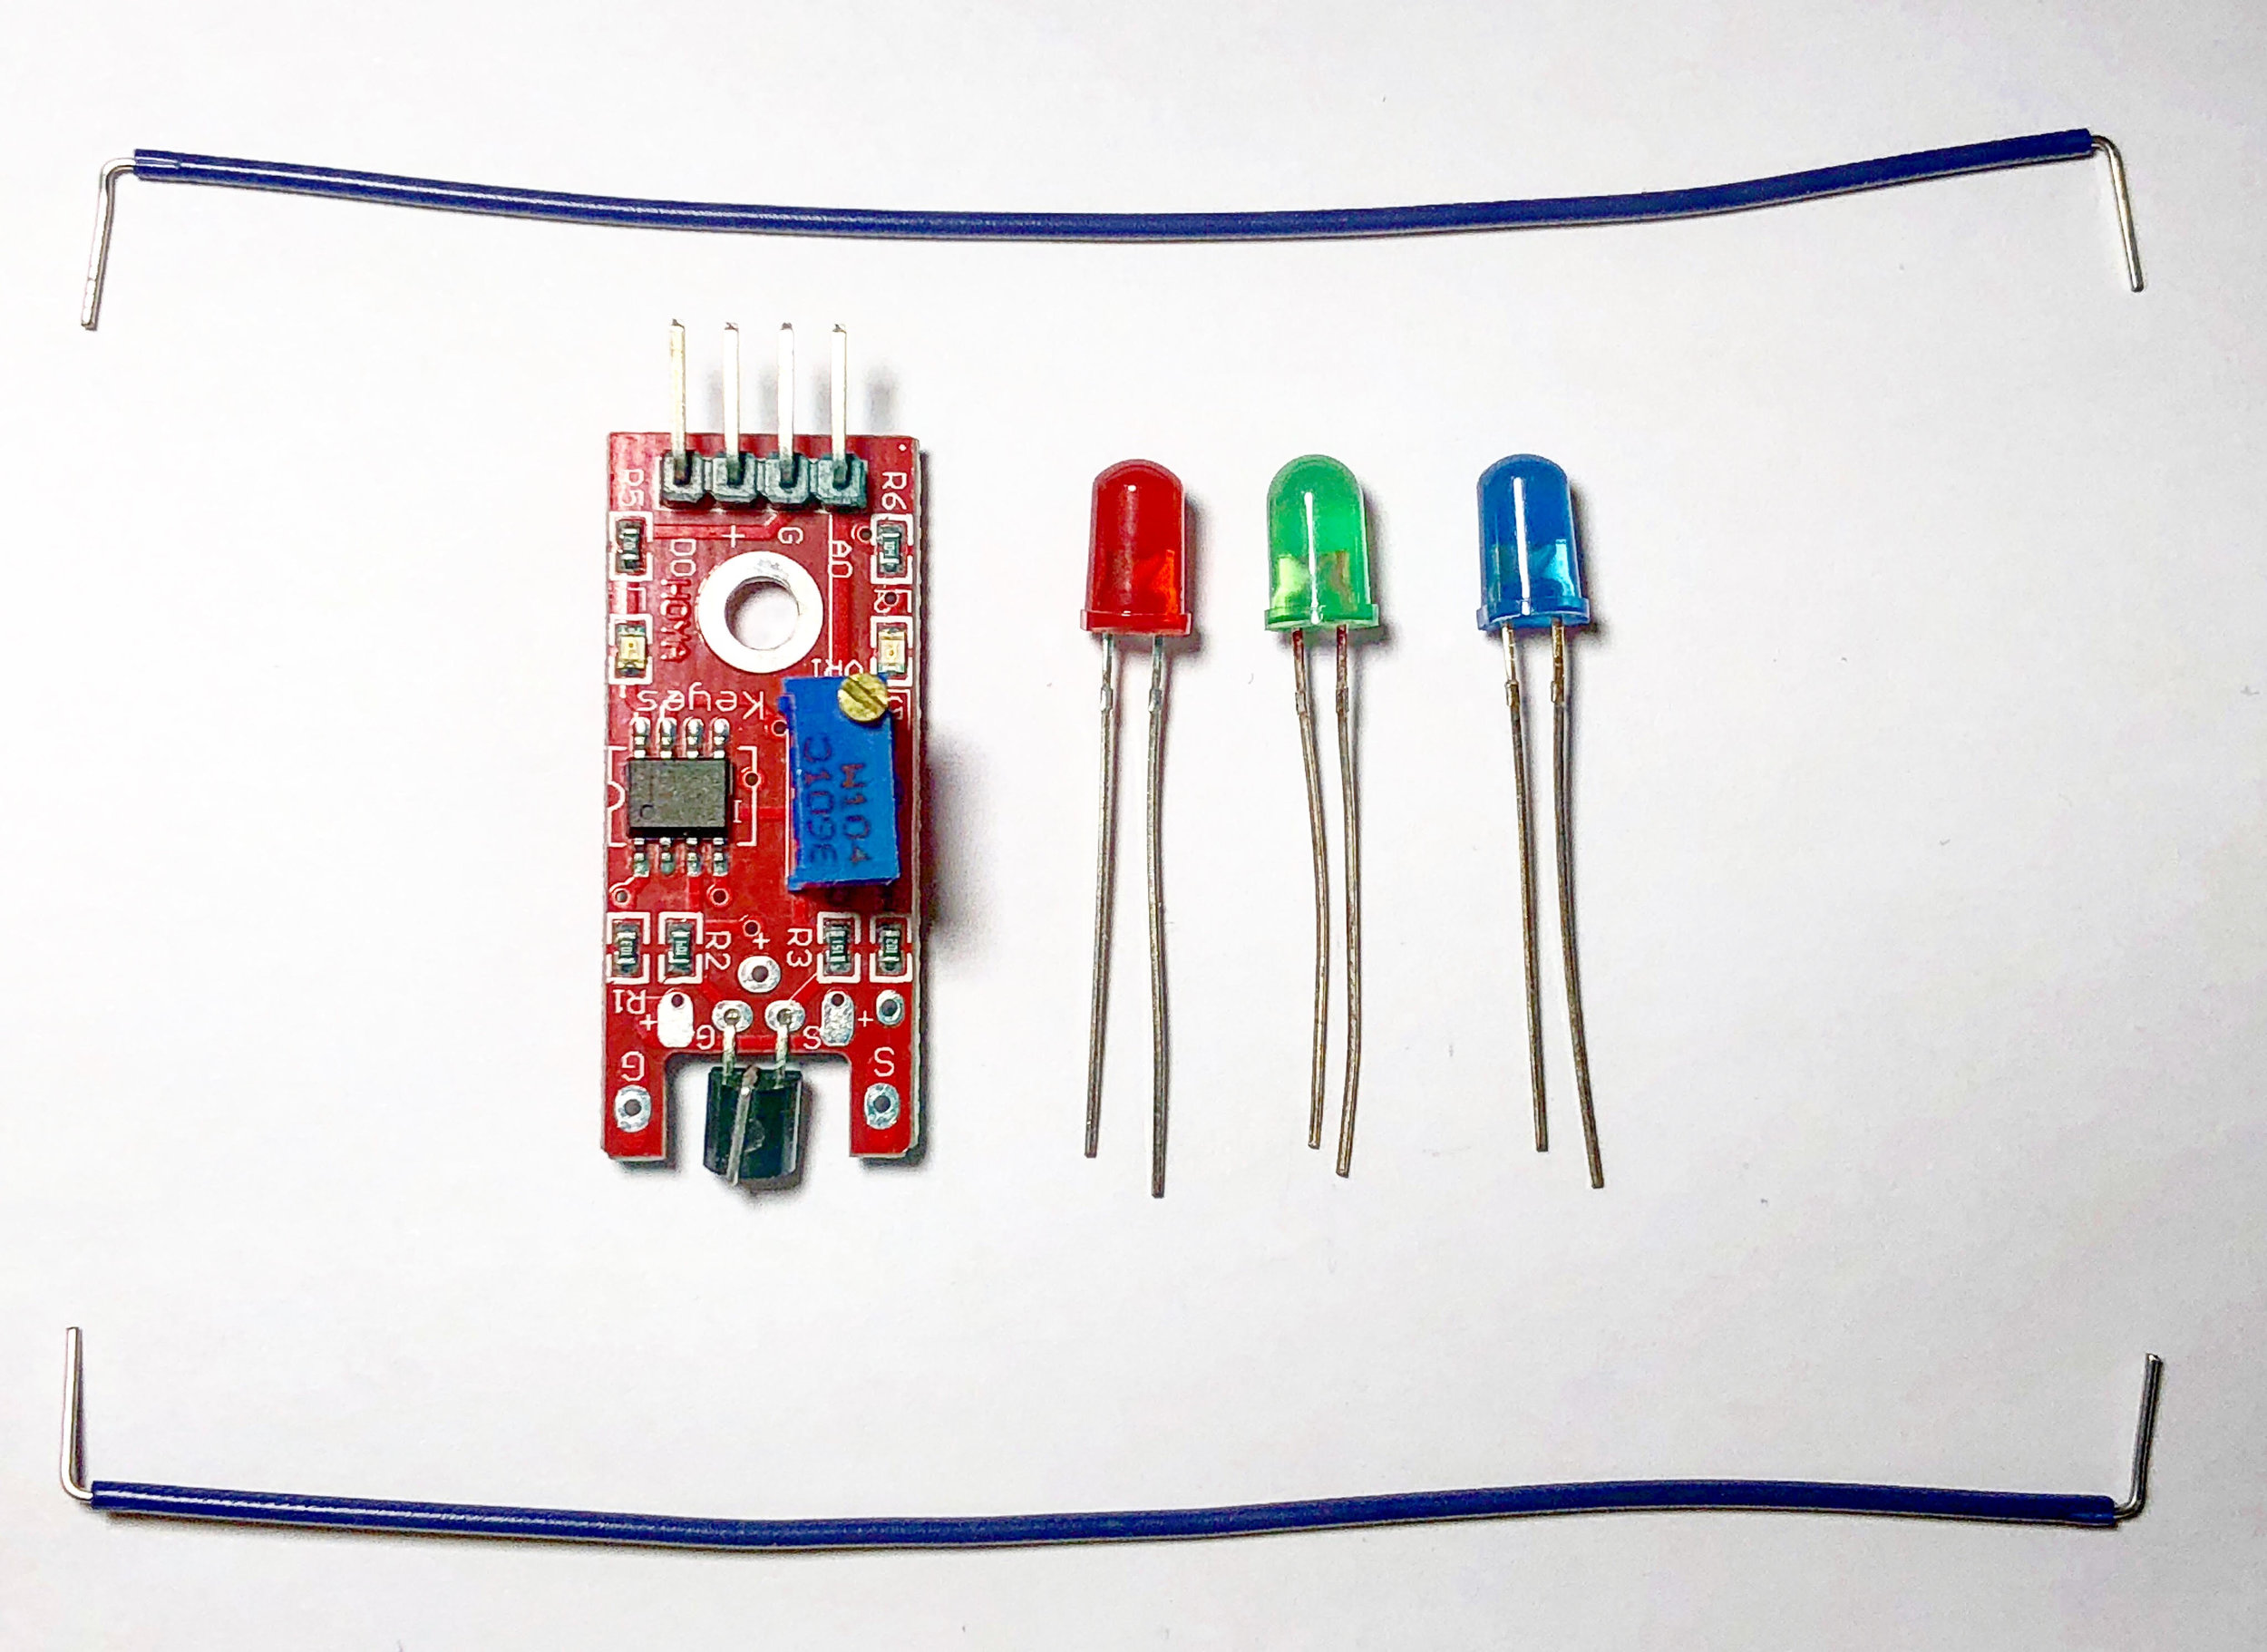
4-Pin RGB LED Control Using iOS BLExAR App, HM-10 Bluetooth Module, and Arduino
Control an RGB LED using three PWM pins on an Arduino Uno board via Bluetooth communication. An RGB LED is a single casing with three cathode (or anode) pins and one anode (or cathode) pin. This results in a 4-pin LED. In this tutorial, I will be using an RGB LED with three anodes and one common cathode. This means that we can change the color of the LED to over 16.7 million different variations (assuming each anode produces a different luminosity for each voltage change of the Arduino PWM pin). This tutorial will help demonstrate the power of the BLExAR app, and the flexibility of an Arduino board under iOS Bluetooth control. In my case, I will be using an iPhone with the BLExAR app, but an iPad would suffice as well.