This is the third tutorial in a series dedicated to exploring the Raspberry Pi Foundation's groundbreaking new microcontroller: the Raspberry Pi Pico. The first entry centered on the basic principles of interfacing with the Pico and programming with Thonny and MicroPython, while the second entry focused on emulating the Google Home and Amazon Alexa LED animations with a WS2812 RGB LED array. In this tutorial, an SSD1306 organic light emitting diode (OLED) display will be controlled using the Pico microcontroller. A MicroPython library will be used as the base class for interfacing with the SSD1306, while custom algorithms are introduced to create data displays. Additionally, a custom Python3 algorithm will be given that allows users to show a custom image on the display. Lastly, a real-time plot will be created that shows an audio signal outputted by a MEMS microphone, emulating a real-time graph display. The SSD1306 is a useful tool for smaller scale projects that require real-time data displays, control feedback, and IoT testing. The power of the Pico microcontroller makes interfacing with the SSD1306 fast and easy, which will be evident when working with the Pico and SSD1306.
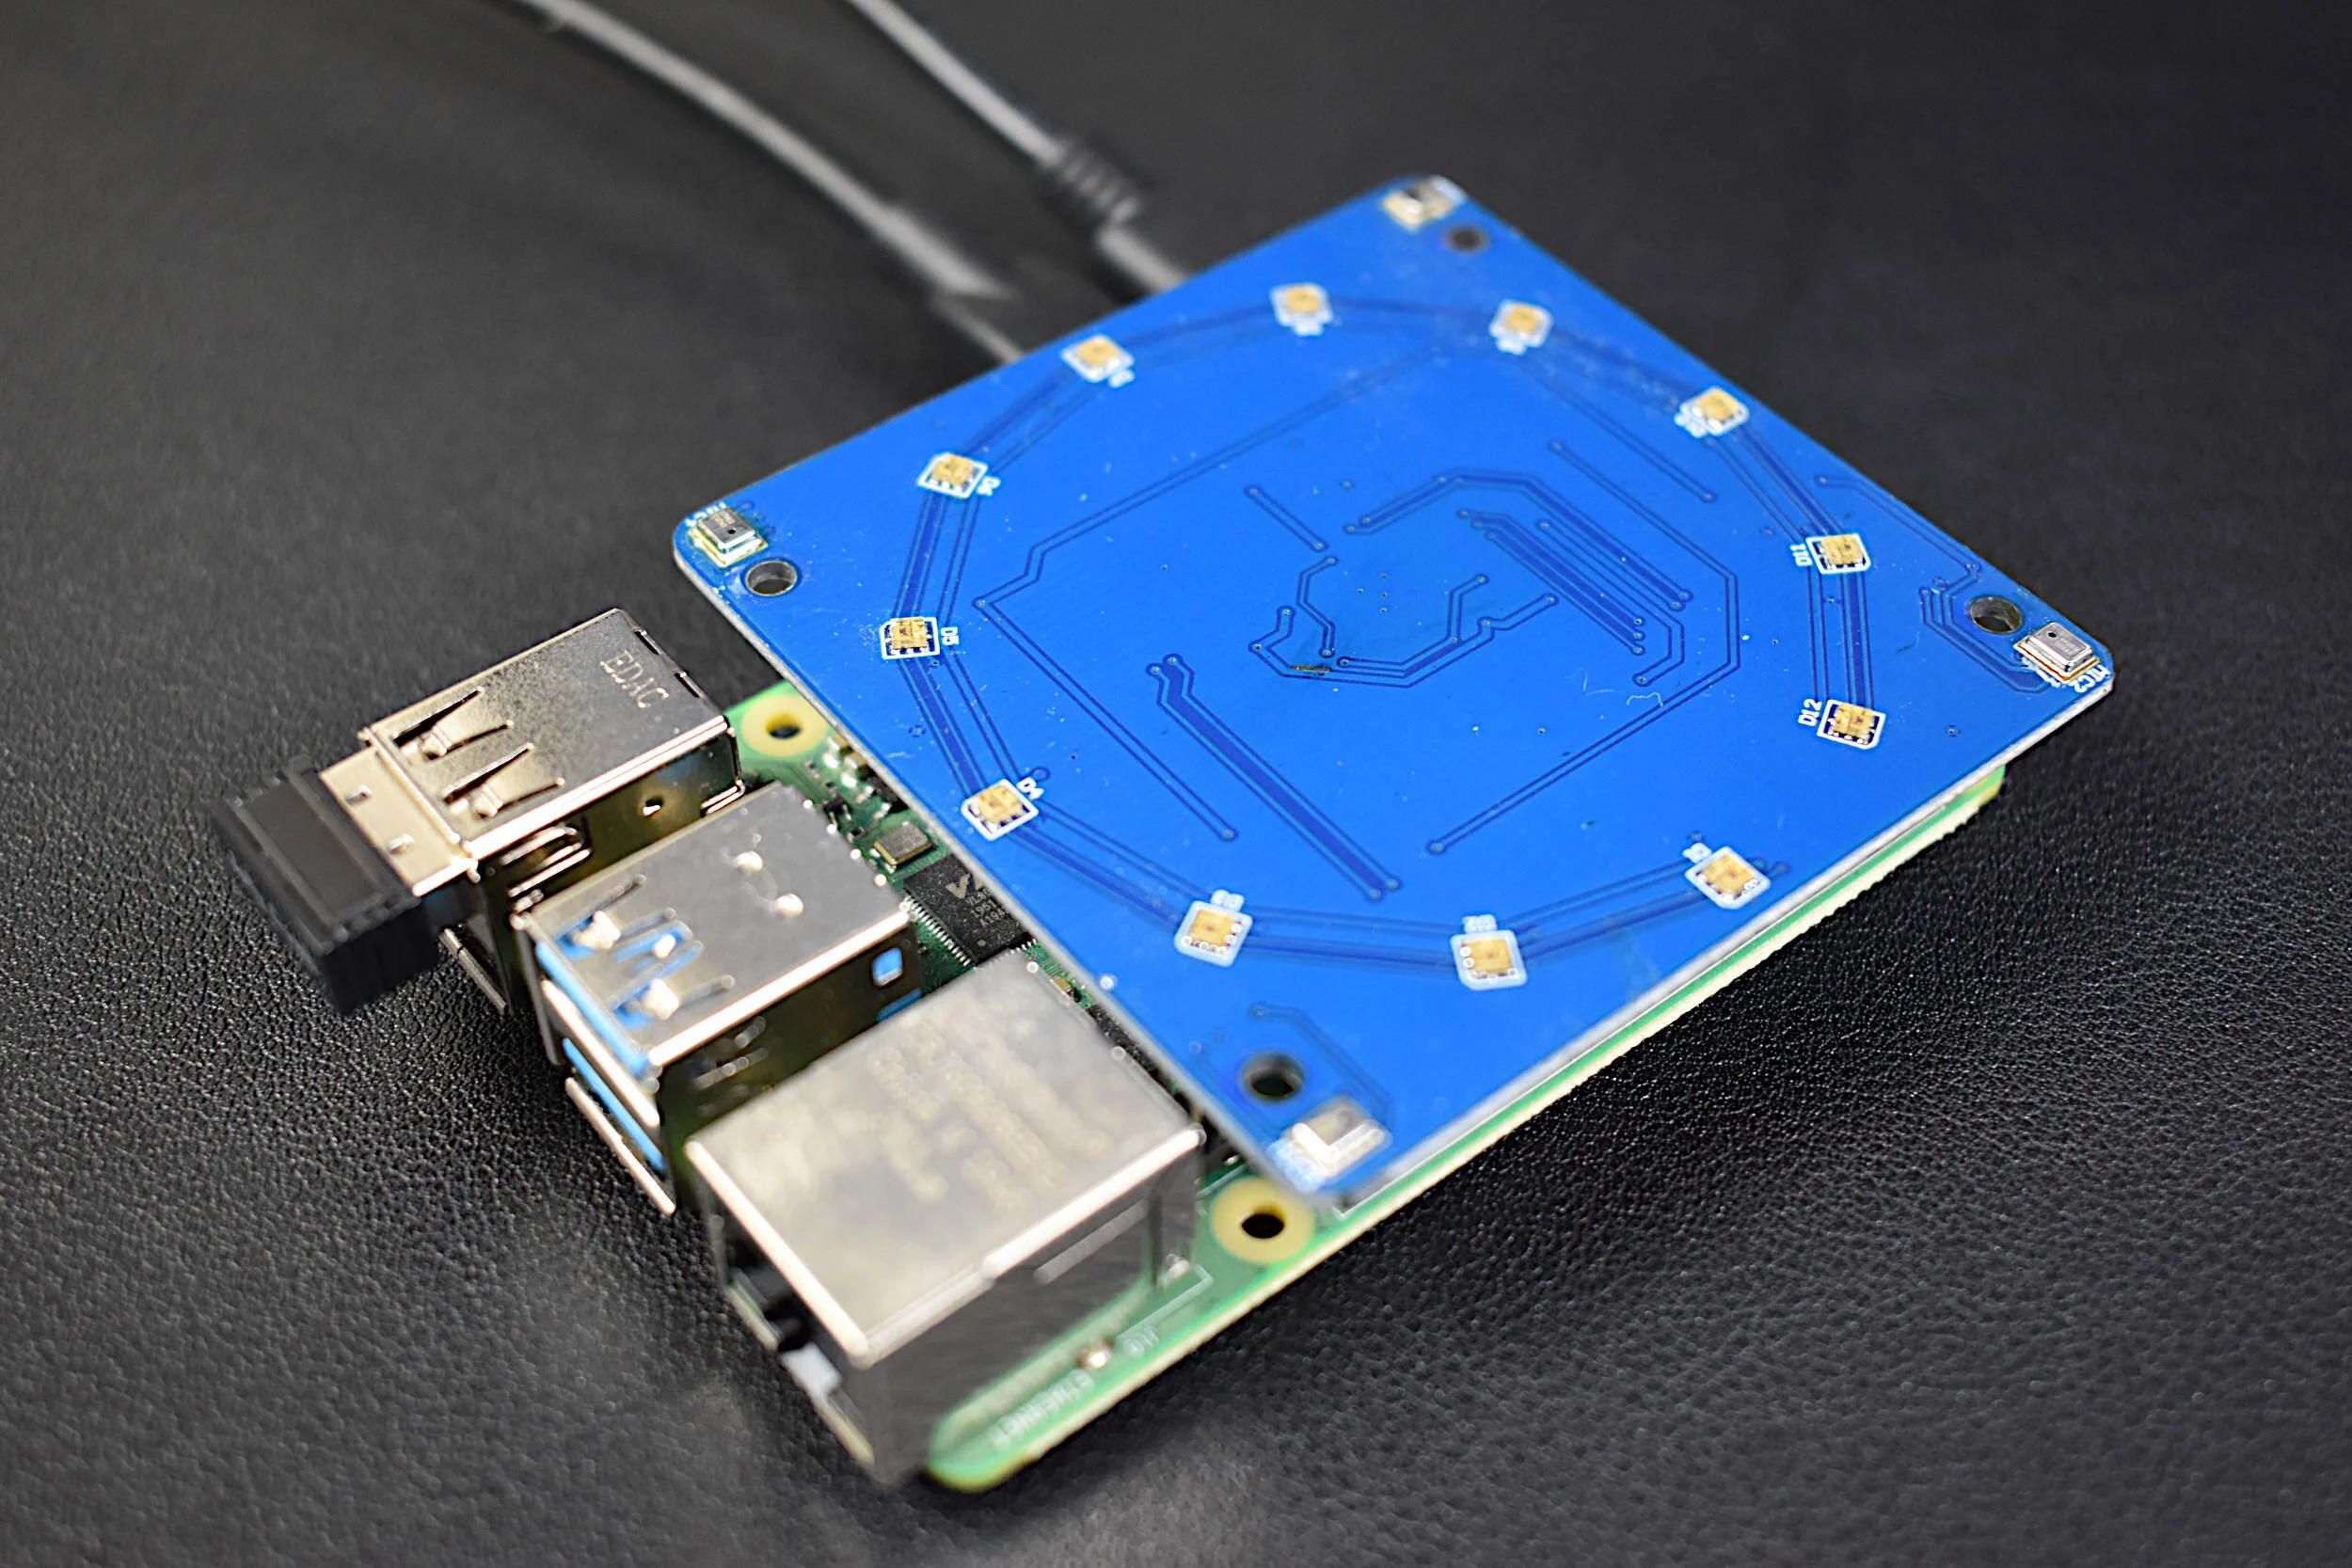
Read MoreThe QuadMic Array is a 4-microphone array based around the AC108 quad-channel analog-to-digital converter (ADC) with Inter-IC Sound (I2S) audio output capable of interfacing with the Raspberry Pi. The QuadMic can be used for applications in voice detection and recognition, acoustic localization, noise control, and other applications in audio and acoustic analysis. The QuadMic will be connected to the header of a Raspberry Pi 4 and used to record simultaneous audio data from all four microphones. Some signal processing routines will be developed as part of an acoustic analysis with the four microphones. Algorithms will be introduced that approximate acoustic source directivity, which can help with understanding and characterizing noise sources, room and spatial geometries, and other aspects of acoustic systems. Python is also used for the analysis. Additionally, visualizations will aid in the understanding of the measurements and subsequent analyses conducts in this tutorial.
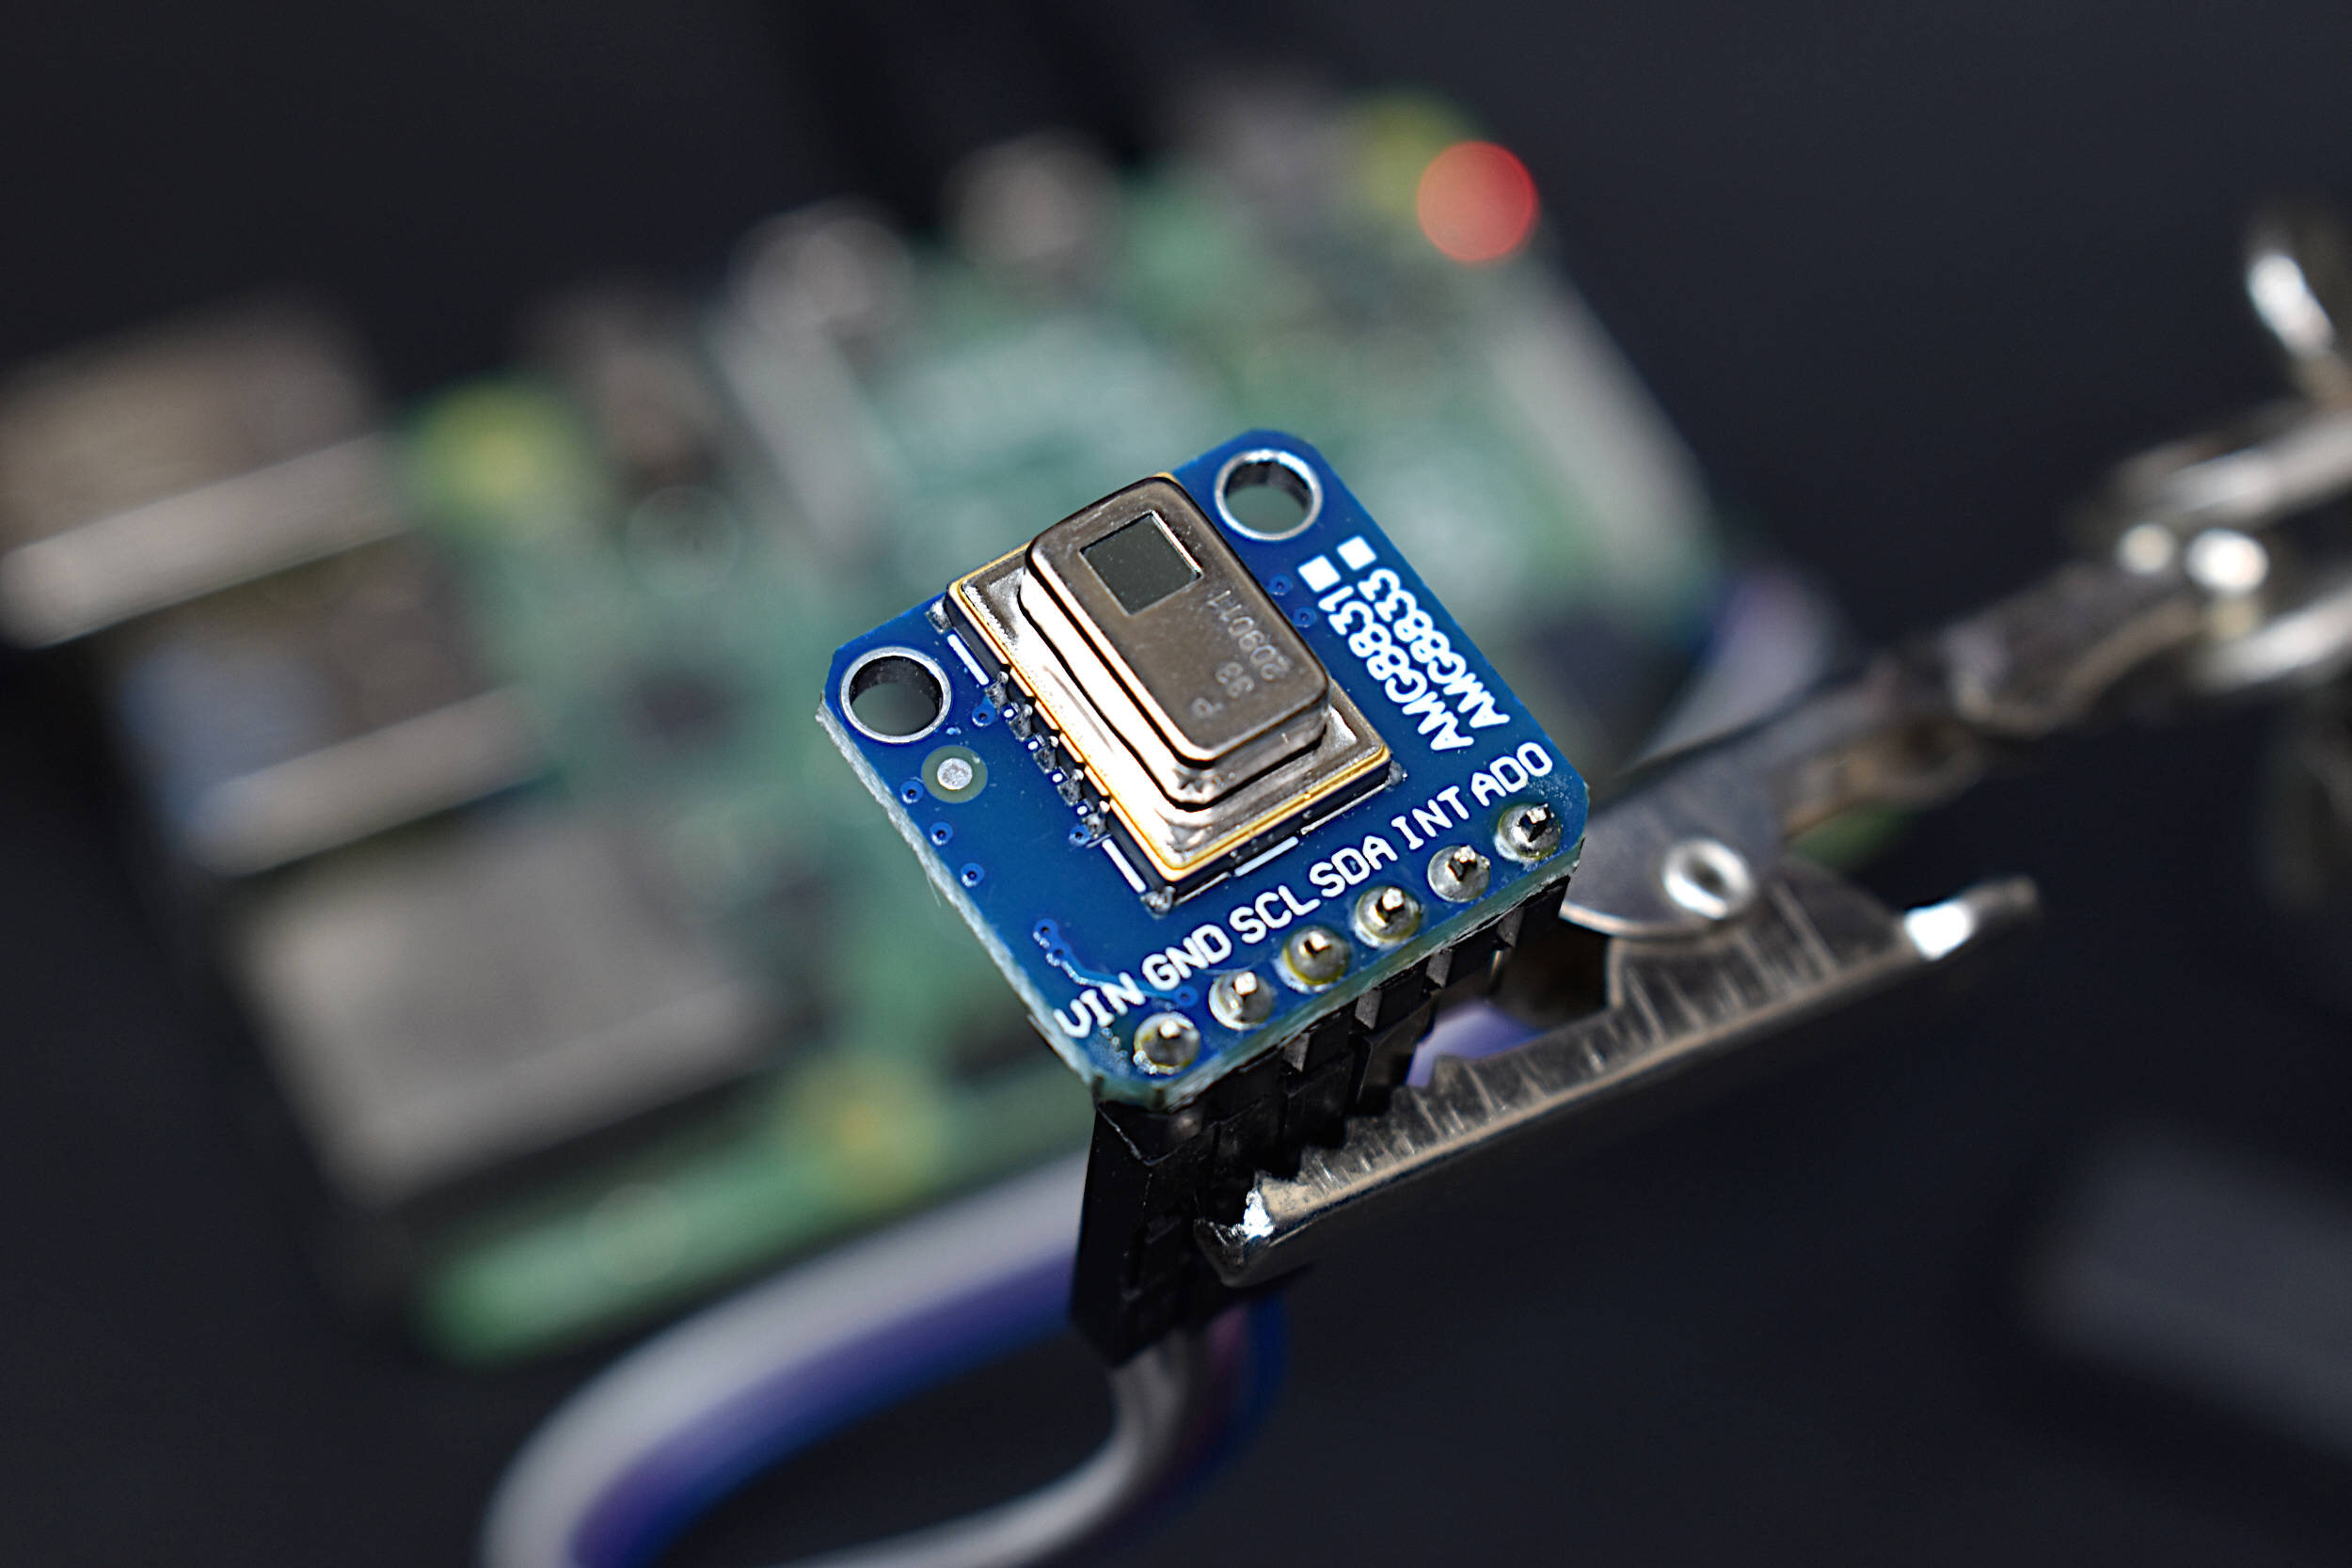
Read MoreThe AMG8833 infrared thermopile array is a 64-pixel (8x8) detector that approximates temperature from radiative bodies. The module is wired to a Raspberry Pi 4 computer and communicates over the I2C bus at 400kHz to send temperature from all 64 pixels at a selectable rate of 1-10 samples per second. The temperature approximation is outputted at a resolution of 0.25°C over a range of 0°C to 80°C. A real-time infrared camera (IR camera) was introduced as a way of monitoring temperature for applications in person counting, heat transfer of electronics, indoor comfort monitoring, industrial non-contact temperature measurement, and other applications where multi-point temperature monitoring may be useful. The approximate error of the sensor over its operable range is 2.5°C, making is particularly useful for applications with larger temperature fluctuations. This tutorial is meant as the first in a series of heat transfer analyses in electronics thermal management using the AMG8833.
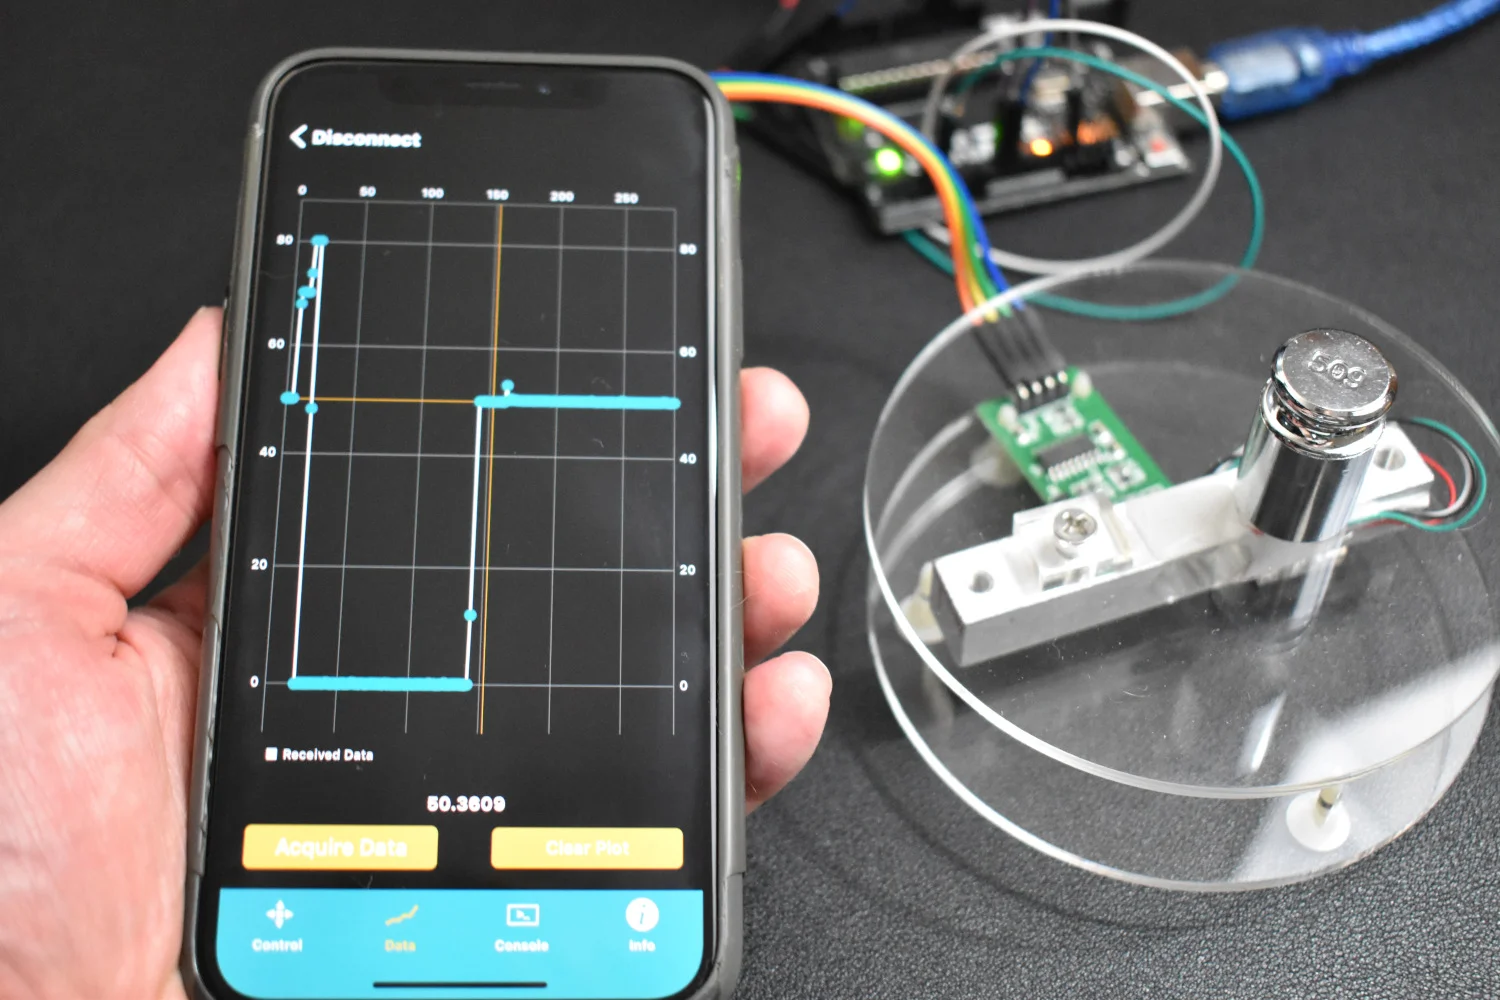
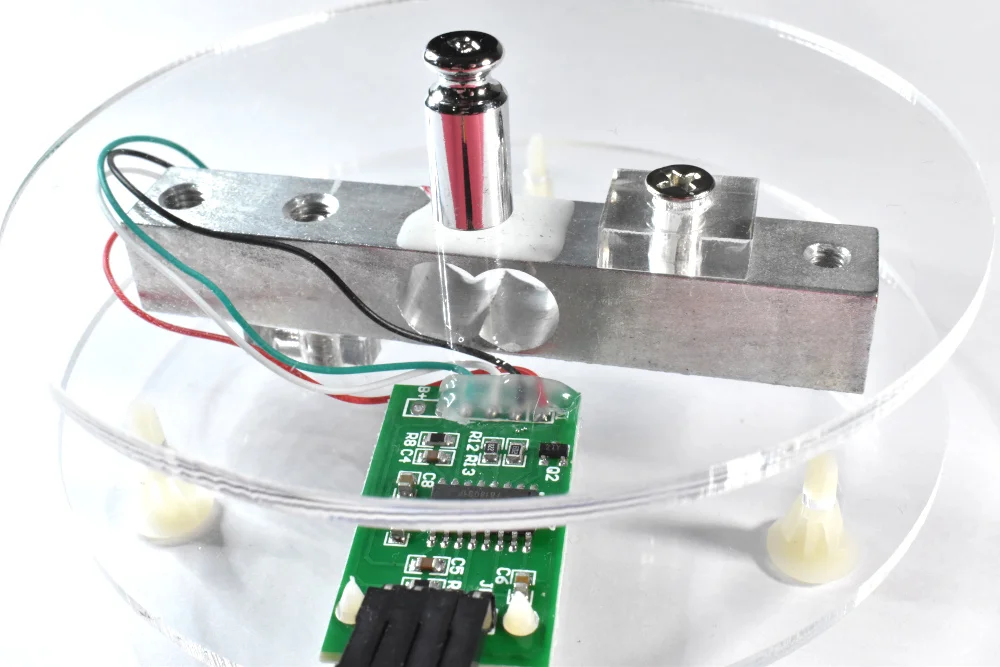
Read MoreIn this tutorial, I introduce an Arduino-based weighing scale that uses a load cell, analog-to-digital converter, and calibrated mass. I introduce calibration with known masses to create a powerful and accurate weighing system that can be used for highly accurate measurement purpose such as: chemistry, horticulture, cooking, and much more!
Read MoreIn this tutorial, I introduce an Arduino-based weighing scale that uses a load cell, analog-to-digital converter, and calibrated mass. I introduce calibration with known masses to create a powerful and accurate weighing system that can be used for highly accurate measurement purpose such as: chemistry, horticulture, cooking, and much more!
Read More

