This is the third tutorial in a series dedicated to exploring the Raspberry Pi Foundation's groundbreaking new microcontroller: the Raspberry Pi Pico. The first entry centered on the basic principles of interfacing with the Pico and programming with Thonny and MicroPython, while the second entry focused on emulating the Google Home and Amazon Alexa LED animations with a WS2812 RGB LED array. In this tutorial, an SSD1306 organic light emitting diode (OLED) display will be controlled using the Pico microcontroller. A MicroPython library will be used as the base class for interfacing with the SSD1306, while custom algorithms are introduced to create data displays. Additionally, a custom Python3 algorithm will be given that allows users to show a custom image on the display. Lastly, a real-time plot will be created that shows an audio signal outputted by a MEMS microphone, emulating a real-time graph display. The SSD1306 is a useful tool for smaller scale projects that require real-time data displays, control feedback, and IoT testing. The power of the Pico microcontroller makes interfacing with the SSD1306 fast and easy, which will be evident when working with the Pico and SSD1306.
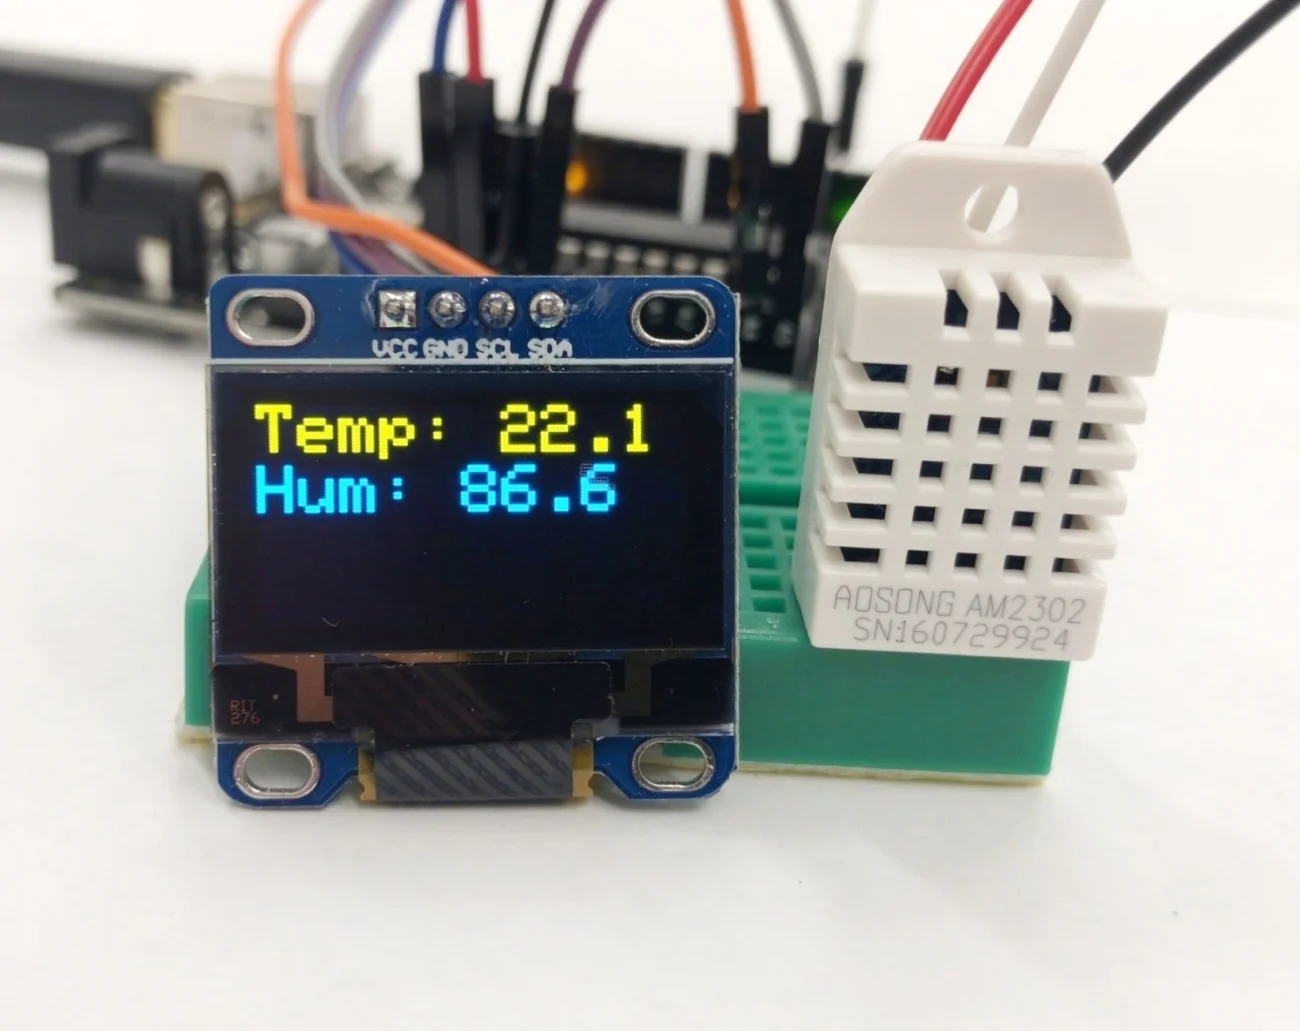
Read MoreHow to print temperature and humidity readings onto a 0.96 inch I2C OLED display. The device is DIYMall's inexpensive, high resolution (128x64 pixels), yellow and blue organic LED display that is designed for use with the Arduino platform. Together with a DHT22 temperature sensor, the tiny OLED screen will display real-time humidity and temperature data using an Adafruit library and an Arduino Uno board. This project can be expanded upon to print data from a wide array of sensors, and even grab data from the internet to print values for a smart and interactive display.
Read More

