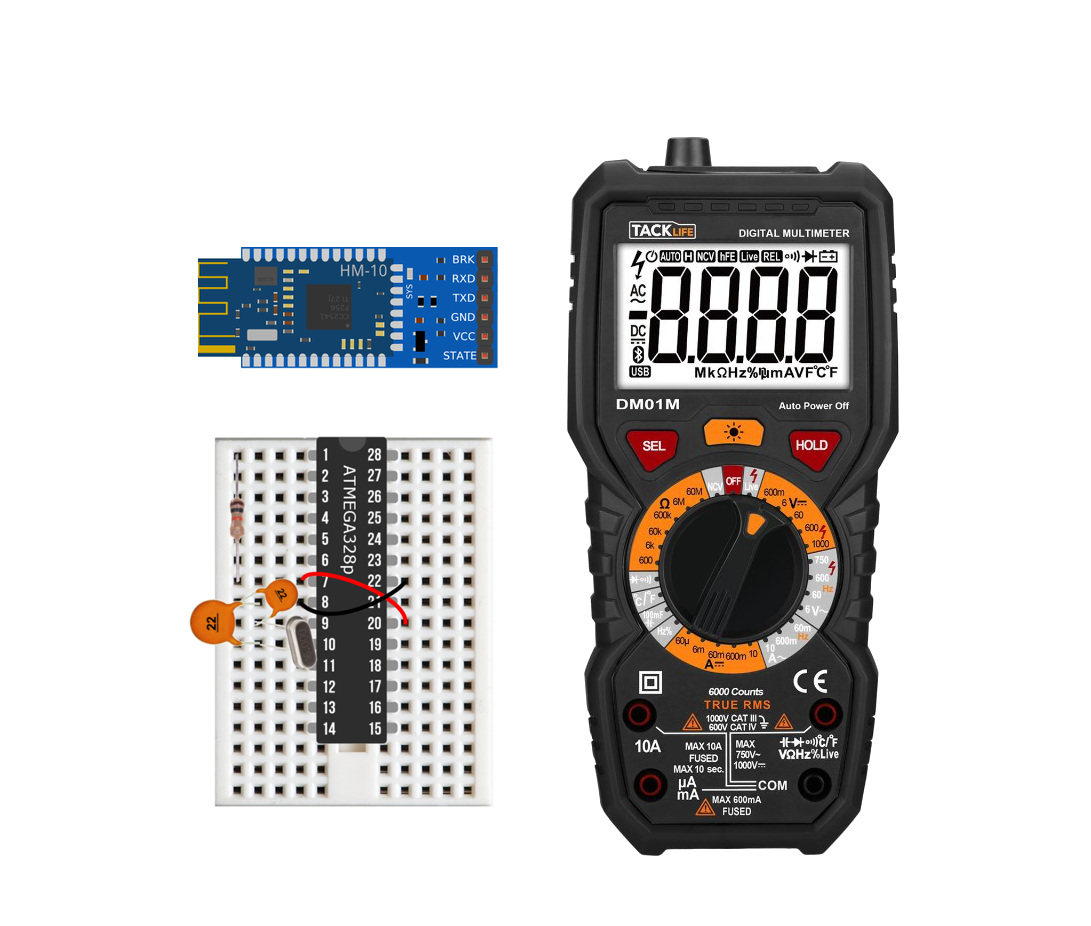
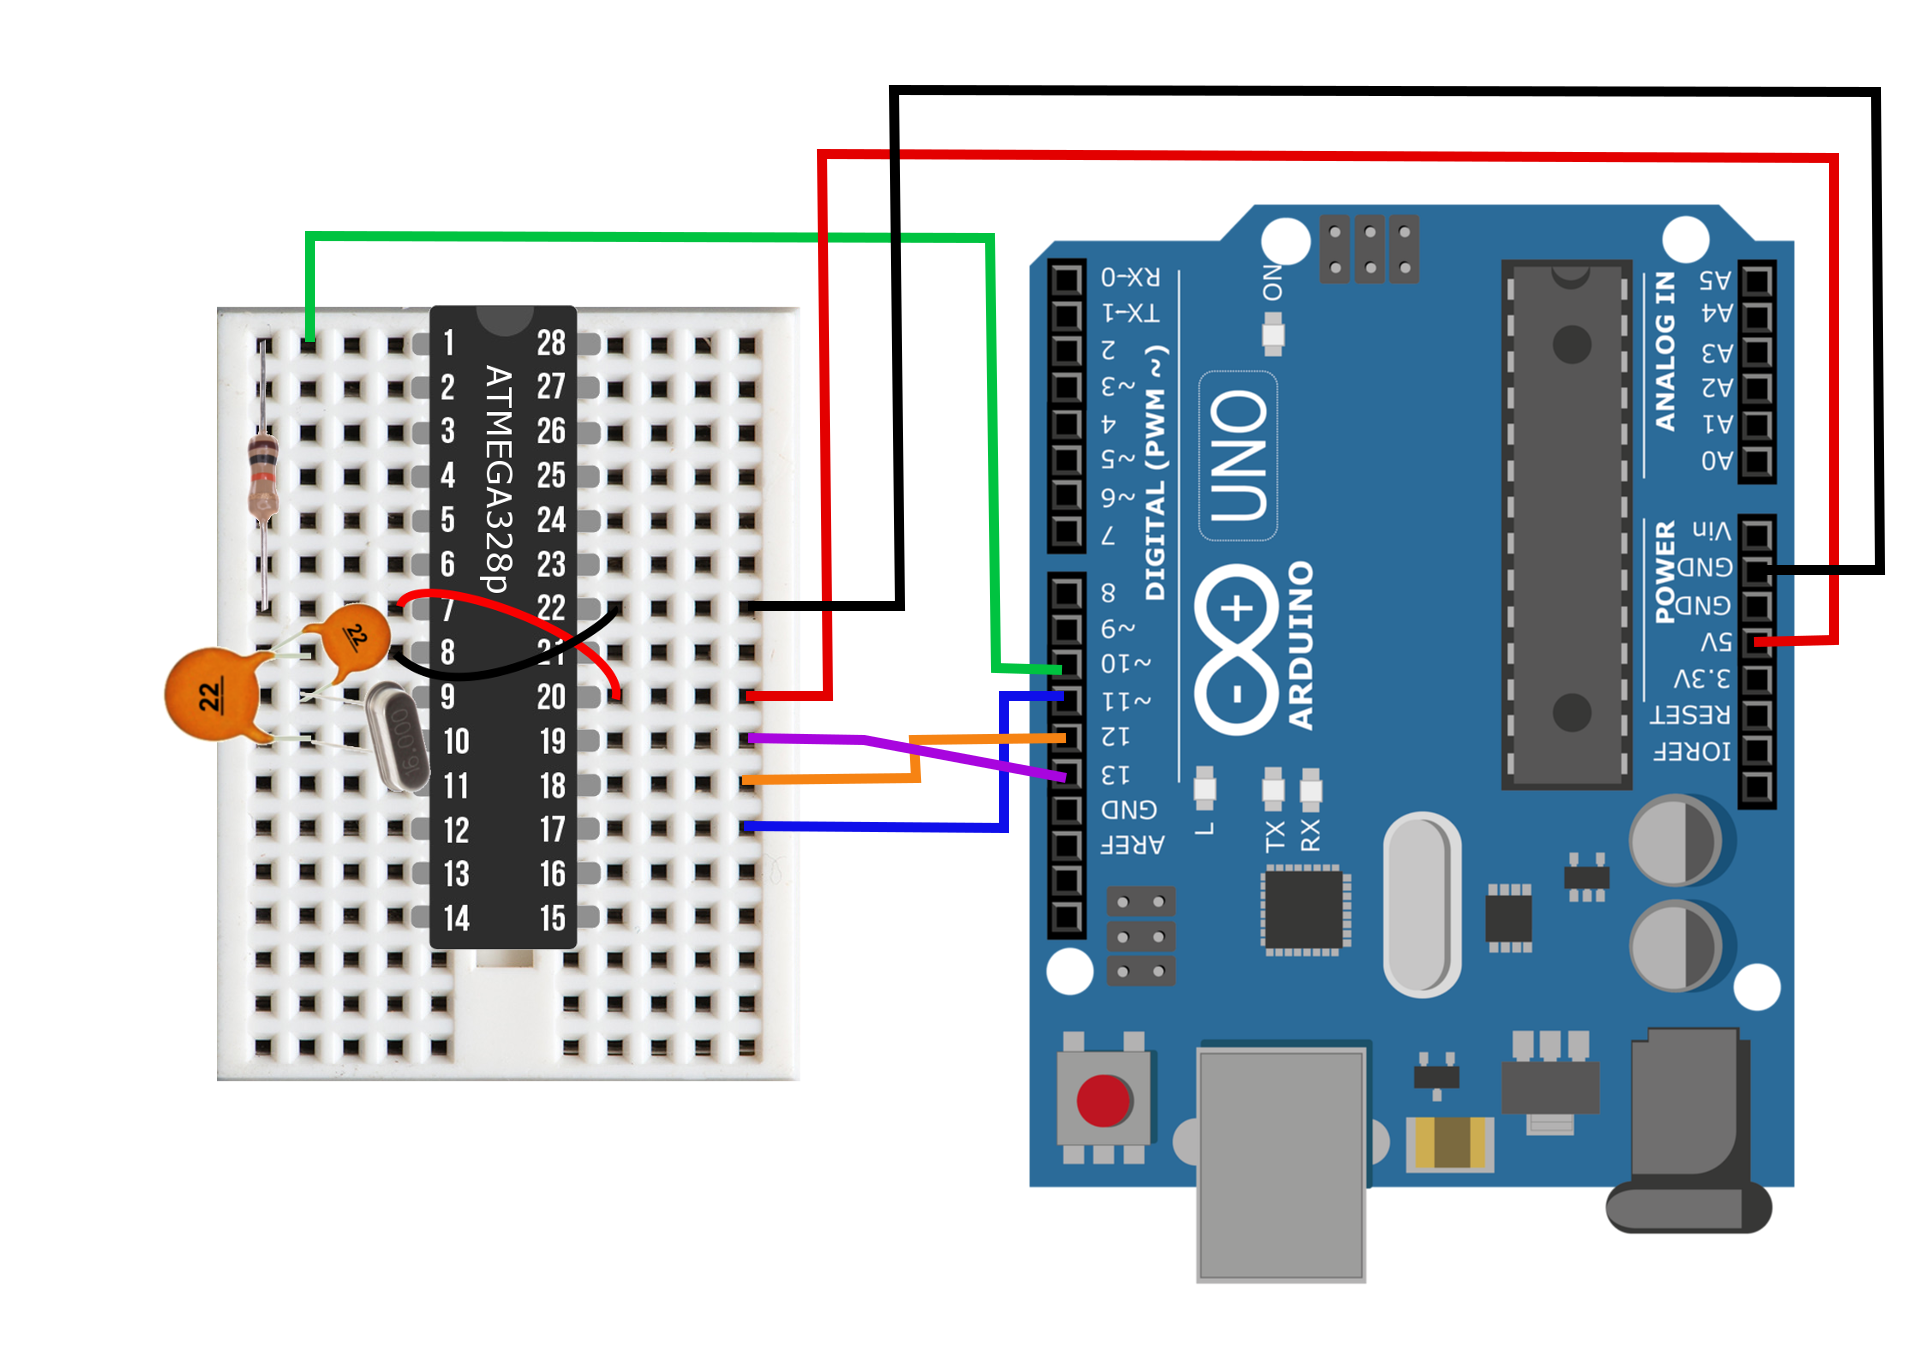
DIY Arduino Board
A DIY Arduino board is presented here, with most of the capabilities of the classic Arduino Uno board, but with a slimmer profile and more flexibility in hardware. The advantage to using the DIY Arduino board is its ability to change the input voltage (2.7V - 5.5V), the crystal oscillator (0-16MHz), and the use of LEDs and regulators when needed. The DIY board is capable of very lower power modes, without the requirement of draining components such as LEDs or regulators. The ATmega328P chip is at the center of every Uno board (in recent years), and is also at the center of the DIY board, which allows the DIY Arduino to behave almost identically to the Uno board.

DIY Laser Pointer Cat Toy
This is a quick and fun tutorial on how to create an inexpensive laser pointer cat toy using DIY parts either found around the maker space or bought for other projects. It is an inexpensive and fun project that almost any maker or engineer could put together in a matter of minutes. It uses a cheap laser that can be found in many electronics kits (I’m using a red, 650 nm), a small button, and a 3.7V LiPo battery.
Arduino SoftPot LED Meter (Membrane Potentiometer)
How to use a soft, circular-membrane potentiometer with an Arduino board. Potentiometers function by altering the voltage of a system by mechanically changing the resistance associated with a voltage divider. In a traditional potentiometer (think of turning a volume knob), we are physically changing the voltage of a system. In the case of a soft potentiometer (where the name SoftPot comes from), we are altering the resistance of the voltage divider by physically depressing the potentiometer, thereby changing the resistance at a contact point. The working principle is exactly the same, but in the SoftPot’s case, we are pressing, and for a knob we are rotating.