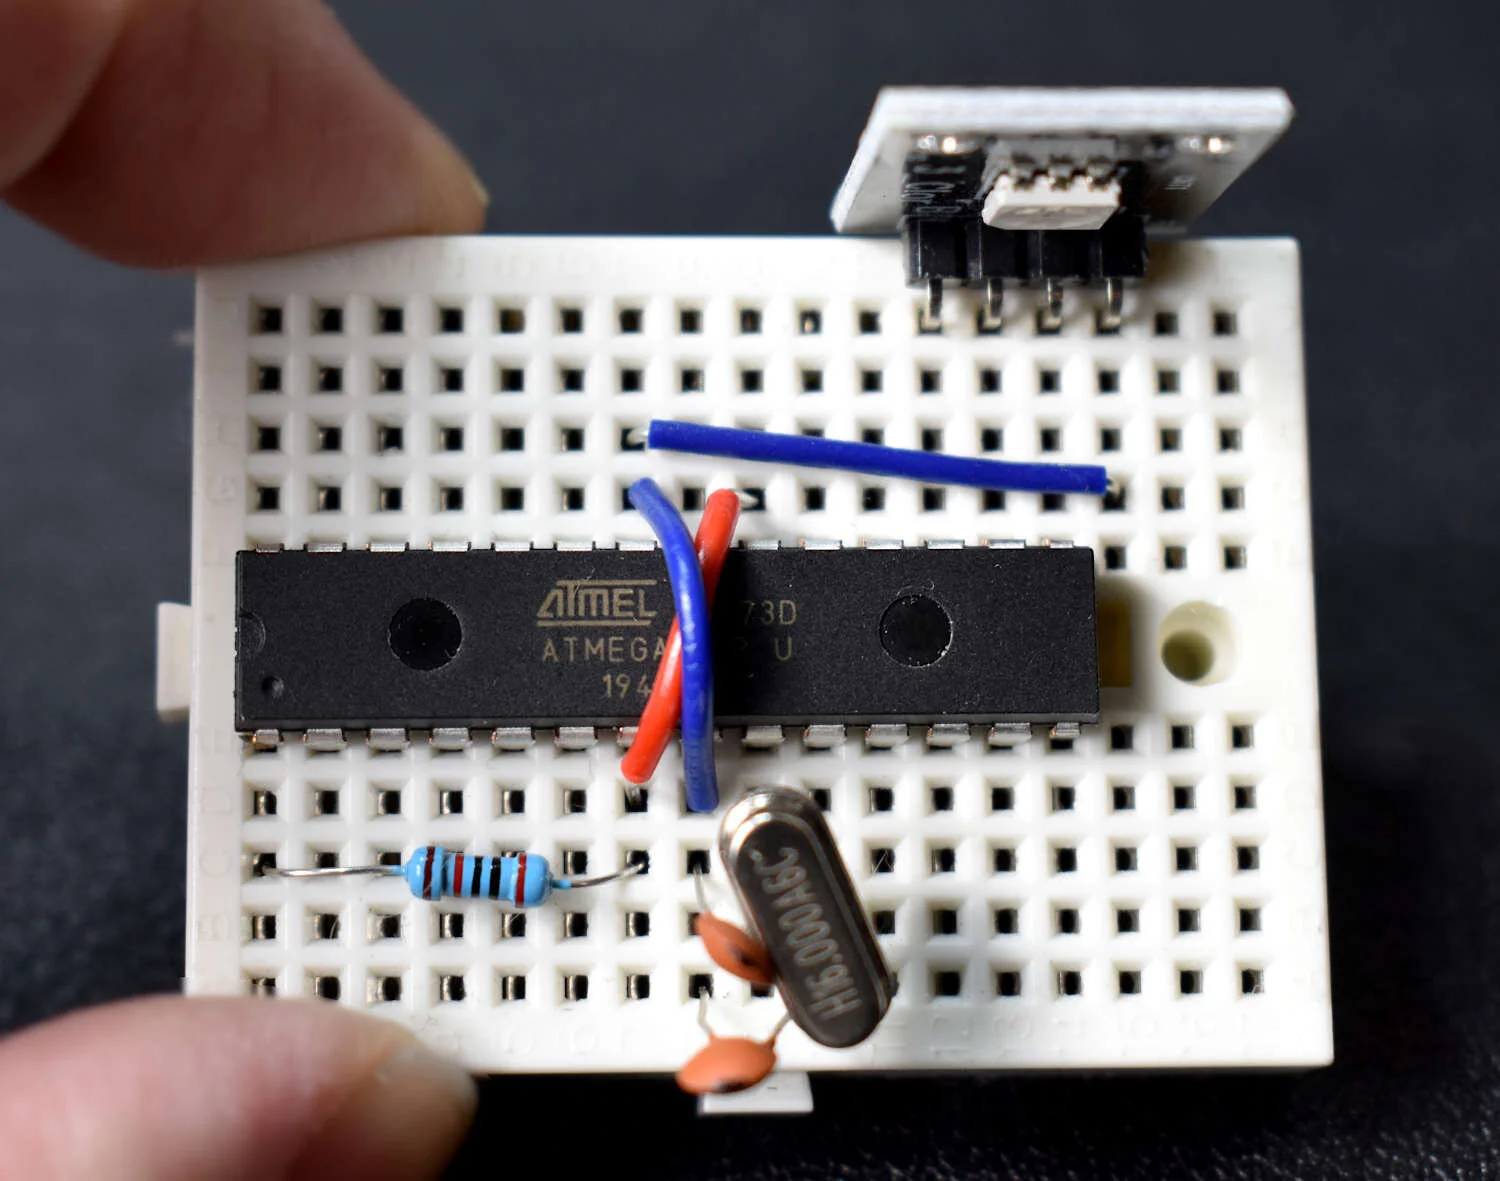
A DIY Arduino board is presented here, with most of the capabilities of the classic Arduino Uno board, but with a slimmer profile and more flexibility in hardware. The advantage to using the DIY Arduino board is its ability to change the input voltage (2.7V - 5.5V), the crystal oscillator (0-16MHz), and the use of LEDs and regulators when needed. The DIY board is capable of very lower power modes, without the requirement of draining components such as LEDs or regulators. The ATmega328P chip is at the center of every Uno board (in recent years), and is also at the center of the DIY board, which allows the DIY Arduino to behave almost identically to the Uno board.
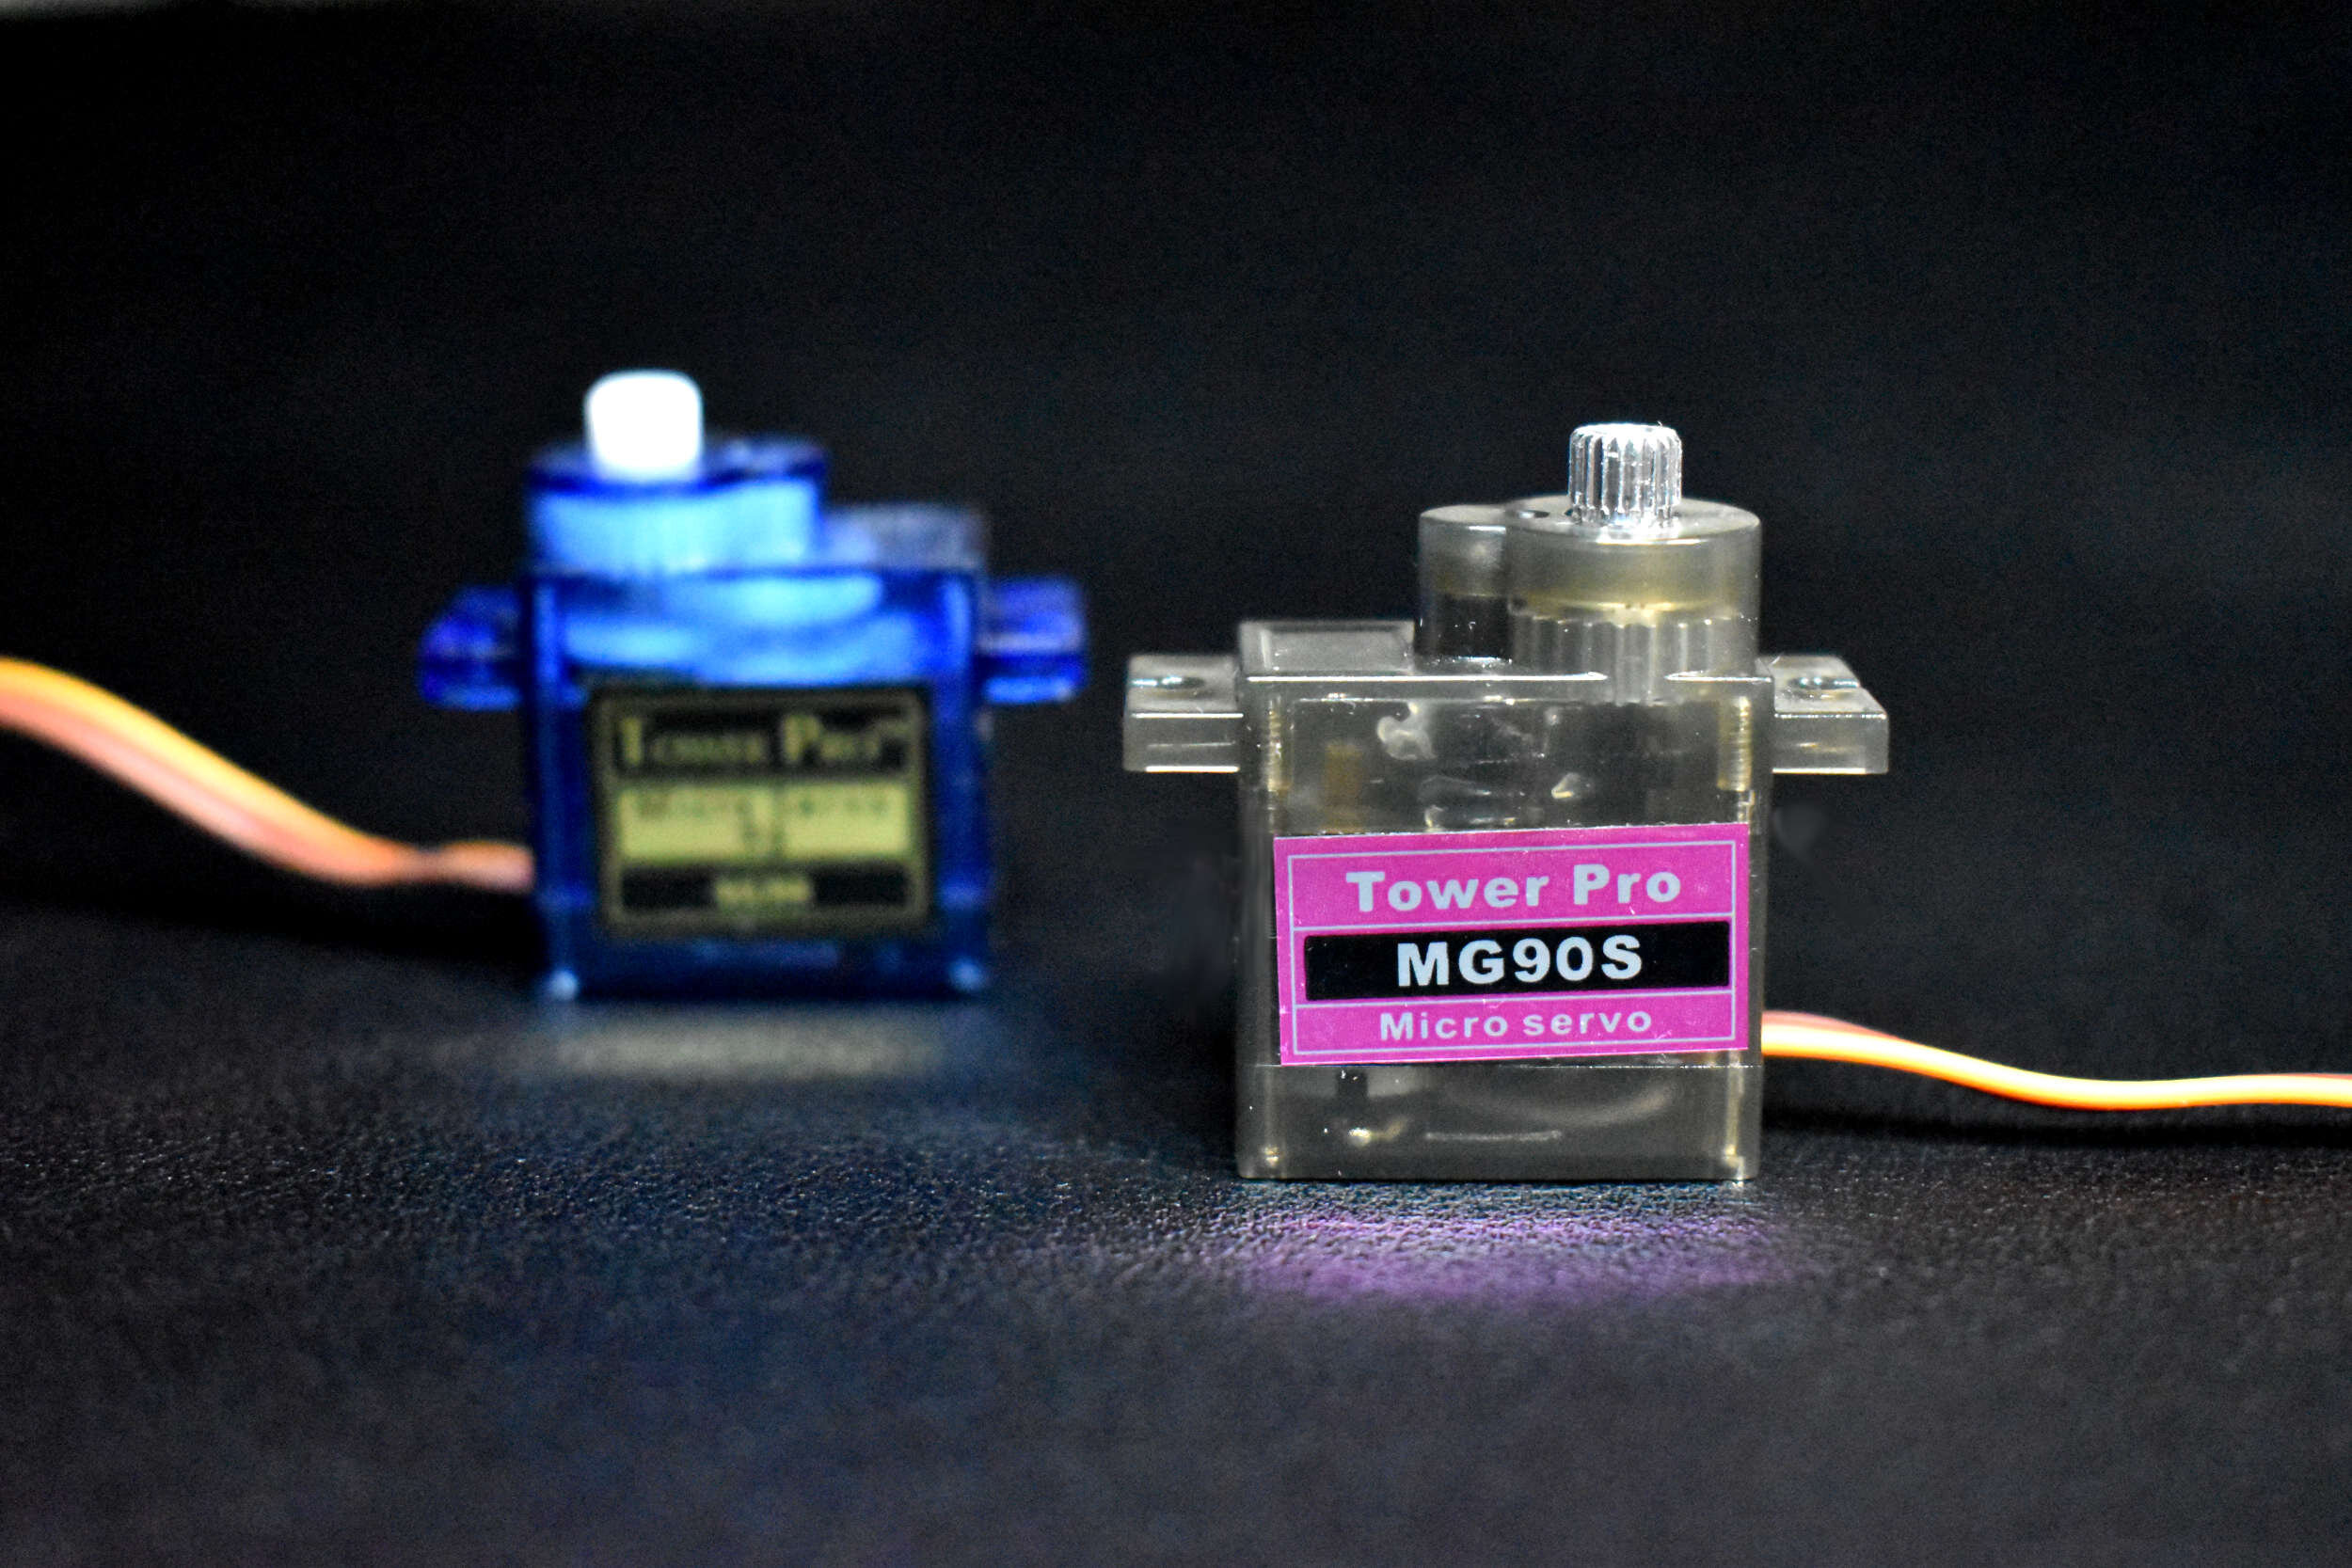
Read MoreIn this tutorial, an Arduino board will be used to power and control a small servo motor. The basics and composition of an SG90 will be explored, and the application of several servo codes and applications will be given for another type of servo motor, the MG90S. The goal of this project is to introduce users into the workings of a servo motor, how PWM (pulse-width modulation) controls a servo motor, and how Arduino can interface with servo motors to produce desired movements to great precision.
Read MoreA demultiplexer will be used to control 8 LEDs using just 3 digital pins on the Arduino board. This method of demultiplexing frees up pins on the Arduino, but also makes control of multiple LEDs easier by consolidating the power given to each LED. This will allow us to use LEDs without resistors. In general, a demultiplexer uses N boolean outputs to control 2N switches. In our case, the CD4051 multiplexer will be used as a demultiplexer using 3 digital pins and boolean logic to control 8 individual LEDs. Several skills will also be developed, specifically with regard to programming in the Arduino programming language. Pulse-width modulation (or brightening and dimming) of LEDs will be explored, as well as randomization of LED blinks, along with the general selection process for boolean switching with the demultiplexer.
Read More


