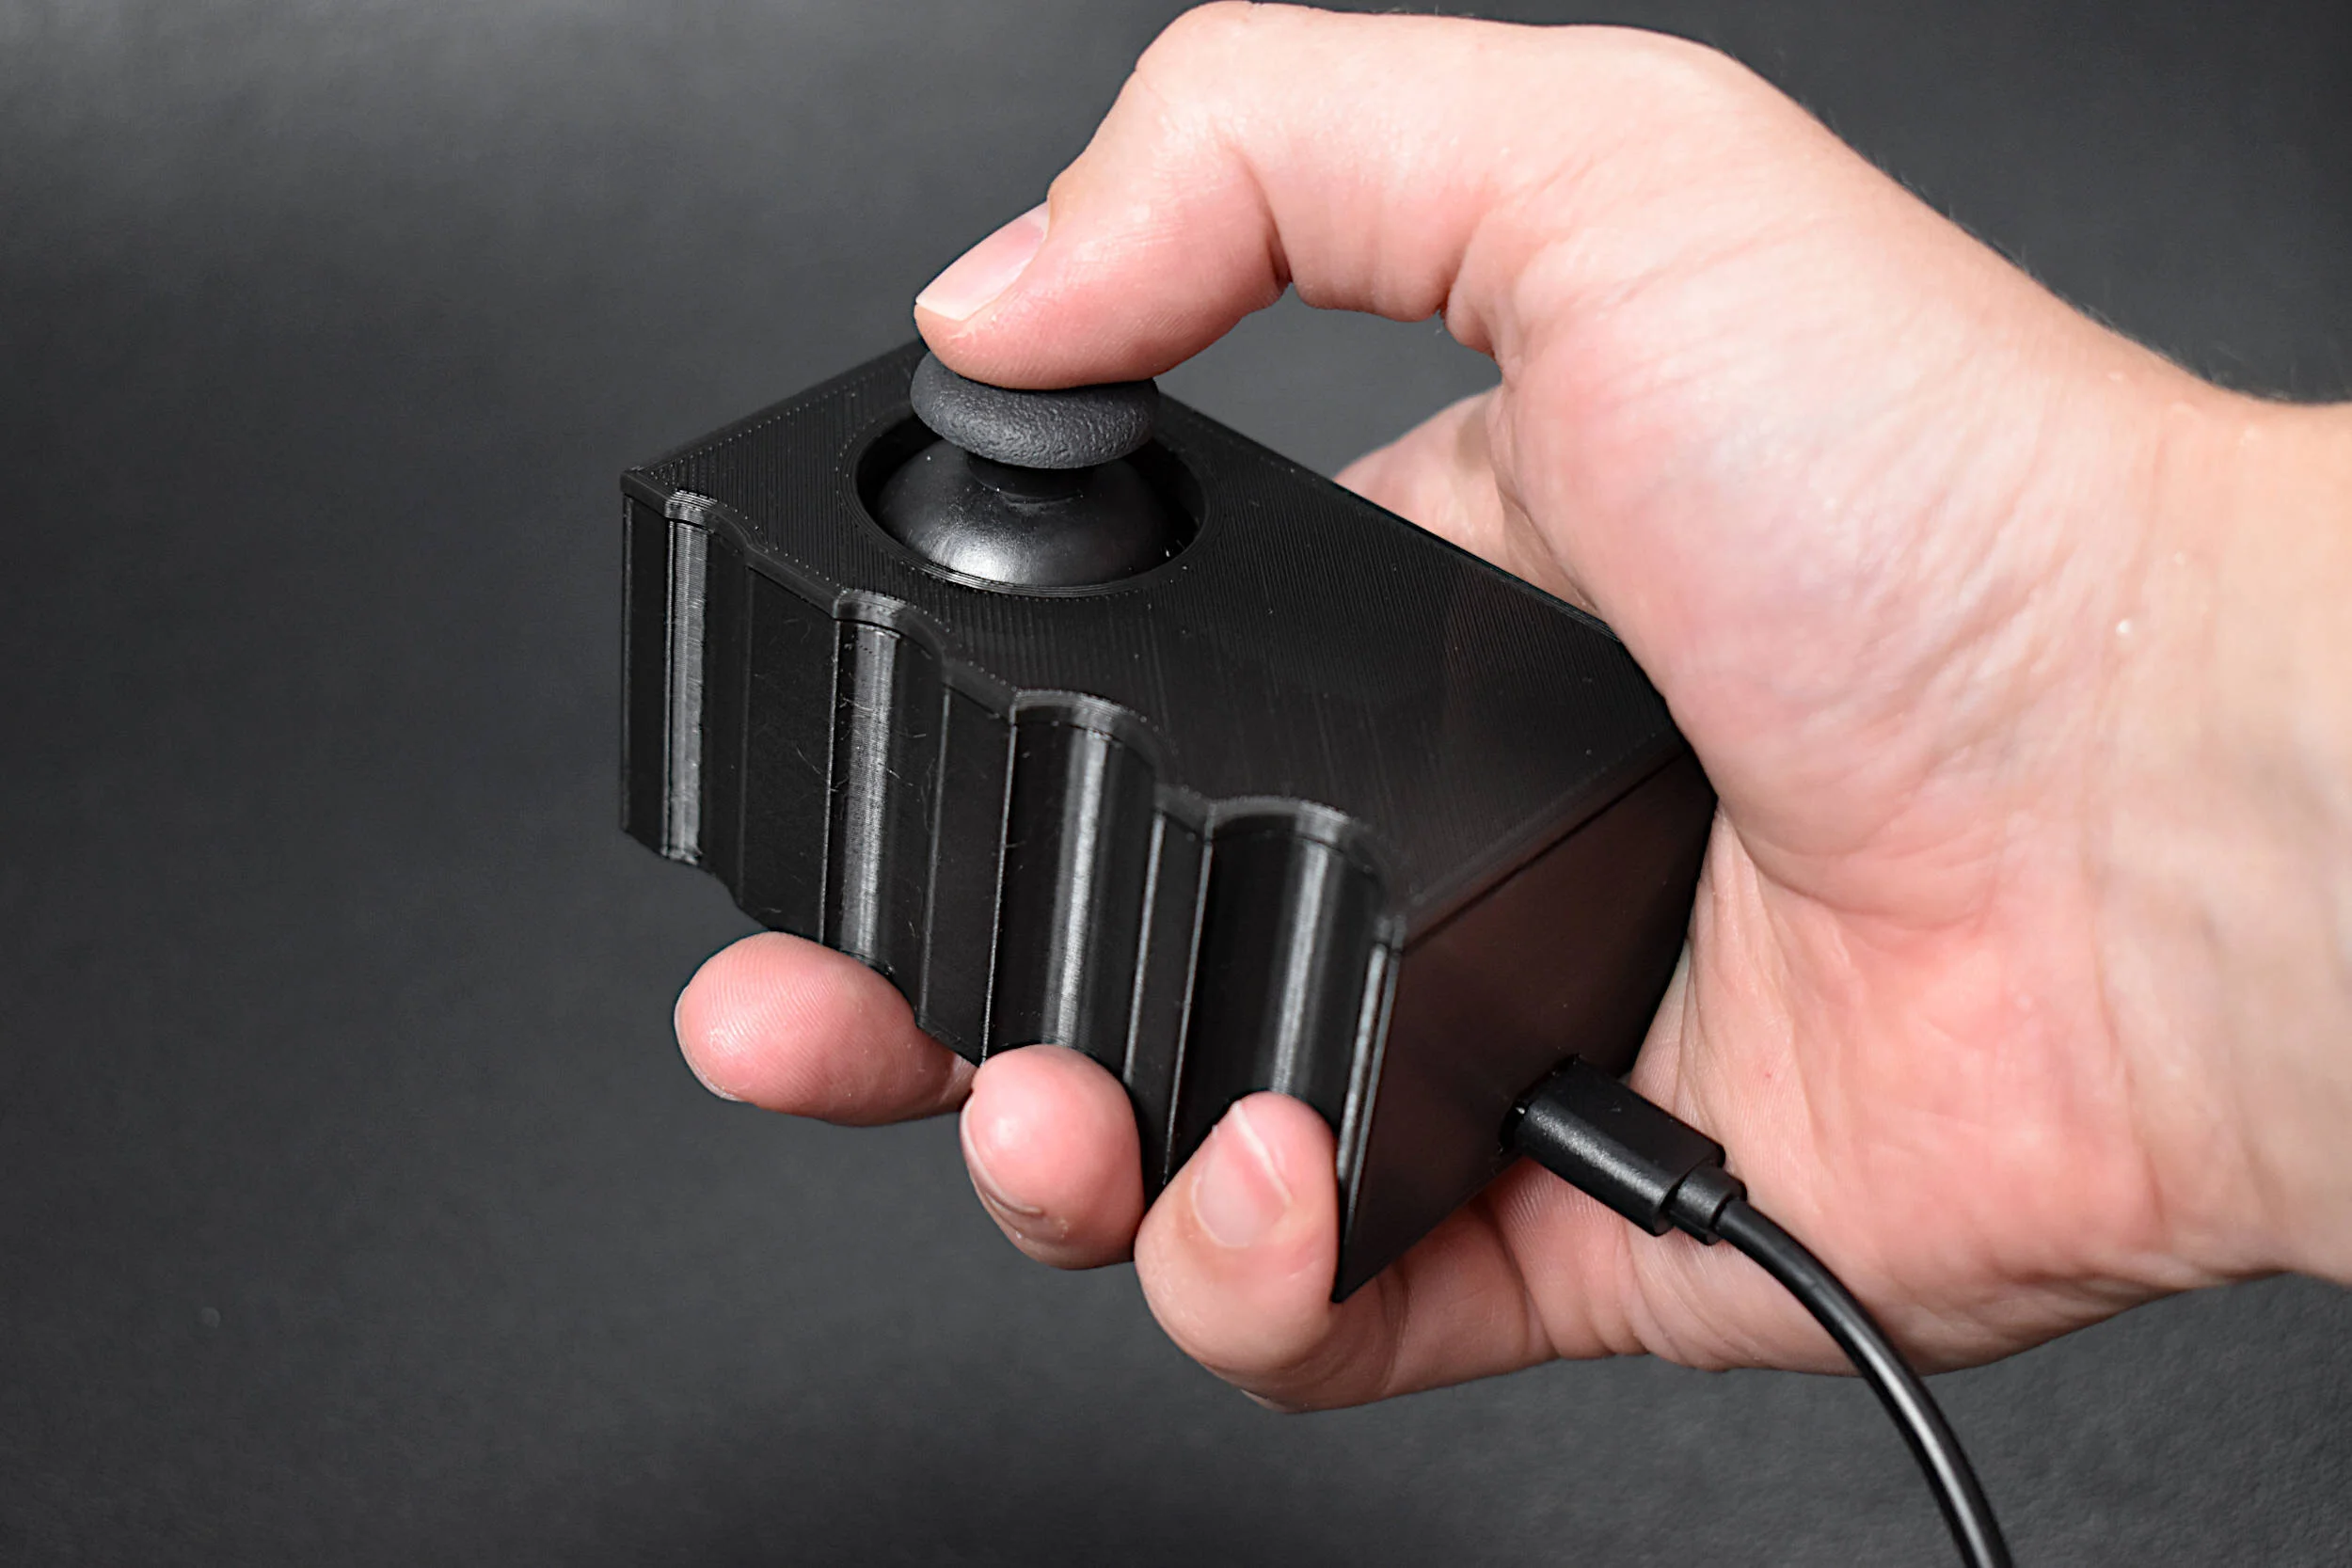
A vibration motor and joystick are used to create a haptic feedback device using the Arduino platform. As a response to specific changes in joystick position, we prescribe vibration motor actions corresponding to the movement of the joystick. This allows for creation of vibrational feedback similar to that used in video games and virtual reality systems. The goal of this tutorial is to introduce users to haptic technology that can immerse users into the digital world using physical feedback mechanisms, such as vibration. Different tunings of the vibration motor can provide users with instructions based on their input, which makes this type of application useful for enhancing digital media, as referenced above, or situations such as visually impaired navigation, feedback in auditory-restricted environments, and delivering quiet notifications to users. Haptics can be incredibly useful in emulating the real world and immersing users into scenarios that may otherwise be dangerous or difficult to experience. Vibrational haptic feedback is just one of a series of haptic mechanisms, and this tutorial was just a simple entry into a wide ranging and evolving field of human computer interaction.
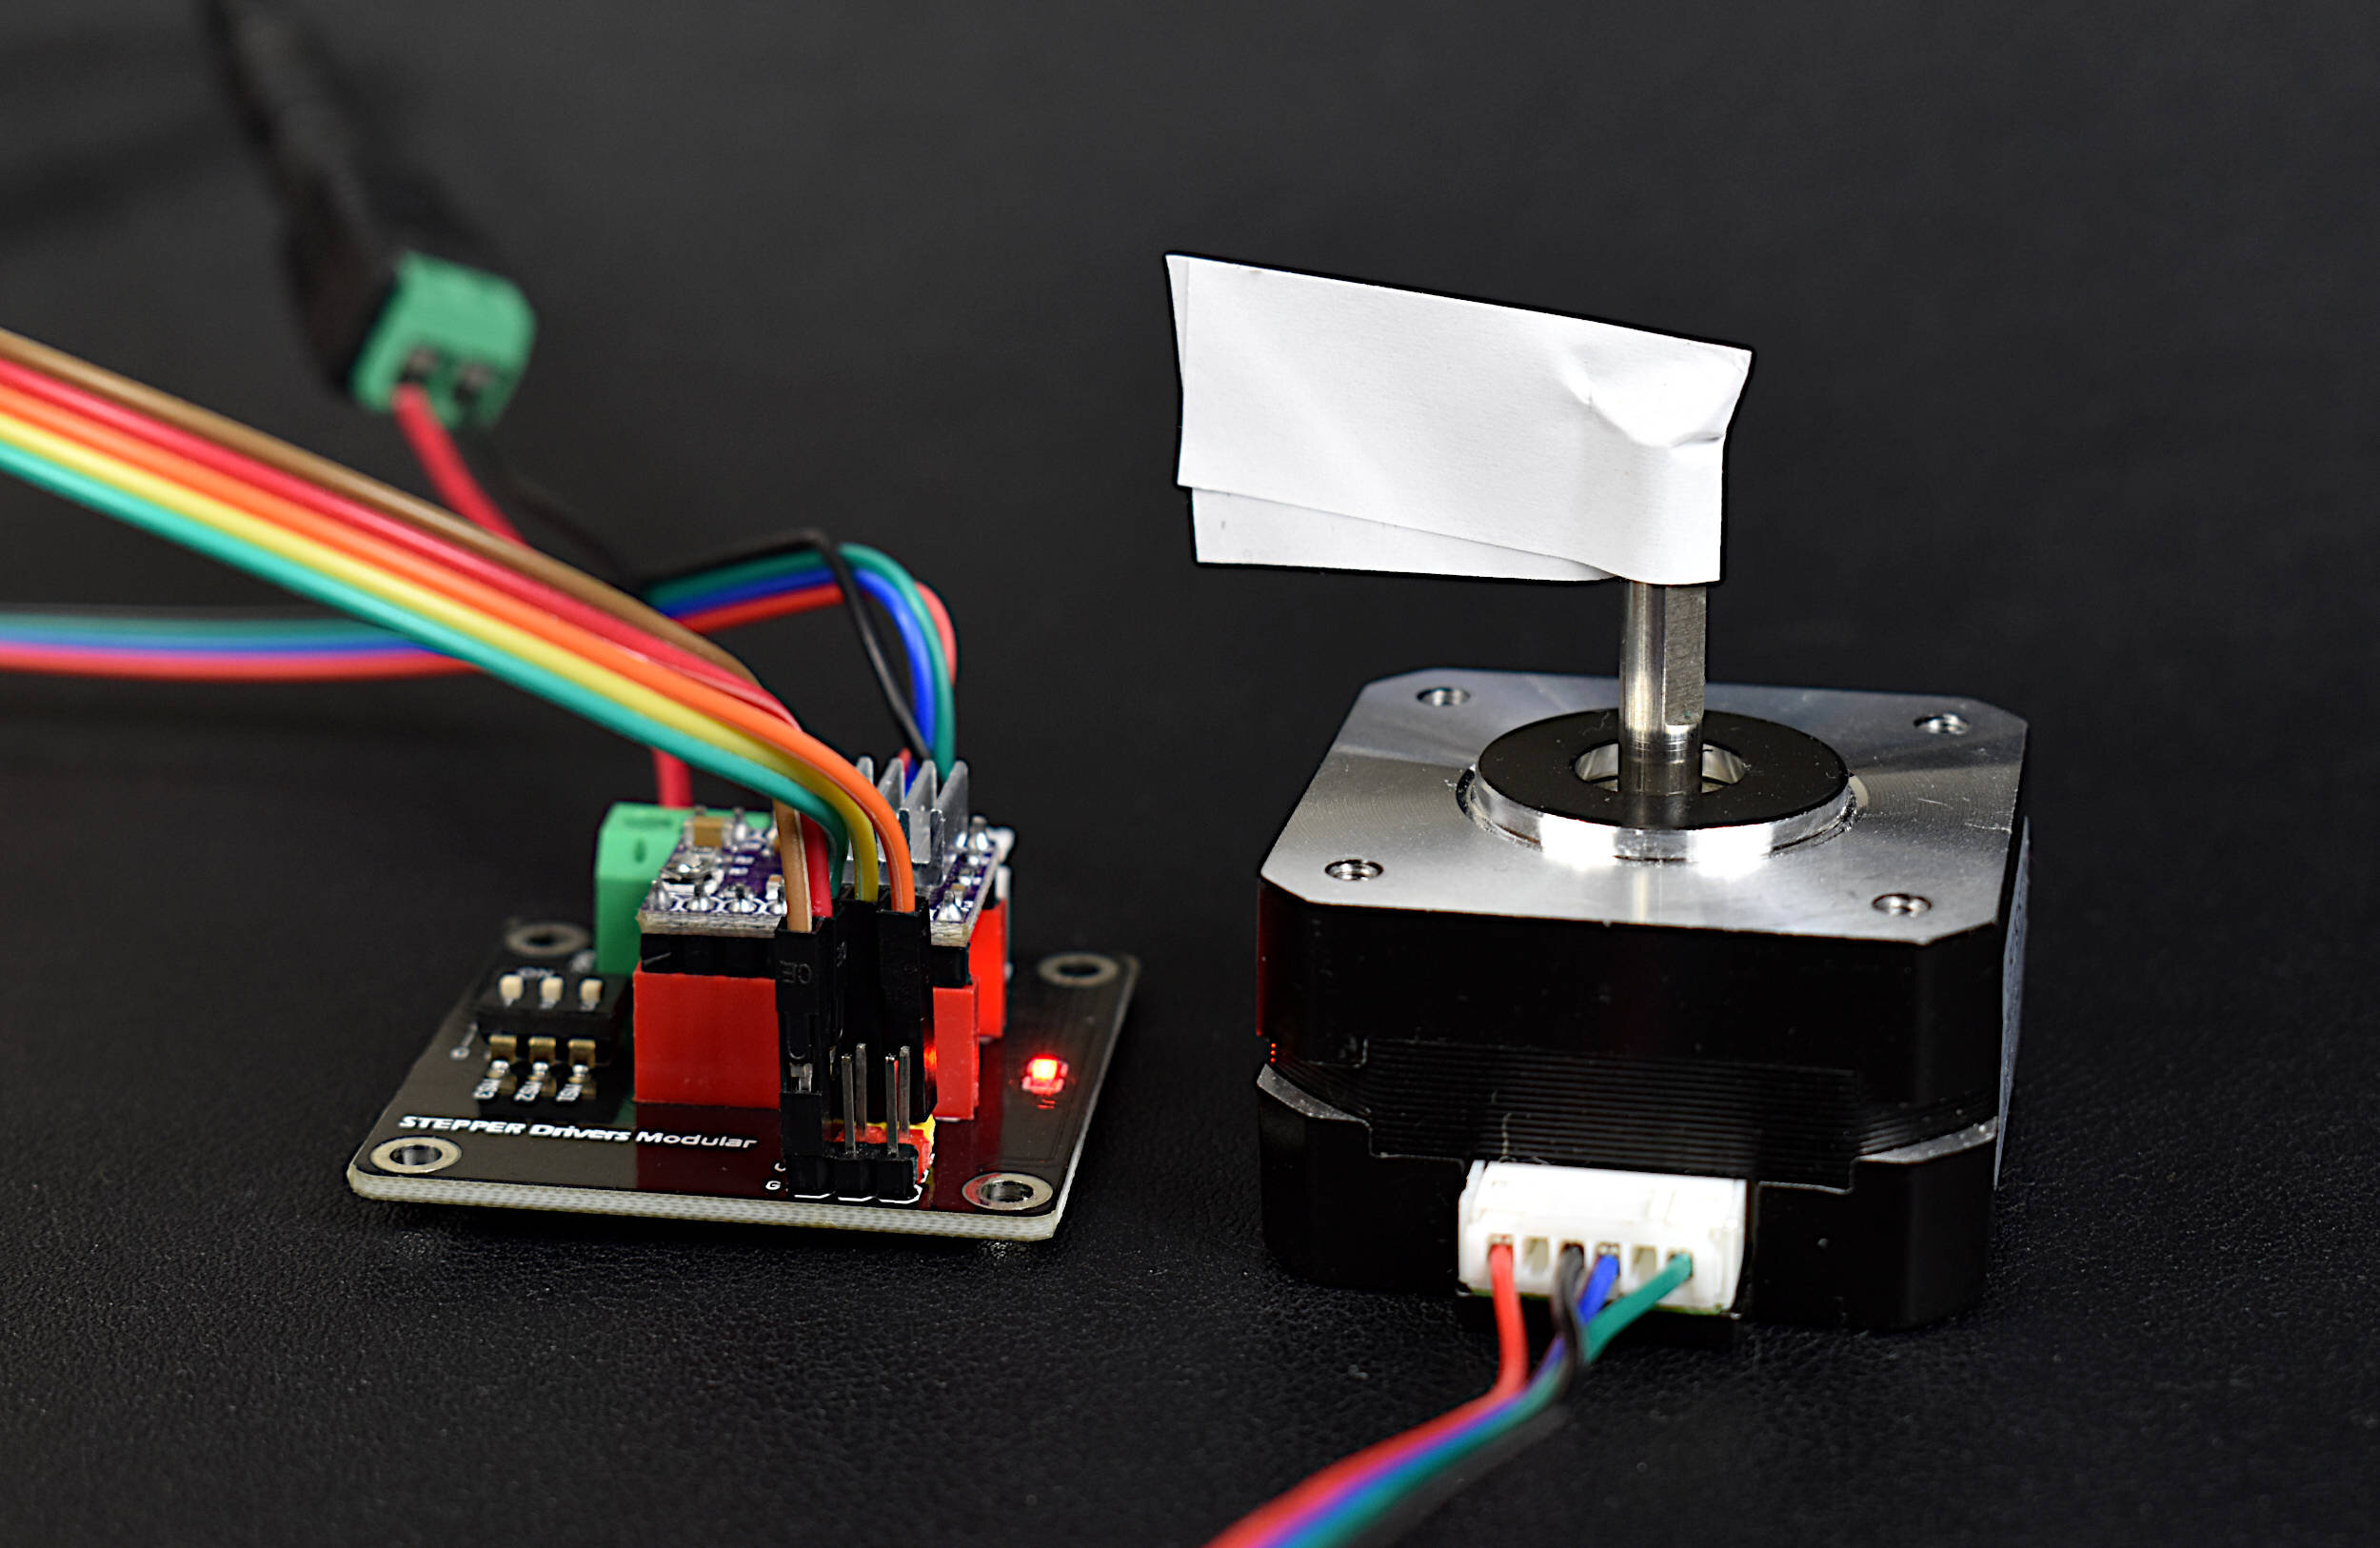
Read MoreThe NEMA 17 is a widely used class of stepper motor used in 3D printers, CNC machines, linear actuators, and other precision engineering applications where accuracy and stability are essential. The NEMA-17HS4023 is introduced here, which is a version of the NEMA 17 that has dimensions 42mm x 42mm x 23mm (Length x Width x Height). In this tutorial, the stepper motor is controlled by a DRV8825 driver wired to a Raspberry Pi 4 computer. The Raspberry Pi uses Python to control the motor using an open-source motor library. The wiring and interfacing between the NEMA 17 and Raspberry Pi is given, with an emphasis on the basics of stepper motors. The DRV8825 control parameters in the Python stepper library are broken down to educate users on how the varying of each parameter impacts the behavior of the NEMA 17. Simple characteristics of stepper control are explored: stepper directivity (clockwise and counterclockwise), step incrementing (full step, half step, micro-stepping, etc.), and step delay.
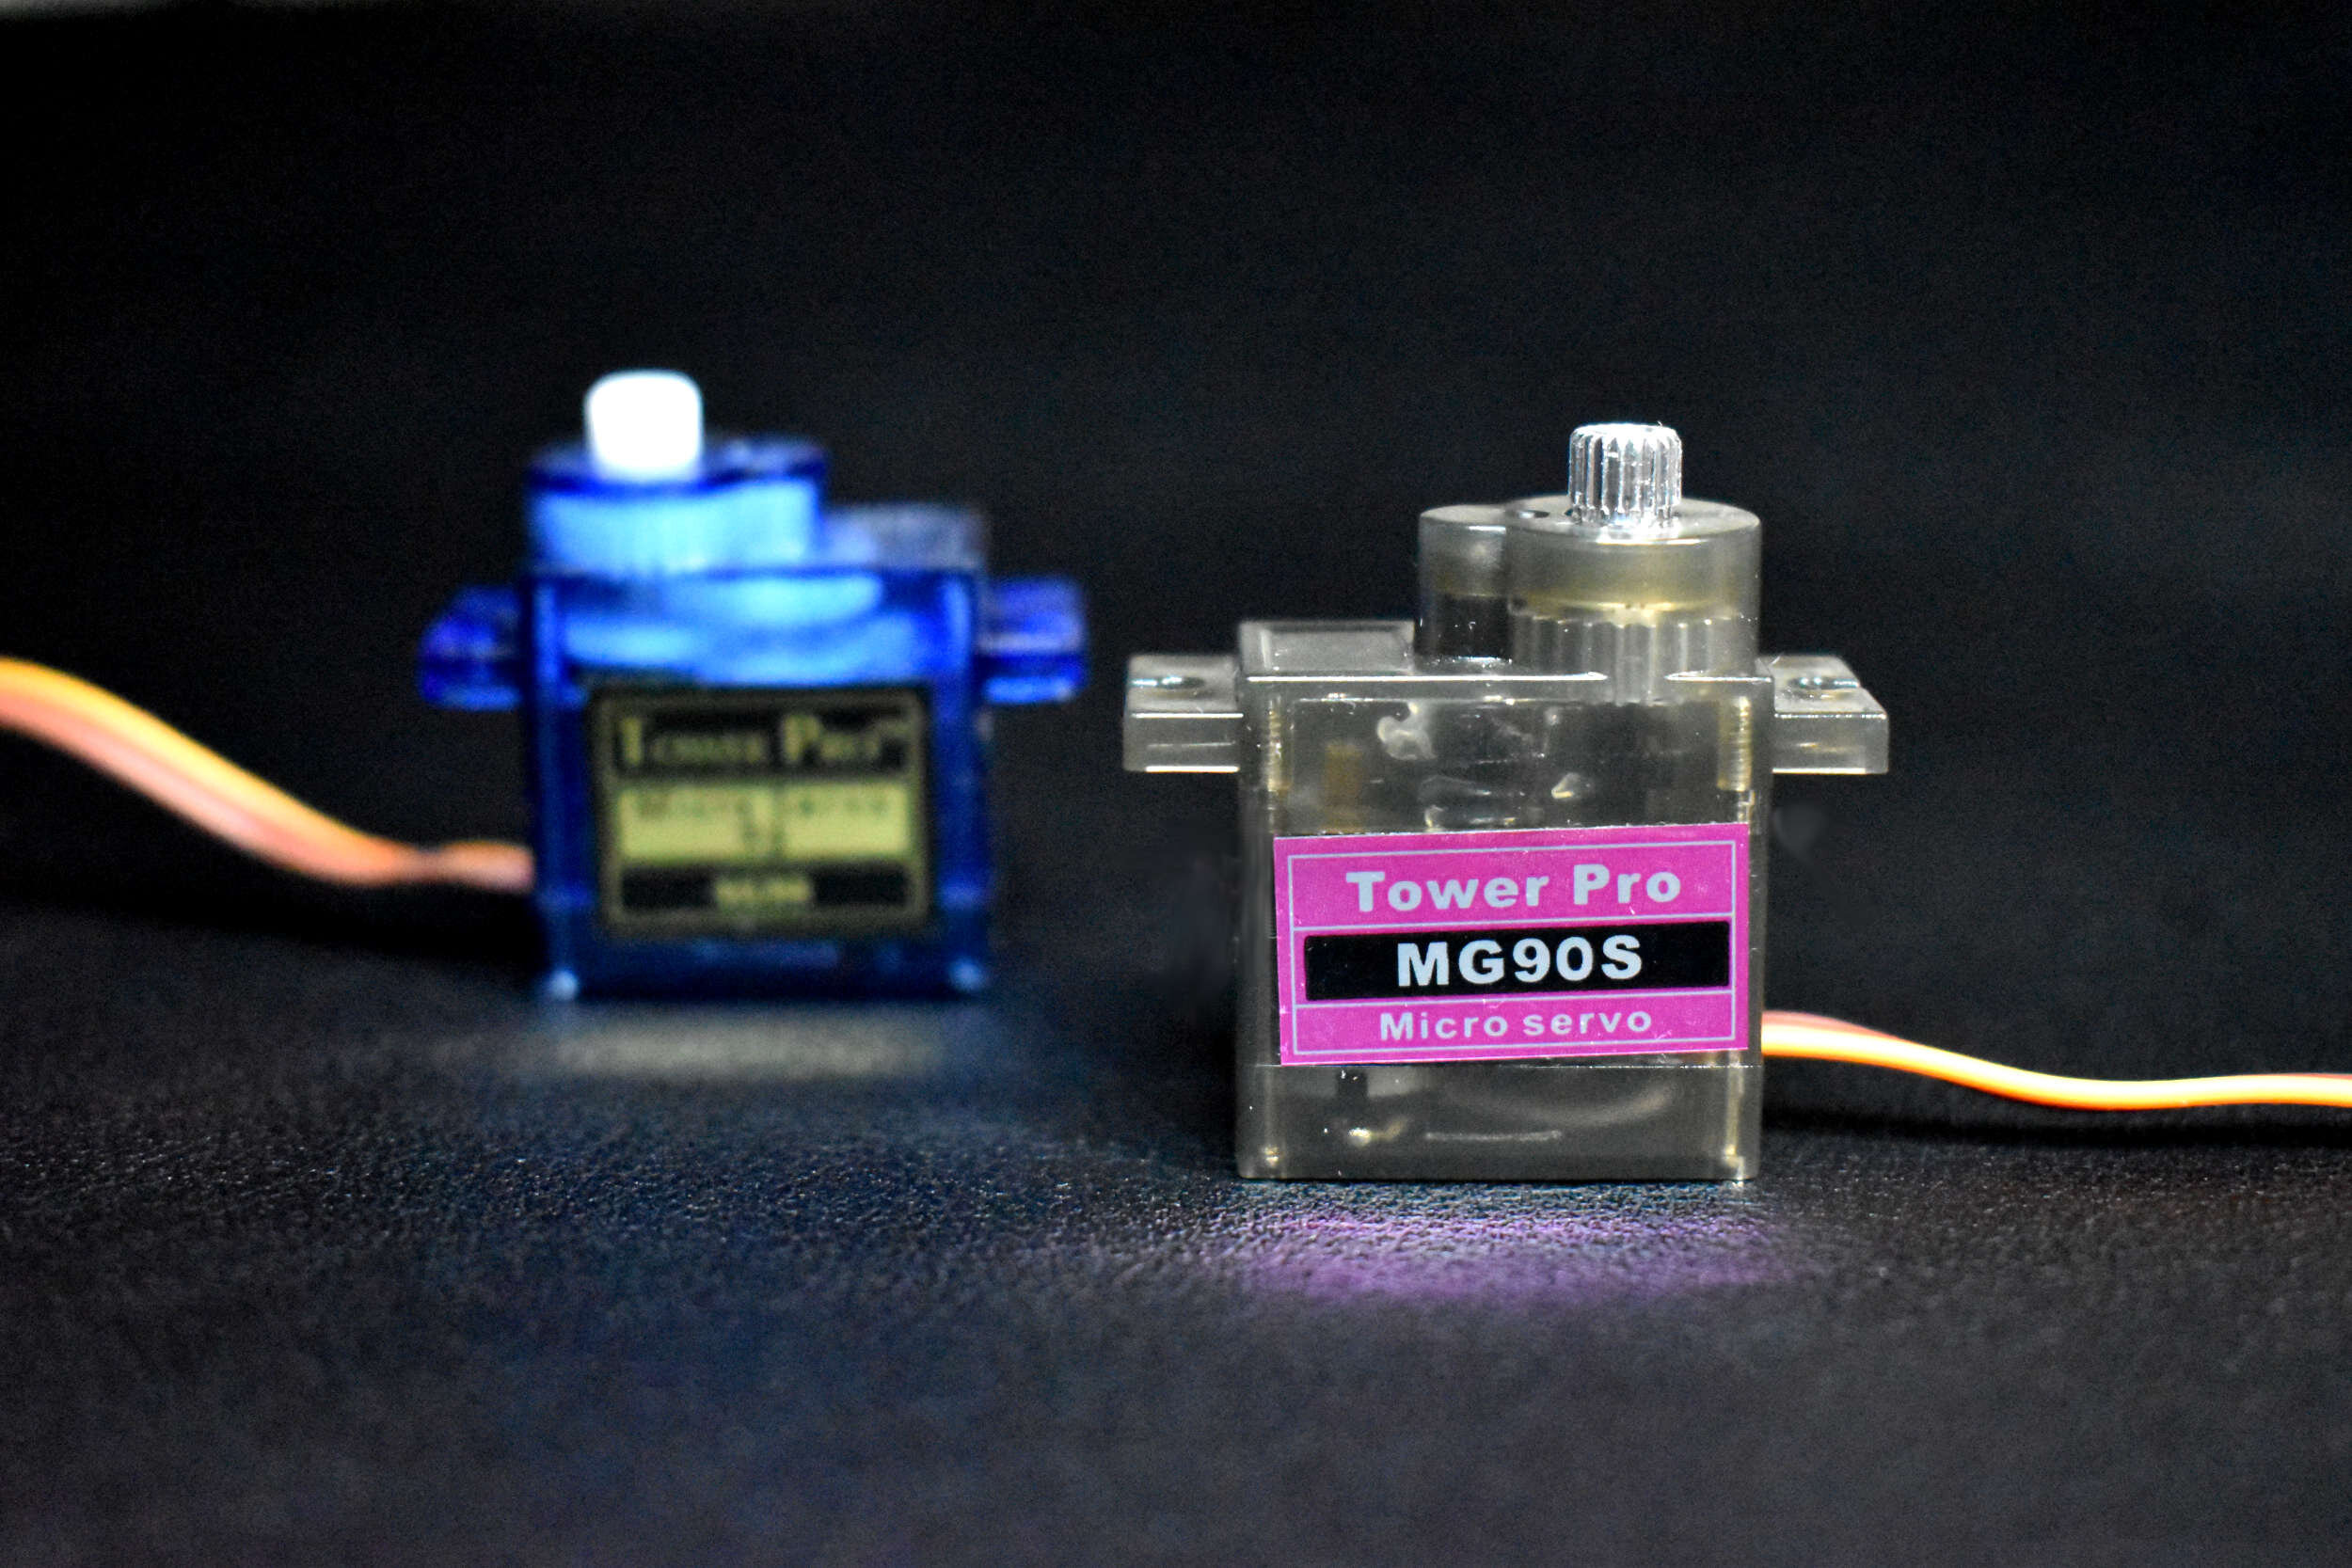
Read MoreIn this tutorial, an Arduino board will be used to power and control a small servo motor. The basics and composition of an SG90 will be explored, and the application of several servo codes and applications will be given for another type of servo motor, the MG90S. The goal of this project is to introduce users into the workings of a servo motor, how PWM (pulse-width modulation) controls a servo motor, and how Arduino can interface with servo motors to produce desired movements to great precision.
Read More


