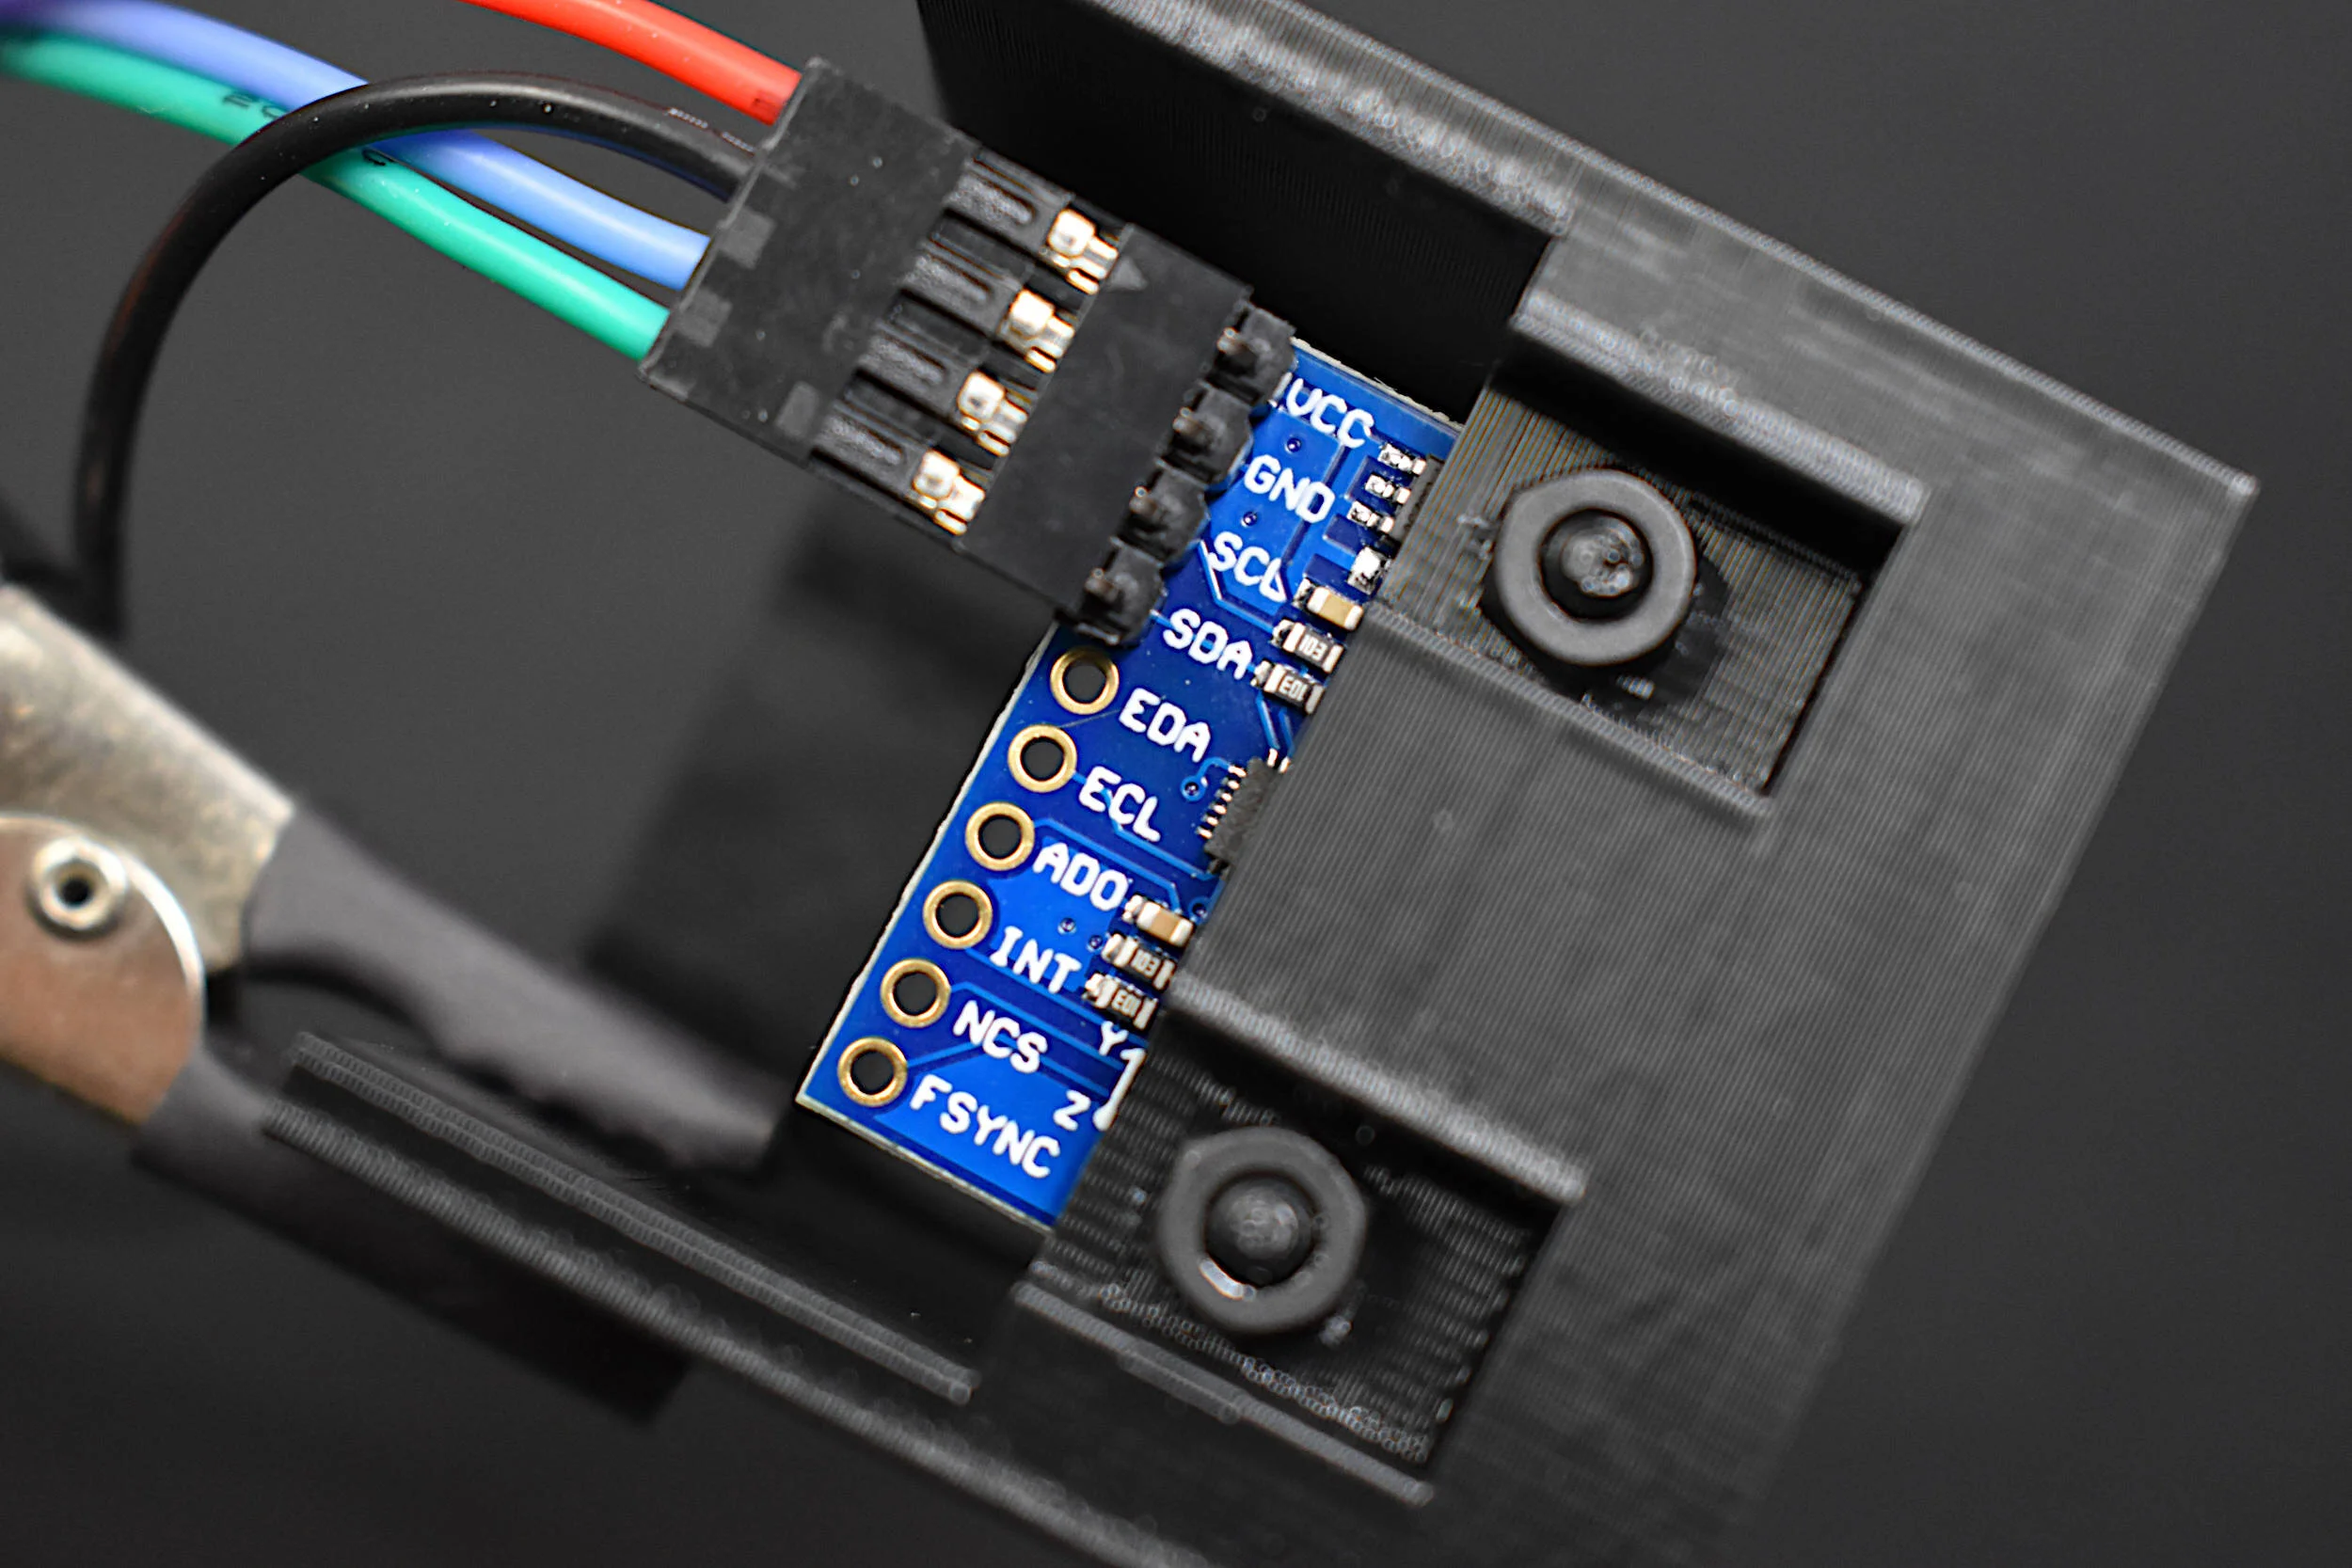
Inertial measurement units (IMUs) can consist of a single sensor or collection of sensors that capture data meant to measure inertial movements in a given reference frame. Acceleration, speed of rotation, and magnetic field strength are examples of sensors contained in an IMU. IMUs can be found in applications ranging smart devices, medical rehabilitation, general robotics, manufacturing control, aviation and navigation, sports learning, and augmented and virtual reality systems. Inertial measurement units have become increasingly popular as their form factors shrink and computational power increases. The ability to use IMUs for indoor/outdoor tracking, motion detection, force estimation, orientation detection, among others has caused the use and availability of inertial sensors to become nearly widespread in smart phones, smart watches, drones, and other common electronic devices. The internet is full of projects involving accelerometers, gyroscopes, and magnetometers, but few cover the full calibration of all three sensors. In this project, the manual calibration of a nine degree-of-freedom (9-DoF) IMU is explored. A common MPU9250 IMU is attached to a cube to manually find the calibration coefficients of the three sensors contained within the IMU: accelerometer, gyroscope, and magnetometer. The IMU is wired to a Raspberry Pi - which will allow for high-speed data acquisition rates of all nine components of the IMU.
Read MoreThis tutorial takes full advantage of the ESP8266 WiFi chip by serving a local webpage to control the general purpose input and output (GPIO) pins on a NodeMCU microcontroller. Some basic HTML and CSS programming methods will be utilized to create a stylish webpage that is both asynchronous (AJAX) and input-driven - this will give the user the ability to control the pins on the microcontroller. For the current example, an electromagnet and LED will be controlled using pulse width modulation (PWM) and simple high/low logic, respectively. The PWM control allows the user to change the voltage to the component, altering the magnetic field of the electromagnet. For the LED, the traditional digitalWrite() method will turn the LED on and off.
Read More

