
Arduino - Sending A String Over Bluetooth Using The HM-10
Wireless technology is undeniably taking over as a primary method of communication between computers, smartphones, and tablets. Wires are a thing of the past, where Bluetooth and Wifi are the burgeoning present and future internet of things. Bluetooth in particular is omnipresent due to its low-energy innovations and universal compatibility. For makers, Bluetooth low energy (BLE) is a crucial component of the network of devices that communicate to create the connected world in which we live.
As an introduction to Bluetooth with Arduino or Raspberry Pi, I recommend using a component called the HM-10 [datasheet here]. The HM-10 is a Bluetooth low energy module that employ Bluetooth 4.0, which is currently the most widely used protocol for wireless devices (along with Wifi, but I will discuss this later). All of the current iPhones, Androids, and Google phones use Bluetooth 4.0, and it will likely be around for quite a while. The module is powered at 3.3V and consumes around 50mA (peak), 8.5mA (nominal), and can sleep with a current between 400uA - 1.5mA. It claims to have an open-space transmission range of 100m, and boasts transfer rates at 2 kilobytes per second. The underlying chip is a Texas Instruments CC-2540/2541 [see here]. The HM-10 is particularly germane because it cooperates nicely with the Arduino software with a mere four lines of code in the IDE.

HM-10 Bluetooth low energy Module
Ideal for bluetooth interfacing with a smartphone and an arduino

The BLExAR Board with CC2541 Bluetooth Module is meant to interface with the BLExAR App for iOS. The BLExAR board can be controlled using the BLExAR app and an iOS device. The BLExAR board can also be programmed to communicate with an iOS device (iPhone or iPad).
The BLExAR Arduino Uno kit can be used to collect data, control robots, talk to your iOS device, and much more!
Included in the kit:
1x Arduino Uno Board
1x USB Cable
1x CC2541 Bluetooth Module
6x Male-to-Female Jumper wires
Wiring The HM-10 to Interface With Arduino
Wiring the HM-10 to the Arduino Uno board should go as follows:
Arduino | HM-10
D2 | TX
D3 | RX
GND | GND
3.3V | VCC
#include <SoftwareSerial.h>

SoftwareSerial ble(2, 3); // RX, TX

void setup() {
  // Open serial port
  Serial.begin(9600);
  // begin bluetooth serial port communication
  ble.begin(9600);
}

// Now for the loop

void loop() {
  Serial.println("Sending Bluetooth Message...");
  ble.write("Testing...");
  delay(500);

}

After uploading the sketch to the board, the Arduino is fully setup to send a message to a Bluetooth low energy receiving device in a central role. This could be an iPhone, tablet, Android, or even another HM-10, provided that the module is set to the central role. The HM-10 is by default set to a peripheral role, wherein it sends data, however, programming it to act as a central device is not very difficult [see datasheet].
iOS App for Receiving the String
In order to receive the string (and send them as well), I use the BLExAR app from the iOS app store (here is a link). While scanning for the HM-10, you will notice several devices showing up. The HM-10 should be called 'HMSoft' or 'CC2541' - sometimes it’s ‘ It is possible that another name will show up, if you programmed the HM-10 via AT commands and changed its name via 'AT+NAMExxxx.' Once you have selected the HM-10 module, you will be able to communicate via Bluetooth and receive the string you programmed above!

BLExAR iOS Arduino App
- Blog title image courtesy of Arduino AG under Creative Commons AttributionShareAlike 3.0.
Related Items from our Shop:
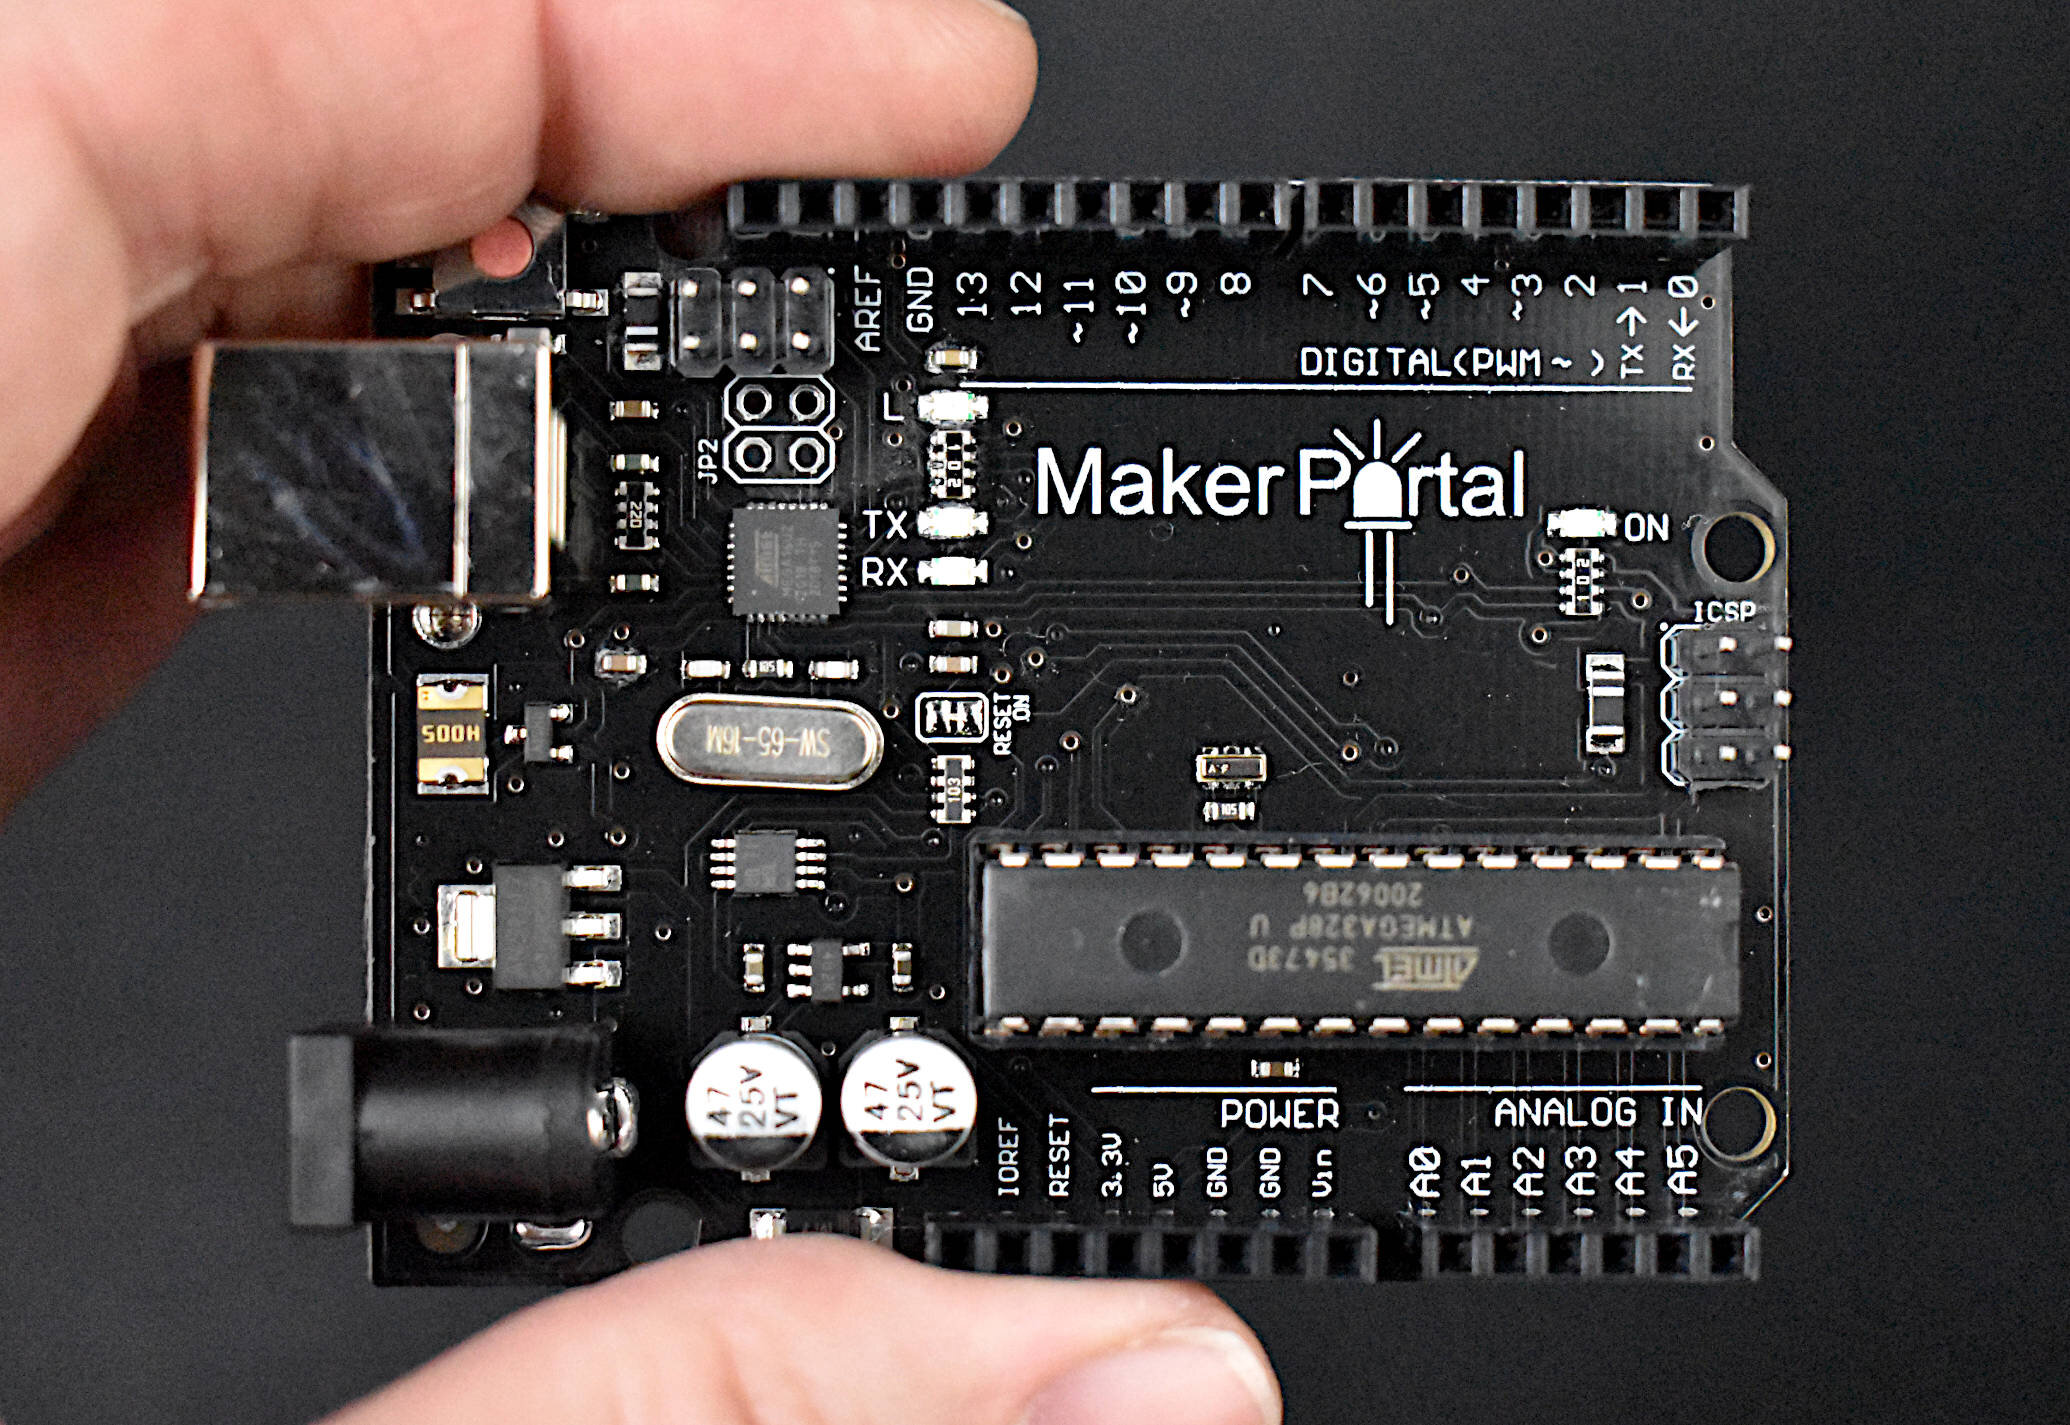
The Maker Portal Uno board is the centerpiece of many of the projects carried out in our maker spaces. The Uno board is capable of reading a wide range of sensors using analog-to-digital conversion, SPI, I2C, UART, and other common protocols. The Uno board can be used to control motors, OLED/LCD displays, and LEDs. The Arduino Uno board shown here is the official Maker Portal microcontroller, which we use in many of our projects!
Included in the Arduino Uno Package:
Maker Portal Arduino Uno Rev3 Board
Black USB Cable (1m in Length)
Specifications for Arduino Uno Rev3 Board:
ATmega328P chip with Arduino Bootloader
14 digital pins, 6 analog pins
10-bit analog-to-digital converter (ADC)
5V-12V Supply Tolerance
3.3V and 5.0V output pins
16 MHz clock
5 PWM pins, I2C support, SPI support , UART support
ATmega16U2 USB TTL, compatible with Linux, Windows, and Mac
Black Stylish Finish
Fully Integrated with Arduino IDE software
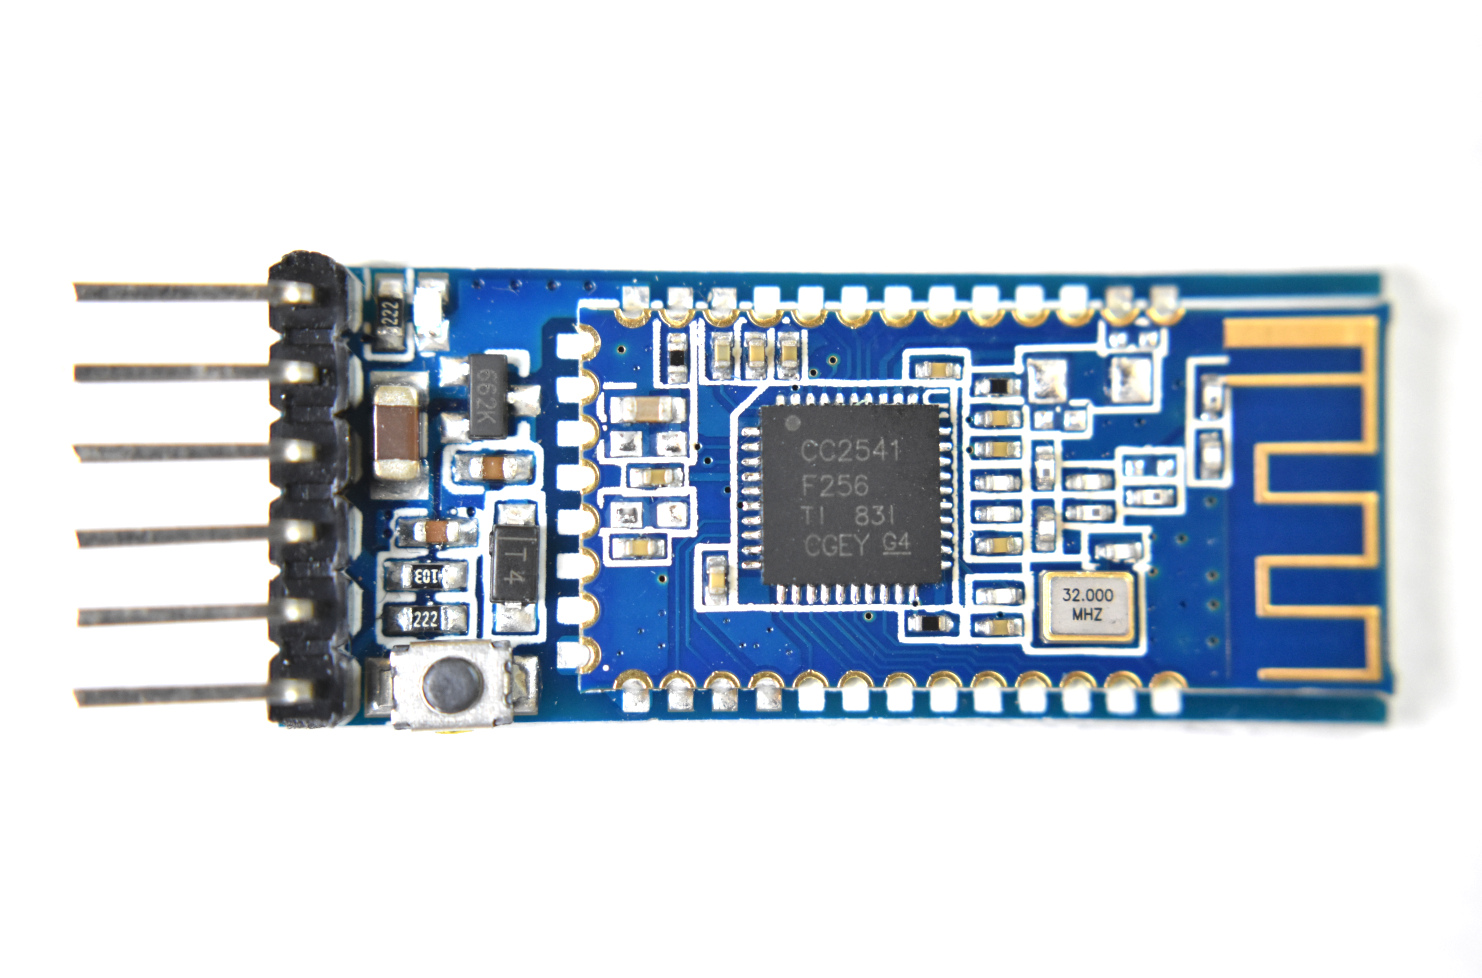
The CC2541 Bluetooth Low Energy (BLE) module is fully compatible with Arduino, Raspberry Pi, and Jetson Nano via serial port communication. The CC2541 works with both Android and iOS smartphones, making it a great choice when getting started with IoT prototyping and development. Multiple CC2541 modules can also be used as iBeacons that permit indoor tracking and localization.
Included in the Bluetooth Low Energy CC2541 Module Package:
1x CC2541 Bluetooth Low Energy Module
Features of the CC2541 Bluetooth Low Energy Module:
Wide Supply-Voltage Range (3.6 V - 5V)
Active-Mode RX Down to: 17.9 mA
Active-Mode TX (0 dBm): 18.2 mA
Power Down Sleep Mode: 60uA
Serial Communication (Arduino/Raspberry Pi Compatible)
Full datasheet can be found at Texas Instrument’s website: http://www.ti.com/lit/ds/symlink/cc2541.pdf
Examples can be found on our blog:
See more in Arduino and IoT:

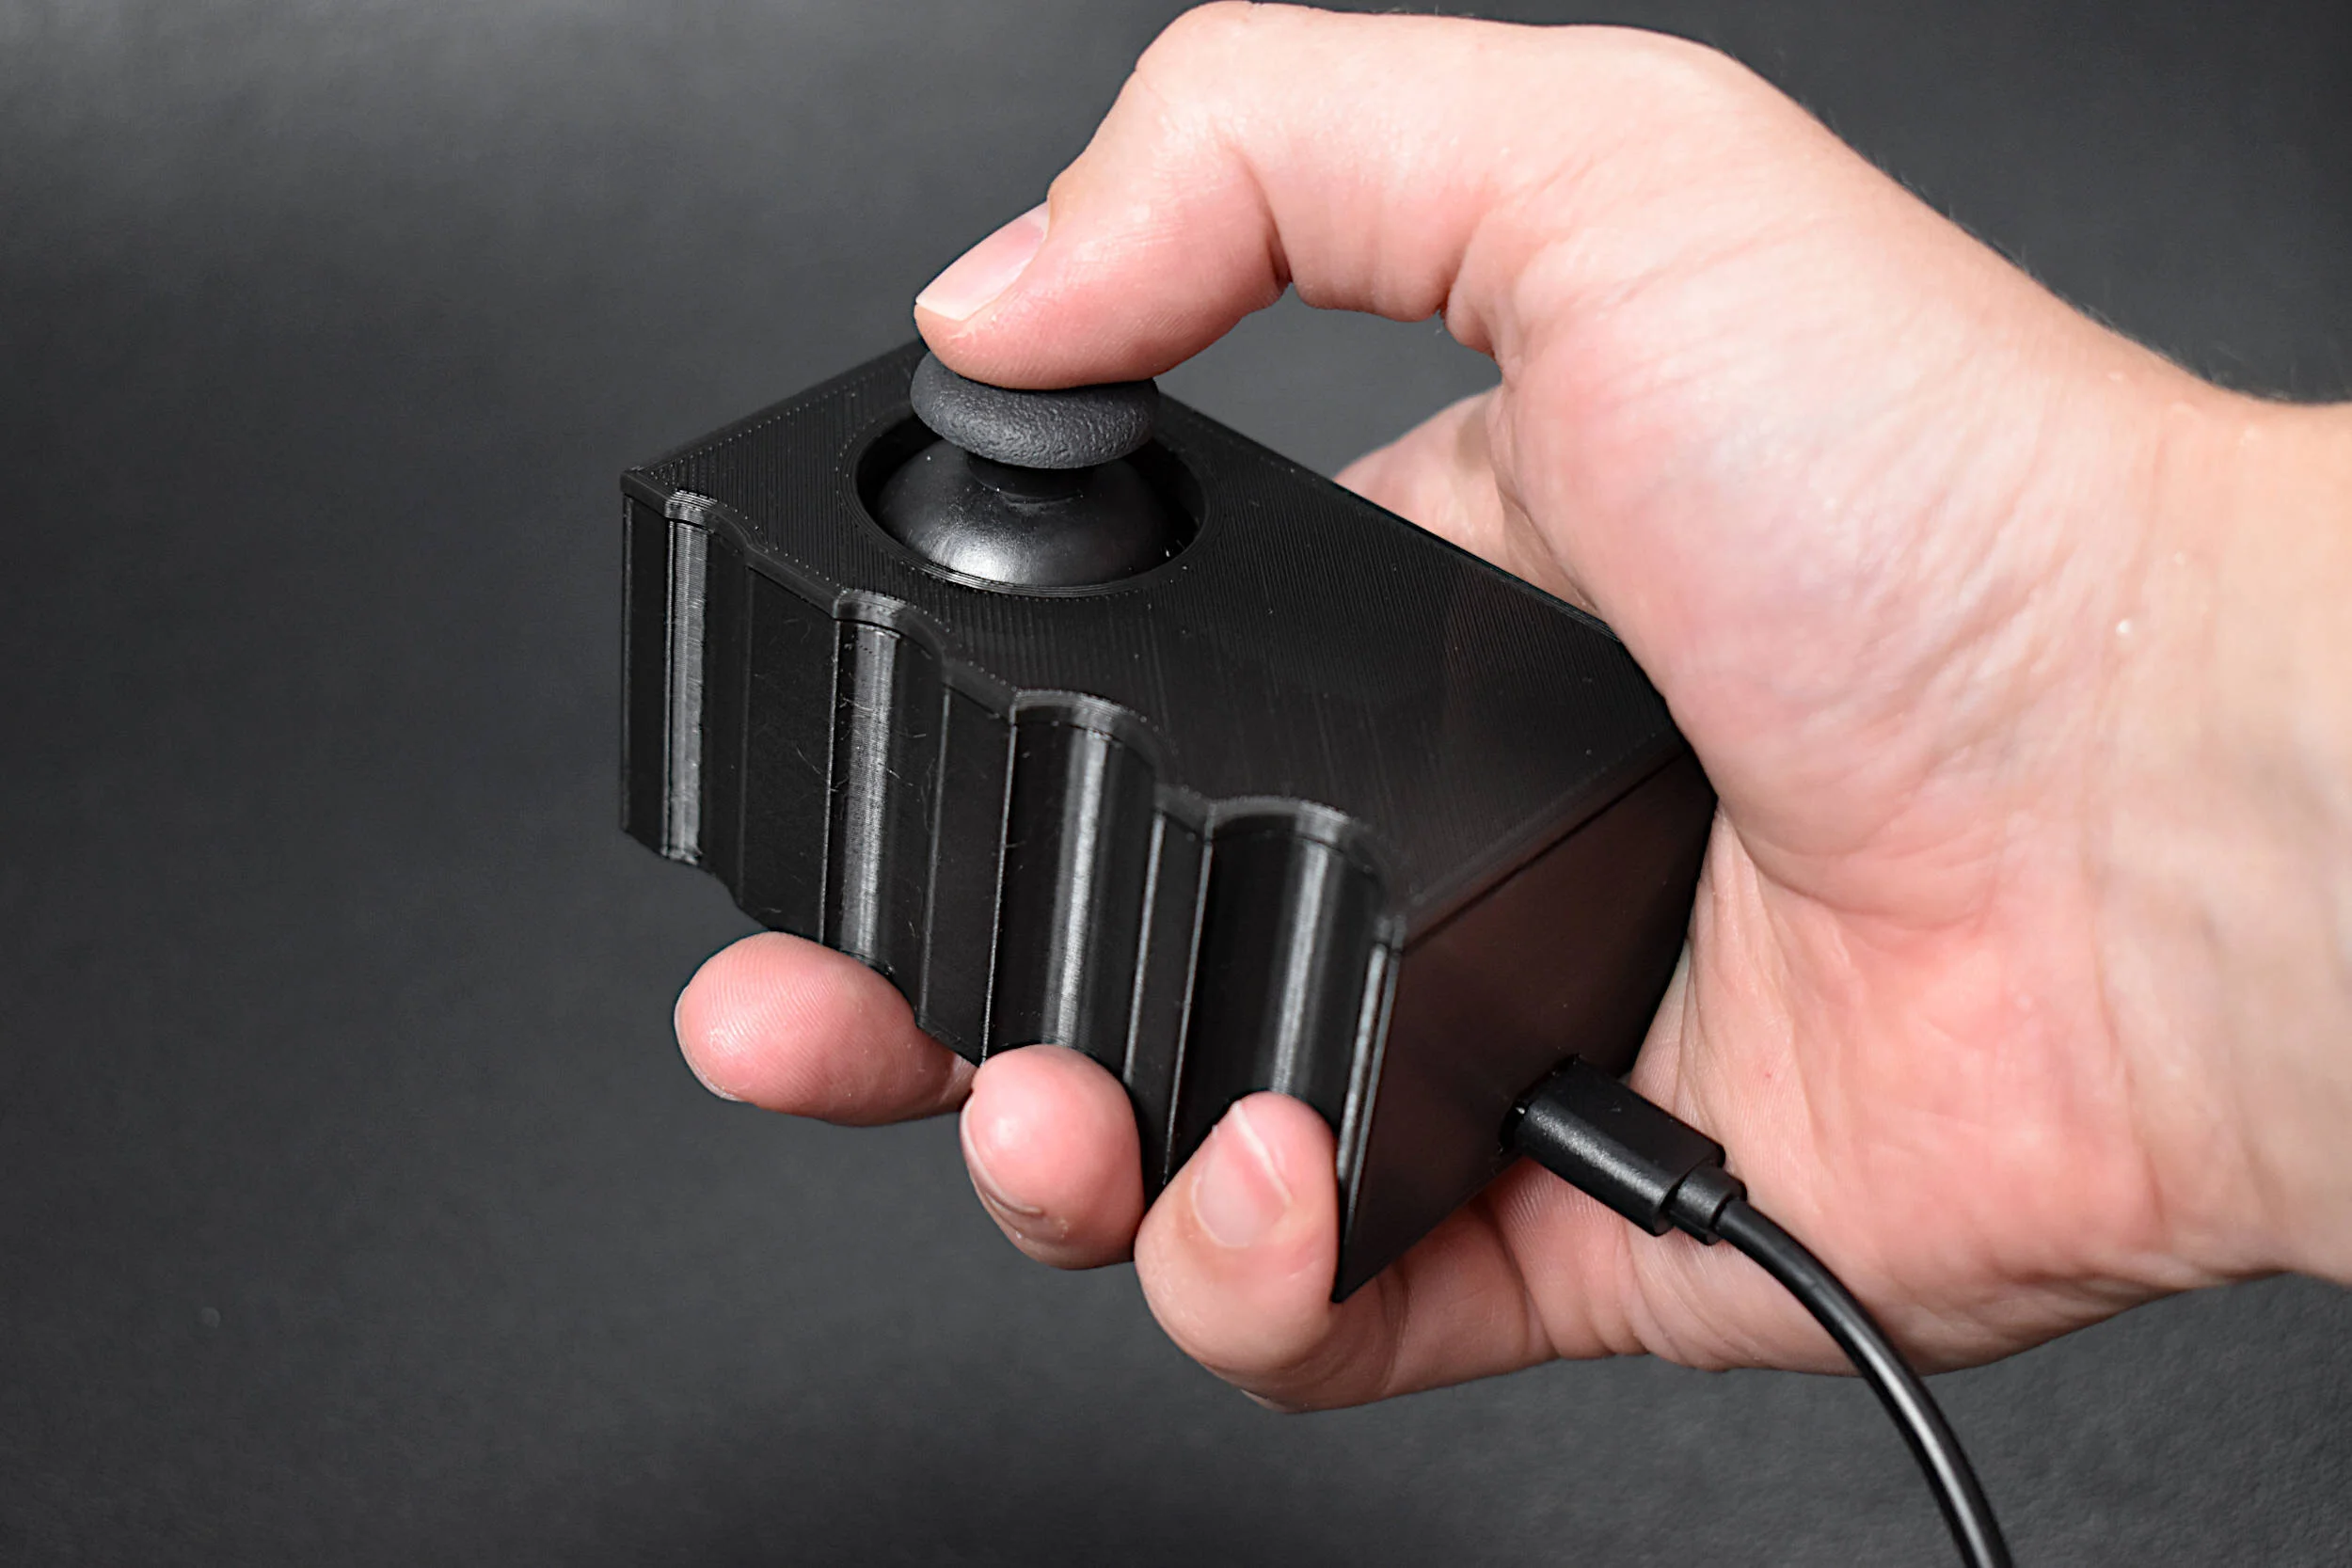
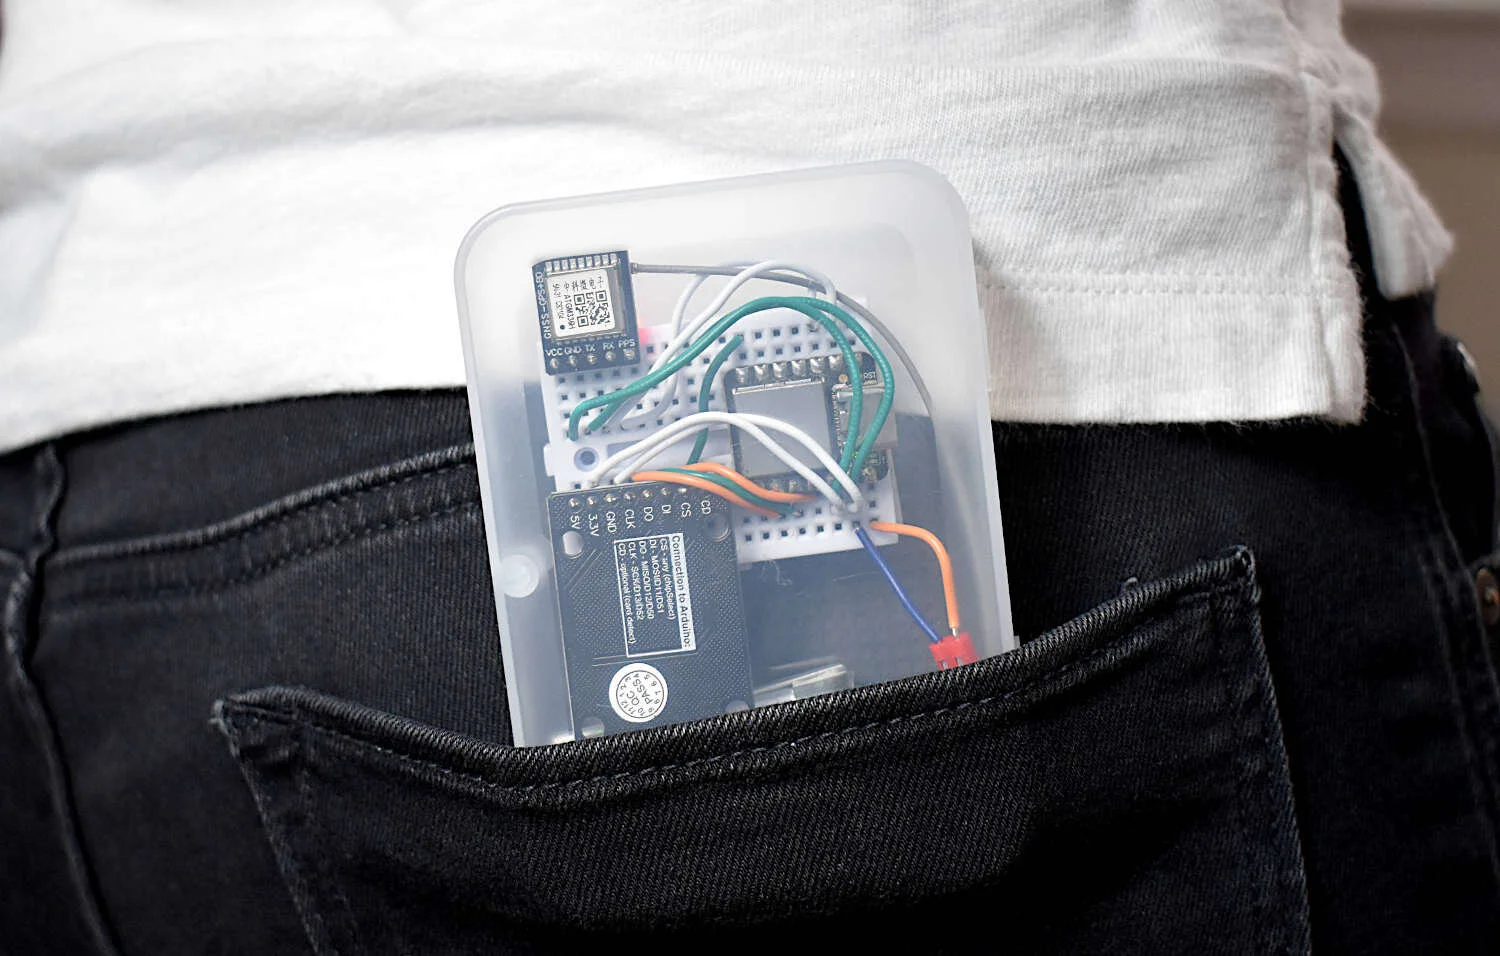


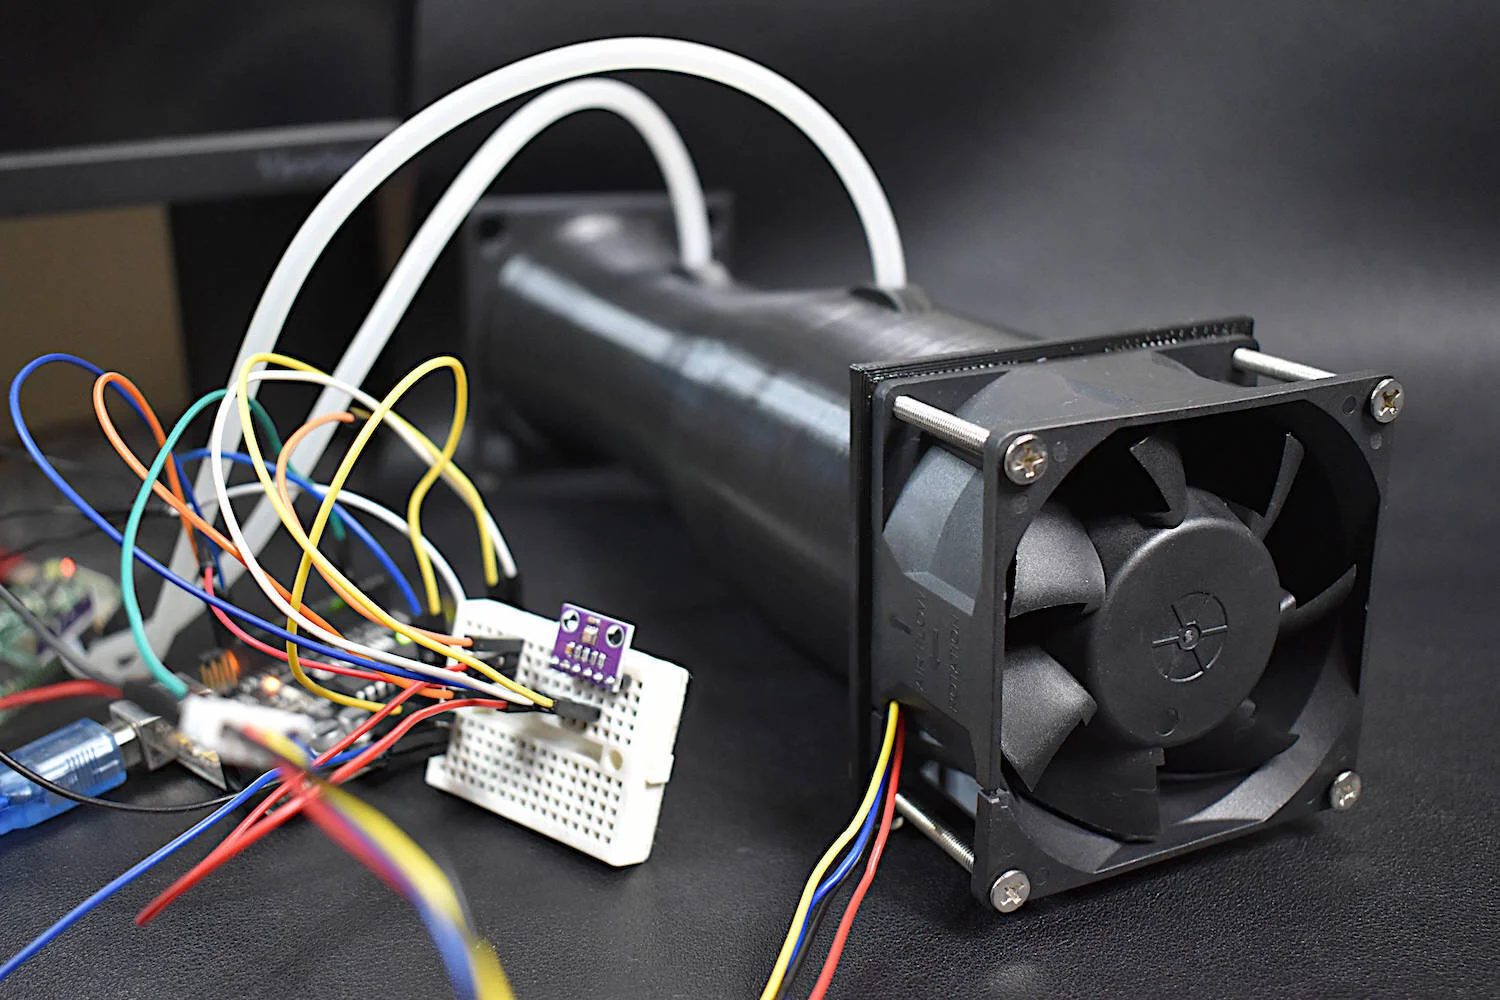

This is the second entry into the tutorial series centered around the MakerBLE Arduino board. Using the BLExAR iOS app again, we are able to monitor the incoming data from the MakerBLE board, plot the values, and save them to a comma-separated value (CSV) file. The data being sent is read from a BMP280 sensor over the I2C port by the MakerBLE board. Temperature, atmospheric pressure, and approximate altitude were all sent over the BLE connection with an iPhone.