3 Intermediate-Level Arduino Projects to Try at Home

“As an Amazon Associates Program member, clicking on links may result in Maker Portal receiving a small commission that helps support future projects.”
Whether it’s for smart technology, robotics, or RC devices, the growth of microcontrollers in both number and complexity has made more people interested in programming their own. And no other language is better used for that than Arduino.
In fact, Arduino rose from 11th to 7th place in the Institute of Electrical and Electronics Engineers’ top programming languages list of 2020. Aside from the platform’s flexibility, Arduino hardware is also affordable without sacrificing quality. Newer Arduino schematics are even “production-grade,” which means that you can develop embedded code on an Arduino prototype and deploy it on a professional platform. If you’re breaking into programming for IoT devices, Arduino’s effective code ecosystem is also a great way to understand how the tech works.
Of course, the best way to learn Arduino is to put the language into practice — this means trying out some projects at home. For those who’ve learned the basics of Arduino and are ready to test drive this knowledge, so here are three neat things you can make:
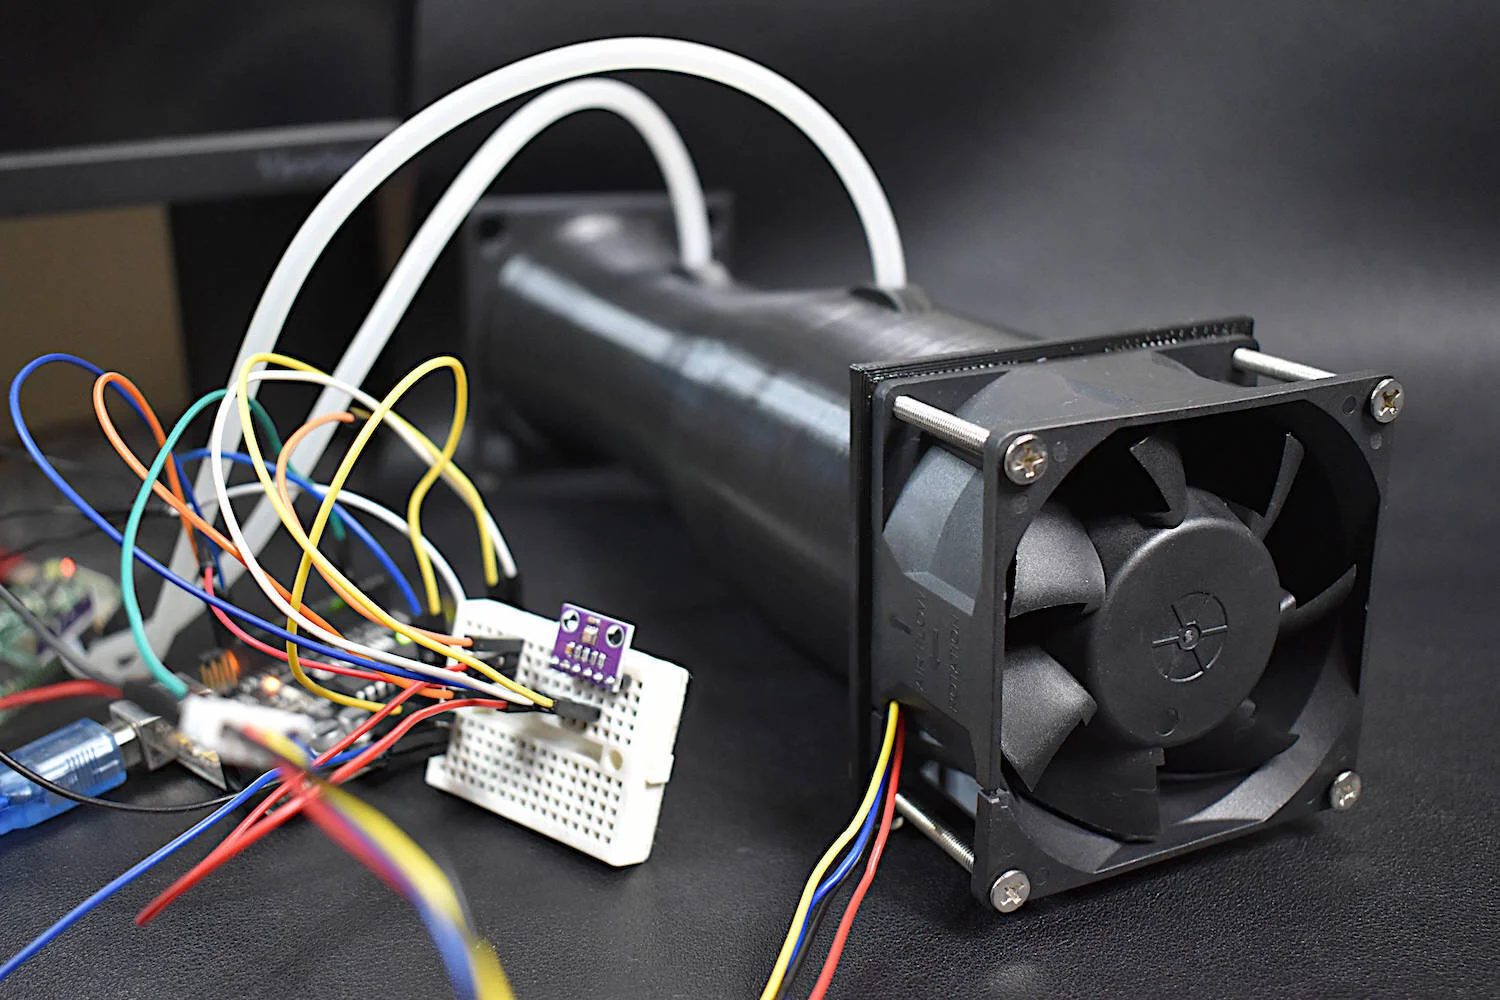
A gimbal is a single axis tool that uses sensors and motors to provide pivoted support. They’re usually found in studios to stabilize cameras. Assembling the gimbal itself is easy, as long as you have the parts 3D printed or machined.
Materials Used in the Project:
MPU6050 Sensor - $7.00 [Our Store]
Servo Motor - $7.00 [Our Store]
2 Li-ion 500mAh Batteries - $18.99 (5pcs) [Amazon]
3.7V to 5V Buck Converter - $7.29 (5pcs) [Amazon]
Arduino Uno Board - $13.00 [Our Store]
To program your gimbal, capture the Yaw value and set it to 0. Next, calibrate the Yaw, Pitch, and Roll values, so you can send the values to the servos as control signals. An example video demonstration of a gimbal project is shown below:
Instead of a boring front-and-back Arduino robotics car, why not try making something that can move omnidirectionally? If you have a 3D printer, you can 3D print the base with any template you can find on Github. Alternatively, you can also cut 8mm thick MDF boards and form them into a car. Use 3mm thick steel wires to create the shafts for the rollers.
Materials Used in the Project:
• HC-05 Bluetooth Module - $8.99 [Amazon]
• Stepper Motor + DRV8825 drivers - $25 [Our Store]
• Mecanum wheels - 3D Printed or $32.99 [Amazon]
• 12V 5A power supply (for the motors) - $10.99 [Amazon]
• 5V power supply (for the Arduino board) - $7.99 [Amazon]
• Arduino Mega Board - $17.99 [Amazon]
The HC-05 can be used as the wireless communication method along with the AccelStepper library to control the stepper motors. Use the moveForward() custom function to make the wheels move front and back. The values need to be set in such a way that will make opposite motors move in the same direction. Below is a video demonstration of a mechanum wheeled robot built using Arduino:
Hovercrafts work by lifting the model using a cushion of air. When the pressure in the bottom is high, the model lifts from the ground. The propeller is then used to move the vehicle forward. Aside from 3D printing, there’s no other way for you to create the hovercraft model.
Materials Used in the Project:
• nRF24L01 radio transceiver - $12.88 (10pcs) [Amazon]
• Servo Motor - $7.00 [Our Store]
• Brushless Motor - $15.99 [Amazon]
• 12V 5A power supply (for the motors) - $10.99 [Amazon]
• 5V power supply (for the Arduino board) - $7.99 [Amazon]
• Arduino Uno Board - $13.00 [Our Store]
Use the RF24 for the radio communication as well as the servo library for the motors. In the loop section, read the incoming data and use those values to control the position of the servo motors. The same technique is used for the brushless motors. However, you will need to use the writeMicroseconds() function to serve as its control signal.
As long as you have the right materials and a video guide, accomplishing Arduino projects is easier than you think. Even intermediate projects like the ones above are very doable if you have the base code, which most online libraries should have available for download.
Three different Arduino projects were introduced here as a way of exploring the capabilities of the platform. First, an Arduino-based gimbal was proposed, with a video demonstration using the MPU6050 inertial measurement unit (IMU). Many commercial gimbals use similar sensors and methods for balancing objects and controlling angular and translational movement. Second, a mechanum wheels robot was presented as a way of creating a more omnidirectional robotic car, vs the normal one-dimensional movement associated with Arduino and robotic cars. Finally, an Arduino-based hovercraft was shown with motors and an Arduino at the center. The goal of this blog post was to introduce some intermediate-level projects that users can explore with Arduino as the central controller.
See More in Arduino: