MakerBLE — A Tiny nRF52840 Bluetooth Arduino Board

“As an Amazon Associates Program member, clicking on links may result in Maker Portal receiving a small commission that helps support future projects.”
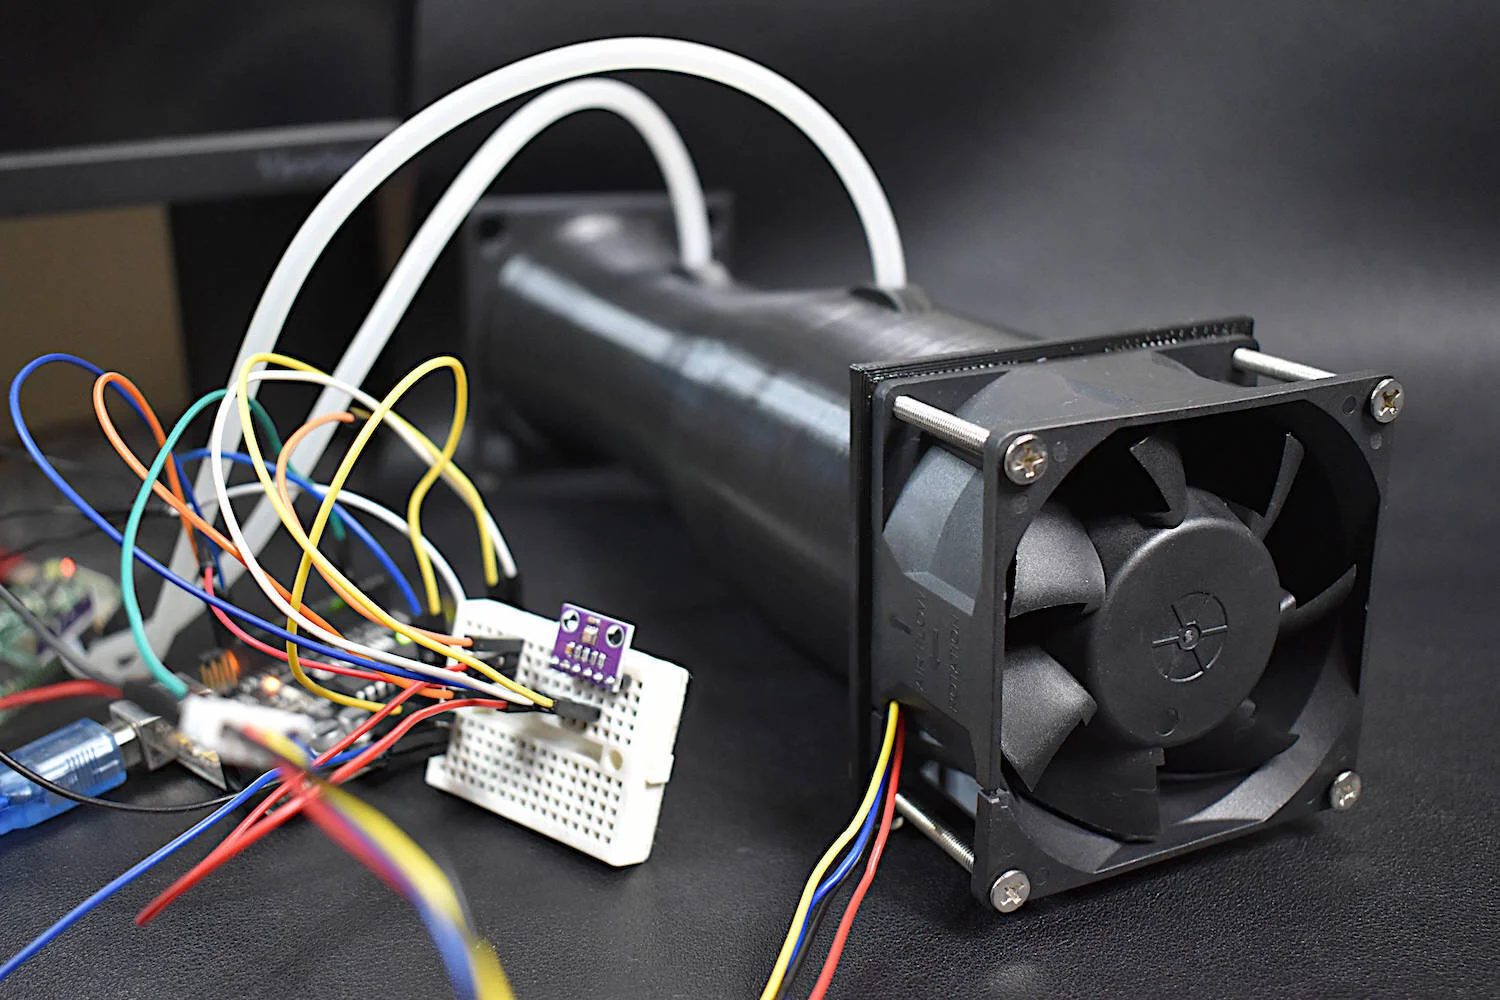
The MakerBLE is introduced as a miniature breakout board variation of the nRF52840 Bluetooth Low Energy (BLE) Arduino board, which is capable of communicating with smartphnoes and carrying out many of the capabilities of other wirelessly-enabled microcontrollers, such as the Nano 33 BLE, BLE-Nano, ESP32, ItsyBitsy nRF52840 Express, Beetle BLE, etc. The MakerBLE is also compatible with our iOS app, BLExAR, and allows users to collect data, send commands, and control pins remotely from a smartphone. In this tutorial, the MakerBLE will be introduced and its capabilities will be explored from the perspective of the Arduino. This will also be the first in a series of entries geared toward low-power, BLE-enabled, tiny microcontroller projects; whether they involve remote control, data collection from sensors (I2C, SPI, UART), message transfers, BLE peripheral/central communication, or general electronics testing. The aim with the MakerBLE series is to shrink down some of our projects and target DIY and making from a minified approach. This will allow Maker Portal to tackle some of the more cutting edge topics in making, i.e. wearables, IoT, and smart portables.
The MakerBLE board will be the centerpiece for this tutorial series. We will also use a few other essential maker components, which we have listed below for reference:
1x MakerBLE Arduino Board - $22.00 [Our Store]
1x Mini Breadboard - $3.00 [Our Store]
4x Male-to-Male Jumper Wires - $0.60 [Our Store]
1x Mini Electronics Enclosure Box - $3.00 [Our Store]
The components above allow users to test the MakerBLE and a few of its capabilities. There is a capacitive touch sensor example script on our GitHub page, which will verify I/O functionality of the board when testing for the first time.

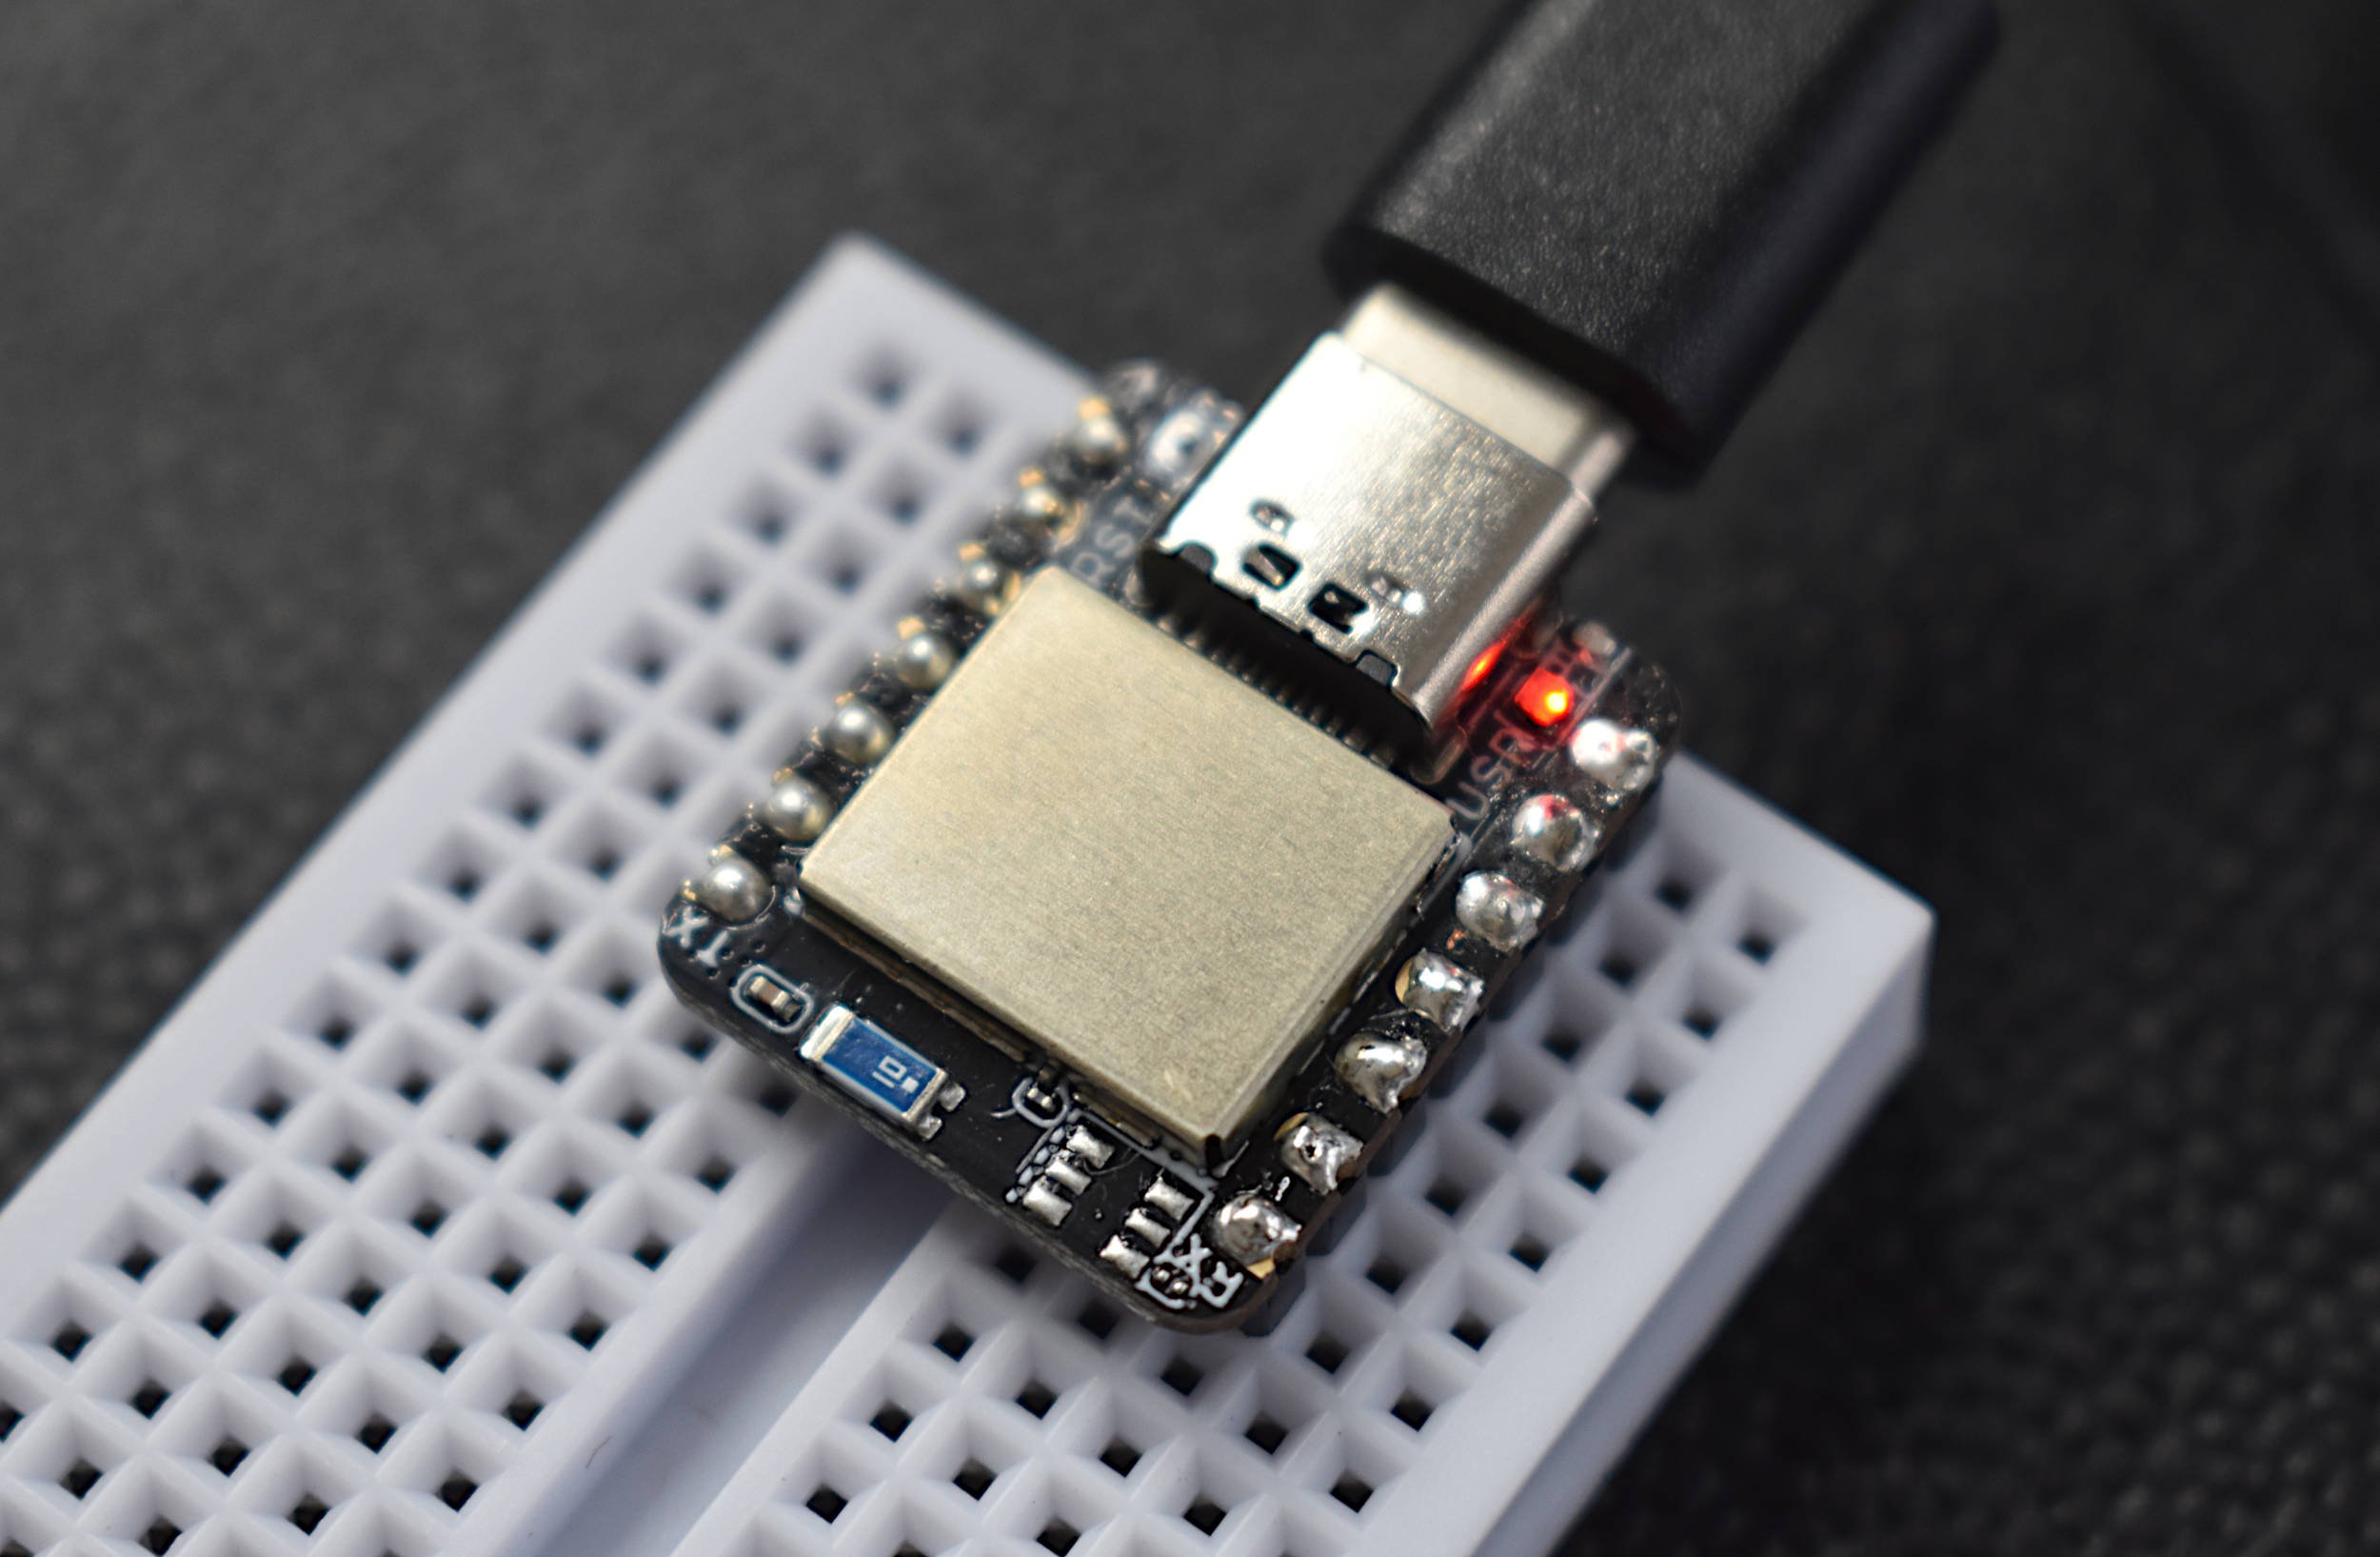
The MakerBLE board is a Bluetooth Low Energy (BLE) microcontroller development board based on Nordic’s nRF52840 chip. The MakerBLE acts as an Arduino board and a BLE-enabled device. It has much of the functionality of classic Arduino boards, while also having an integrated BLE chip capable of communicating via BLE 5.0. This means that many Arduino projects can be Bluetooth-enabled with just a few lines of code and the BLExAR app!
→ Getting Started Tutorial for MakerBLE Board ←
Included in the MakerBLE Package:
1x MakerBLE Board
2x 7-Pin Header
1x Black USB-C to USB2.0 Cable (1m long)
Some Features of the MakerBLE Board:
Arduino Bootloader
Nordic nRF52840, ARM® Cortex™-M4 32-bit processor with FPU operating at 64 MHz
3.3V Operating Voltage and Logic
3.3V-5V Input voltage (3.7V LiPo Battery Compatible)
Ultra-low sleep power: 5 μA, deep sleep model
Wireless capabilities: Bluetooth 5.0, NFC, and ZigBee module with onboard antenna
Multiple Peripherals: 1x Reset button, Ix UART, 1x IIC, 1x SPI, 1x NFC, 1x SWD, 11x GPIO, 6x ADC, 1x Three-in-one LED,1x User LED
Onboard 2 MB flash
Single-sided components, surface mounting design (low profile)
14 Available I/O Pins: 11 Digital, 6 Analog
Physical Dimensions: 21mm x 17.5mm
Weight: 3 g (Unsoldered), 5g (Soldered)
Arduino IDE Compatible
GitHub Repository with example scripts and projects
Below is the pinout reference for the MakerBLE Arduino Board:
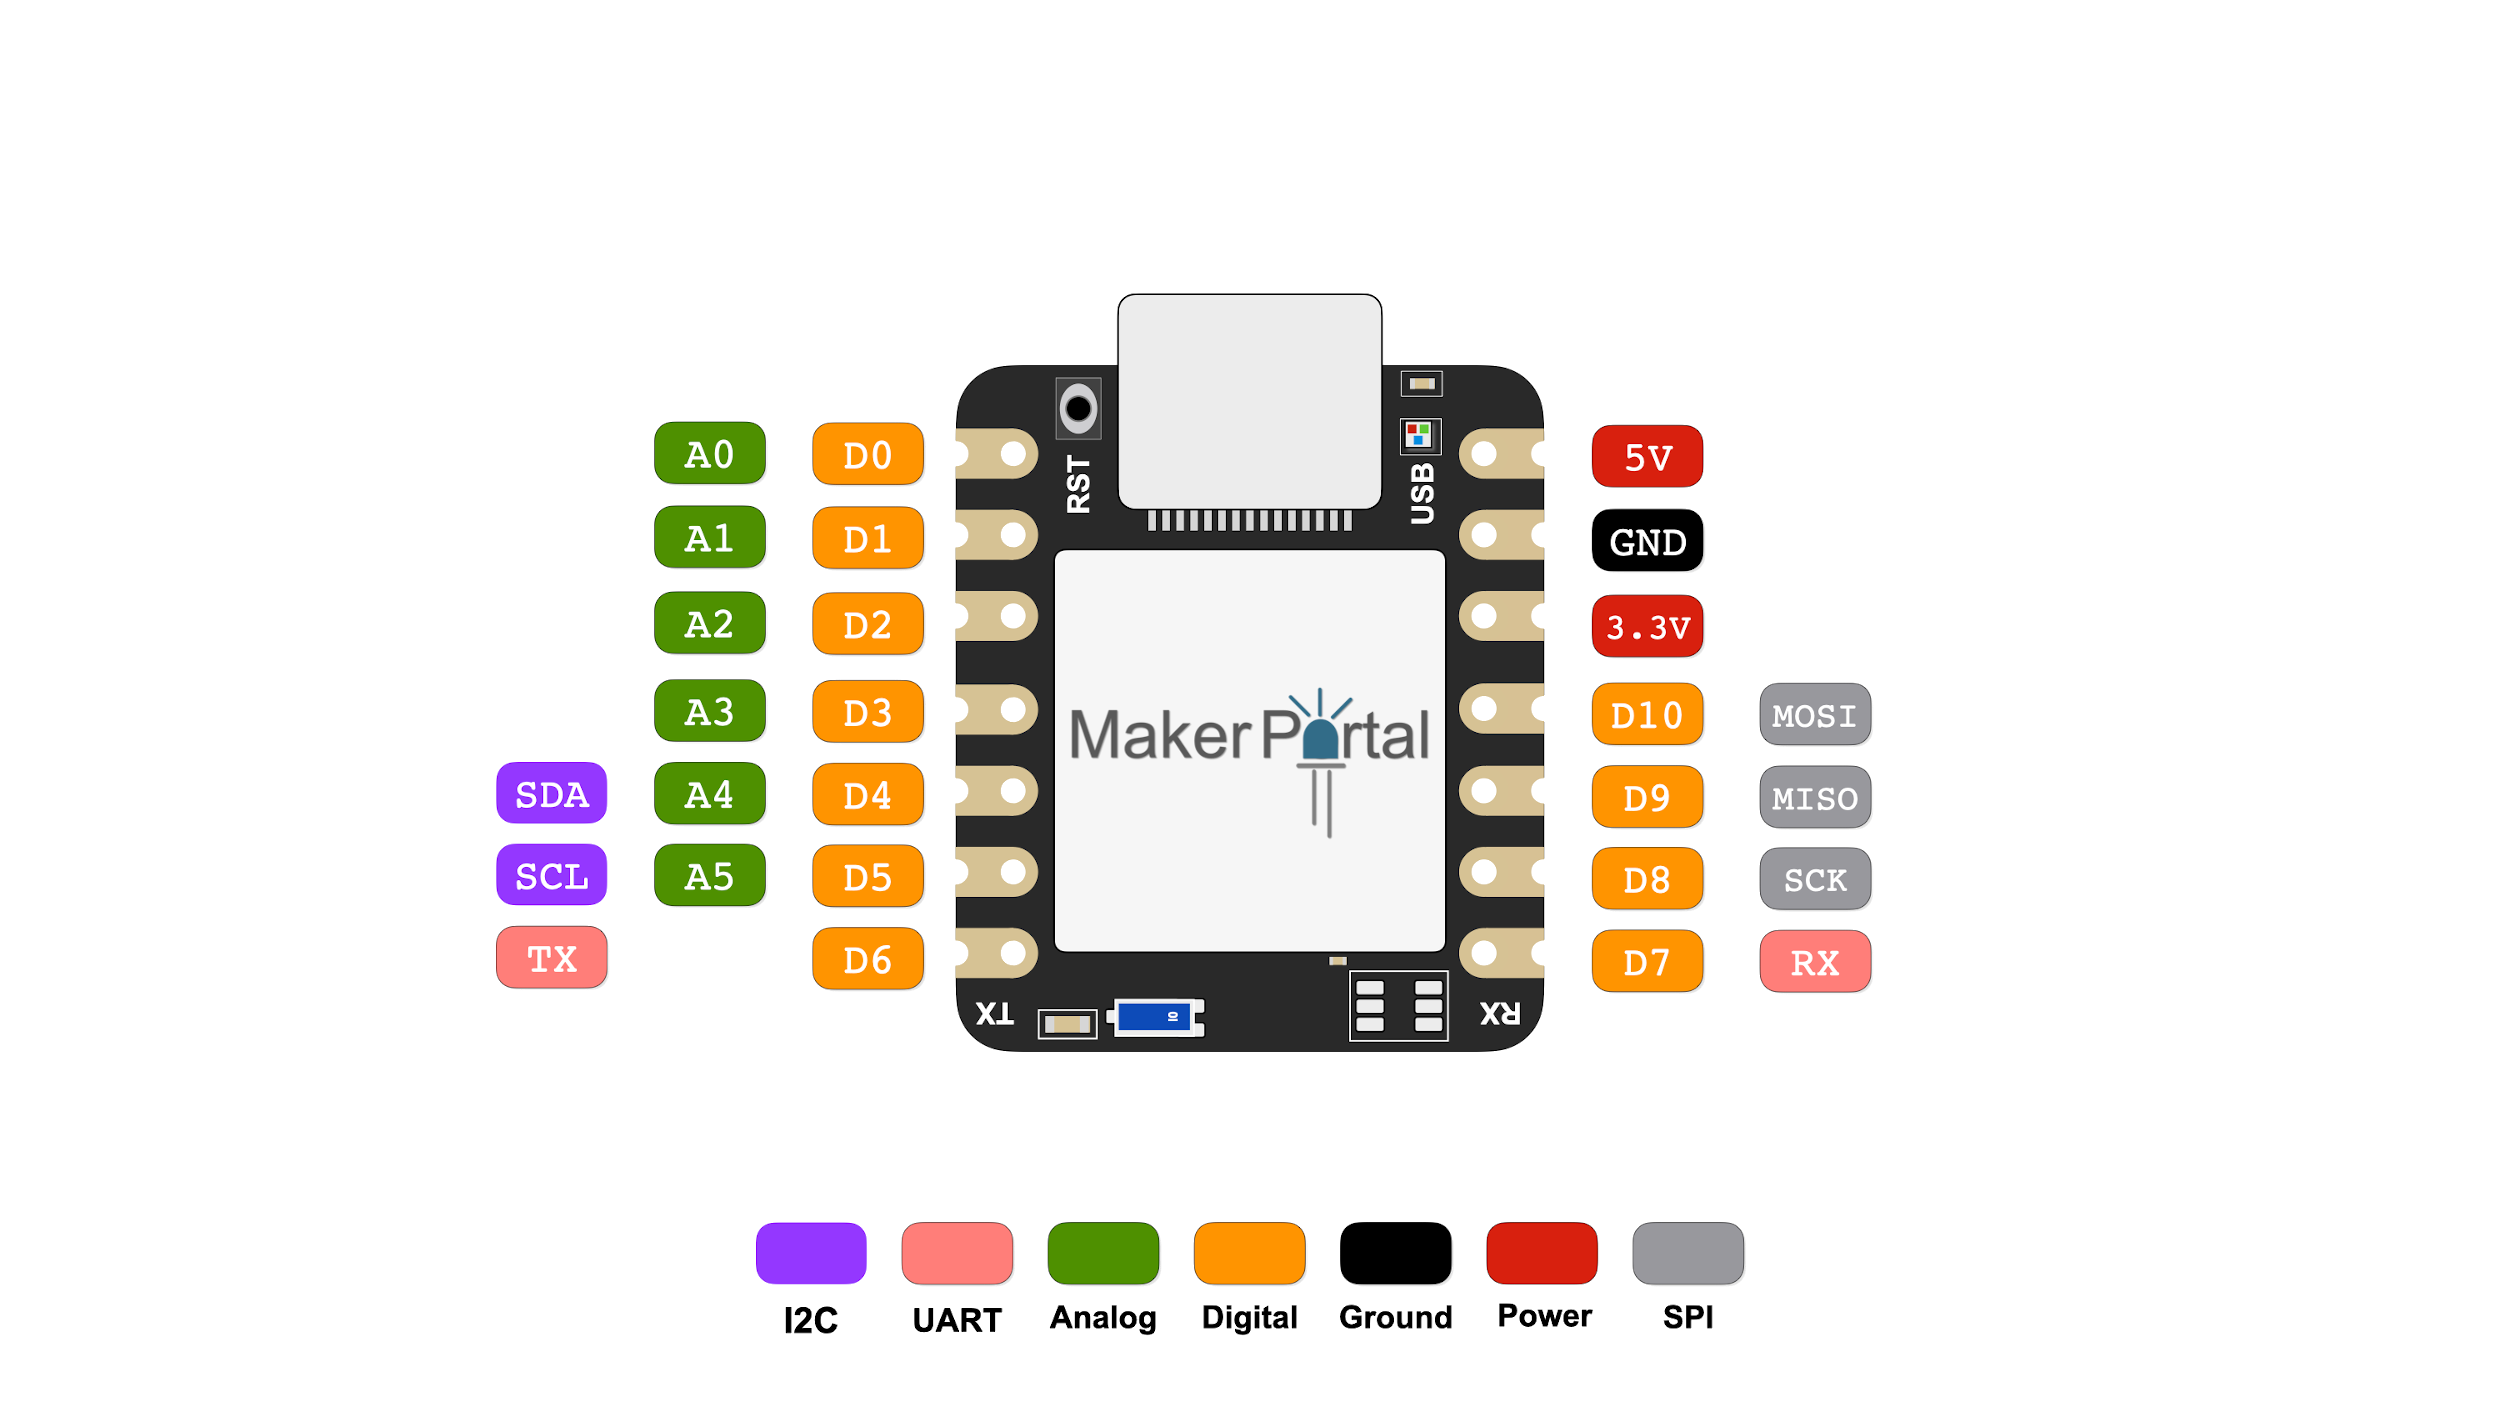
It is indisputable based on the diagram above, that the MakerBLE board has an impressive range of peripherals available to it based on its miniature size: I2C, UART, SPI, BLE, interrupts, ADCs, GPIOs, among others. Consequently, this tutorial series intends to explore many of these capabilities through direct testing with sensors, motors, and wireless communication devices. The goal of which is to explore making at the compact scale, think: IoT, wearables, portable sensors, battery-powered pocket devices. We are interested in shrinking down projects to fit the size of everyday devices, and we’re starting with the MakerBLE Arduino Board.
Nordic’s nRF52840 Bluetooth Low Energy (BLE) chip is at the center of the MakerBLE. Fortunately, we can use many of the same nRF52840 libraries to control the board, interface with an array of sensors, and communicate with a range of BLE devices. To get started developing with the MakerBLE, users will need to download Maker Portal’s board package and add it to the Arduino IDE’s “Additional Boards Manager URLs” under its Preferences menu. The process for downloading, installing, and using the MakerBLE Arduino board is given in the subsequent series of screenshots and steps below.

Step 1: Arduino → Preferences
Open the “Additional Boards Manager URLs”

Step 2: Add MakerBLE Board Package Link
Add the following board package link: https://raw.githubusercontent.com/makerportal/makerBLE/main/package_makerble_index.json

Step 3: Tools → Board → Board Manager
Input “maker” into the Boards Manager search bar and install “MakerBLE mbed Board.” This is the ArduinoBLE-compatible board package.
The MakerBLE board should have been successfully installed. If this is the case, follow the next steps below:

Step 4: Tools → Board → MakerBLE Board
Select “MakerBLE — nRF52840” from the cascading menu.
At this point, the MakerBLE is a working Arduino microcontroller with many classic capabilities and peripherals. The board’s functionality can be verified by uploading any of the classic Arduino scripts directly within the IDE (File → Examples → Basics): BareMinimum, Blink, AnalogReadSerial, Fade, etc. Any of these should work within the limits of the MakerBLE and nRF52840, with the appropriate pins corresponding to the pinout diagram delineated in the previous section.
We also created a GitHub repository for the MakerBLE board that houses many of our custom scripts used to call Bluetooth functions, read sensors, interact with BLE smartphone apps (BLExAR), along with other unique functions of the board:

The GitHub repository will be periodically updated as we continue to develop experiments, tutorials, projects, sensor compatibility, and general capabilities for the MakerBLE board. If a feature or interaction between the MakerBLE board and a sensor is desired, please use our contact page to notify us of your request.
The Arduino platform established its own Bluetooth Low Energy (BLE) library a while back, called ArduinoBLE, that supports SAMD, MegaAVR, nRF, Mbed, Apollo3, Mbed_nano, Mbed_portenta, and Mbed_nicla architectures (learn more about system architectures here). BLE peripherals & centrals are supporting, allowing us to create peripheral and central nodes for communication between Arduino boards, smartphones, and other BLE-enabled devices. Since the MakerBLE uses an nRF52840 chip, we can use the ArduinoBLE library to take advantage of many of its baked-in functions to create unique projects.
The full ArduinoBLE library support page can be found at the following link:
The simplest foray into Bluetooth Low Energy (BLE) with Arduino is to setup a BLE characteristic that sends text back and forth from a smartphone app. We’ll be using the BLExAR app for iOS to demonstrate simple communication between the MakerBLE and an iPhone. BLExAR is an integrated app that uses BLE to connect and transfer data between iOS devices and Arduino boards. BLExAR allows the smartphone user to control digital and analog pins, acquire and visualize data in real-time, and communicate and monitor input and output using a terminal window. The BLExAR app is intended for makers, students, and engineers interested in controlling their Arduino board whether for hobby or professional purposes.
Below is a simple script that transfers and displays text between the BLExAR iOS app and MakerBLE board, and turns on the appropriate on-board LED if the correct text is sent from the smartphone:
/***************************************************************************
* Arduino MakerBLE Message Transfer with BLExAR
*  -- sending text back and forth between BLExAR app
*
*
*  by Josh Hrisko | Maker Portal LLC (c) 2022
*
*
***************************************************************************/

#include <ArduinoBLE.h>

// Full list of Arduino BLE commands: https://github.com/arduino-libraries/ArduinoBLE
BLEService myService("0000ffe0-0000-1000-8000-00805f9b34fb"); // service characteristic
BLECharacteristic myCharacteristic("EFE5", BLEIndicate | BLEWriteWithoutResponse ,0x20);

int ledArray[] = ; // onboard LED array
int ledCount = sizeof (ledArray) / sizeof (ledArray[0]); // for looping through LEDs

void setup() {
  Serial.begin(115200); // start serial monitor
  while(!Serial); // wait for serial monitor to be opened

  if (!BLE.begin()) { // wait for BLE to start
    Serial.println("failed to initialize BLE!");
    while (1);
  }

  myService.addCharacteristic(myCharacteristic); // add characteristic to service
  BLE.addService(myService); // add service to BLE dev

  // Build scan response data packet
  BLEAdvertisingData scanData;
  scanData.setLocalName("MakerBLE"); // set BLE name
  BLE.setDeviceName("MakerBLE"); // set BLE name
  BLE.setScanResponseData(scanData); // set name for scanners
  myCharacteristic.setEventHandler(BLEWritten, WriteCharacteristicHandler); // add written handler
  BLE.advertise(); // advertise BLE from MakerBLE board
}

void loop() {
  BLE.poll(); // startup BLE listening
}

void WriteCharacteristicHandler(BLEDevice central, BLECharacteristic characteristic) {
  String inputText = (char*)myCharacteristic.value(); // read incoming data
  inputText.remove(inputText.length()-1,2); // remove endline characters

  Serial.println("Input Text: "+inputText); // print message sent from BLExAR App

  if (inputText.equals("red")) { // if RX red — turn on red LED
    ledFunc(0); // red LED on
  } else if (inputText.equals("green")) {
    ledFunc(1); // green LED on
  } else if (inputText.equals("blue")) {
    ledFunc(2); // blue LED on
  }
  writeBLE("Hi, BLExAR. This is MakerBLE!"); // send response to BLExAR
}

void writeBLE(String message){
  byte plain[message.length()]; // message buffer
  message.getBytes(plain, message.length()); // convert to bytes
  myCharacteristic.writeValue(plain,message.length()); // write to BLE
}

void ledFunc(int pinNum){ // function for stepping through LEDs
  for (int ii=0;ii<ledCount;ii++){
    if (pinNum==ii){
      digitalWrite(ledArray[ii],LOW); // LOW turns LED on
    } else {
      digitalWrite(ledArray[ii],HIGH); // HIGH turns LED off
    }
  }
}
The way to test whether there is a valid BLE connection between the BLExAR app and MakerBLE board is to send a message from the BLExAR app console window. If ‘red’ ‘green’ or ‘blue’ are sent, the corresponding RGB LED will turn on for that color. Users should also verify the following when sending text from the iPhone to MakerBLE:
The BLExAR app shows the outgoing message
The text is printed out on the Arduino serial monitor window
The response from the MakerBLE shows up on the BLExAR console window
If ‘red’ ‘green’ or ‘blue’ are sent, the corresponding LED is turned on
These four components verify the connection and communication between BLExAR and MakerBLE, and that the MakerBLE is behaving as expected on the hardware side of things (if the LEDs are working).

In this tutorial, the MakerBLE board was introduced as a tiny, versatile, BLE-enabled microcontroller integrated into the Arduino ecosystem. With an nRF52840 BLE SoC at its core, the MakerBLE allows users to receive and send messages, collect data, control GPIO pins, and read from sensors — just to name a few capabilities. This is the first entry in a series of projects centered around low-power, Bluetooth-enabled, mini microcontroller projects. The intention is to explore remote control of motors, data collection from I2C, SPI, UART, I2S sensor peripherals, message and string text analyses, BLE peripheral/central communication protocols, and general electronics testing with the MakerBLE. The aim of this series is to reduce average component size for maker projects to improve scalability of wearables and portables in the DIY electronics space.

See More in Arduino and BLE: