Capacitive Touch Sensor with Arduino
Parts and Wiring for this Project
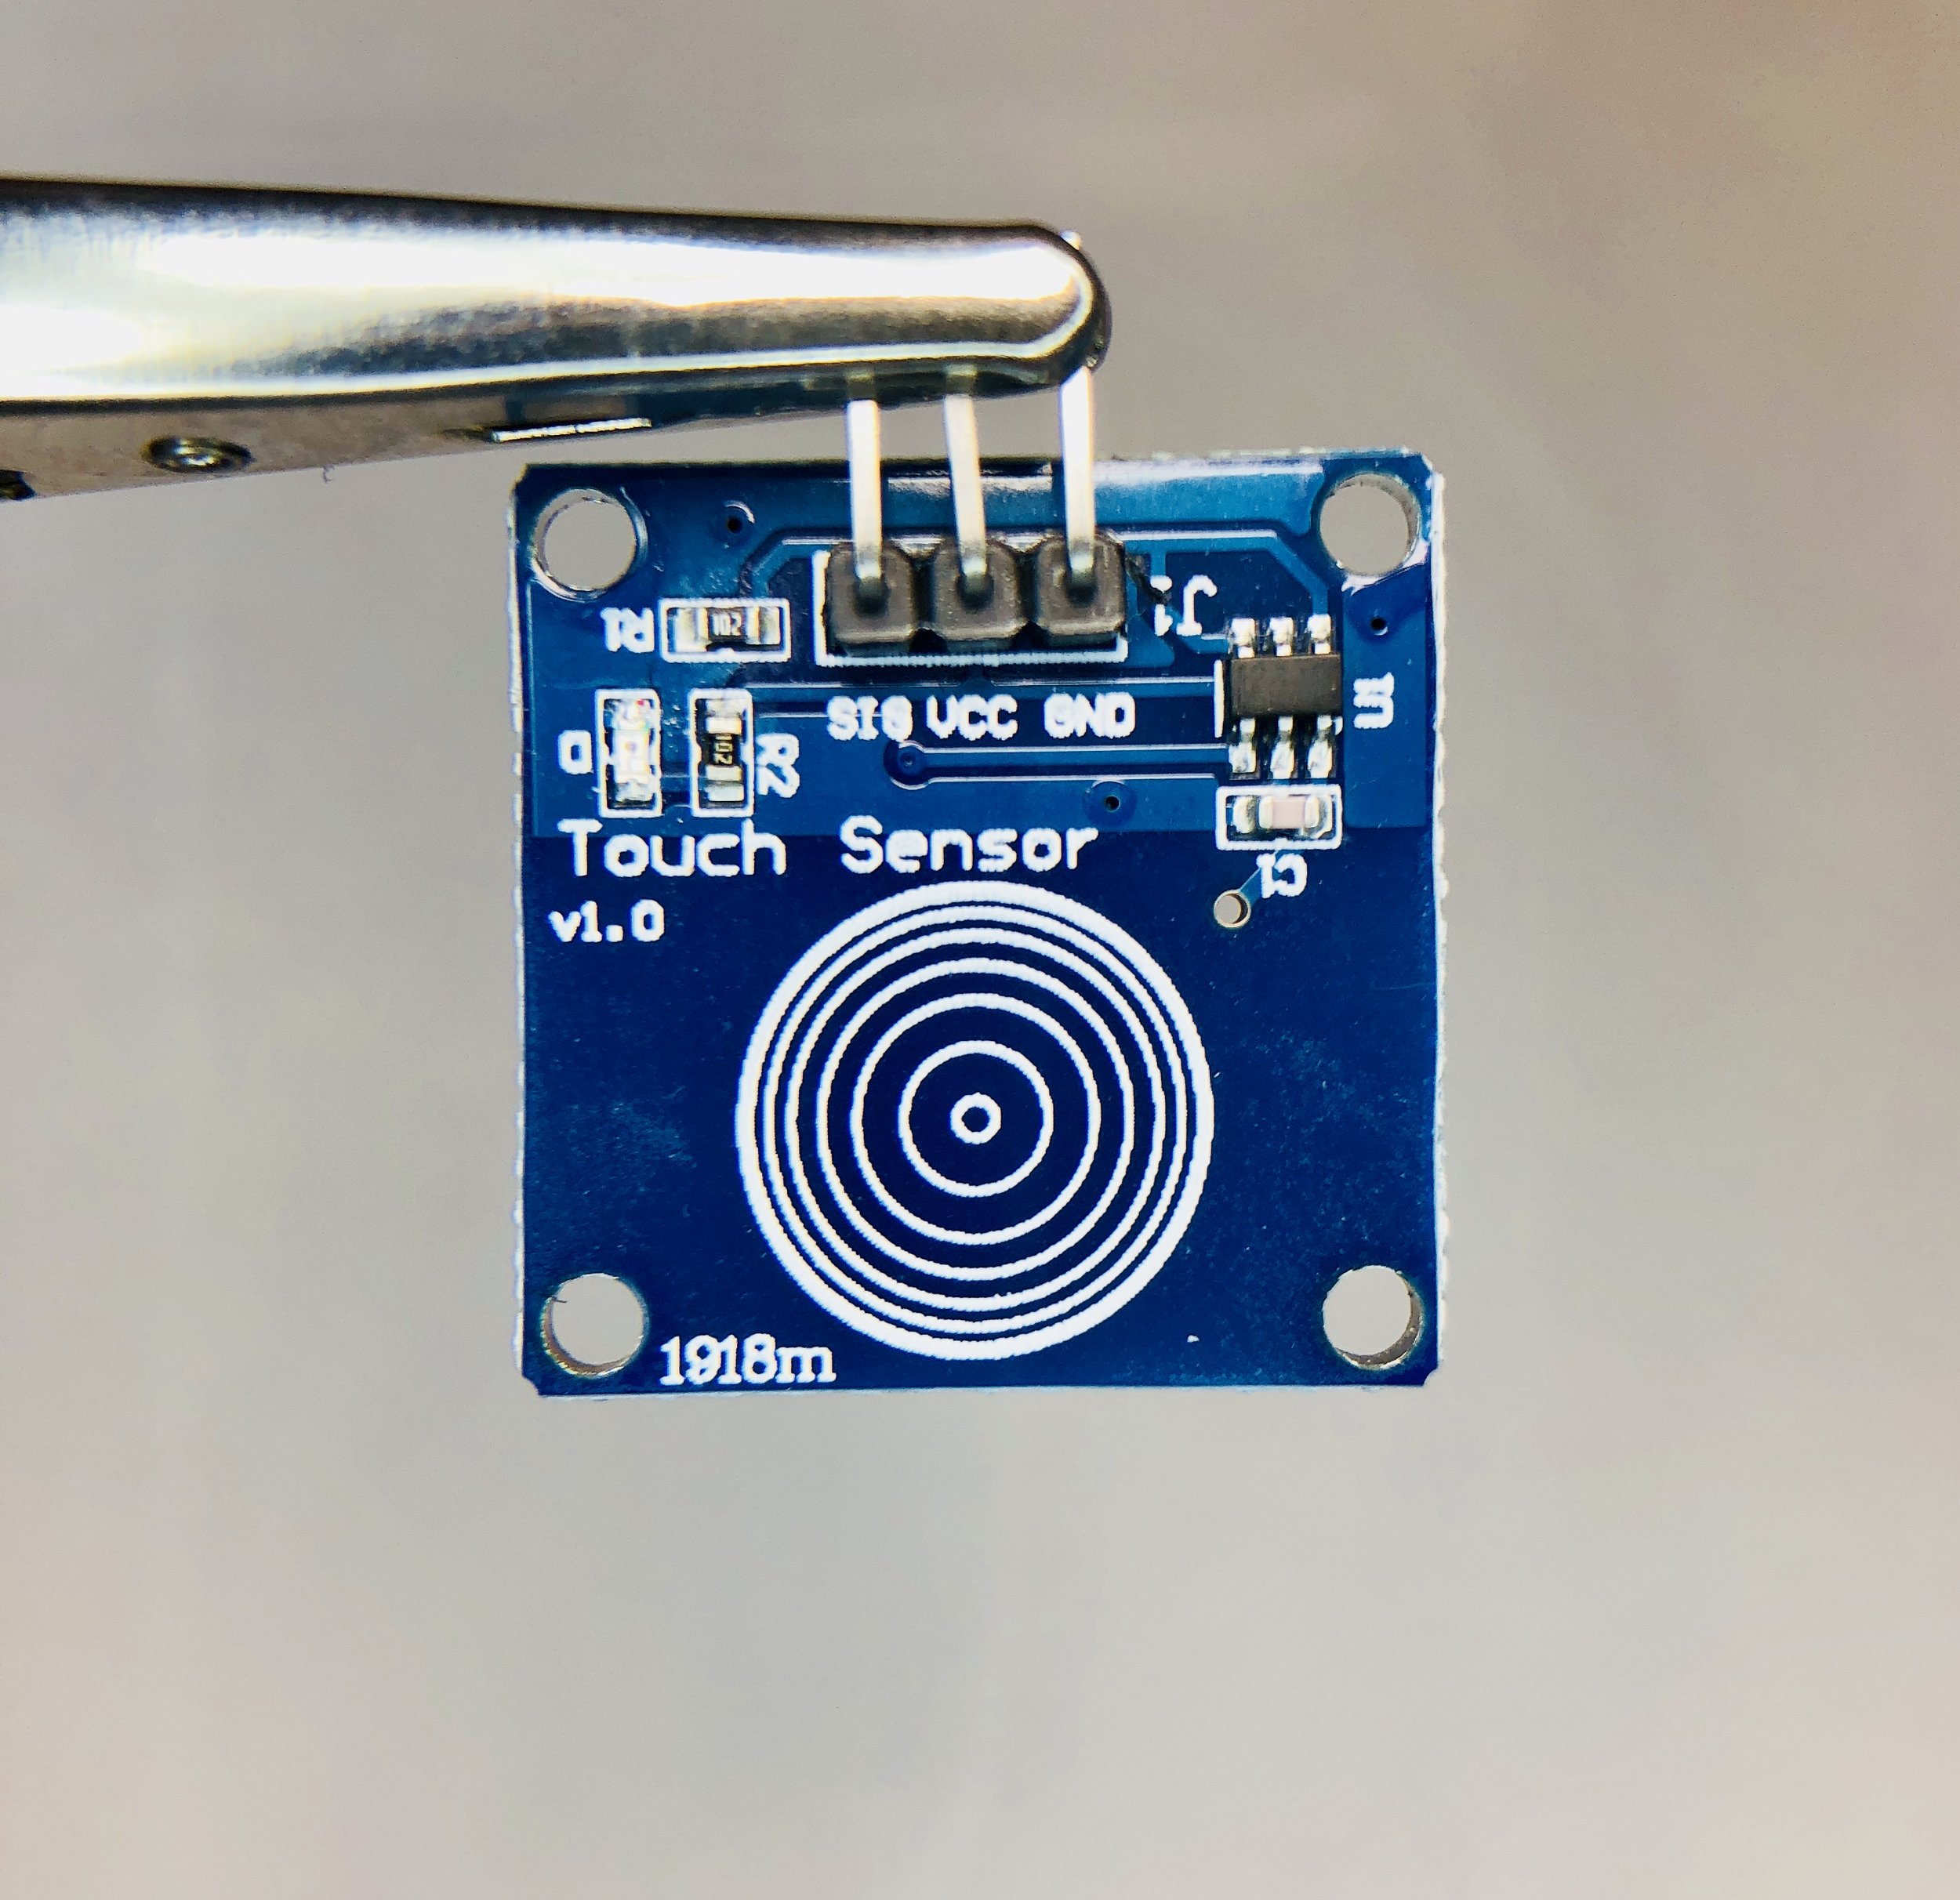
This project in capacitive sensing is very simple yet powerful in its application in electronics. Smartphones use capacitive touch screens that allow humans to make gestures using their fingers, other capacitive devices can measure electricity without any contact, and other capacitive devices can be implemented as a way of monitoring materials in industrial applications. In our case, we will focus on the capacitive reaction due to the human touch. This will allow us to create a switch without any moving parts and requires only an Arduino board and one of the capacitive touch sensors shown below.
The following parts are used in this tutorial:
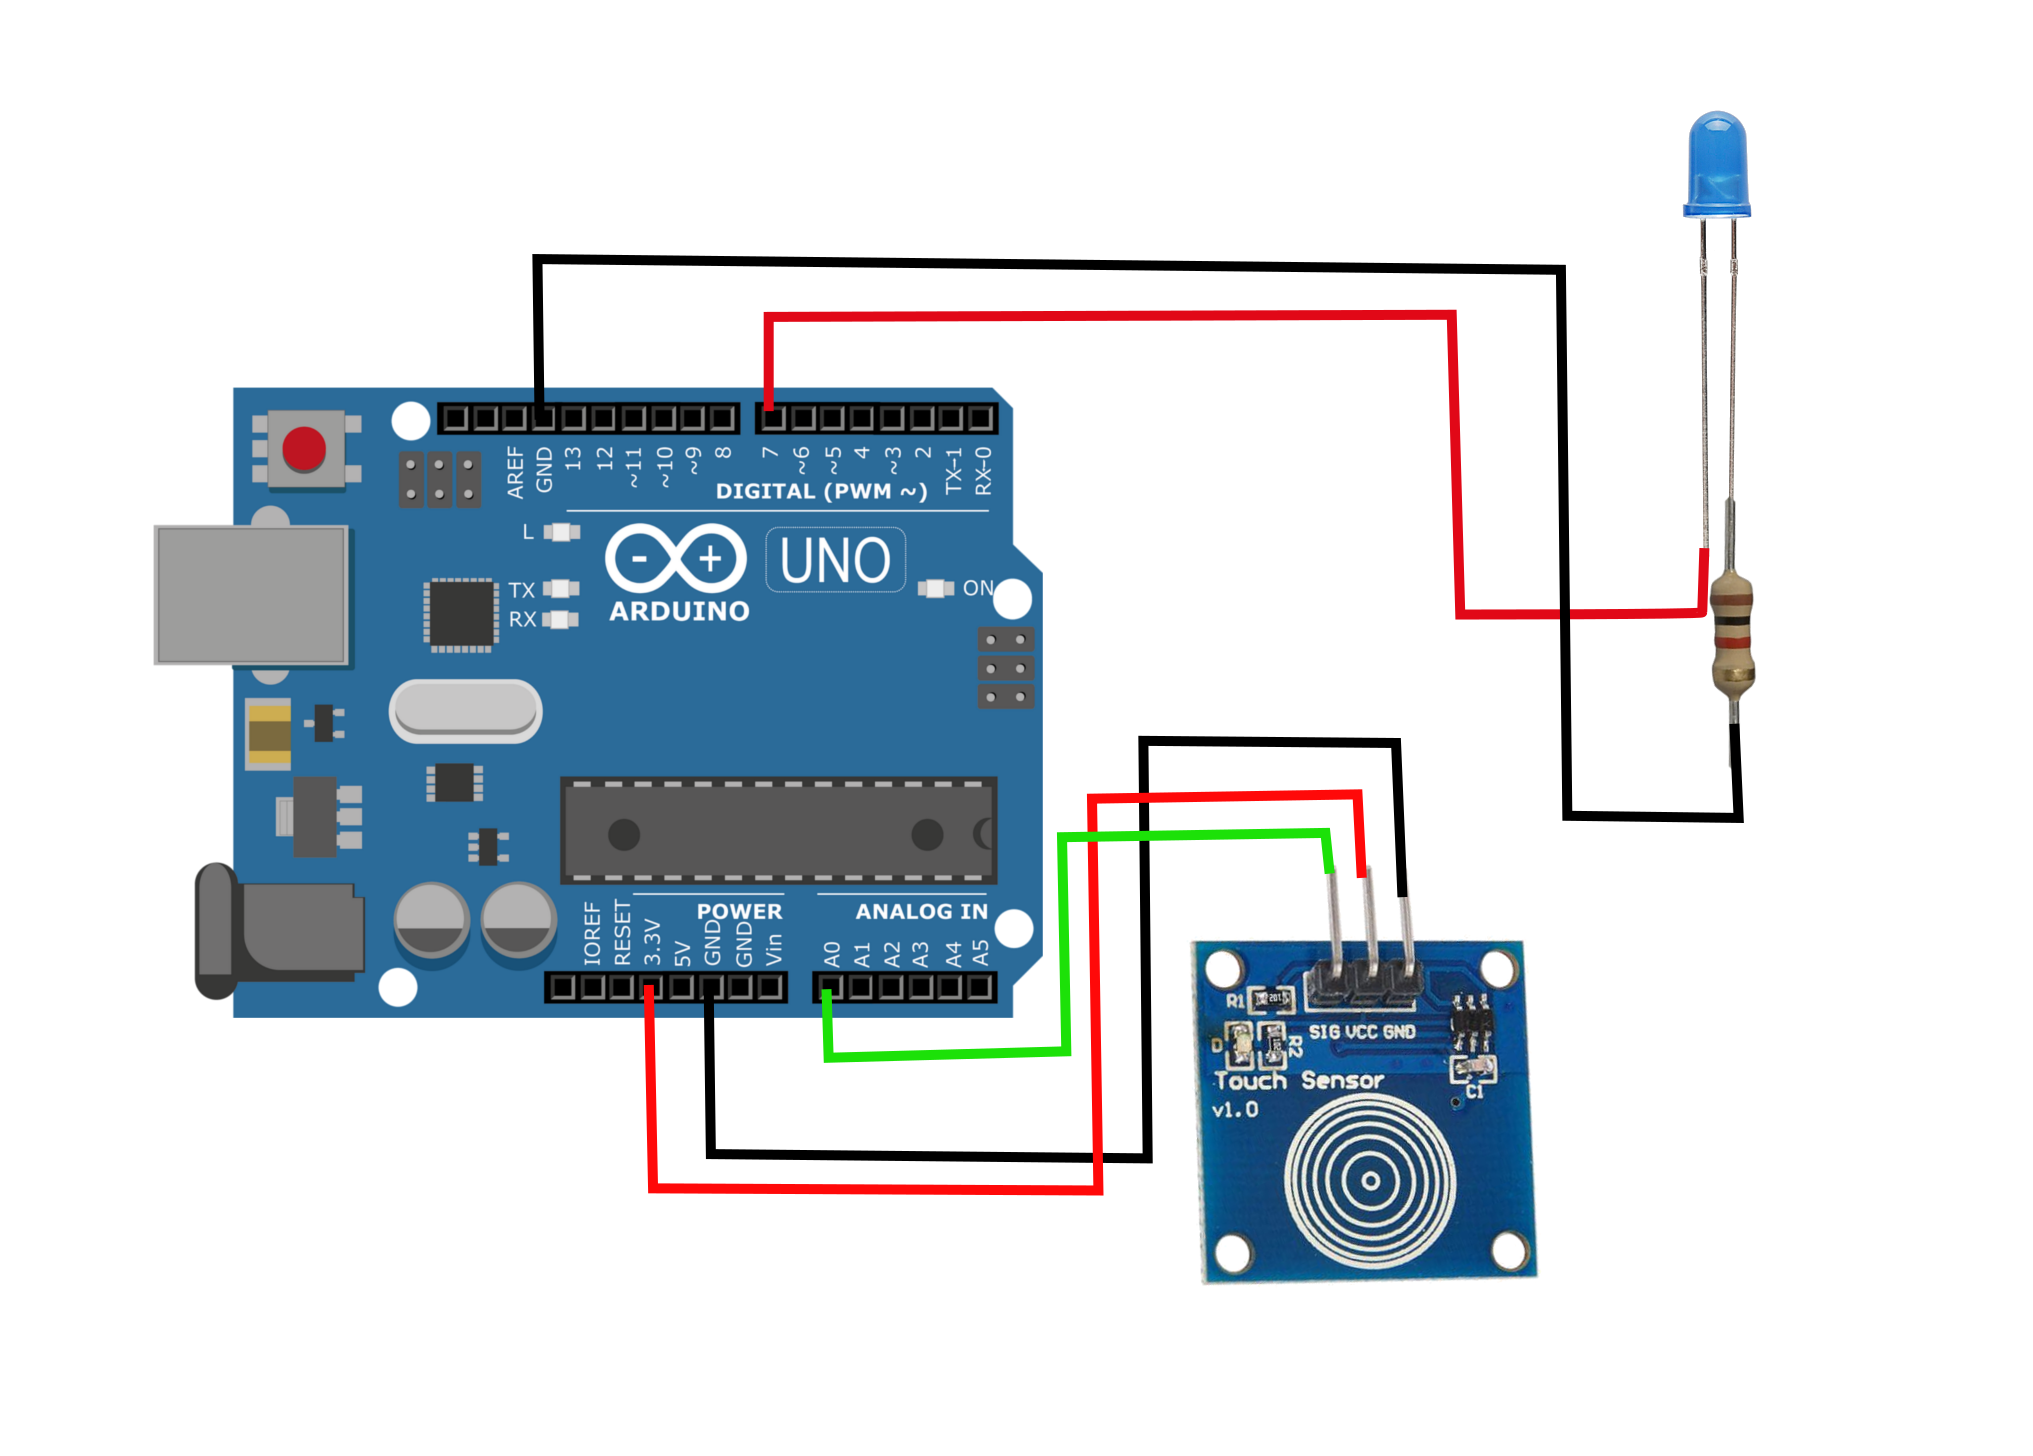
The simple wiring diagram for the capacitive touch sensor is shown below. I included an LED with a resistor 1kOhm or less to trip when the capacitive sensor is touched.
Arduino Code
The Arduino code is shown below. The code reads the voltage through the analog input A0. You can easily switch the input pin to a digital interrupt pin if desired, however, I found that since the current draw from the touch sensor is so high, it doesn’t make much sense to use the sensor as an interrupt. I’m sure there is a way to lower the current draw from the sensor, but I haven’t explored that here. In the serial port, I am printing the voltage value from the sensor. We can see that it maintains a steady low frequency during periods when the sensor is untouched, and the full voltage of the VCC pin when pressed (in our case, that’s 3.3V). From here, I imagine the user can explore applications with multiple capacitive buttons. I also recommend trying to connect a Bluetooth device (HM-10) and control a few LEDs or even a lamp using a relay switch.

Multimeter showing the current draw from the capacitive touch sensor.
int led=7;

void setup() {
  //led as the output
  pinMode(led,OUTPUT);
  Serial.begin(9600);
}

void loop() {
  // read the input on the analog input (this is useful for
  // printing the voltage to the serial monitor
  int cap_reading = analogRead(A0);
  // Convert 10-bit ADC value (0 - 1023) to the actual voltage reading (0 - 5V)
  float volt_reading = (5.0 / 1023.0)*cap_reading;
  Serial.print(volt_reading);
  Serial.println(" Volts");
  // set the value where the LED turns on
  if (volt_reading>1.5){
    // turn LED on
    digitalWrite(led,HIGH);
  } else{
    // otherwise, turn LED off
    digitalWrite(led,LOW);
  }
  delay(20);
}
Conclusion
This tutorial demonstrated multiple skills involved in wiring and programming using Arduino. Capacitive touch is used in many electronic devices including smartphones and switches in modern homes and apartments. Capacitive touch allows the user to turn their human touch into a switch without any mechanical or moving parts - meaning that capacitive sensing switches are likely to outlast any comparable moving switches. This tutorial also demonstrated how to use the analog read function of the Arduino Uno board to register the touch, which also prevents the sensor from tripping under “false” touches. This type of setup could be used in homes or smart systems where moving switches may be difficult to implement or degrade quickly in harsh environments.
See More in Arduino and Sensors:


