Arduino Smart Car
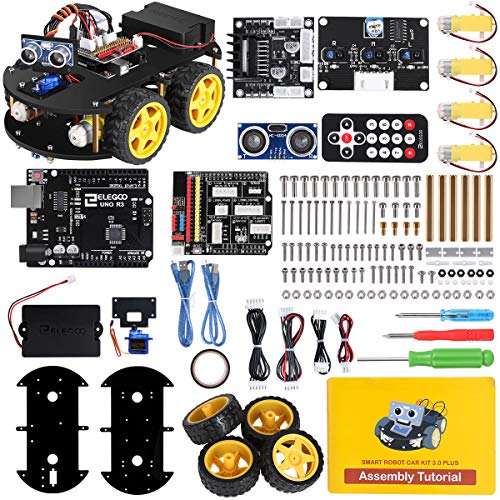
In this tutorial, the Elegoo Arduino-enabled smart car will be explored using various capabilities of the smart car platform. The smart car kit includes an ultrasonic sensor, a line follower module, infrared receiver, and Bluetooth module - which allows for four different types of control and navigation of the vehicle. I will explore the Bluetooth control of the module, as it is the most stable and interesting of the four capabilities. The Elegoo kit contains all of the needed components to control the module, except of course, the smartphone itself. Using the kit and a smartphone, we will be in full control of the four-wheeled smart car, which we can drive forward, left, right, and backwards - all from the control of a smartphone!
Bluetooth Control
The Elegoo Smart Tool App is available for iPhone and Android, which allows users to control their smart car. The communication method uses Bluetooth Low Energy as the protocol to instruct the motors on the smart car how to move. The BLE device is a CC254x module, which communicates with an Arduino Uno board which contains an Arduino code used to turn each of the four wheels in a specific direction.
See More in Arduino:
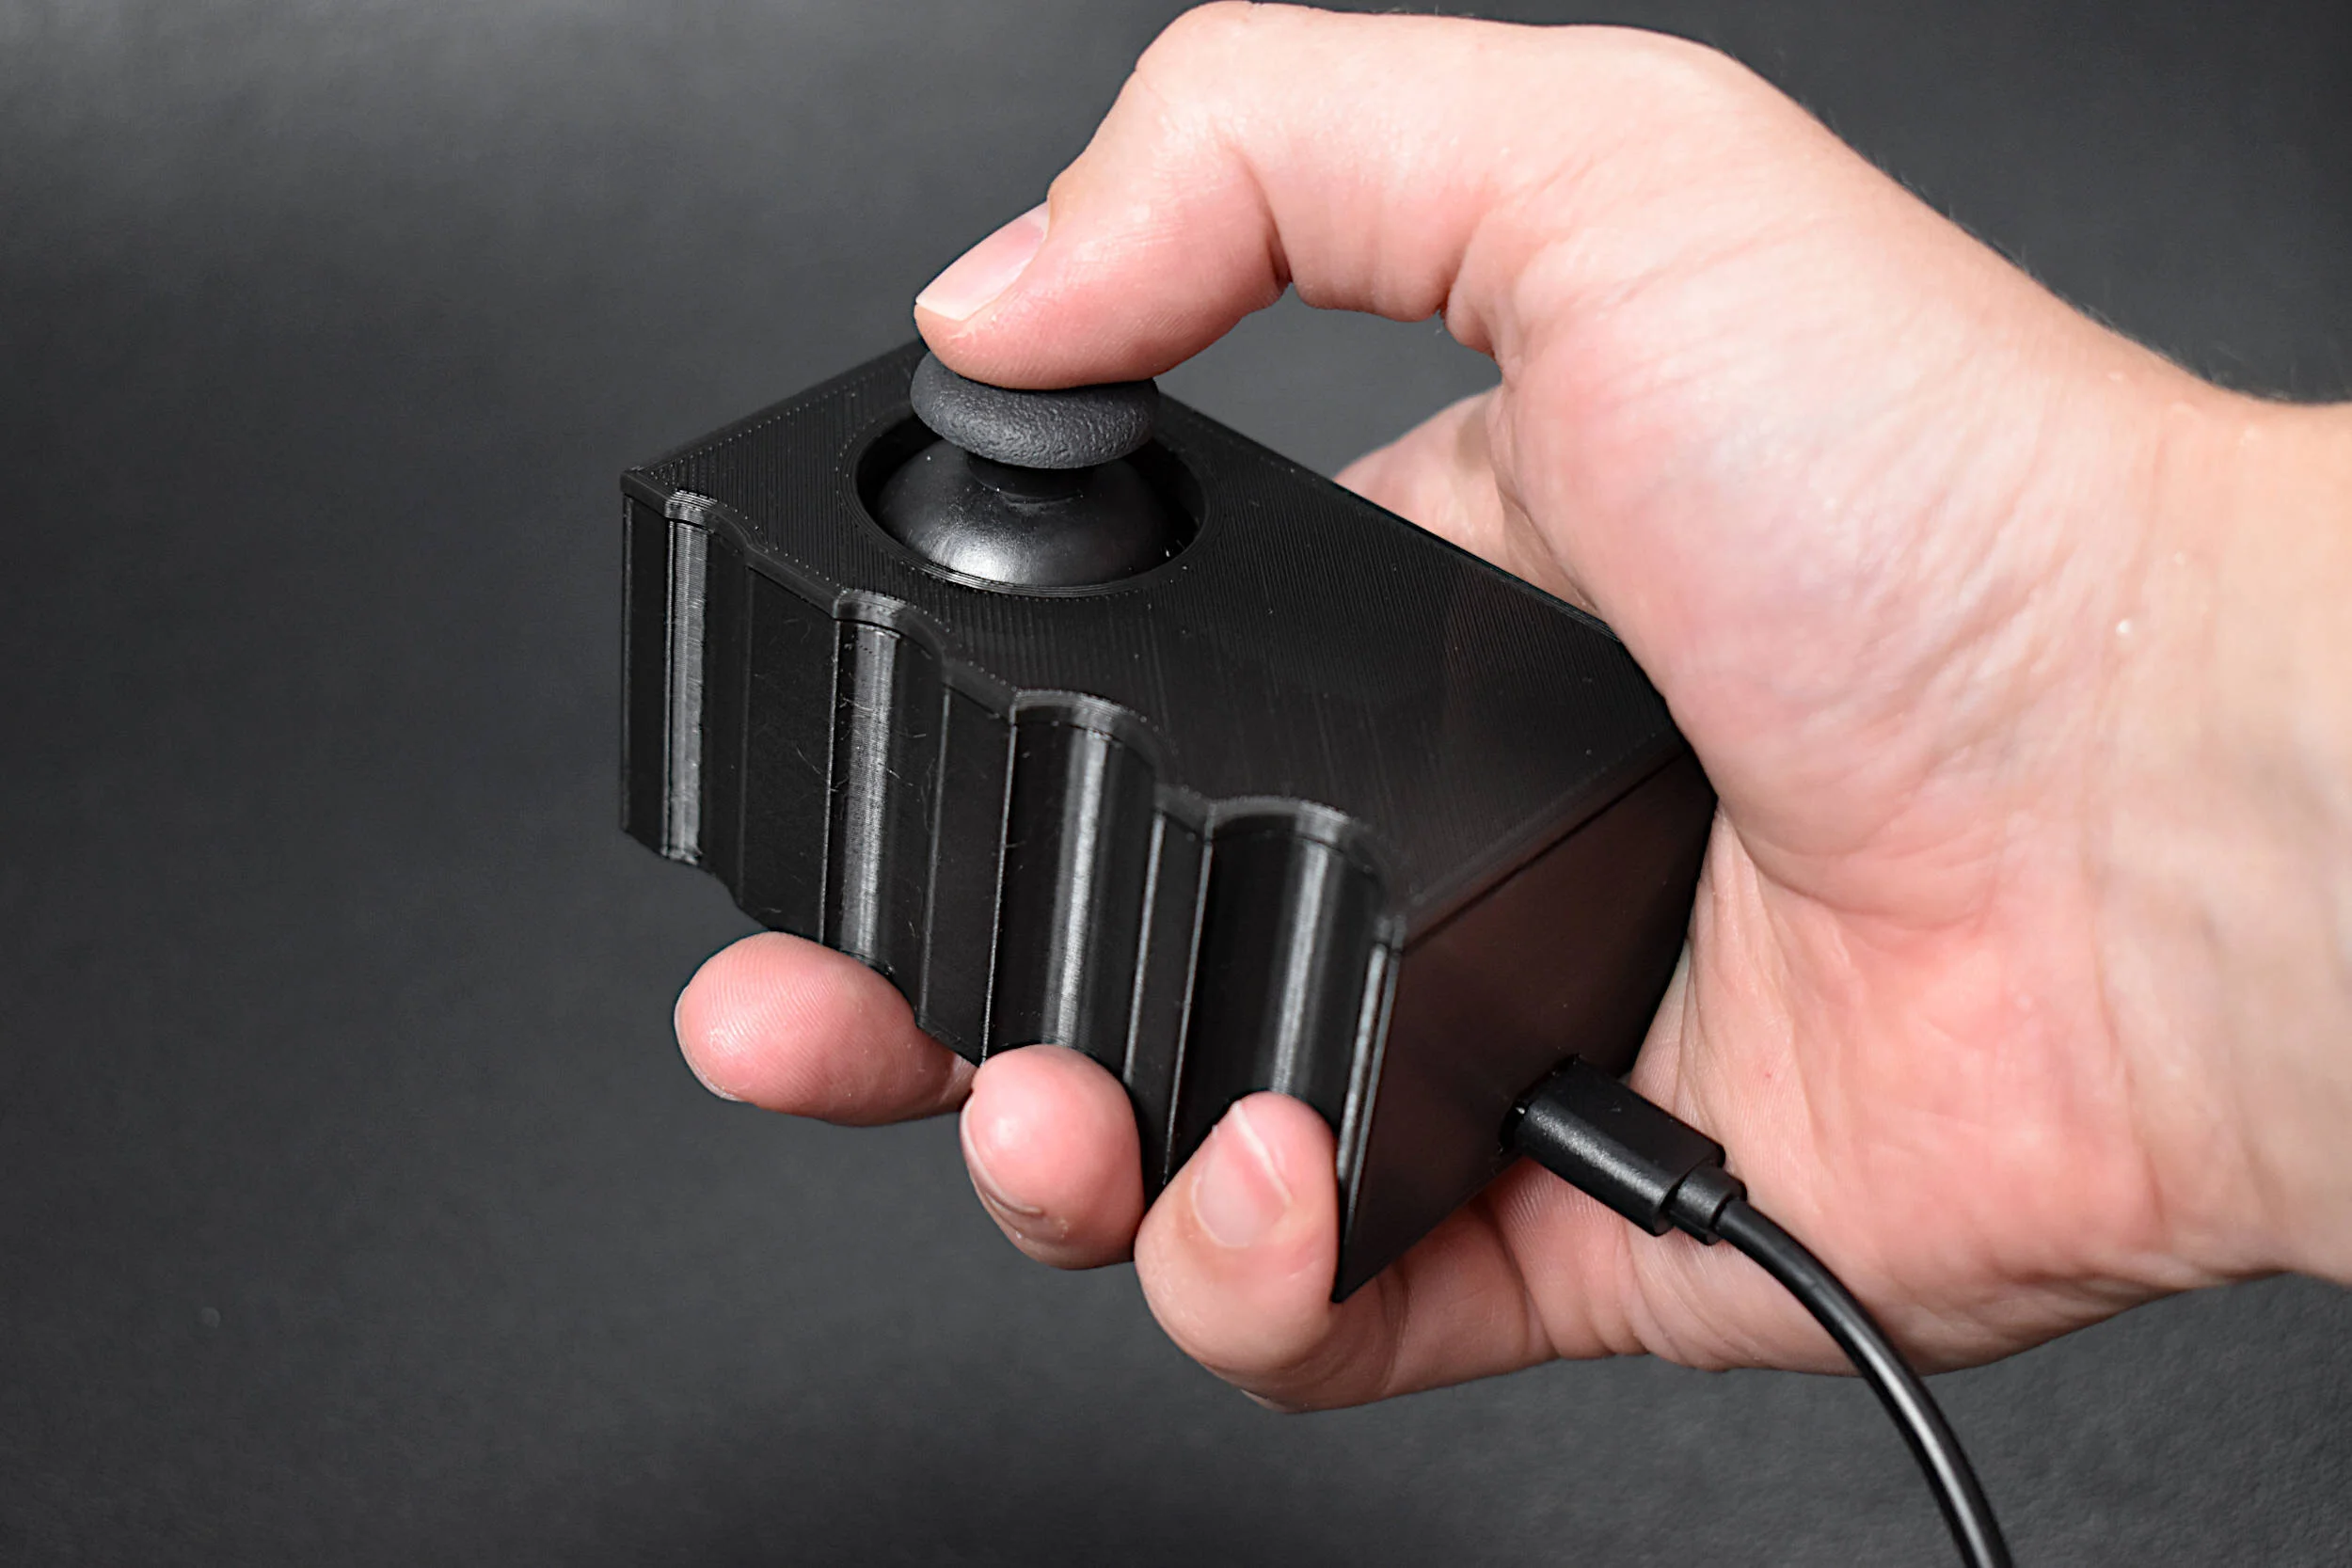
A vibration motor and joystick are used to create a haptic feedback device using the Arduino platform. As a response to specific changes in joystick position, we prescribe vibration motor actions corresponding to the movement of the joystick. This allows for creation of vibrational feedback similar to that used in video games and virtual reality systems. The goal of this tutorial is to introduce users to haptic technology that can immerse users into the digital world using physical feedback mechanisms, such as vibration. Different tunings of the vibration motor can provide users with instructions based on their input, which makes this type of application useful for enhancing digital media, as referenced above, or situations such as visually impaired navigation, feedback in auditory-restricted environments, and delivering quiet notifications to users. Haptics can be incredibly useful in emulating the real world and immersing users into scenarios that may otherwise be dangerous or difficult to experience. Vibrational haptic feedback is just one of a series of haptic mechanisms, and this tutorial was just a simple entry into a wide ranging and evolving field of human computer interaction.
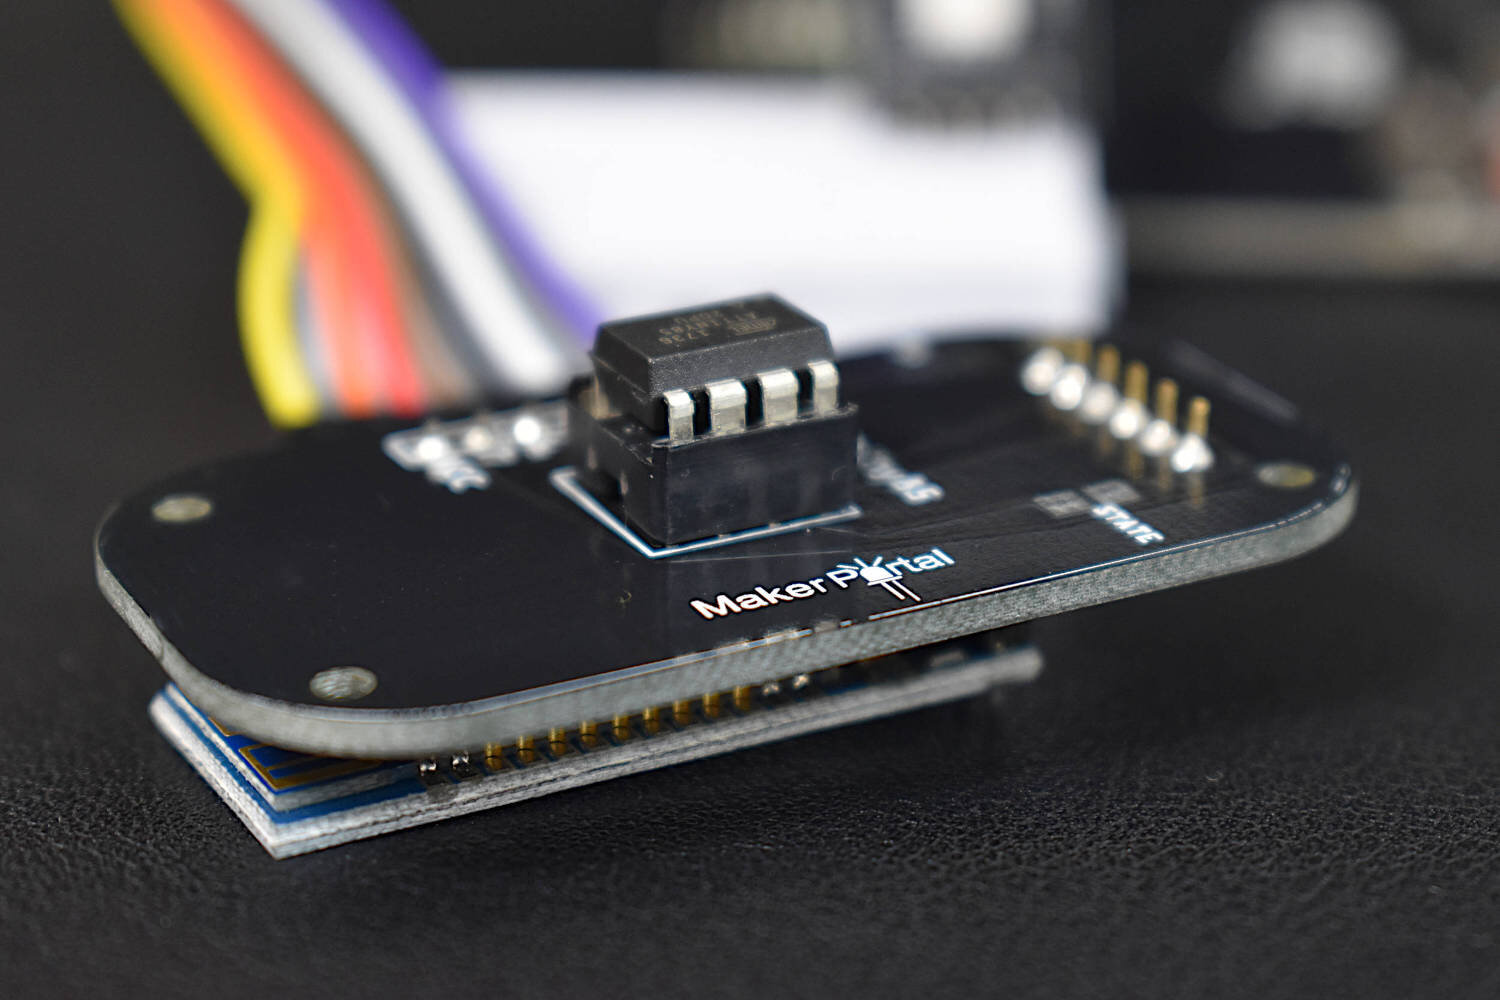
In this tutorial, a 1.54 inch e-Paper module is wired to a BLE-Nano Arduino board to communicates via SPI and display text in real time over Bluetooth. The e-Paper module here can be powered via 3.3V or 5.0V, requires very low power when refreshing (2mA-8mA), and can be completely powered off while retaining its text. An Android smartphone and the BLExAR app will be used to print text on the e-Paper display in real time, demonstrating the capabilities of electronic paper technology.
The TinyBlueX is a Bluetooth Low Energy-enabled microcontroller module that combines an ATtiny85 microcontroller and CC254x Bluetooth Low Energy chip. The TinyBlueX is compatible with the Arduino platform (IDE) and the BLExAR iOS Arduino app. The TinyBlueX is very low power and has a low profile, which makes it great for very low power internet of things (IoT) applications with analog and digital sensors. The TinyBlueX can read sensors and transmit the data back to an iOS device, while also being able to read iOS commands and control LEDs, indicators, and motors. Pins 2,3,7 are available on the ATtiny85 aboard the TinyBlueX, allowing users to control/read up to 3 different devices or sensors. In this tutorial series, the TinyBlueX will be explored by instructing users on how to upload code to the module, how to control LEDs, and how to send data back to an iOS device using the BLExAR app.
Three different intermediate-level Arduino projects are introduced as a way of exploring the capabilities of the open-source microcontroller platform. First, an Arduino-based gimbal was proposed, with a video demonstration using the MPU6050 inertial measurement unit (IMU). Many commercial gimbals use similar sensors and methods for balancing objects and controlling angular and translational movement. Second, a mechanum wheels robot was presented as a way of creating a more omnidirectional robotic car, vs the normal one-dimensional movement associated with Arduino and robotic cars. Finally, an Arduino-based hovercraft was shown with motors and an Arduino at the center.
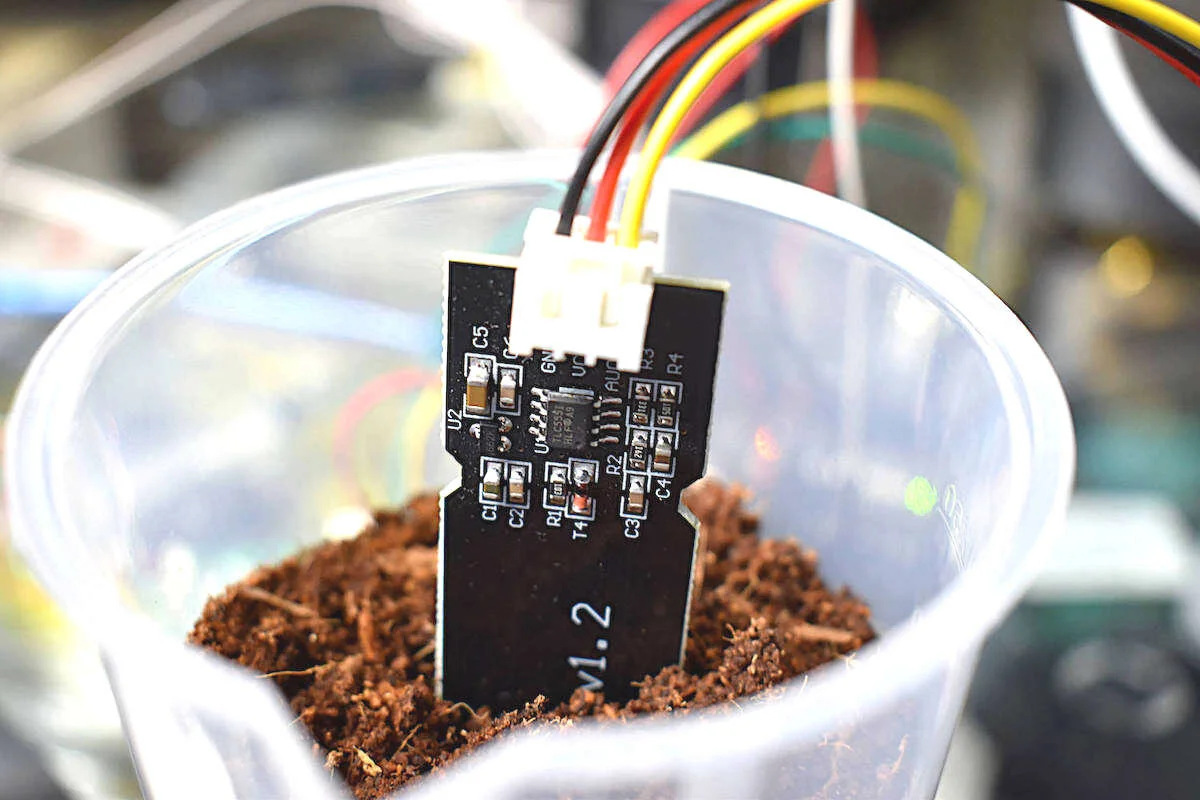
Soil moisture can be measured using a variety of different techniques: gravimetric, nuclear, electromagnetic, tensiometric, hygrometric, among others. The technique explored here uses a gravimetric technique to calibrate a capacitive-type electromagnetic soil moisture sensor. Capacitive soil moisture sensors exploit the dielectric contrast between water and soil, where dry soils have a relative permittivity between 2-6 and water has a value of roughly 80. Accurate measurement of soil water content is essential for applications in agronomy and botany - where the under- and over-watering of soil can result in ineffective or wasted resources. With water occupying up to 60% of certain soils by volume, depending on the specific porosity of the soil, calibration must be carried out in every environment to ensure accurate prediction of water content. Luckily, the accuracy of measurement devices has been increasing while the cost of the sensors have been decreasing. In this experiment, an Arduino board will be used to read the analog signal from the capacitive sensor, which will output voltage values which can be calibrated to volumetric soil moisture content via gravimetric methods.
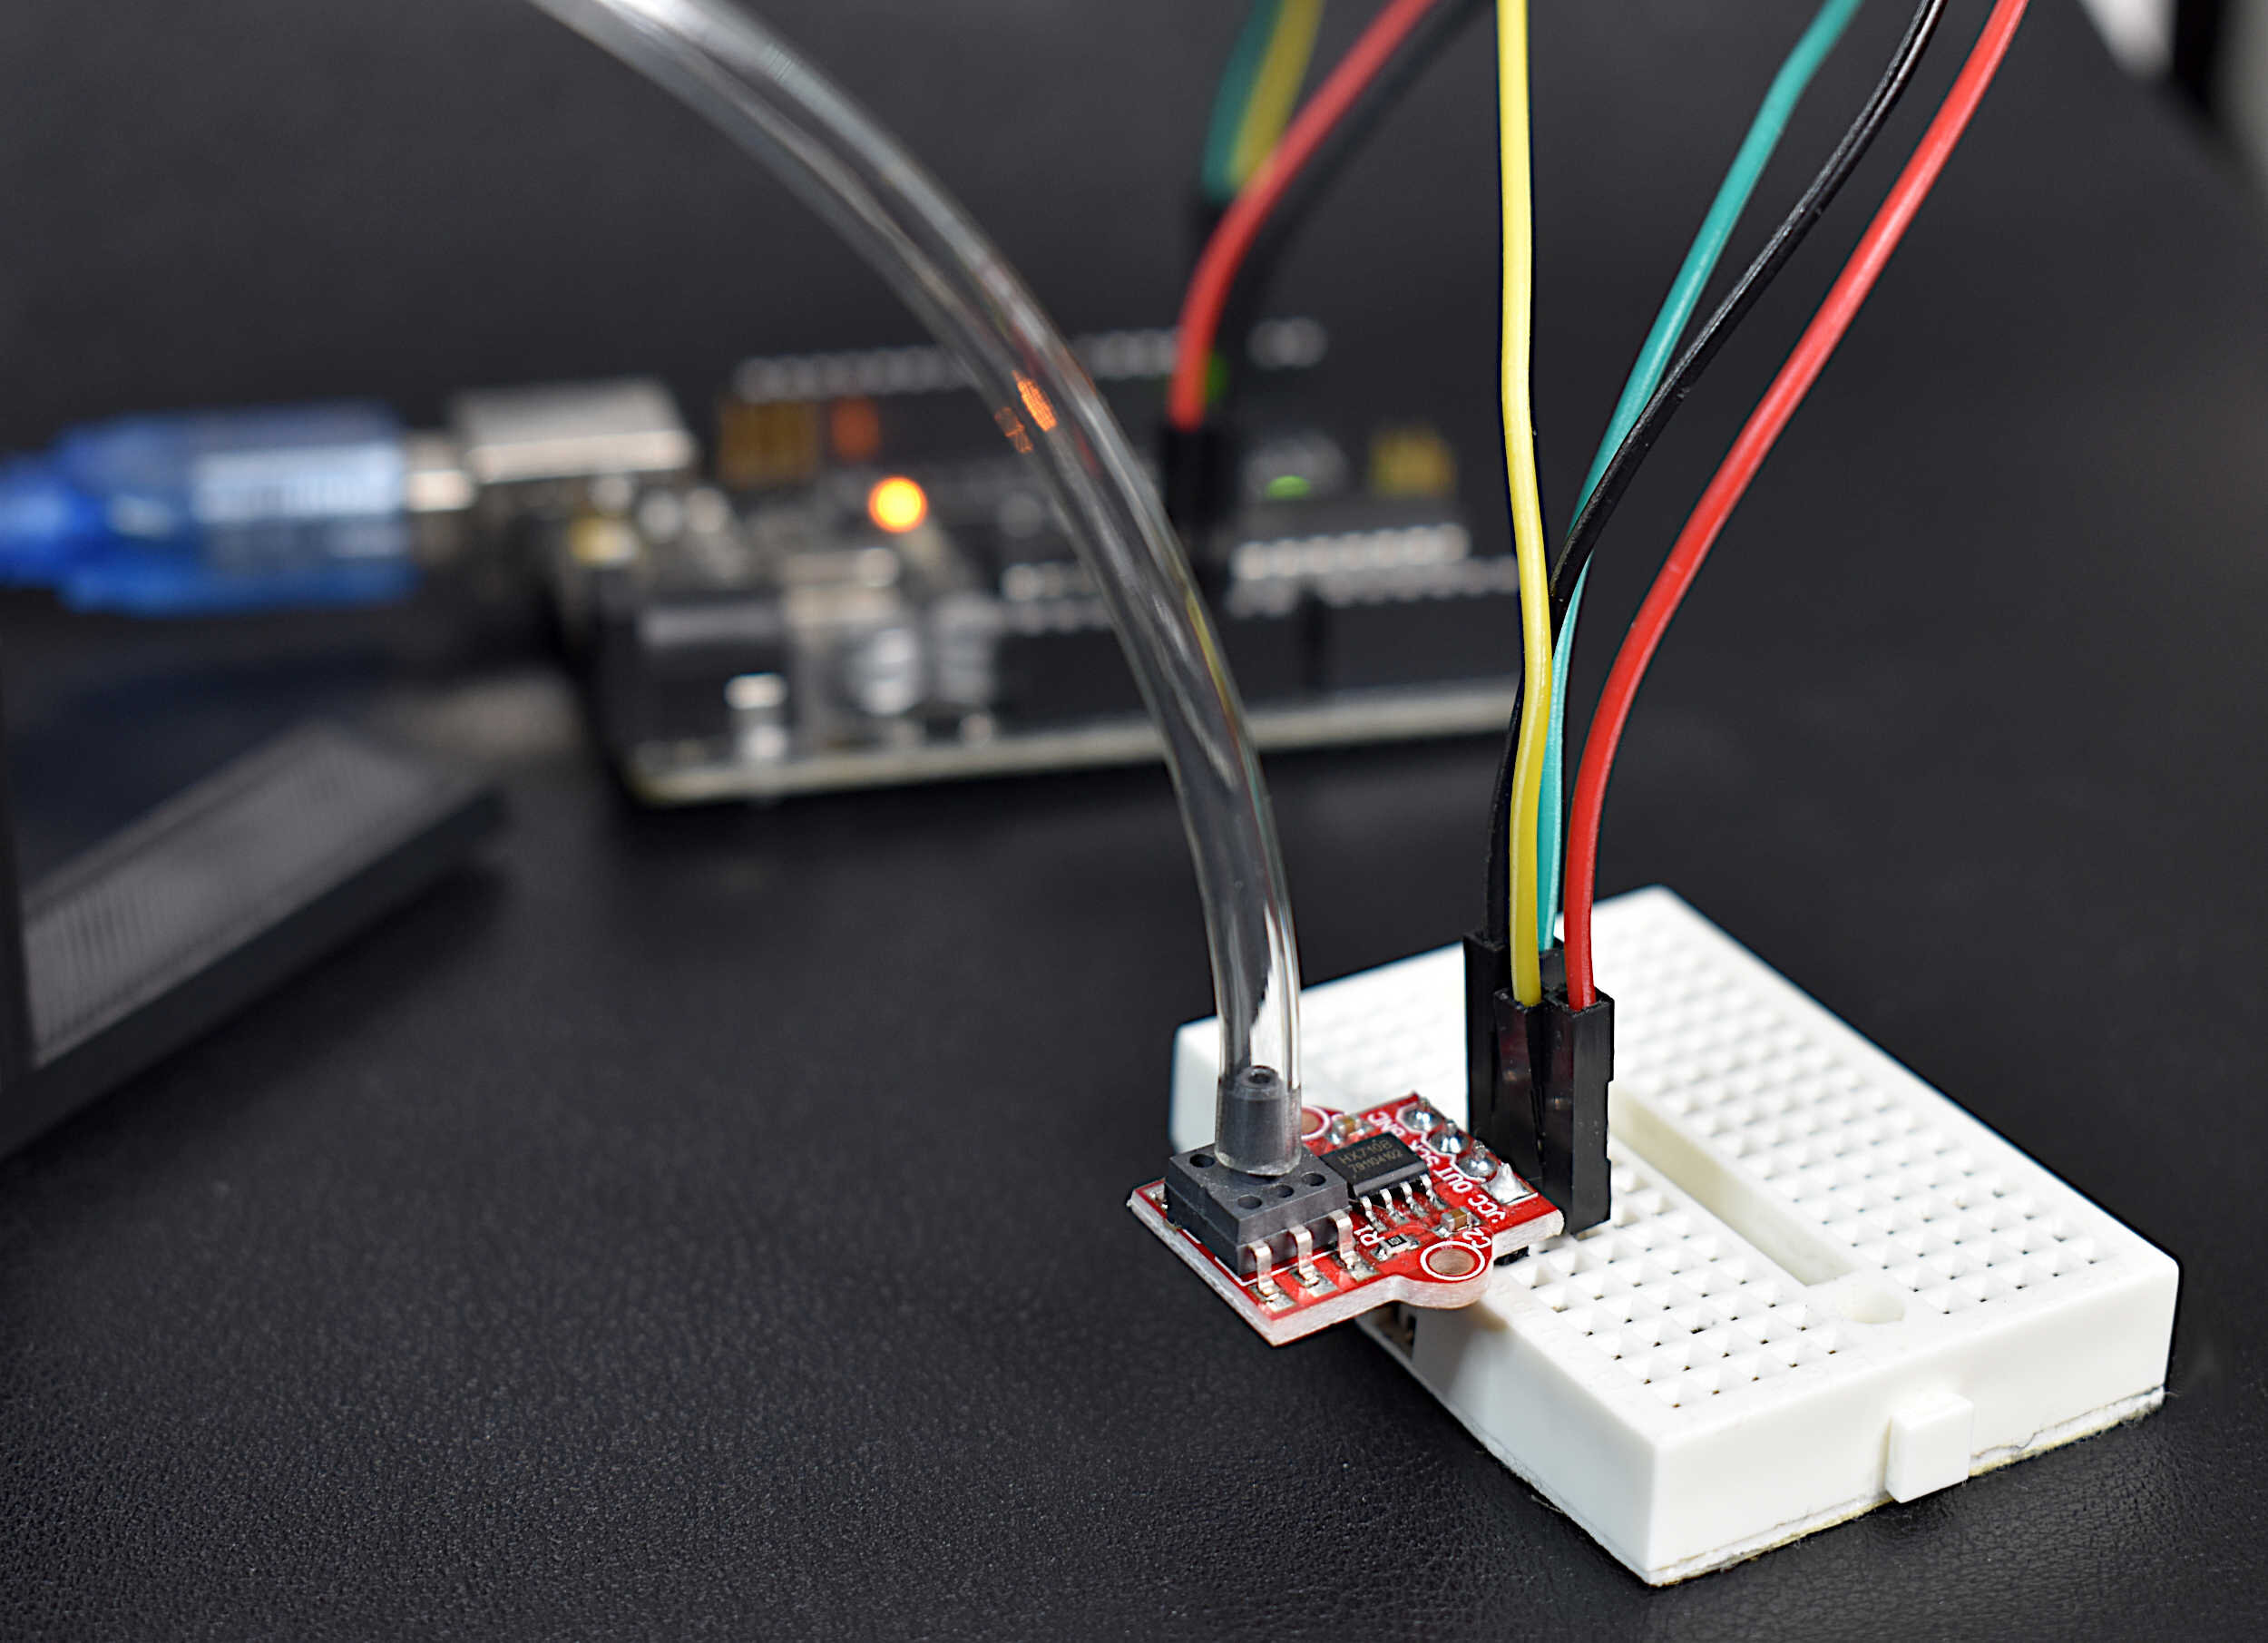
Pressure is defined as an evenly distributed force acting over a surface with a given area. The accurate measurement of pressure is essential for applications ranging from material testing to weighing scales, aircraft altitude prediction, and evaluating biological functions in humans relating to respiration and blood flow In this tutorial, a digital pressure transducer and analog pressure manometer will be used to measure gauge pressure - where the analog manometer is used as the calibration tool for the digital pressure sensor. Arduino will be used to read the digital pressure transducer, an MPS20N0040D, and a 3D printed manometer will be used to measure analog pressure manually.
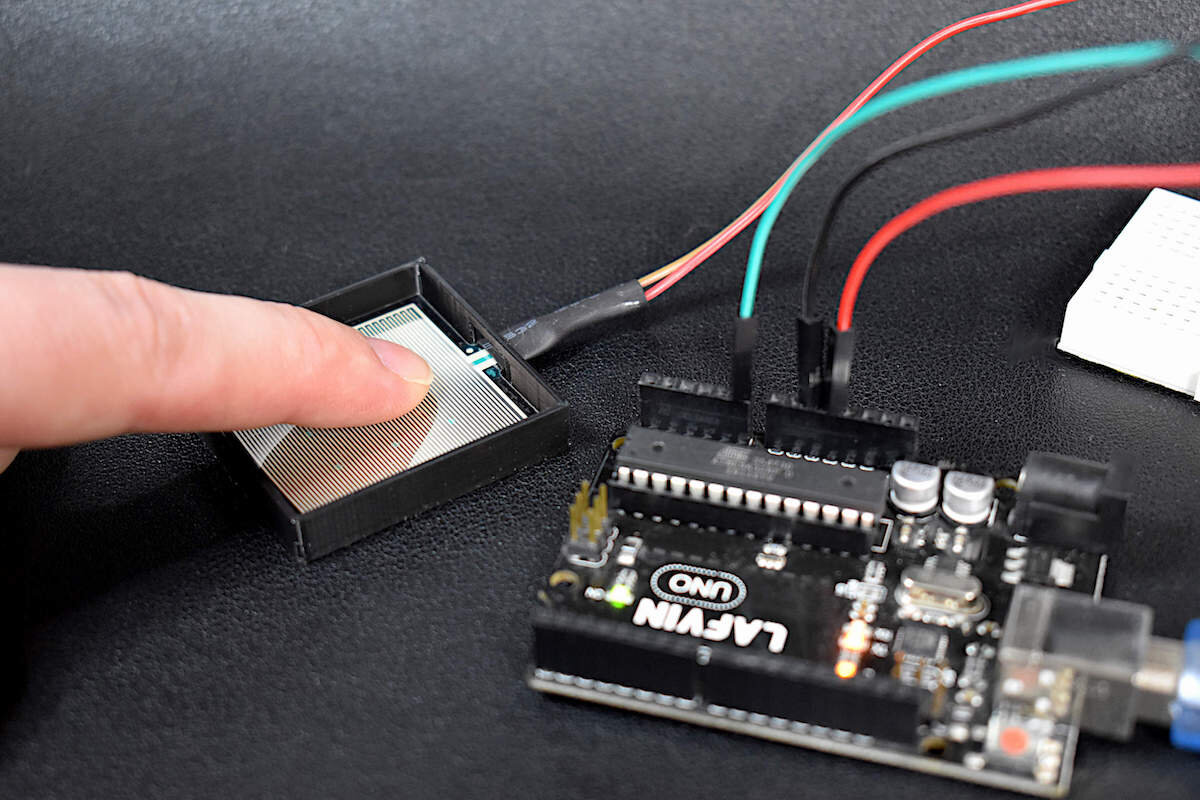
A force sensitive resistor (FSR) is comprised of a conductive polymer material pressed between two electrode layers, giving it the ability to electrically respond to changes in stress and strain. FSRs are often used in ergonomic or rehabilitation applications where pressure is applied from human interaction and the response is recorded or translated. Force sensitive resistors are incredibly useful for human interactivity because of their slim profile, inexpensive construction, and multiplicative geometries. The sensor used in this tutorial is the RP-S40-ST, which is a 40mm x 40mm thin film FSR. An Arduino board will be used to read the analog signals outputted by the FSR in a voltage divider configuration, where the force applied to the FSR can be approximated using the sensor’s calibration curve.
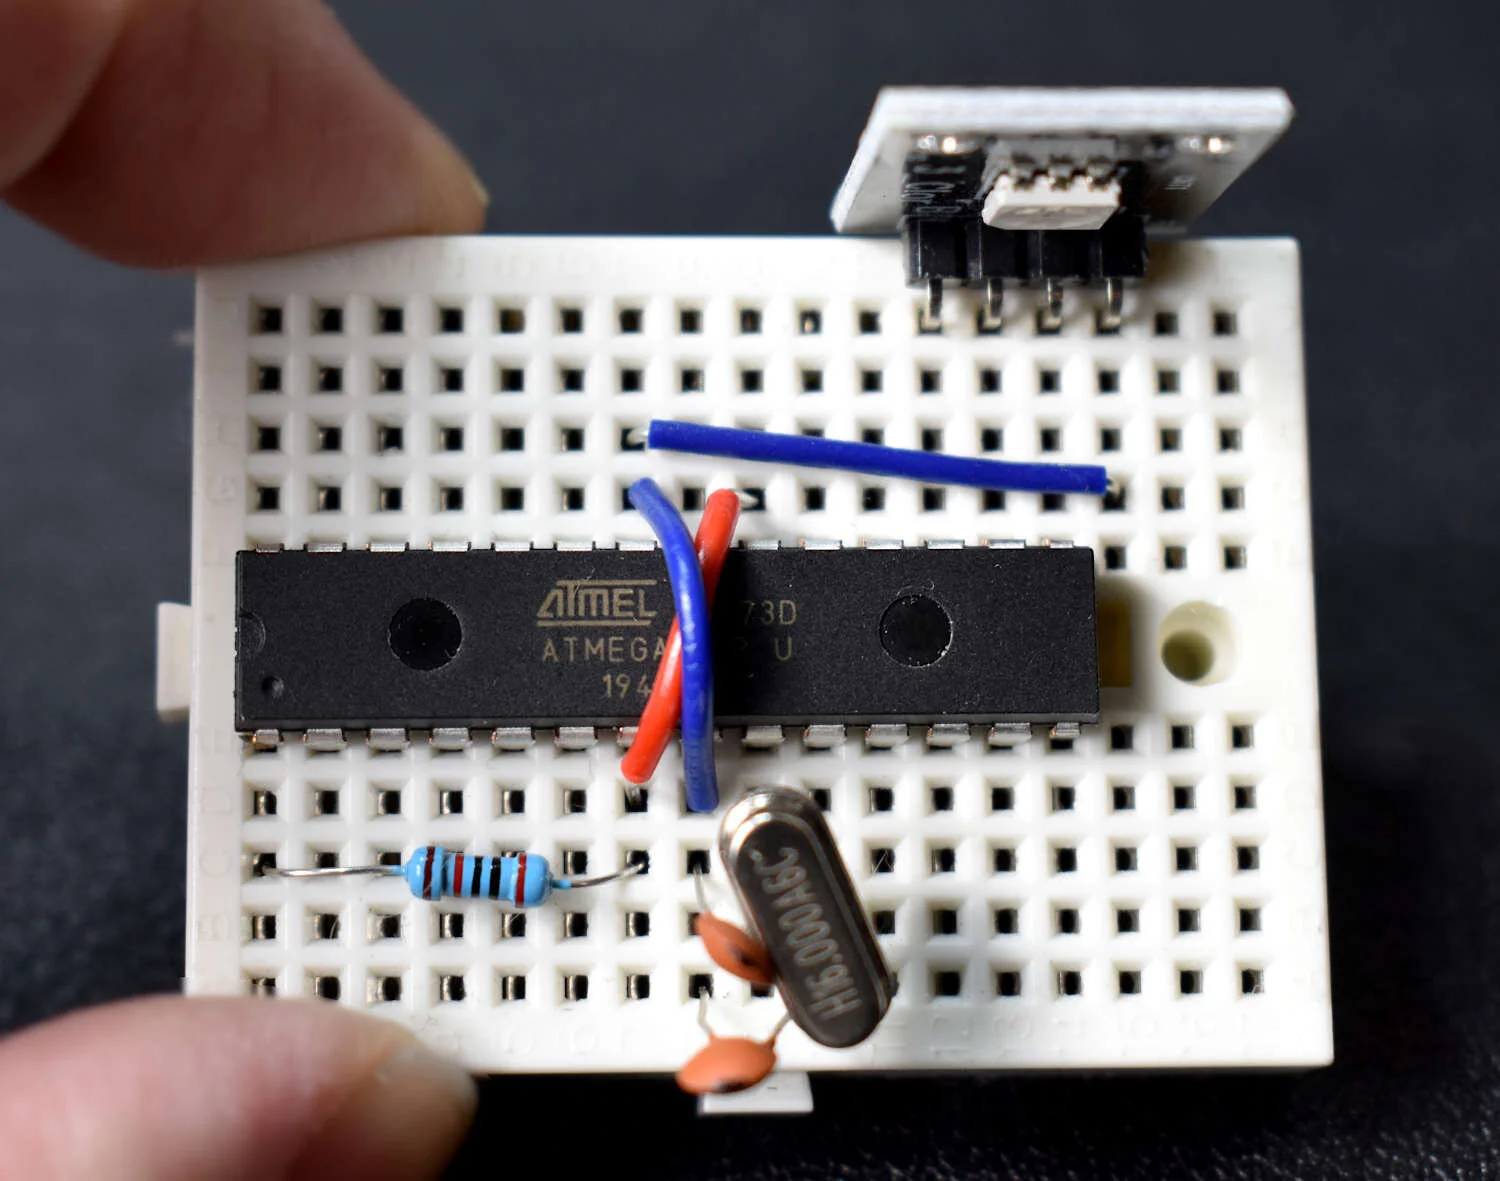
A DIY Arduino board is presented here, with most of the capabilities of the classic Arduino Uno board, but with a slimmer profile and more flexibility in hardware. The advantage to using the DIY Arduino board is its ability to change the input voltage (2.7V - 5.5V), the crystal oscillator (0-16MHz), and the use of LEDs and regulators when needed. The DIY board is capable of very lower power modes, without the requirement of draining components such as LEDs or regulators. The ATmega328P chip is at the center of every Uno board (in recent years), and is also at the center of the DIY board, which allows the DIY Arduino to behave almost identically to the Uno board.
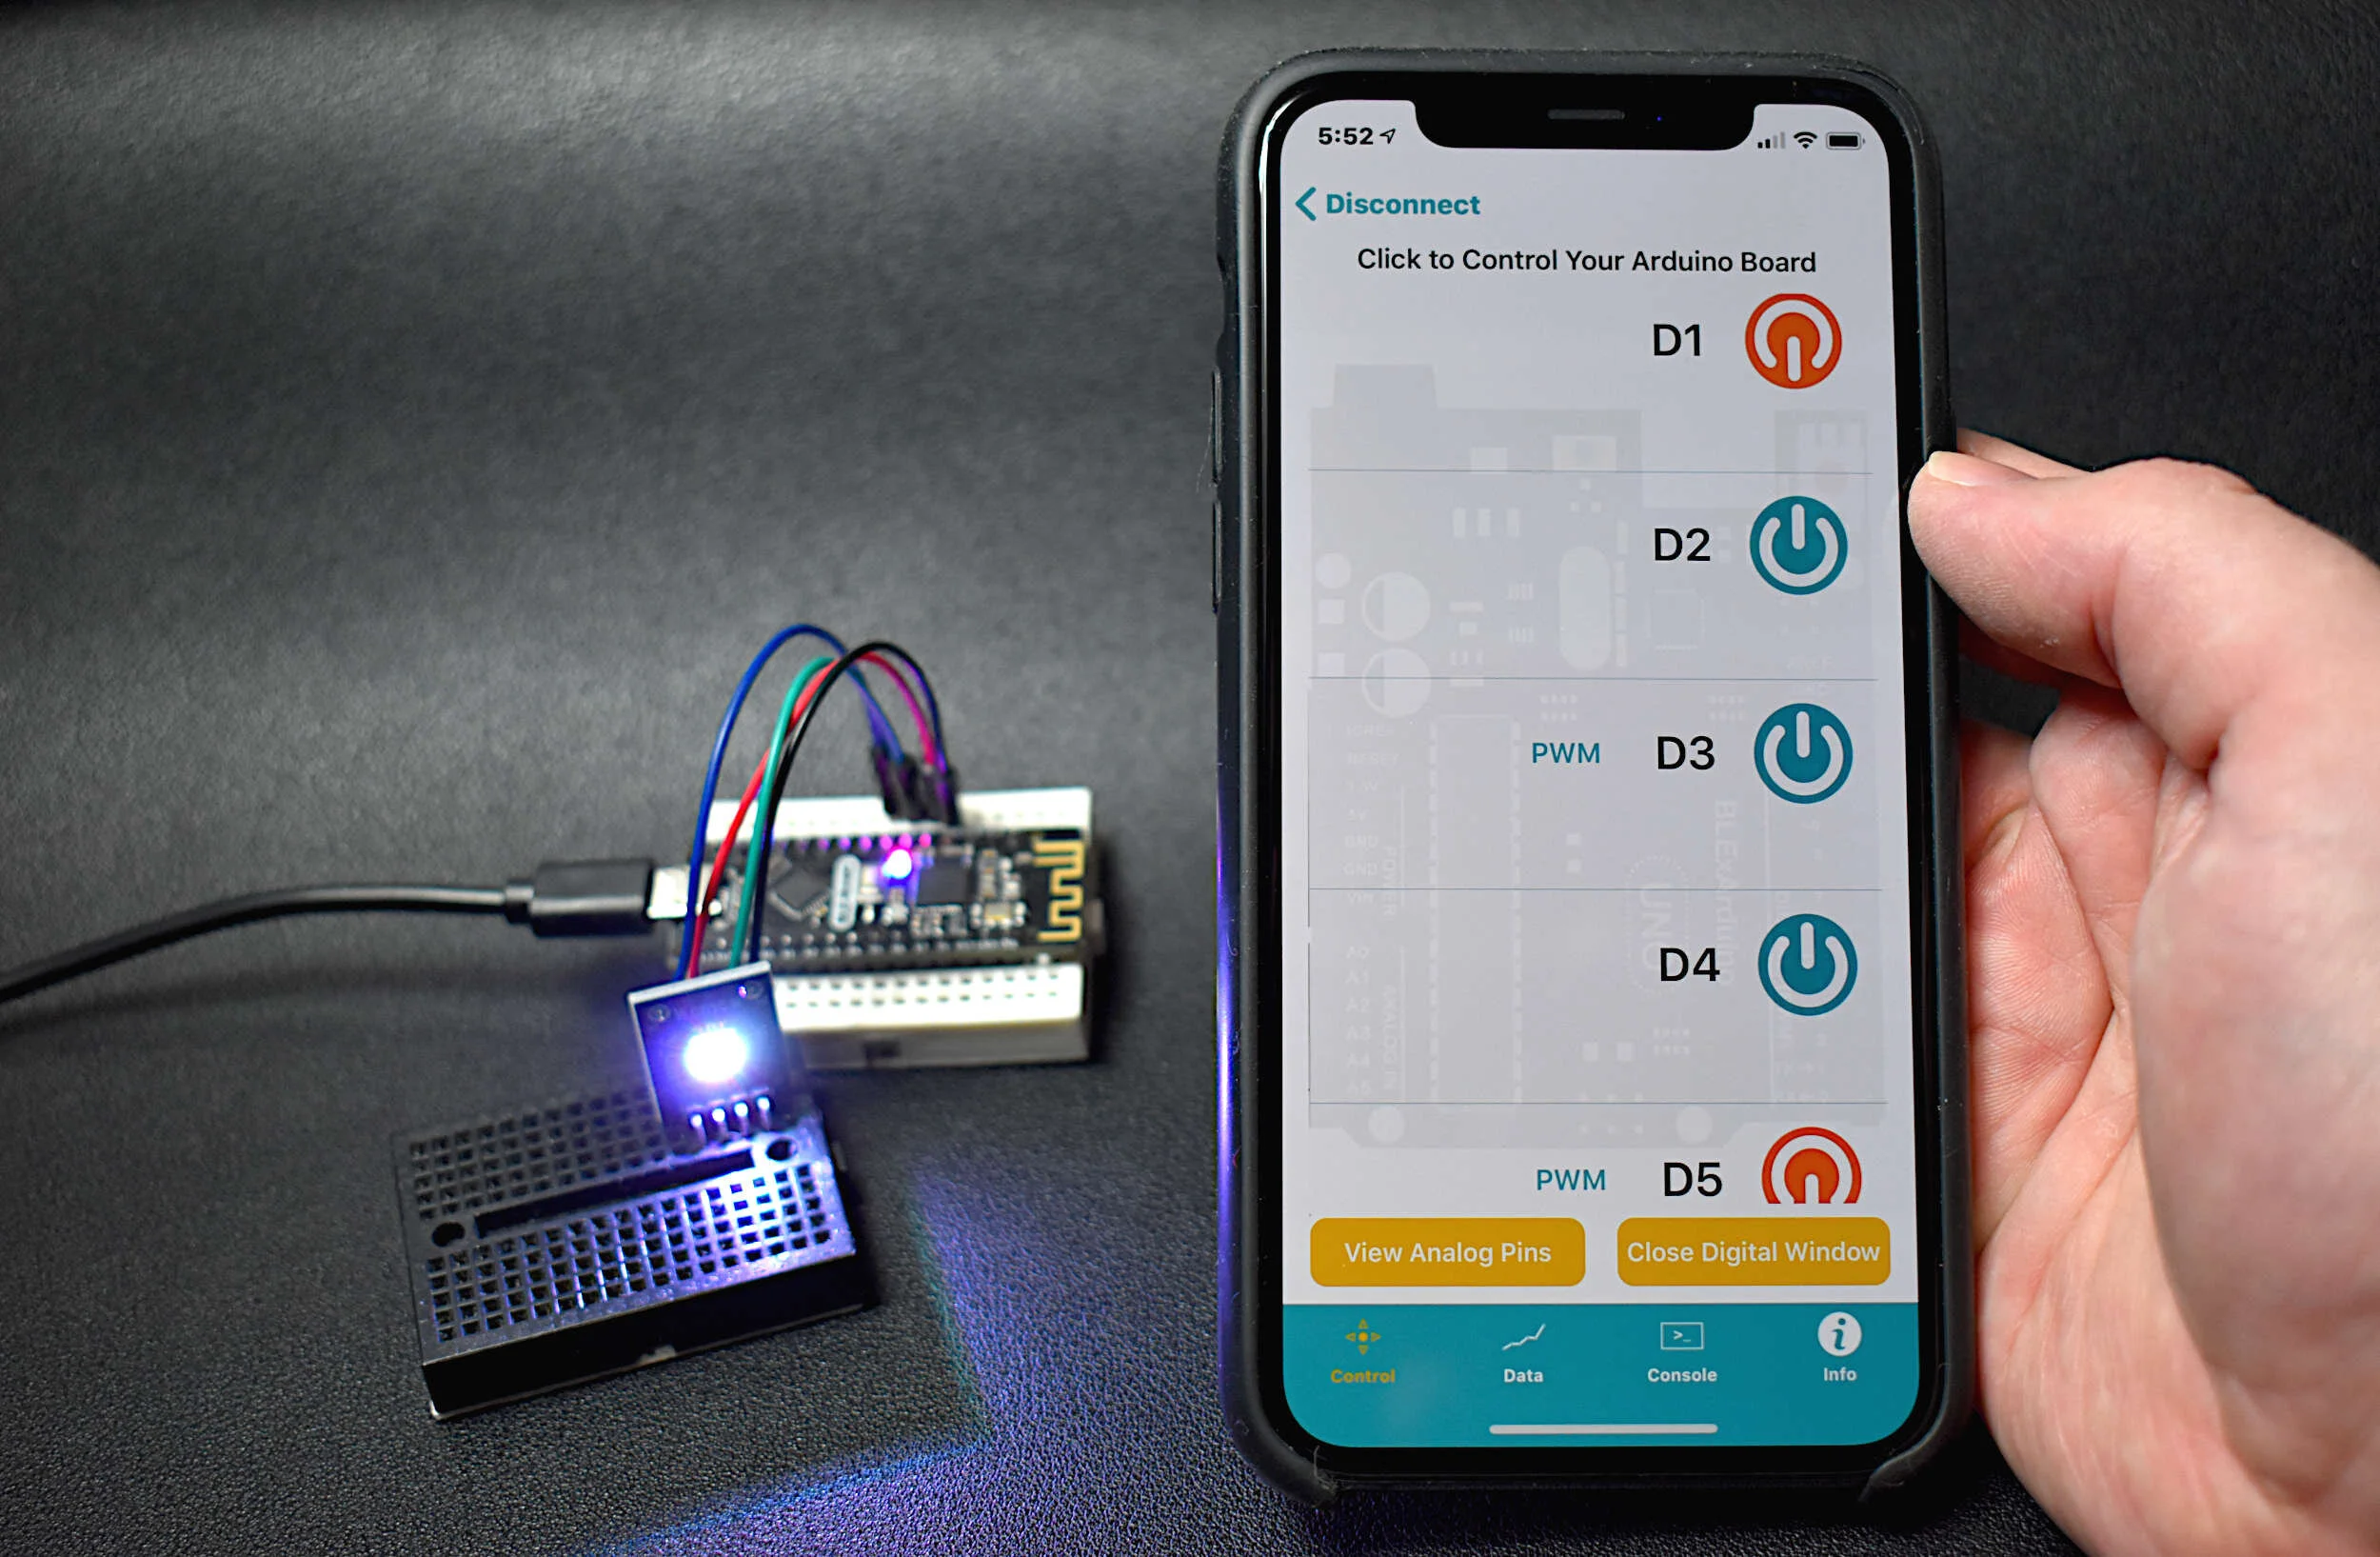
The BLE Nano is introduced as a hybrid between an Arduino Nano and a CC2540 Bluetooth Low Energy (BLE) module. The Arduino Nano has an ATmega328P as its main microprocessor, which communicates over the serial port to send and receive Bluetooth packets from the CC2540 BLE chip. This creates a Bluetooth-enabled Arduino device - encased in a Nano-sized circuit board! Using the BLExAR iOS app, the BLE-Nano will be controlled using an iPhone. BLExAR allows users to control the pins on the Nano, which will be demonstrated by switching an RGB LED on and off.
Maker Portal is a blog-centric company intended for young innovators interested in real-world applications to engineering. Resources include: physical products, mobile applications, software development, e-learning, and blog-style article writing. The maker-based approach is explored using written articles with topics ranging from Raspberry Pi, heat transfer, acoustics, robotics, data analysis, Arduino, sensor design, Python programming, and much more. Difficulty levels range depending on the topic and there is extensive focus on open-source software implementation, however, there will be articles with a focus on software design as well. The intention is to demonstrate applications of engineering that are repeatable at the intermediate level without requiring colossal resources.
The MakerBLE is introduced as a miniature breakout board variation of the nRF52840 Bluetooth Low Energy (BLE) Arduino board, which is capable of communicating with smartphnoes and carrying out many of the capabilities of other wirelessly-enabled microcontrollers. The MakerBLE is also compatible with our iOS app, BLExAR, and allows users to collect data, send commands, and control pins remotely from a smartphone. In this tutorial, the MakerBLE will be introduced and its capabilities will be explored from the perspective of the Arduino. This will also be the first in a series of entries geared toward low-power, BLE-enabled, tiny microcontroller projects; whether they involve remote control, data collection from sensors (I2C, SPI, UART), message transfers, BLE peripheral/central communication, or general electronics testing.