Raspberry Pi - The Maker's Supervisor
A Raspberry Pi is a fist-sized computer that functions as an educational tool geared toward a younger generation of makers and engineers interested in computer programming. The unique duality between its programming capabilities and its general purpose input/ouput (GPIO) ports gives the RPi its real-world advantage by straddling the line between expensive laboratory-grade equipment and closed-source consumer electronics. This open-source design for a computer makes experimentation and programming more achievable than ever.
Raspberry Pi 3 on its side (viewing the top)
The Raspberry Pi 3 (newest version as of writing) permits wifi and bluetooth communication, and also has an ethernet port. It has 4 USB ports, an HDMI output, a 3.5mm headphone output jack, a 1.2 GHz ARM Processor, and 1 GB shared RAM. To learn more visit their website It's a powerful little computer and can fit in the palm of your hand. The reason why it is so essential to the maker revolution is because of its size, reliability, open-source community, and its cost. It's a $35 computer with a world of applications including but not limited to: smart home devices, robotics control, personal web servers, wireless cameras, audio players, data analytics, facial recognition, and educational programs involved in STEM fields.
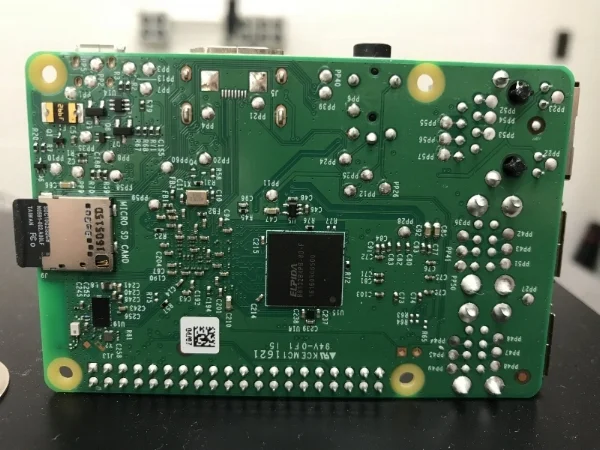
Raspberry Pi 3 on its side (viewing the bottom)
In this blog, the Raspberry Pi will be one of, if not the, most important pieces of hardware employed. The Pi is an innovation that continually helps engineers and those interested in programming succeed on a level that seemed impossible a decade ago. It is universally adaptive and satisfies most of the needs of a burgeoning engineer interested in experimentation and exploration on a scale that is affordable and enjoyable. It is portable, powerful, affordable, and resilient. The Pi was created as a learning tool, so it is meant to be tinkered with and worn-in. Therefore, the typical laboratory woes of 'what if I break it' are thrown to the wind and replaced with curiosity and adventure because at the end of the day - it's only $35 for another one!
The Raspberry Pi 4 Computer, Model B is the latest in the series of single-board computers (SBC) produced by the Raspberry Pi Foundation. The RPi 4 increased its processor speed, its GPU performance, memory (1GB, 2GB, 4B, 8GB options), and connectivity. The Raspberry Pi 4 computer continues to be an essential tool in the maker, programmer, and engineer communities. The Raspberry Pi 4 is capable of interfacing with a wide range of sensors, motors, actuators, and devices. The RPi 4 has the standard 40-pin header with general purpose input/outputs (GPIOs), Bluetooth and WiFi capabilities, HDMI output display abilities, and much more! Our site contains a variety of different tutorials in the categories of Python programming, data acquisition and analysis, motor control, internet of things (IoT), engineering, among others.
Included with the Raspberry Pi 4 Model B Computer:
1x Raspberry Pi 4 Model B Computer
Features of the Raspberry Pi 4 Model B Computer:
Broadcom BCM2711, Quad core Cortex-A72 (ARM v8) 64-bit SoC @ 1.5GHz
LPDDR4-3200 SDRAM (2GB, 4GB, 8GB depending on the model)
2.4 GHz and 5.0 GHz WiFi, Bluetooth 5.0, Bluetooth Low Energy (BLE)
Gigabit Ethernet
2x USB 3.0 ports; 2x USB 2.0 ports
Raspberry Pi standard 40-pin GPIO header (fully backwards compatible with previous boards)
2x micro-HDMI ports (up to 4K @60fps supported)
2-lane MIPI DSI display port, 2-lane MIPI CSI camera port
4-pole stereo audio and composite video port
H.265 (4kp60 decode), H264 (1080p60 decode, 1080p30 encode)
Micro-SD card slot for loading operating system and data storage
5V DC via USB-C connector, 5V DC via GPIO header (3A Recommended Supply)
Operating Temperature (Ambient): 0°C – 50°C
Raspberry Pi Peripherals:
6x UART, 6x I2C, 5x SPI, 1x SDIO, 1x DPI, 1x PCM, 2x PWM Channels, 3x GPCLK
See More in Raspberry Pi:
This is the third tutorial in a series dedicated to exploring the Raspberry Pi Foundation's groundbreaking new microcontroller: the Raspberry Pi Pico. The first entry centered on the basic principles of interfacing with the Pico and programming with Thonny and MicroPython, while the second entry focused on emulating the Google Home and Amazon Alexa LED animations with a WS2812 RGB LED array. In this tutorial, an SSD1306 organic light emitting diode (OLED) display will be controlled using the Pico microcontroller. A MicroPython library will be used as the base class for interfacing with the SSD1306, while custom algorithms are introduced to create data displays. Additionally, a custom Python3 algorithm will be given that allows users to show a custom image on the display. Lastly, a real-time plot will be created that shows an audio signal outputted by a MEMS microphone, emulating a real-time graph display. The SSD1306 is a useful tool for smaller scale projects that require real-time data displays, control feedback, and IoT testing. The power of the Pico microcontroller makes interfacing with the SSD1306 fast and easy, which will be evident when working with the Pico and SSD1306.
This is the second entry into the Raspberry Pi Pico tutorial series dedicated to exploring the capabilities of the Raspberry Pi Foundation's groundbreaking new Pico microcontroller. A WS2812 RGB LED is controlled via the programmable I/O system (PIO) on the Pico microcontroller. The code and methods used to control the WS2812 are based on Raspberry Pi Pico Micropython SDK the project entitled "Using PIO to drive a set of NeoPixel Ring (WS2812 LEDs)." A state machine is used on the Pico to control the WS2812 LED array, which allows users to test a range of algorithms that affect the ring light. The light mappings will subsequently be capable of emulating the LED effects similar to those demonstrated by the Amazon Alexa or Google Home devices. A universal wiring diagram is given that allows for any number of LEDs to be wired to the Pico, which we tested up to 60 LEDs.
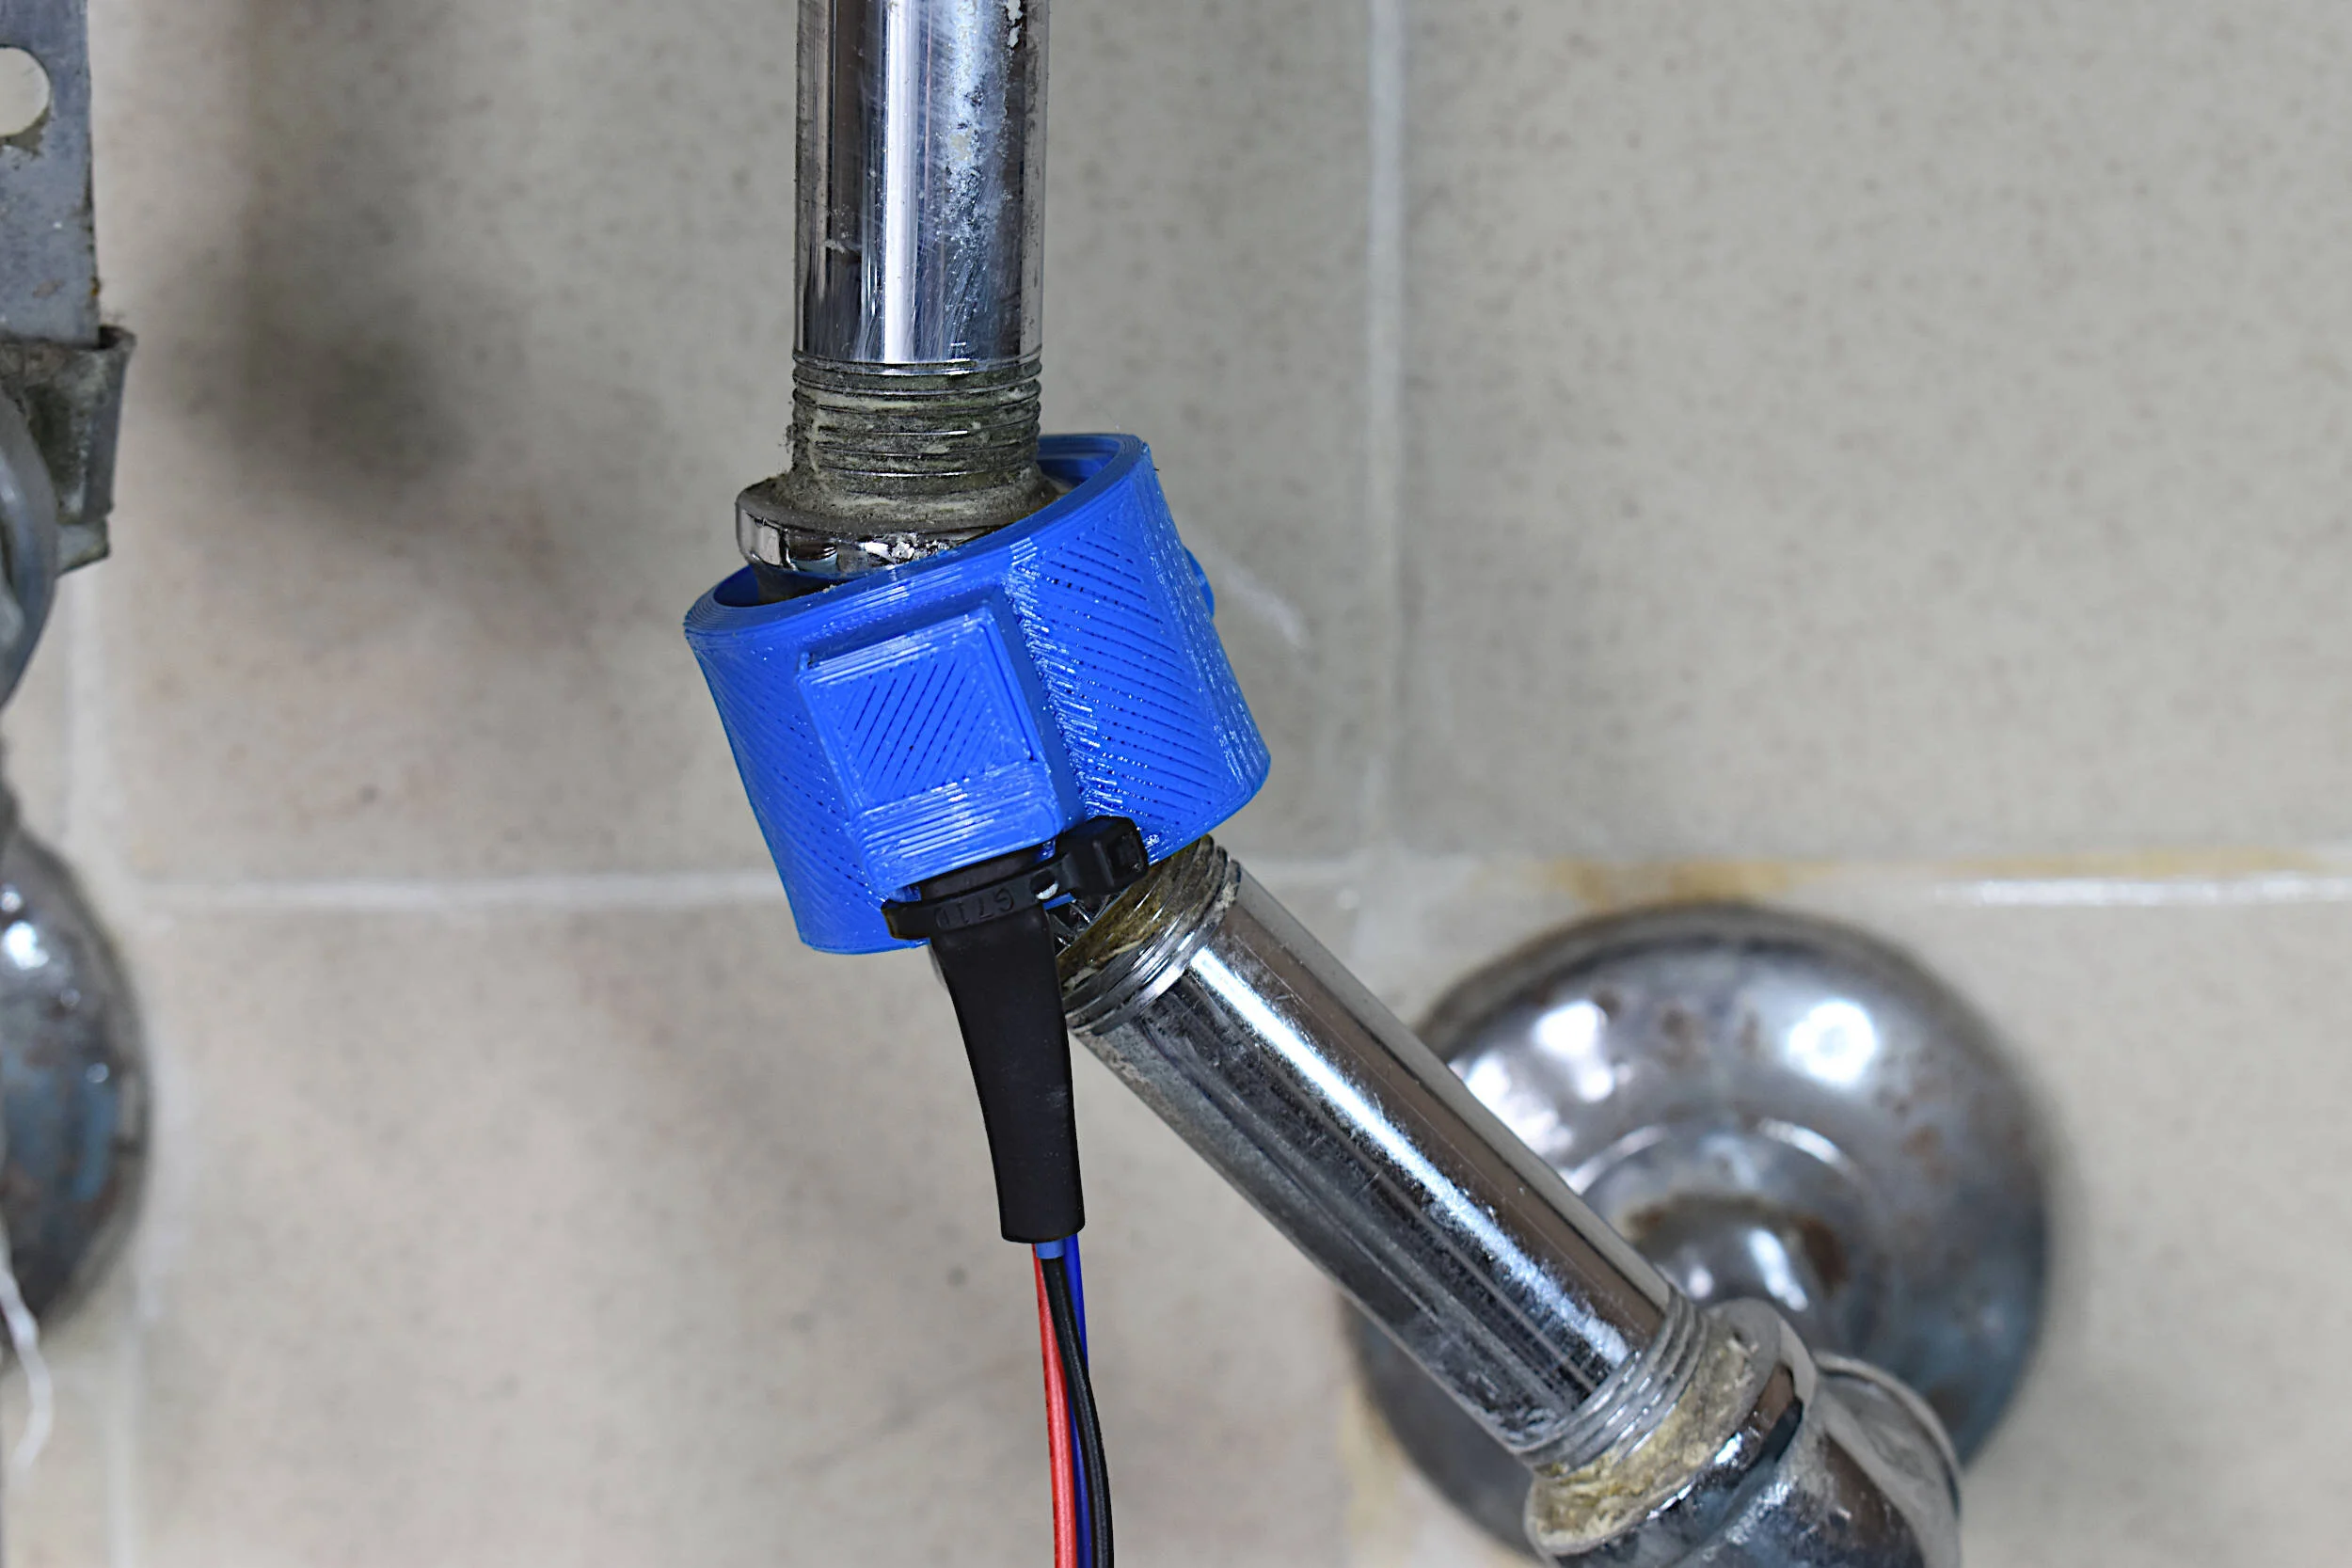
A new type of water meter produced by Water Wise Controls (WaWiCo) introduces a novel method for water metering: non-invasive acoustic analysis. Their USB water metering kit allows users to listen to their pipes without the need for plumbing work. In this tutorial, the acoustic profile of a piping system will be explored using a Raspberry Pi computer, the Python programming language, and a WaWiCo USB water meter kit. The resulting analysis will allow users to identify the acoustic profile of their piping system and determine when water is flowing. This is the first of a series of entries into non-invasive water metering from WaWiCo, where open-source technologies will be used to characterize a piping system based on the acoustic profile of a user's home or apartment.
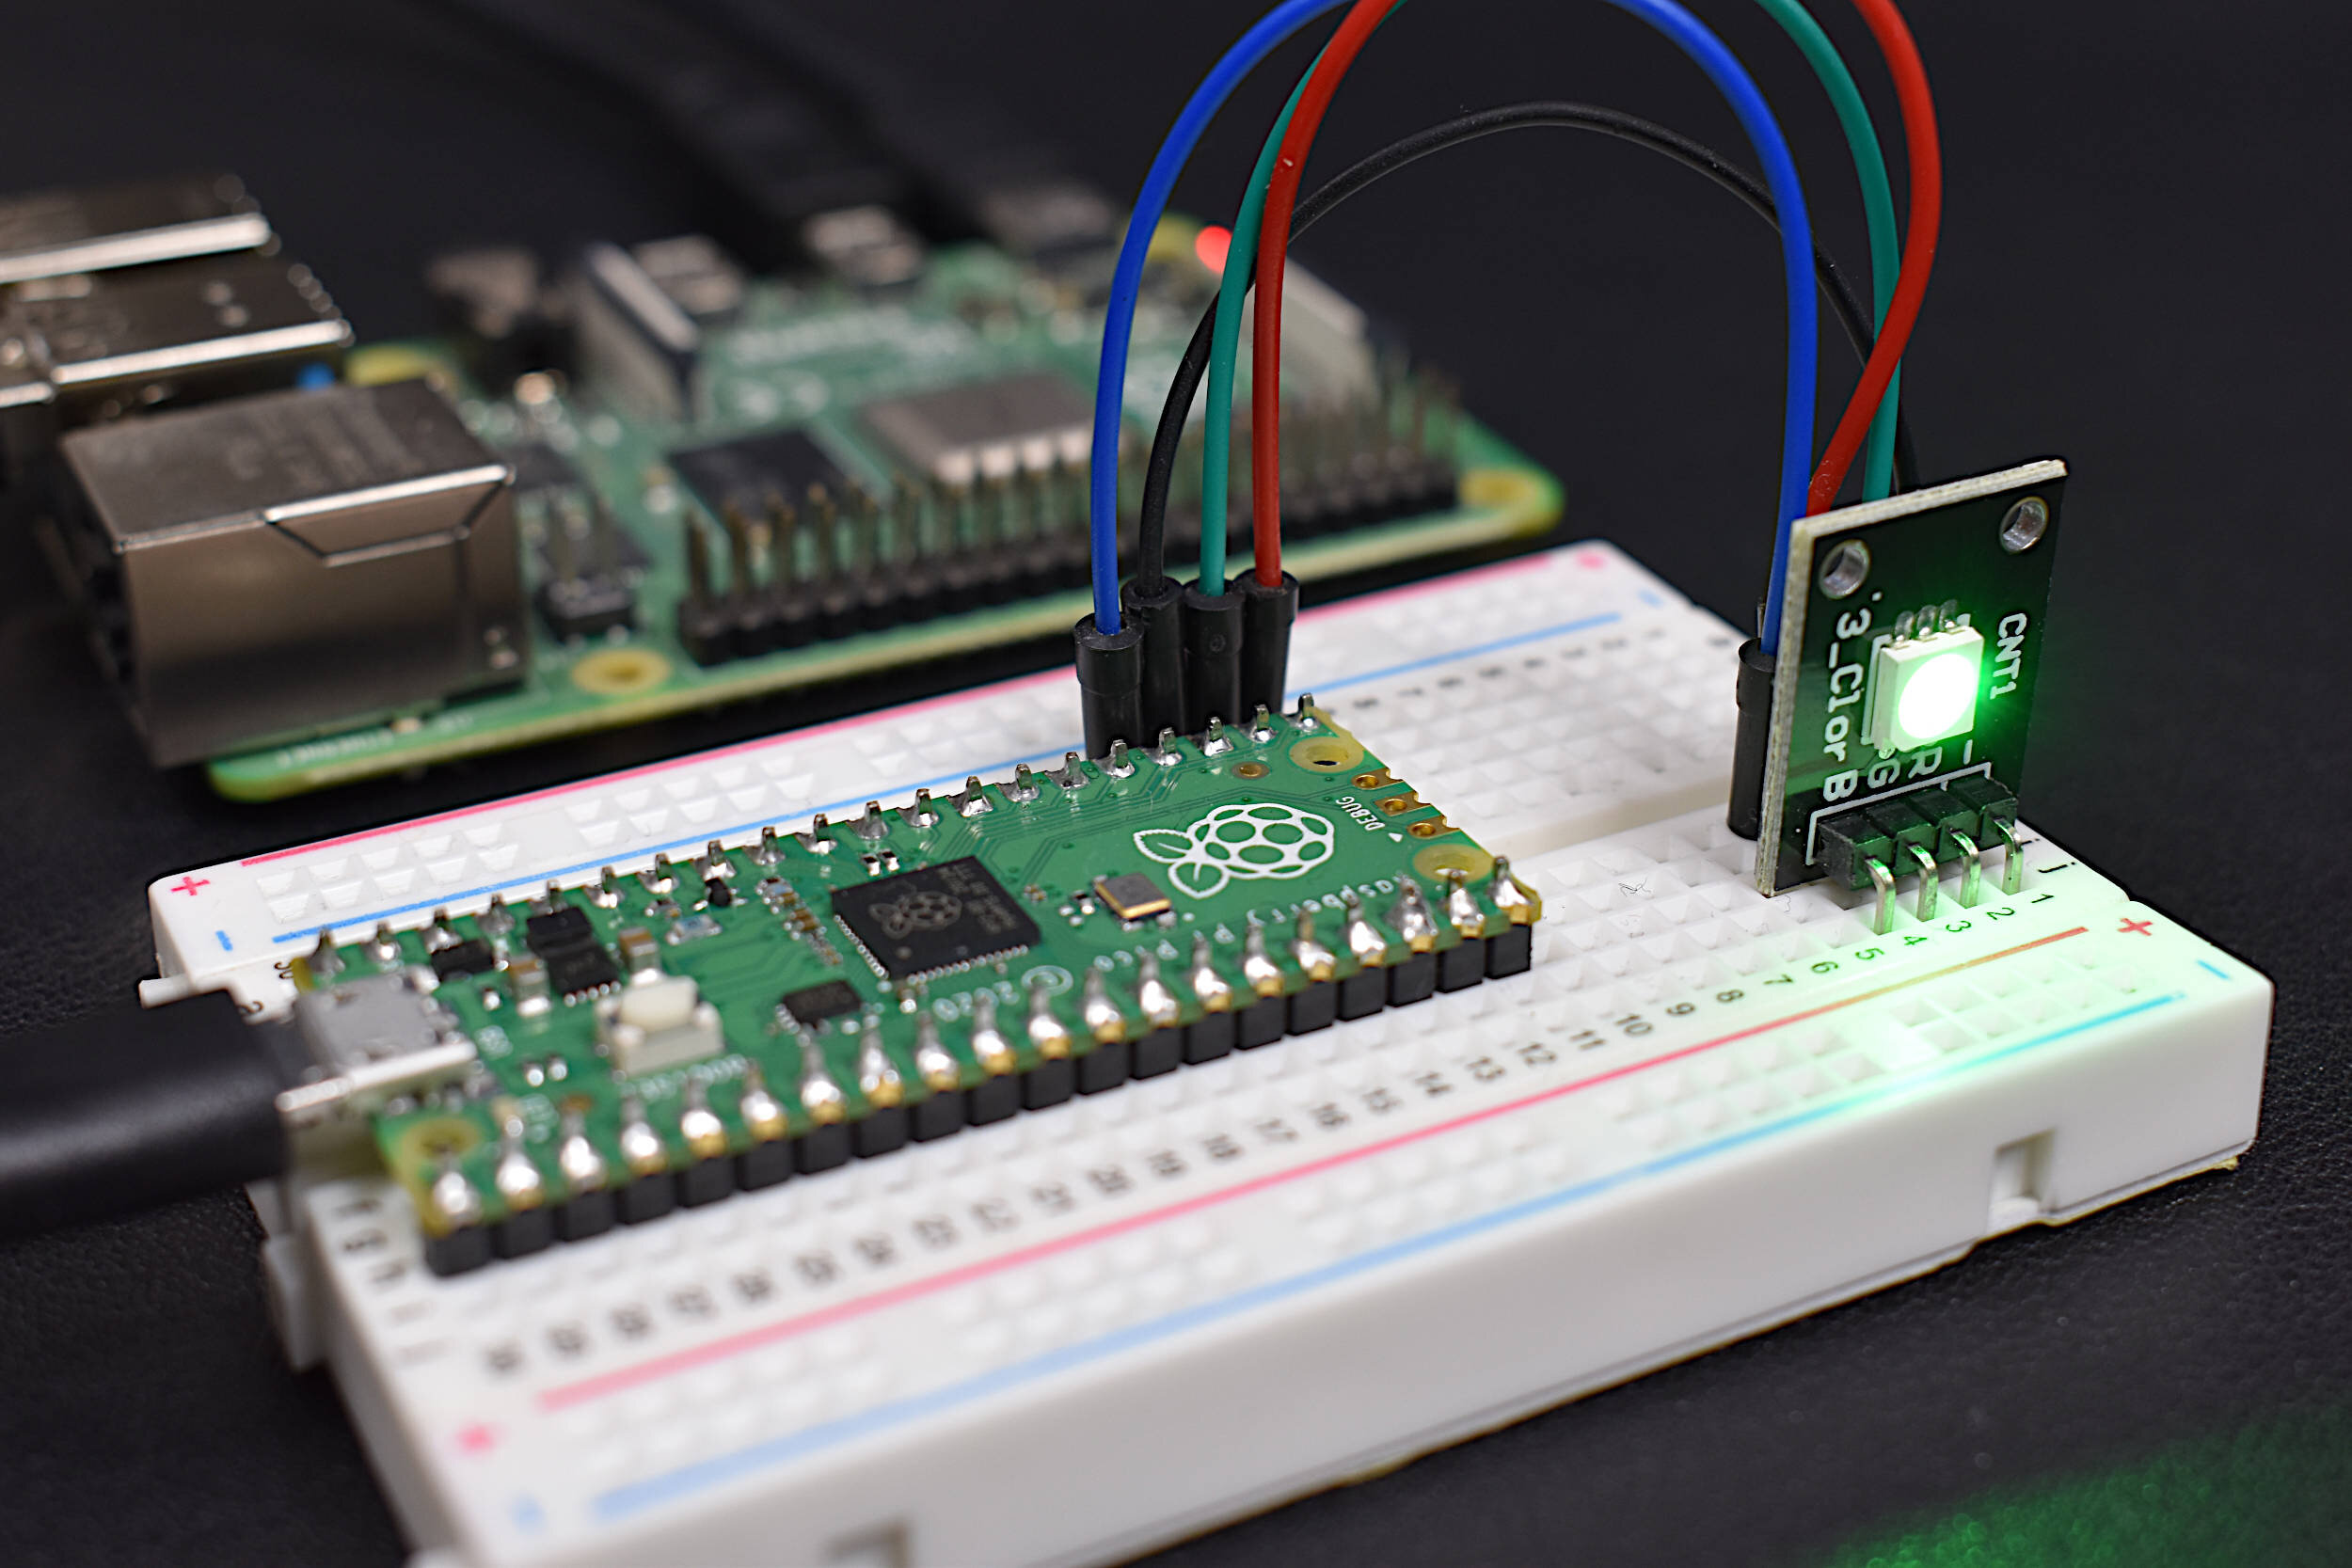
The Raspberry Pi Pico was recently released by the Raspberry Pi Foundation as a competitive microcontroller in the open-source electronics sphere. The Pico shares many of the capabilities of common Arduino boards including: analog-to-digital conversion (12-bit ADC), UART, SPI, I2C, PWM, among others. The board is just 21mm x 51mm in size, making it ideal for applications that require low-profile designs. One of the innovations of the Pico is the dual-core processor, which permits multiprocessing at clock rates up to 133 MHz. One particular draw of the Pico is its compatibility with MicroPython, which is chosen as the programming tool for this project. The focus on MicroPython, as opposed to C/C++, minimizes the confusion and time required to get started with the Pico. A Raspberry Pi 4 computer is ideal for interfacing with the Pico, which can be used to prepare, debug, and program the Pico. From start to finish - this tutorial helps users run their first custom MicroPython script on the Pico in just a few minutes. An RGB LED will be used to demonstrate general purpose input/output of the Pico microcontroller.
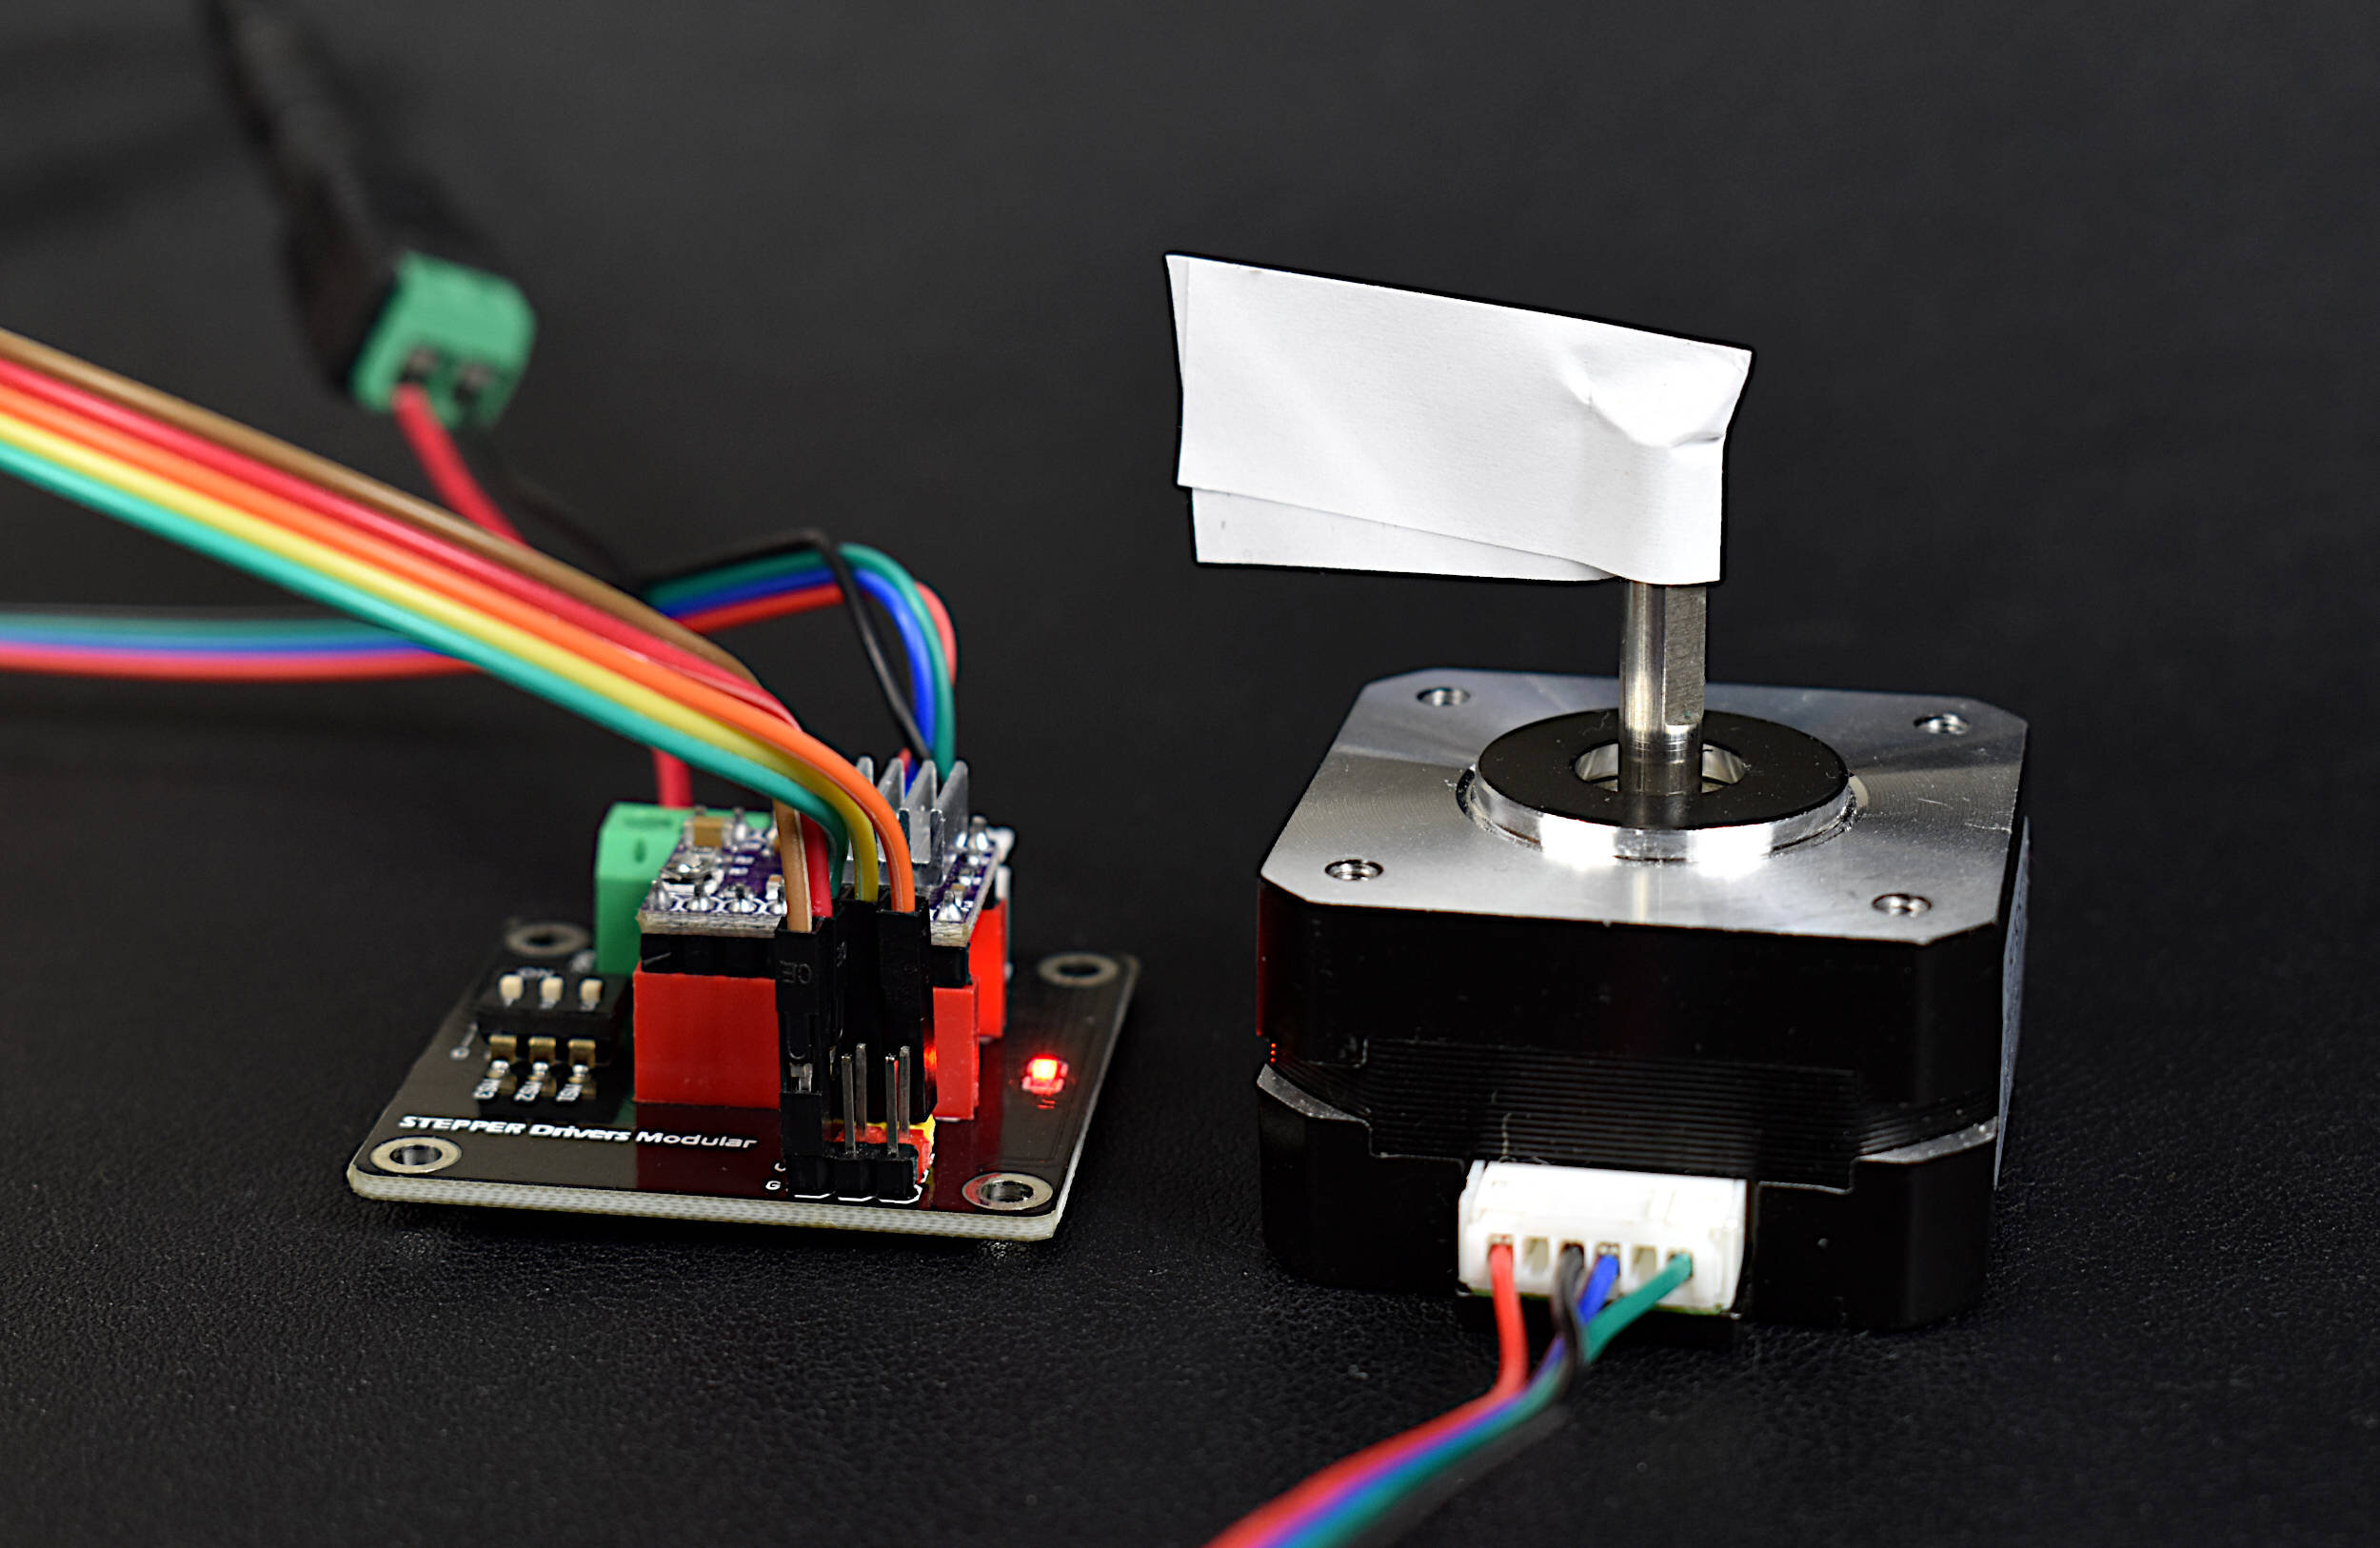
The NEMA 17 is a widely used class of stepper motor used in 3D printers, CNC machines, linear actuators, and other precision engineering applications where accuracy and stability are essential. The NEMA-17HS4023 is introduced here, which is a version of the NEMA 17 that has dimensions 42mm x 42mm x 23mm (Length x Width x Height). In this tutorial, the stepper motor is controlled by a DRV8825 driver wired to a Raspberry Pi 4 computer. The Raspberry Pi uses Python to control the motor using an open-source motor library. The wiring and interfacing between the NEMA 17 and Raspberry Pi is given, with an emphasis on the basics of stepper motors. The DRV8825 control parameters in the Python stepper library are broken down to educate users on how the varying of each parameter impacts the behavior of the NEMA 17. Simple characteristics of stepper control are explored: stepper directivity (clockwise and counterclockwise), step incrementing (full step, half step, micro-stepping, etc.), and step delay.
The TF-Luna is an 850nm Light Detection And Ranging (LiDAR) module developed by Benewake that uses the time-of-flight (ToF) principle to detect objects within the field of view of the sensor. The TF-Luna is capable of measuring objects 20cm - 8m away, depending on the ambient light conditions and surface reflectivity of the object(s) being measured. A vertical cavity surface emitting laser (VCSEL) is at the center of the TF-Luna, which is categorized as a Class 1 laser, making it very safe for nearly all applications [read about laser classification here]. The TF-Luna has a selectable sample rate from 1Hz - 250Hz, making it ideal for more rapid distance detection scenarios. In this tutorial, the TF-Luna is wired to a Raspberry Pi 4 computer via the mini UART serial port and powered using the 5V pin. Python will be used to configure and test the LiDAR module, with specific examples and use cases.
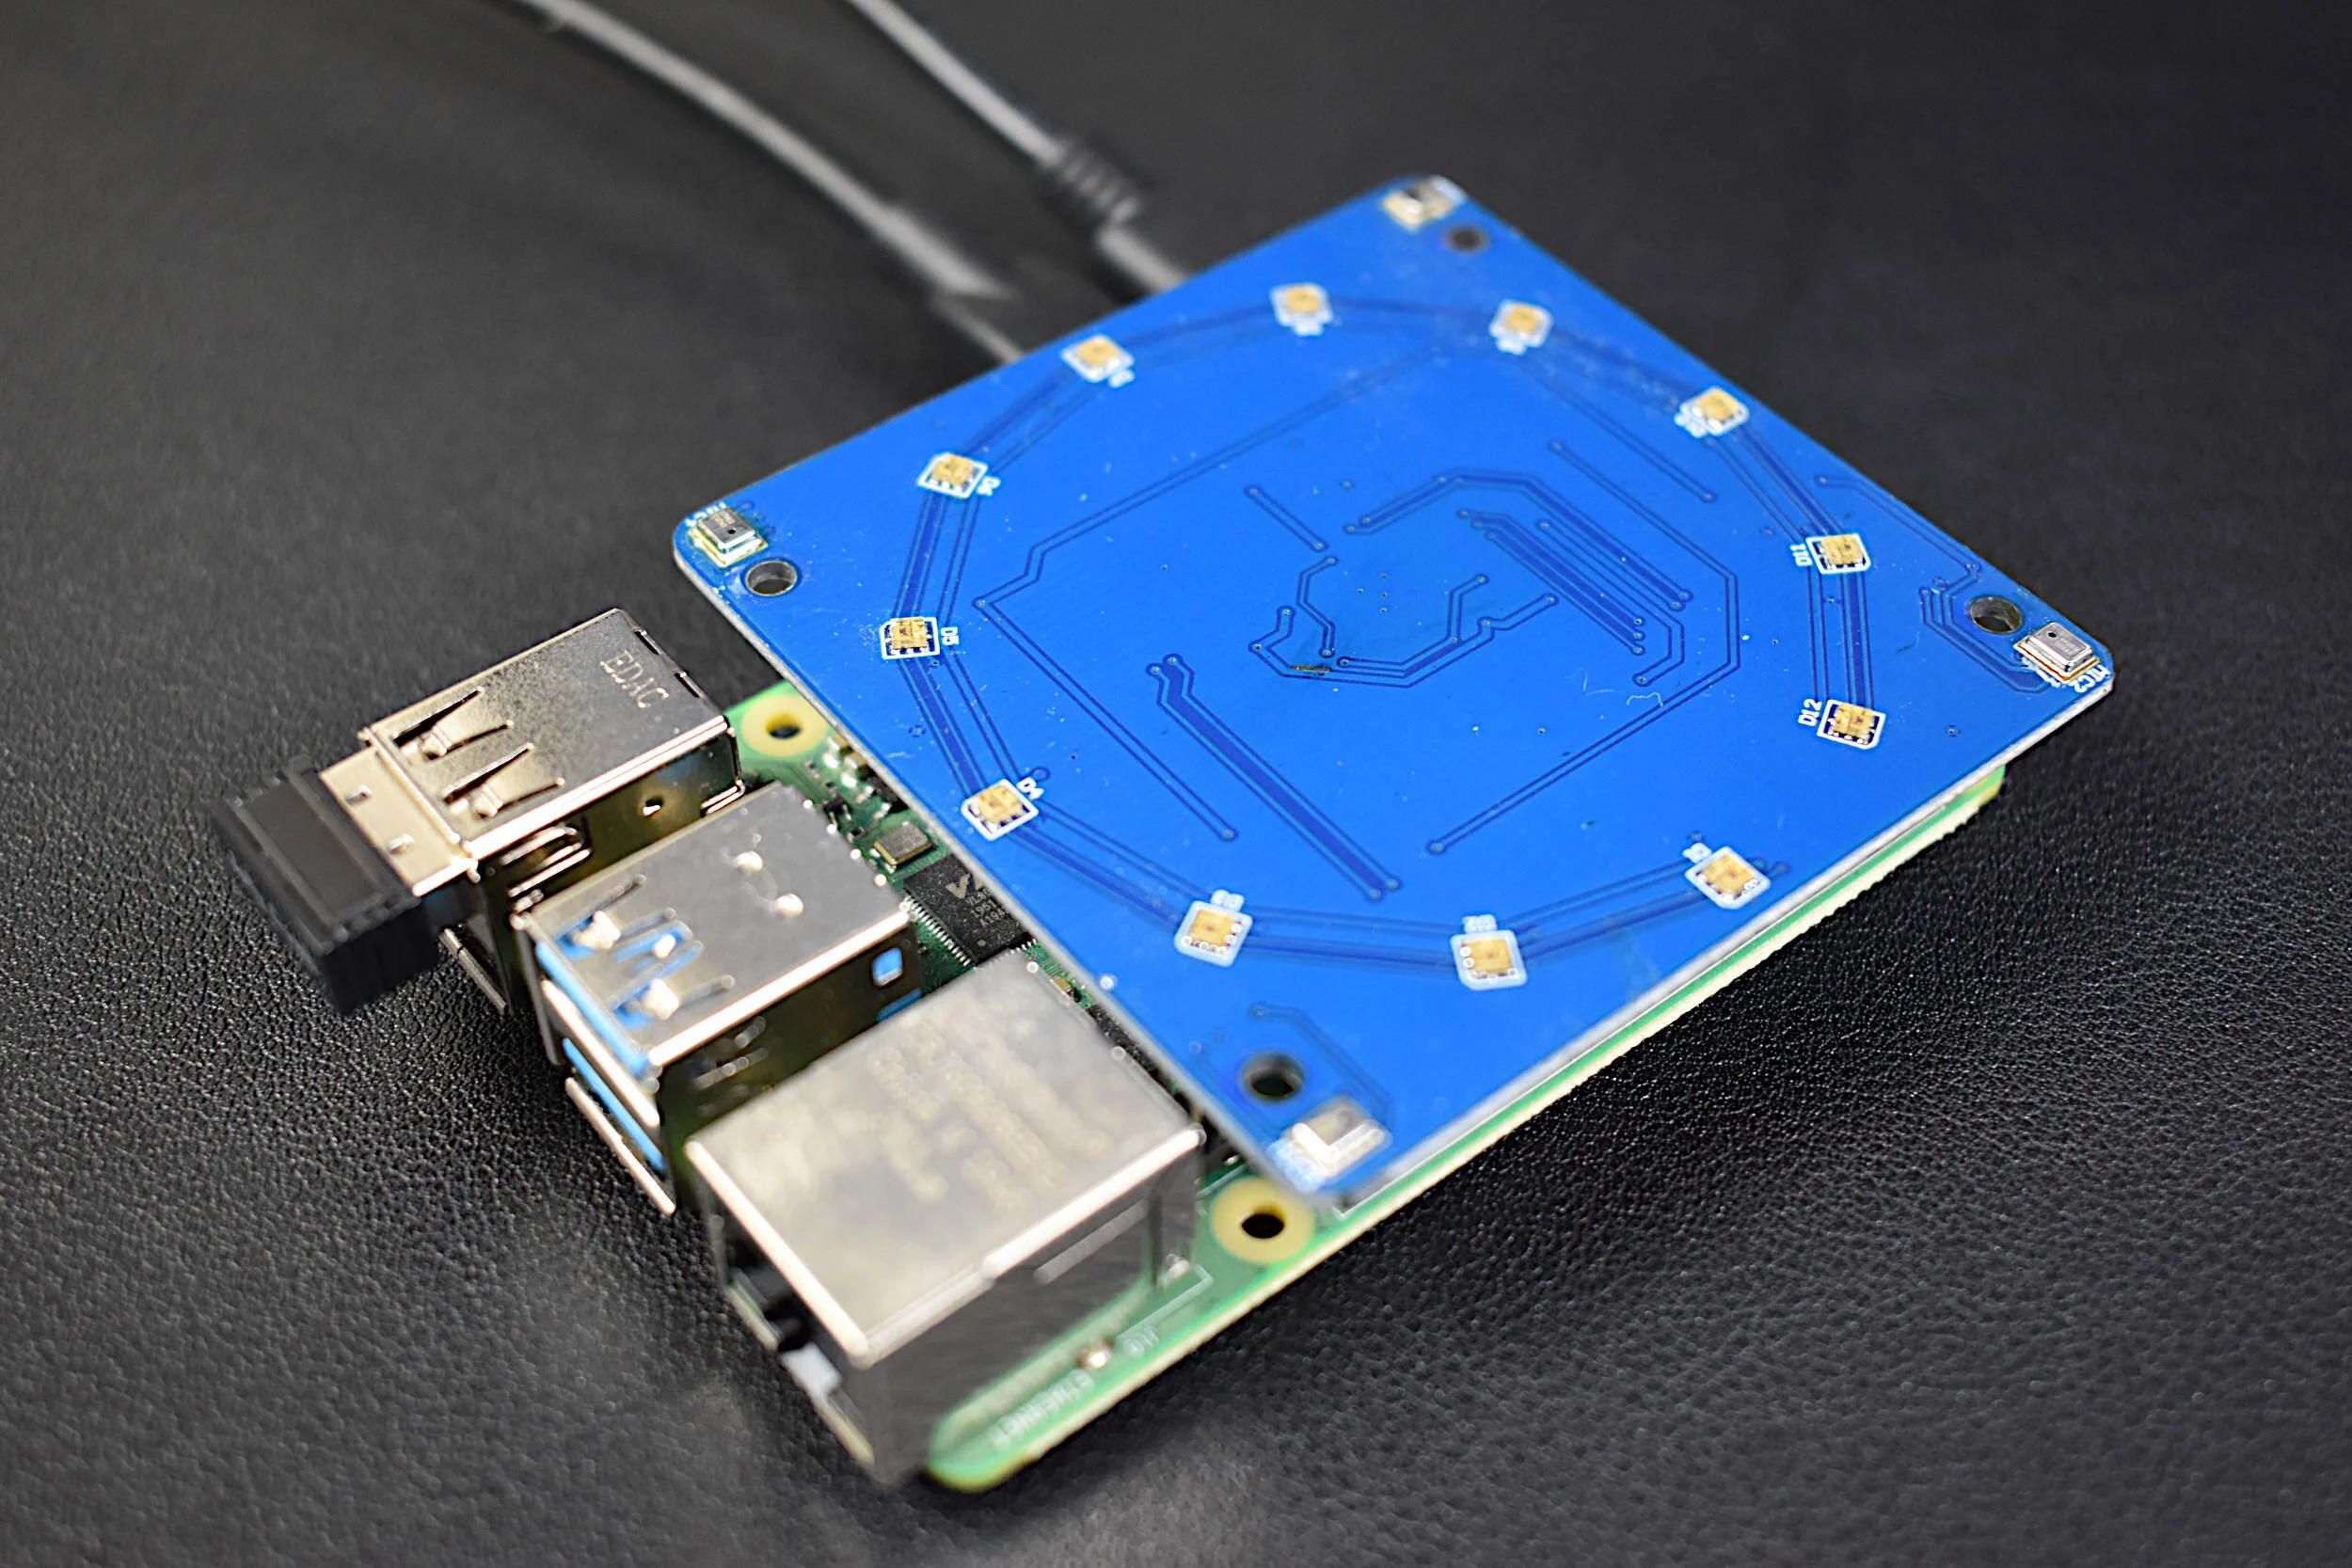
The QuadMic Array is a 4-microphone array based around the AC108 quad-channel analog-to-digital converter (ADC) with Inter-IC Sound (I2S) audio output capable of interfacing with the Raspberry Pi. The QuadMic can be used for applications in voice detection and recognition, acoustic localization, noise control, and other applications in audio and acoustic analysis. The QuadMic will be connected to the header of a Raspberry Pi 4 and used to record simultaneous audio data from all four microphones. Some signal processing routines will be developed as part of an acoustic analysis with the four microphones. Algorithms will be introduced that approximate acoustic source directivity, which can help with understanding and characterizing noise sources, room and spatial geometries, and other aspects of acoustic systems. Python is also used for the analysis. Additionally, visualizations will aid in the understanding of the measurements and subsequent analyses conducts in this tutorial.
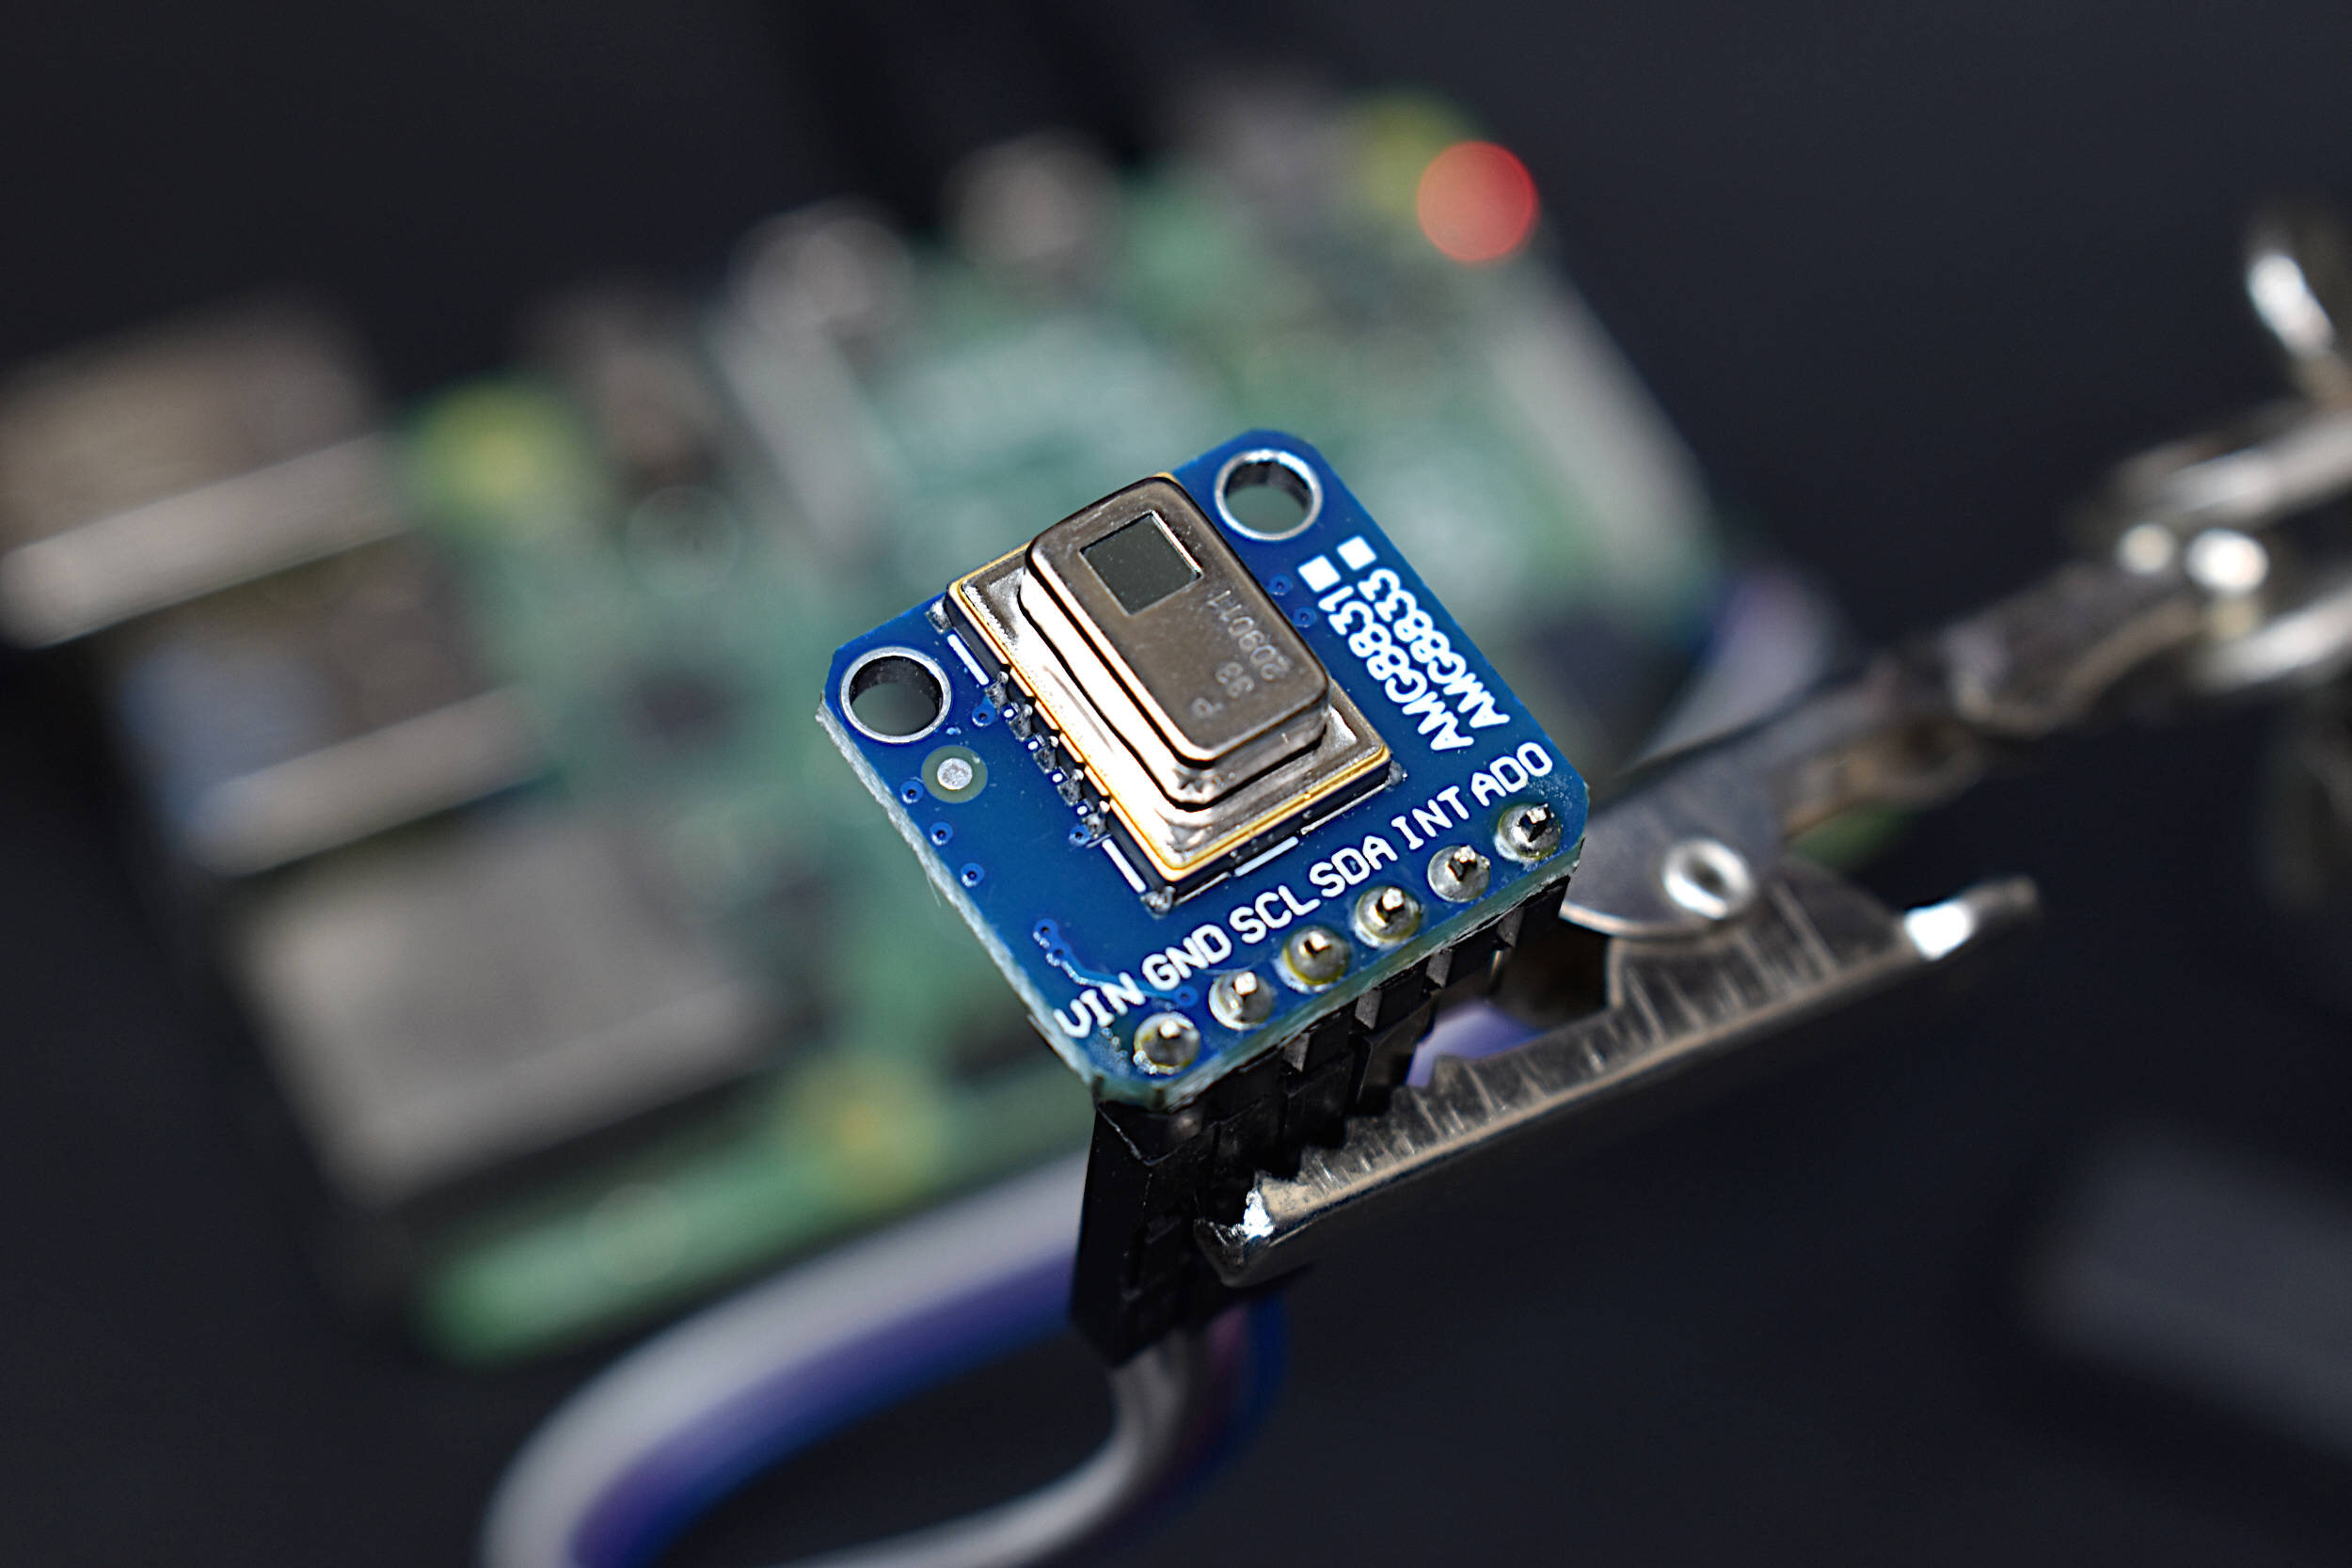
The AMG8833 infrared thermopile array is a 64-pixel (8x8) detector that approximates temperature from radiative bodies. The module is wired to a Raspberry Pi 4 computer and communicates over the I2C bus at 400kHz to send temperature from all 64 pixels at a selectable rate of 1-10 samples per second. The temperature approximation is outputted at a resolution of 0.25°C over a range of 0°C to 80°C. A real-time infrared camera (IR camera) was introduced as a way of monitoring temperature for applications in person counting, heat transfer of electronics, indoor comfort monitoring, industrial non-contact temperature measurement, and other applications where multi-point temperature monitoring may be useful. The approximate error of the sensor over its operable range is 2.5°C, making is particularly useful for applications with larger temperature fluctuations. This tutorial is meant as the first in a series of heat transfer analyses in electronics thermal management using the AMG8833.
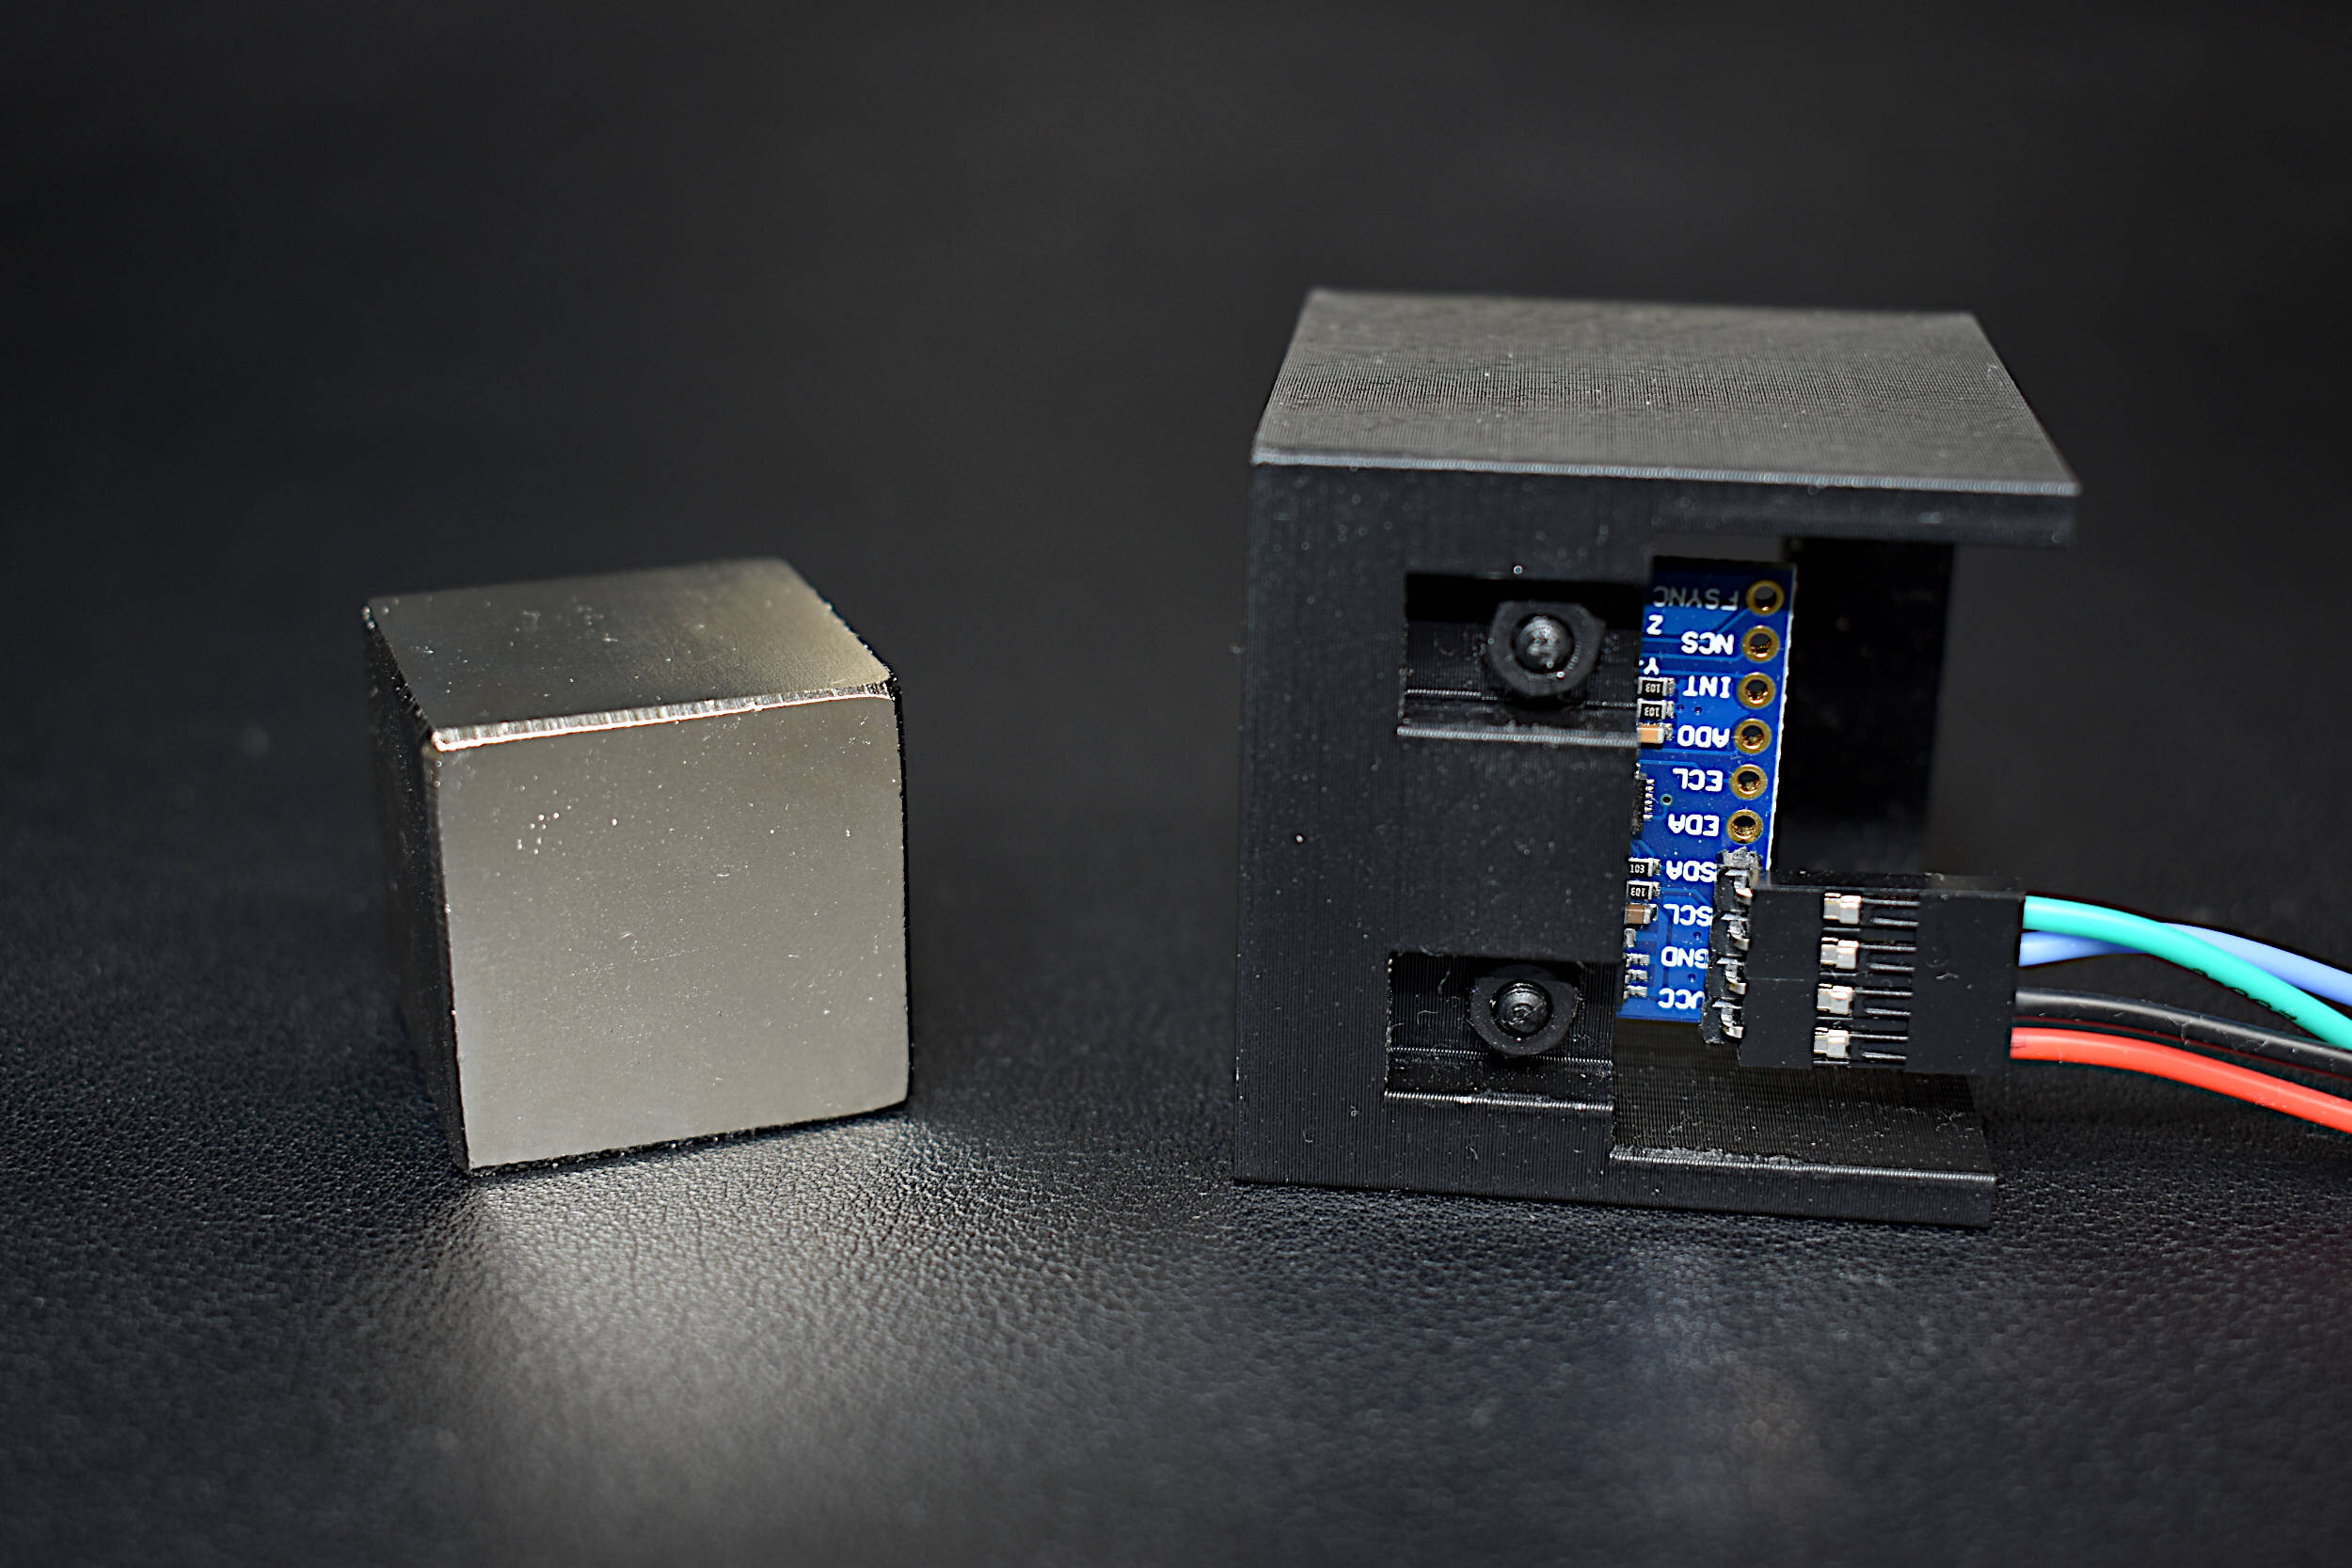
In this tutorial, methods for calibrating a magnetometer aboard the MPU9250 is explored using our Calibration Block. The magnetometer is calibrated by rotating the IMU 360° around each axis and calculating offsets for hard iron effects. Python is again used as the coding language on the Raspberry Pi computer in order to communicate and record data from the IMU via the I2C bus. The second half of this tutorial gives a full calibration routine for the IMU's accelerometer, gyroscope, and magnetometer. The final implementation will allow for moderate (first-order) calibration of the MPU9250 under reasonable conditions, requiring only the calibration block and IMU. Finally, the complete final code will save the coefficients for each sensor for future use in direct applications without the need for constant calibration. The use of the calibration coefficients will allow for improved estimates of orientation, displacement, vibration, and other relevant control and measurement analyses.
Maker Portal is a blog-centric company intended for young innovators interested in real-world applications to engineering. Resources include: physical products, mobile applications, software development, e-learning, and blog-style article writing. The maker-based approach is explored using written articles with topics ranging from Raspberry Pi, heat transfer, acoustics, robotics, data analysis, Arduino, sensor design, Python programming, and much more. Difficulty levels range depending on the topic and there is extensive focus on open-source software implementation, however, there will be articles with a focus on software design as well. The intention is to demonstrate applications of engineering that are repeatable at the intermediate level without requiring colossal resources.
For this project, we will be comparing the WaWiCo sensor with a conventional hall-effect mechanical flow meter. The WaWiCo sensor introduces a novel method for water metering, with non-invasive acoustic analysis. The benefit of the WaWiCo method is evident during the mechanical flow meter analysis, where we need to match pipe diameters and fittings and ensure that the flow terminates at a point. Otherwise, mechanical meters require cutting in piping — which is not an option for many users. Using a Raspberry Pi computer and a WaWiCo USB water meter kit, the frequency content of water flow for a given pipe is analyzed. Additionally, this frequency response will be used to correlate to the flow rate (in L/s) approximated by the mechanical flow meter. This brings us one step closer to being able to non-invasively measure water flow using the WaWiCo method.