How I Take High-Quality Tech Photos with An iPhone
Technology is art. Companies have been taking advantage of the public's interest in art since the birth of consumerism. And with the advent of high quality camera phones and the ubiquity of social media, it is easy to see how the lasting effects of advertising agencies have impacted the modern world. Large tech companies are no exception - as they excel at visualizing the beauty of technology. They are able to engage their audience with color and brilliance, and often excite with the minimality of science fiction and its depiction of the future.
I also use the same methodology when producing photos of my work. Through research and trial and error, I have discovered many pitfalls of the amateur photographer: poor lighting, out of focus subjects, low resolution due to artificial zoom, misalignment or awkward perspective. And after exploration of the tech world and some trial and error of my own, I have developed an amateur method for photographing the technology in my field. Now, I am by no means a professional photographer - I am merely an engineer trying to maintain a visual standard in the profession that I occupy.
Detail is perhaps the most important aspect of photographing tech, because the audience demands quality. And in order to capture the attention of the audience, a visual repertoire is key. One thing I will note is that I only use an iPhone camera, which limits photo resolution to 12 megapixels - not to mention the other limitations of a smart phone (size limitation of camera, shutter, lens, aperture, etc.). But I try to make the most out of the tools that I have by circumventing the shortcomings of the iPhone through manipulation of the environment surrounding the camera and improving the quality of the photos that emerge. In this short blog post, I will cover my personal habits regarding photography of tech and educate the emerging tech photographers on how I produce quality photos in my laboratory.
My Setup
When shooting photos using an iPhone, the most important thing to remember is lighting. Then, one may want to explore the world of lenses, where the focal point of the iPhone camera can be manipulated to produce micro/macro/telephoto effects. Additionally, no photography bundle would be complete without a tripod to stabilize the images or videos (if applicable). Sometimes a shaky hand can ruin the focus of a shot. Those three pieces are the primary components needed to perfect tech images on a camera phone. Now, I recommend a few more parts just to diversify the range of images. I like to use mirrors to alter light and change perspective on my shots occasionally. Another key piece to photography is the background, which is why I also use colored paper as platforms of the photographs. And finally, one thing that die-hard camera phone users may be interested in is a raw photography app. Several of them are available and they enable the user to control the shutter, white balance, focus, and they can also include effects and filters of all kinds.

Figure 2: My setup that includes mirrors, lenses, an LED light, and flexible tripod.

Figure 3: My three main lenses (from left): 15x macro, 0.6x wide-angle, 0.4 wide-angle/20x macro.
I have compiled a short list below of my personal recommendations when using an iPhone X:
Now, I understand that $85 is somewhat of an expenditure for some students or young engineers/entrepreneurs out there. But I implore anyone interested in documenting their laboratory progress to minimally invest in the components above. Obviously, this is only a minuscule expense for large-scale funded research exploits, and in those cases it may be more advantageous to invest in professional camera equipment. For my particular audience, the amount above may not be so insignificant. However, the benefits far outweigh the upfront cost of the equipment, and below I will demonstrate this.
A Few Examples
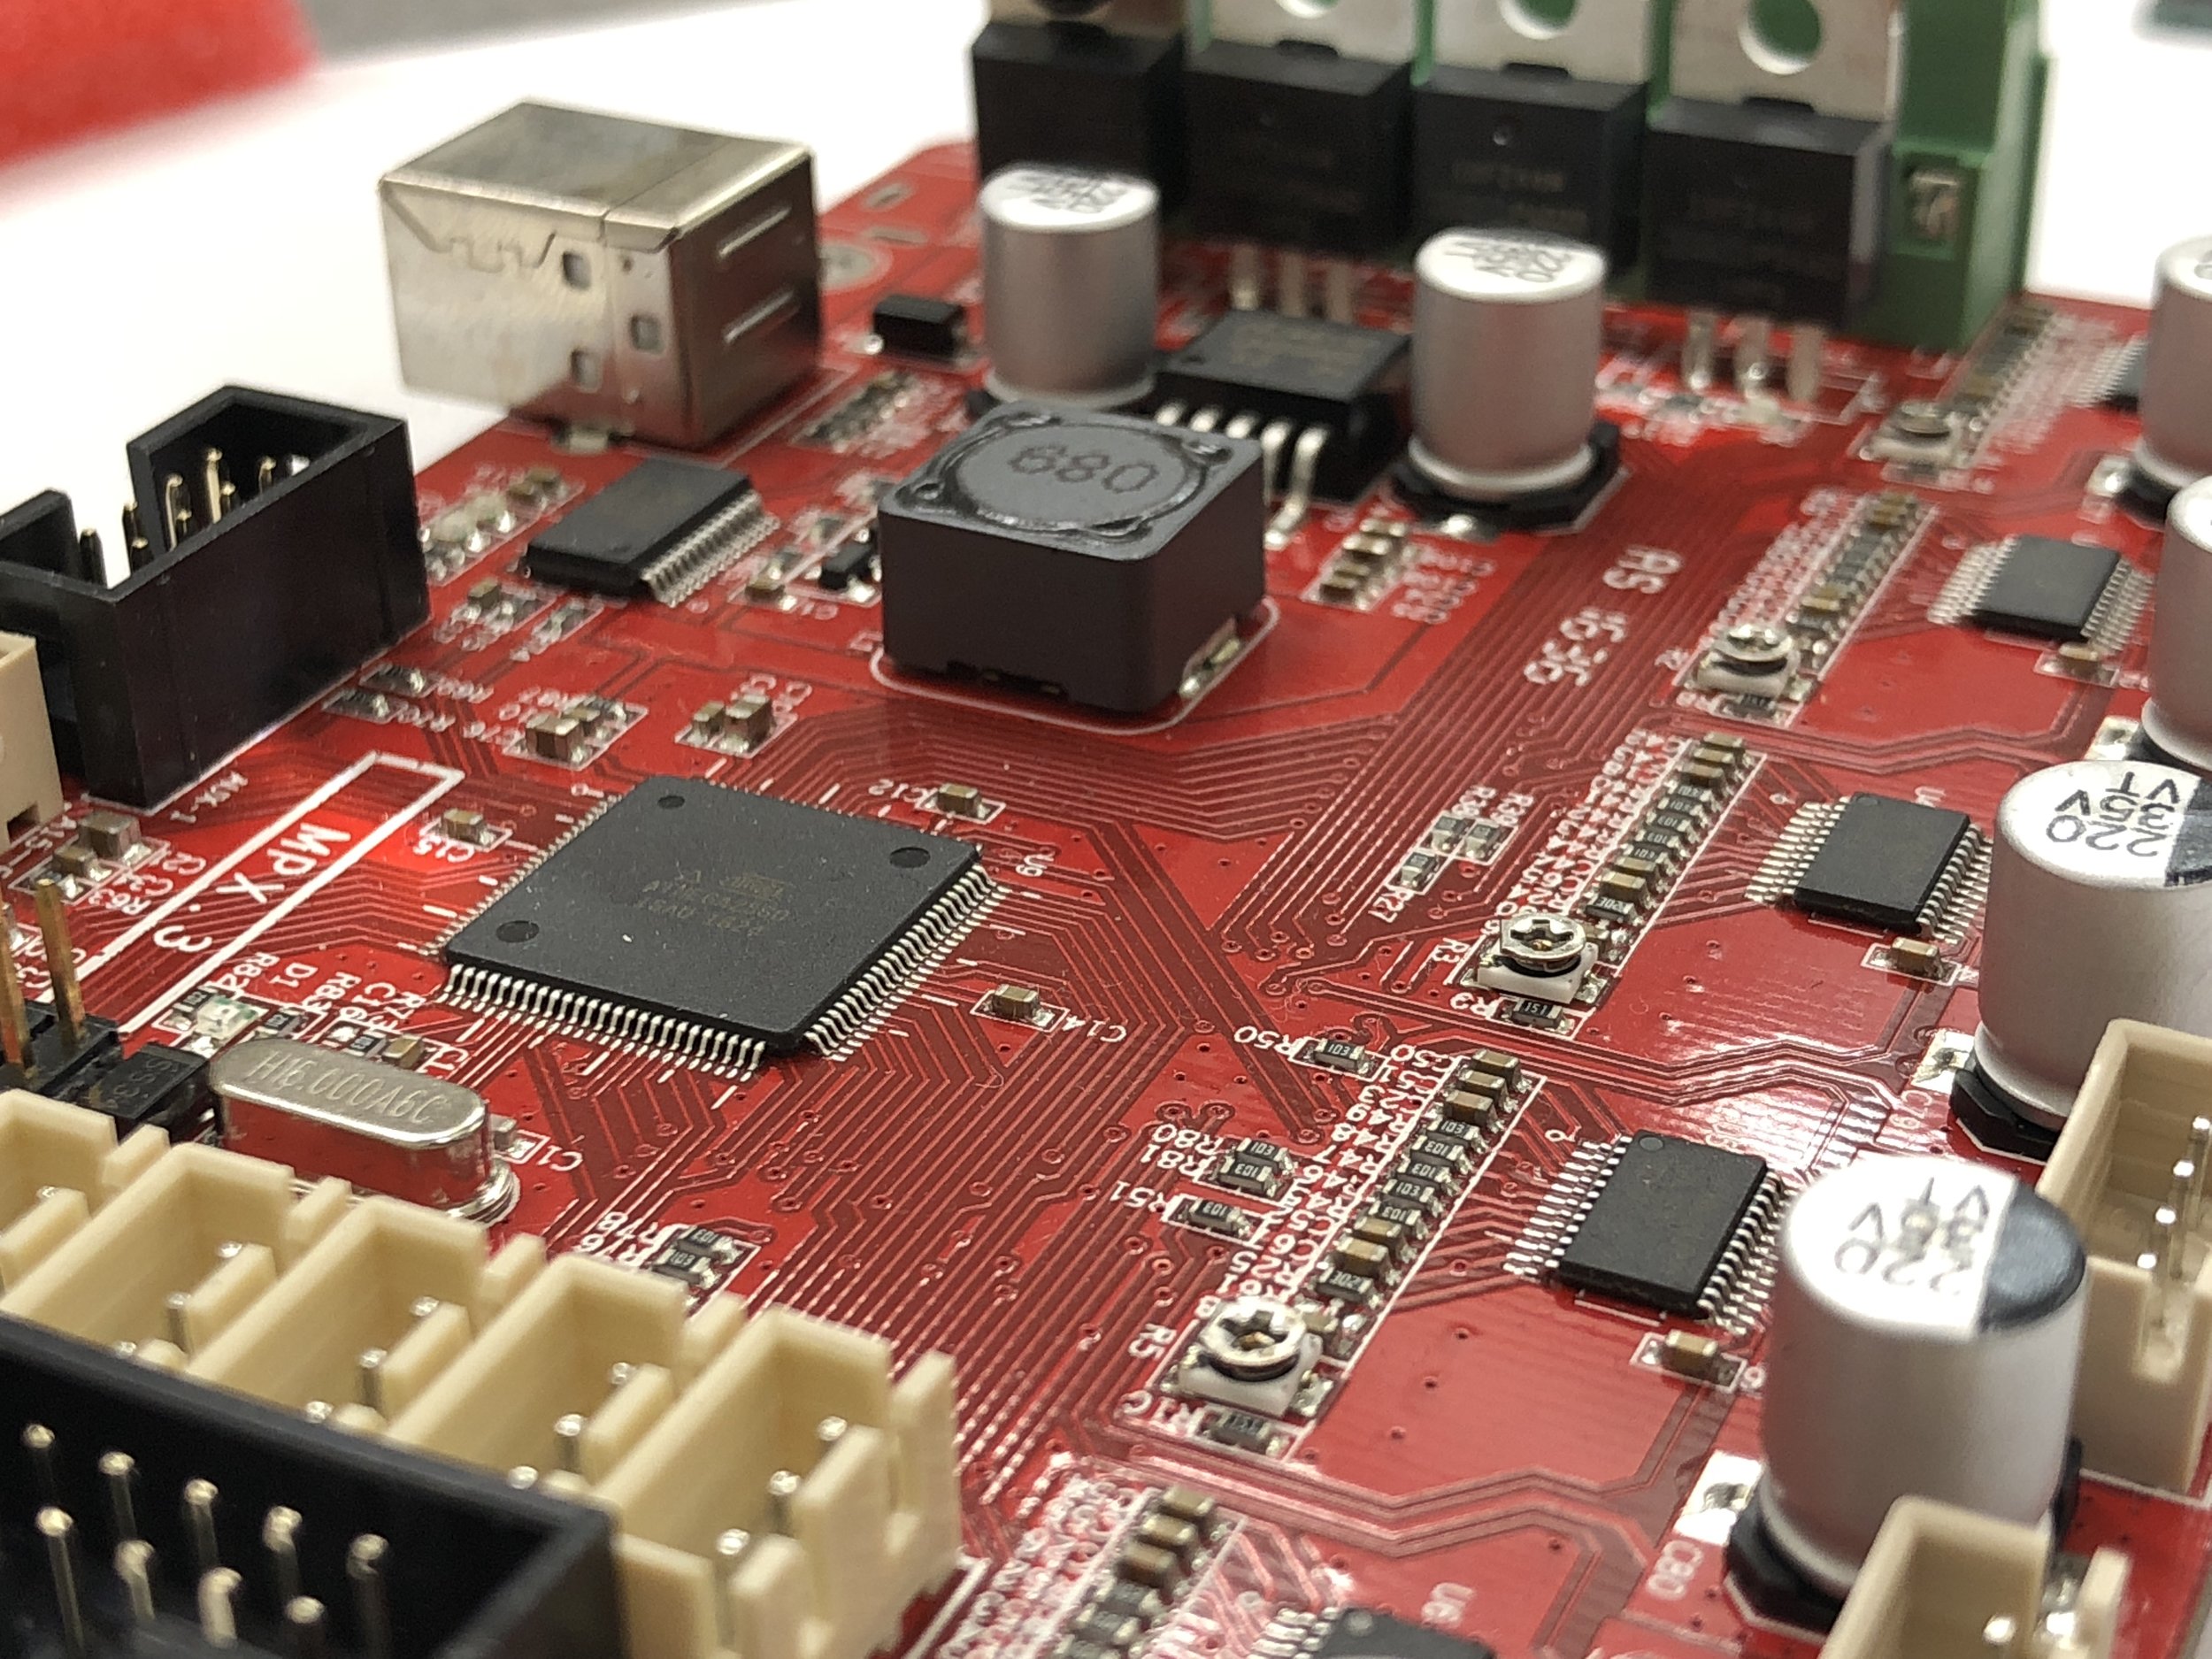
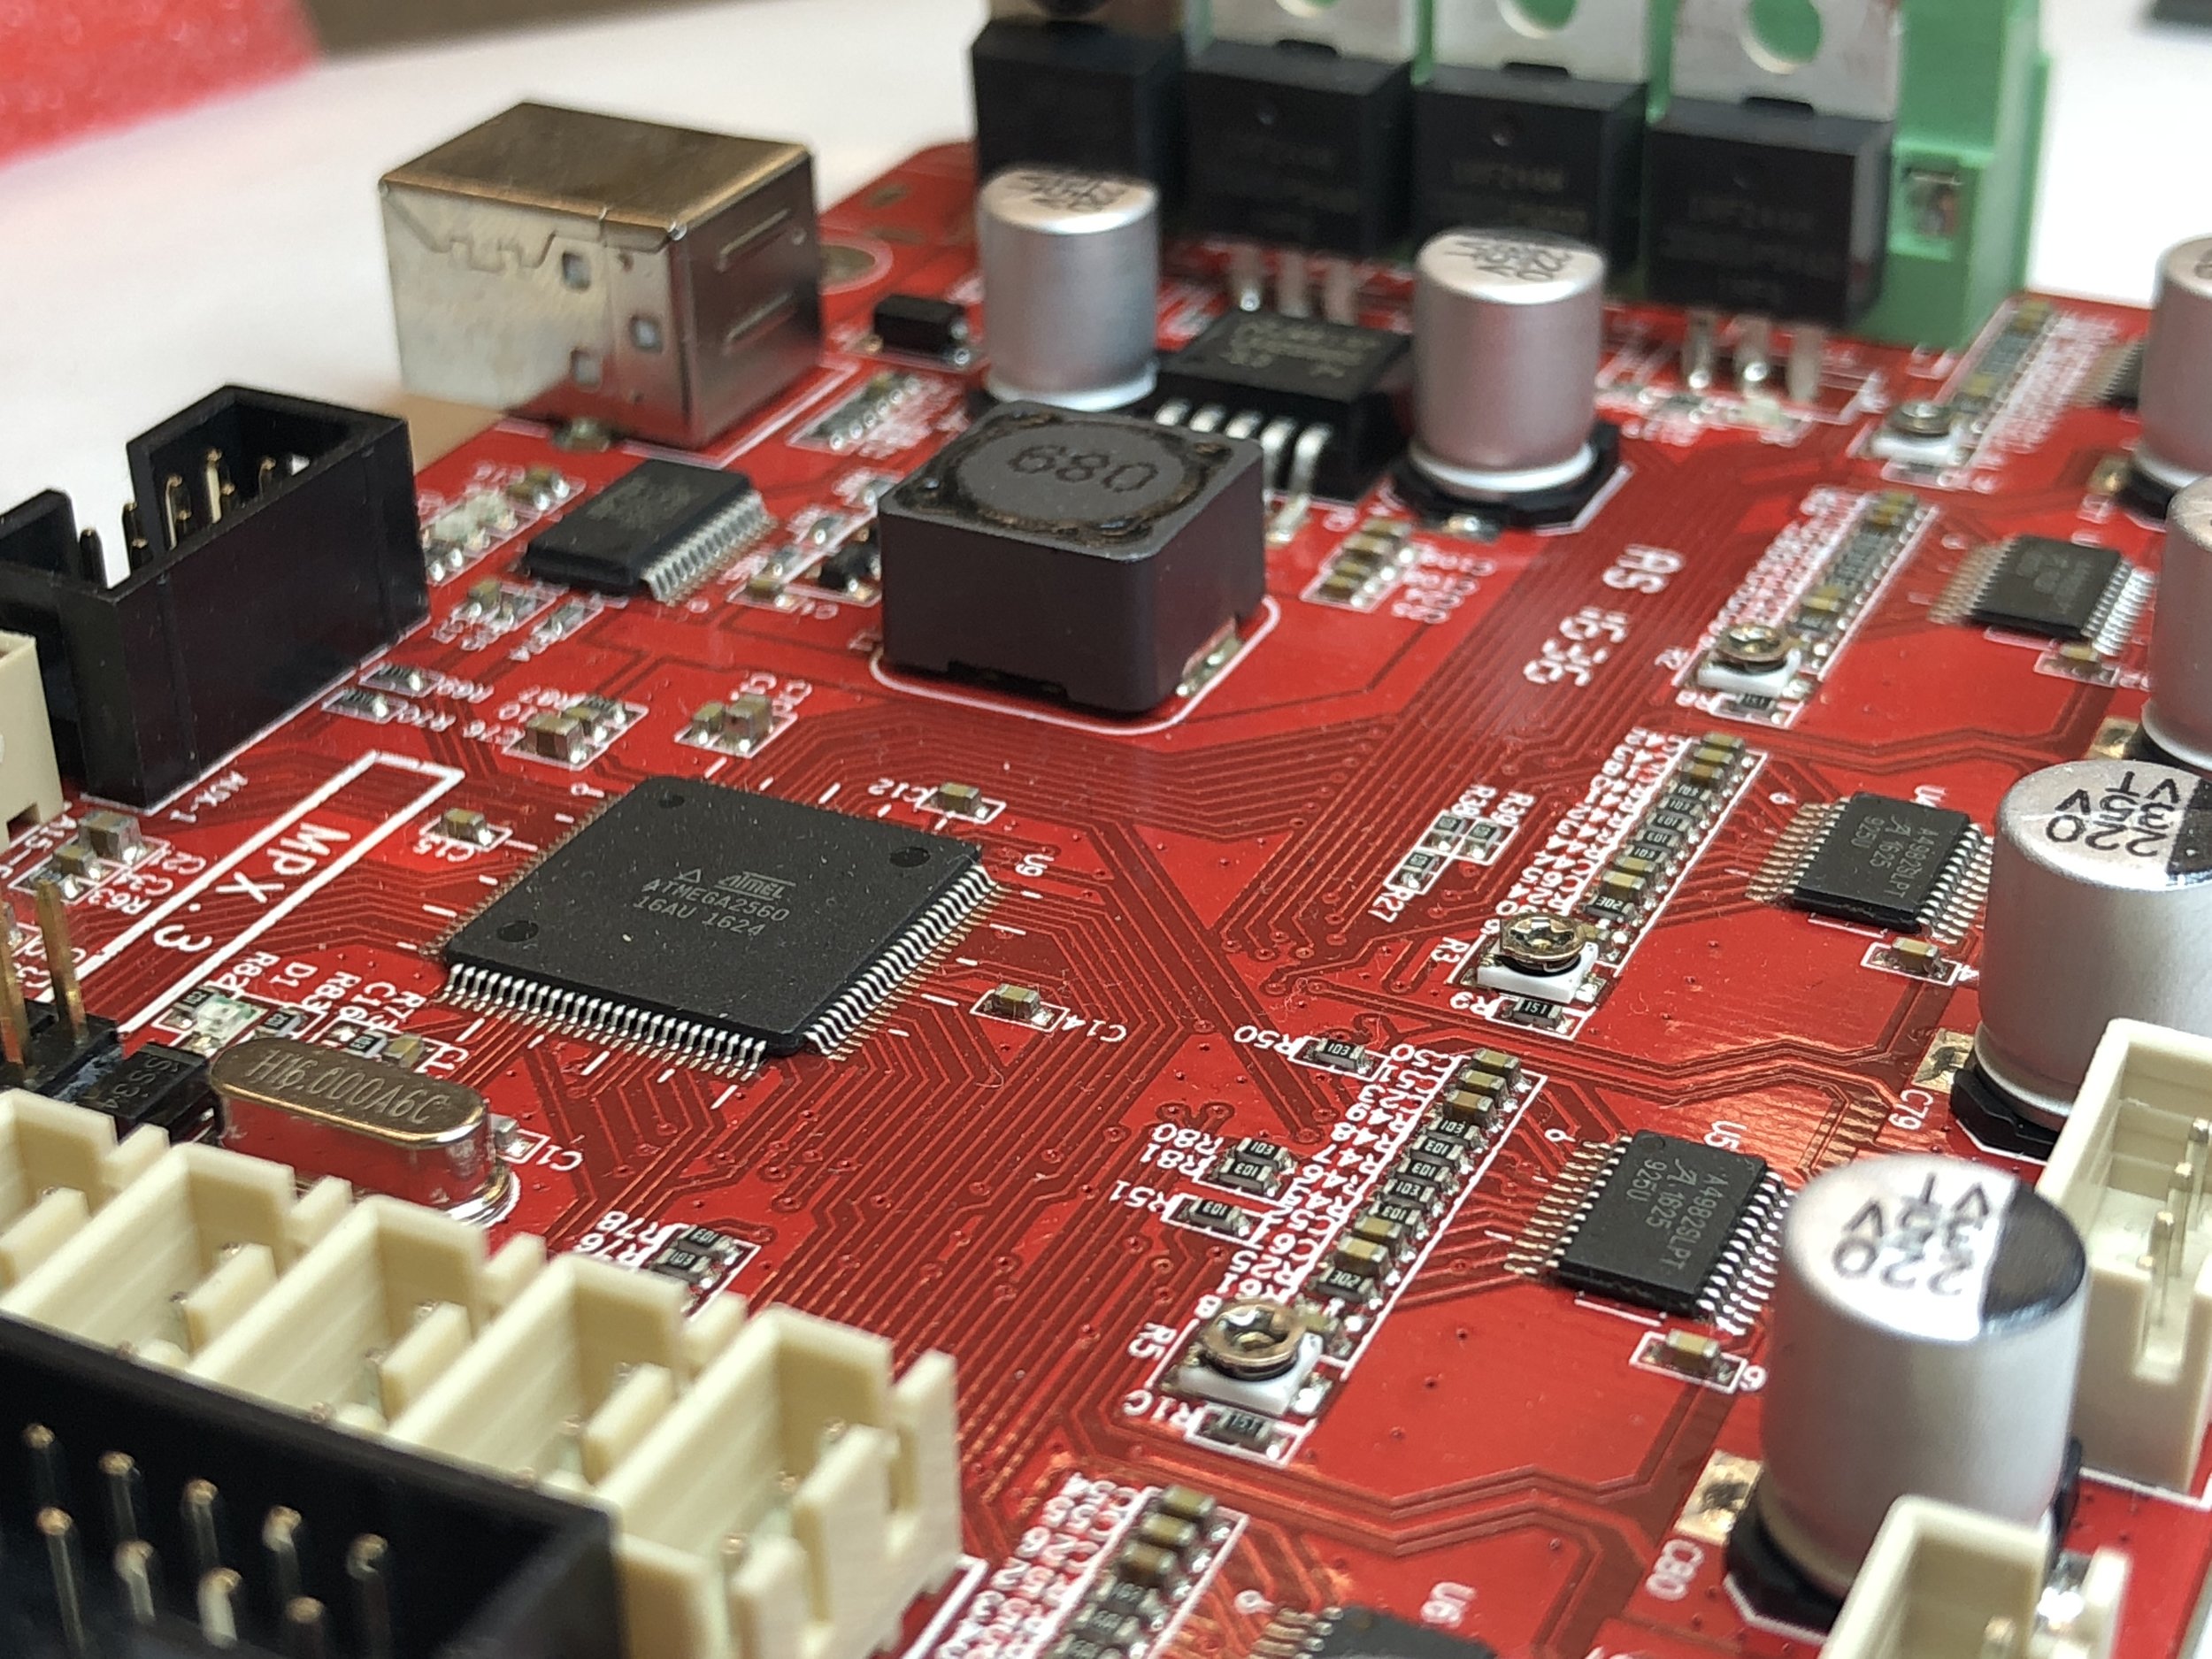
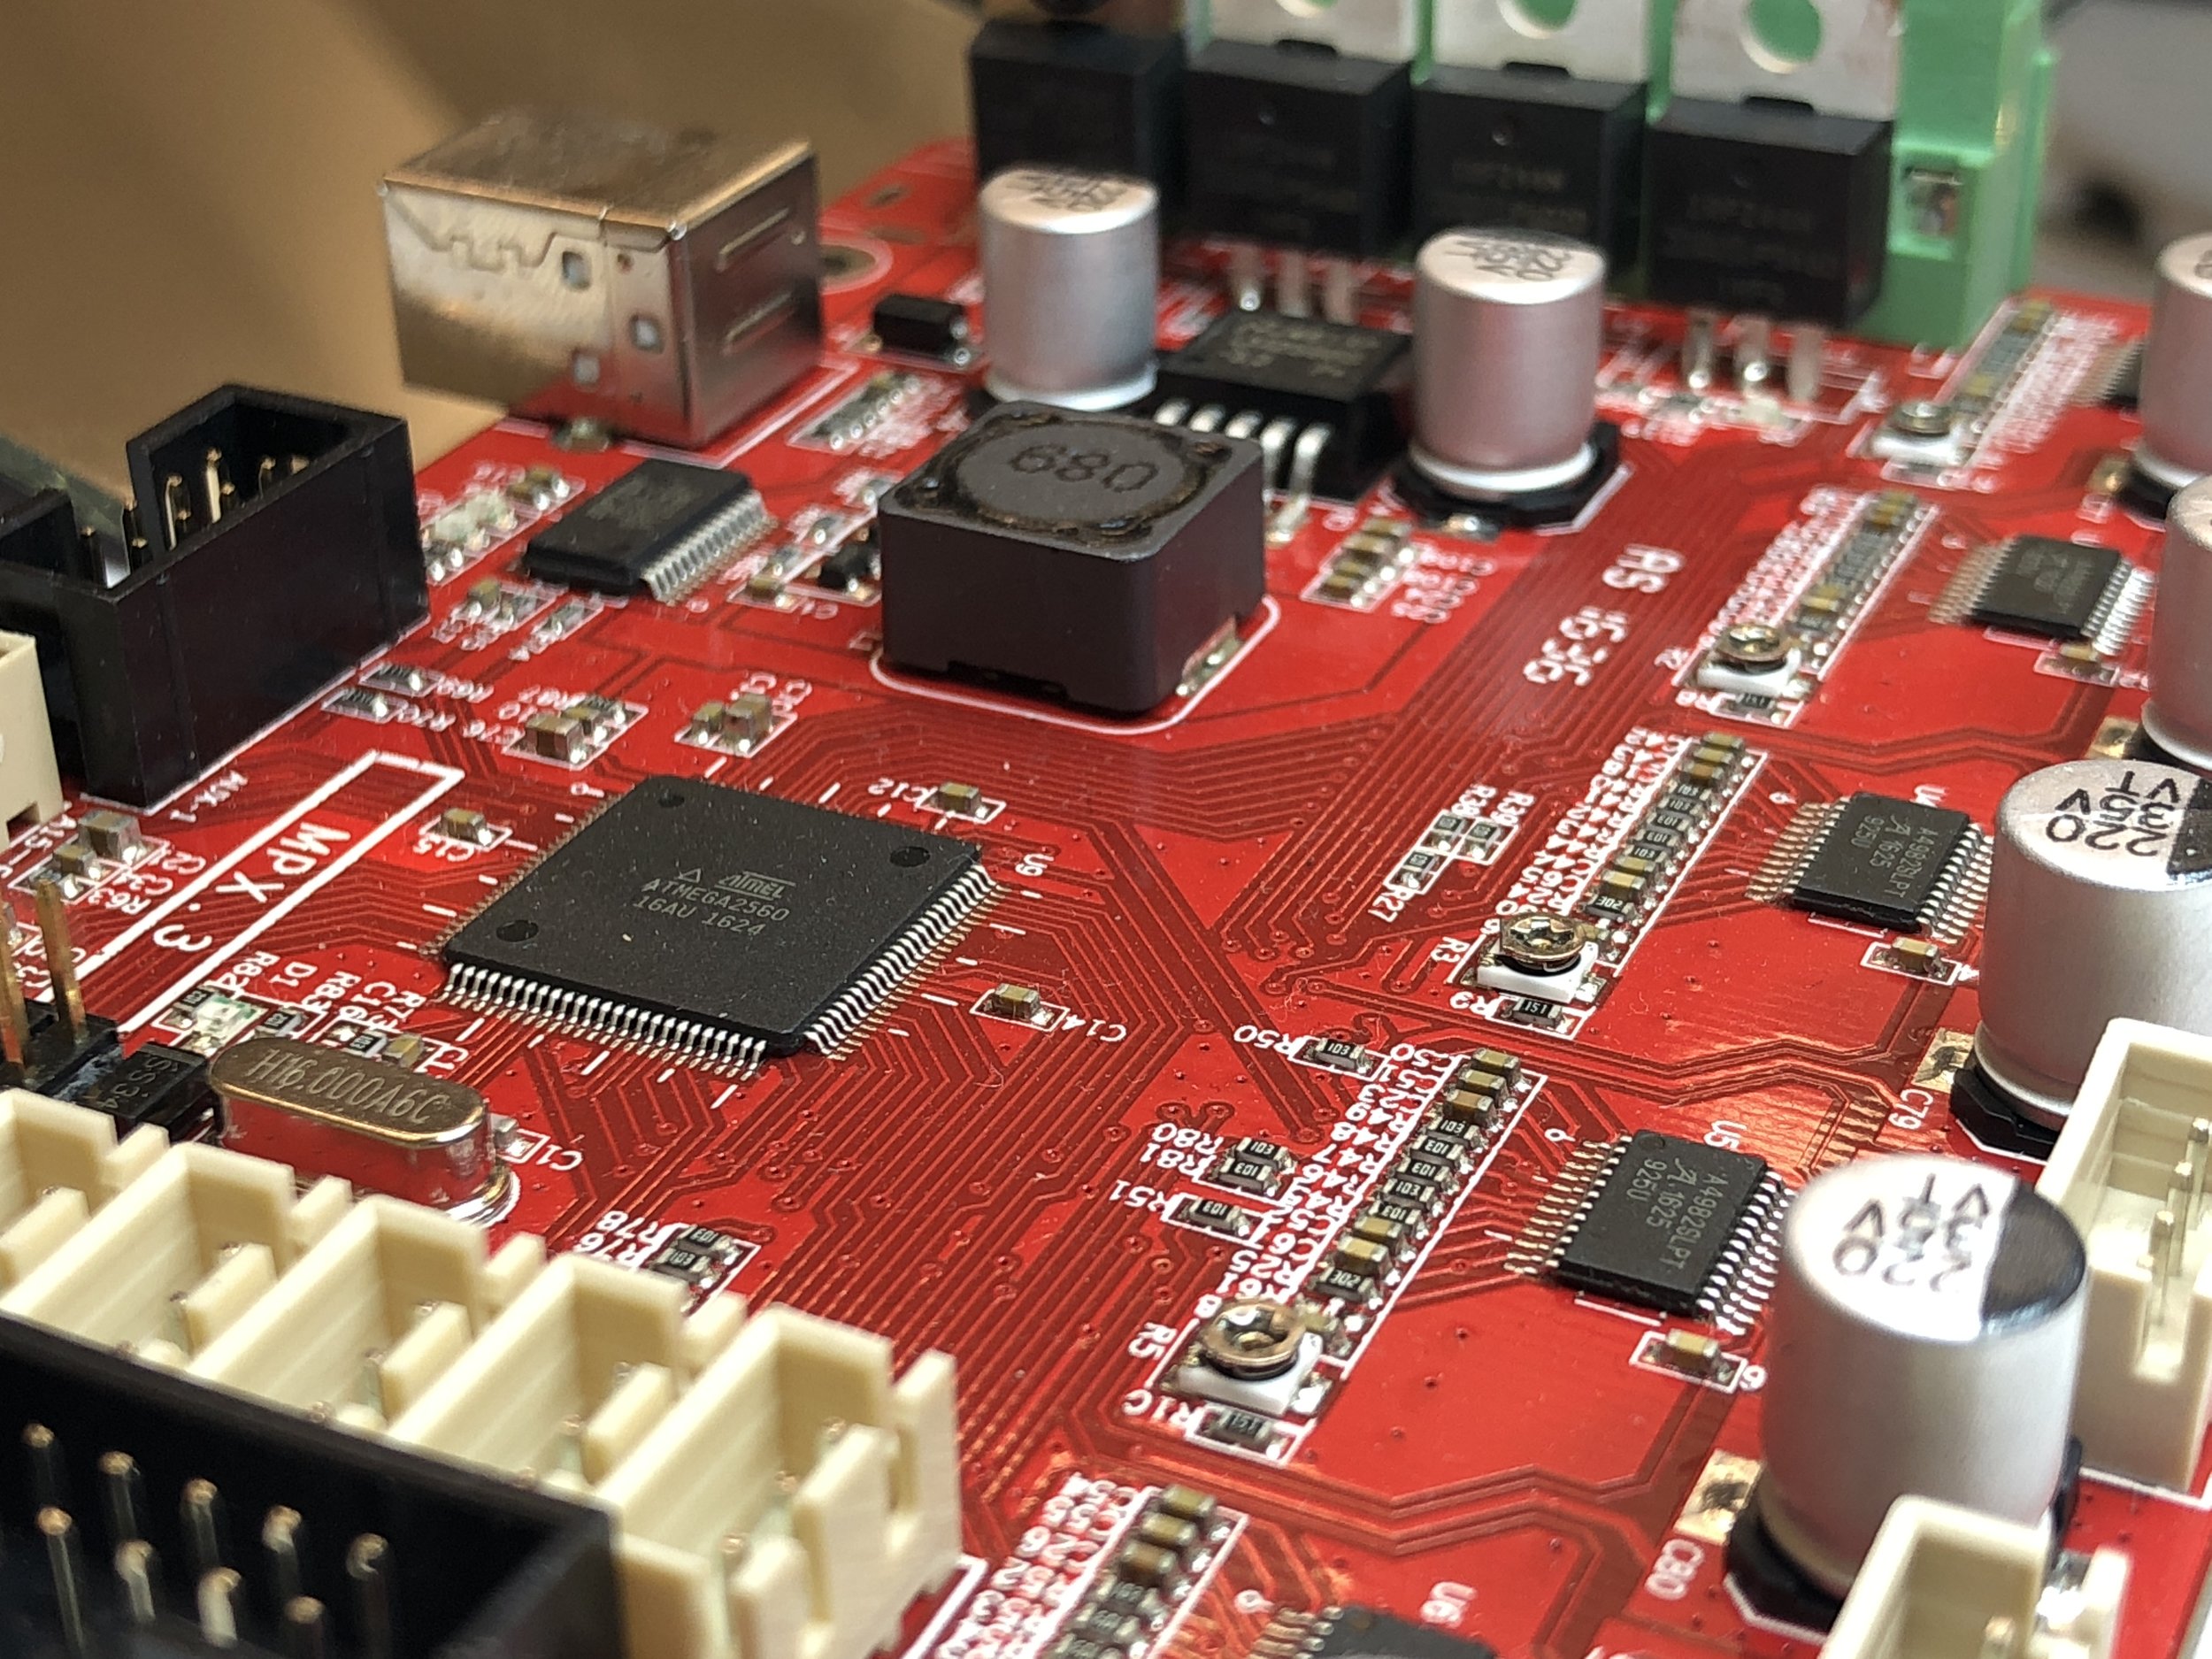
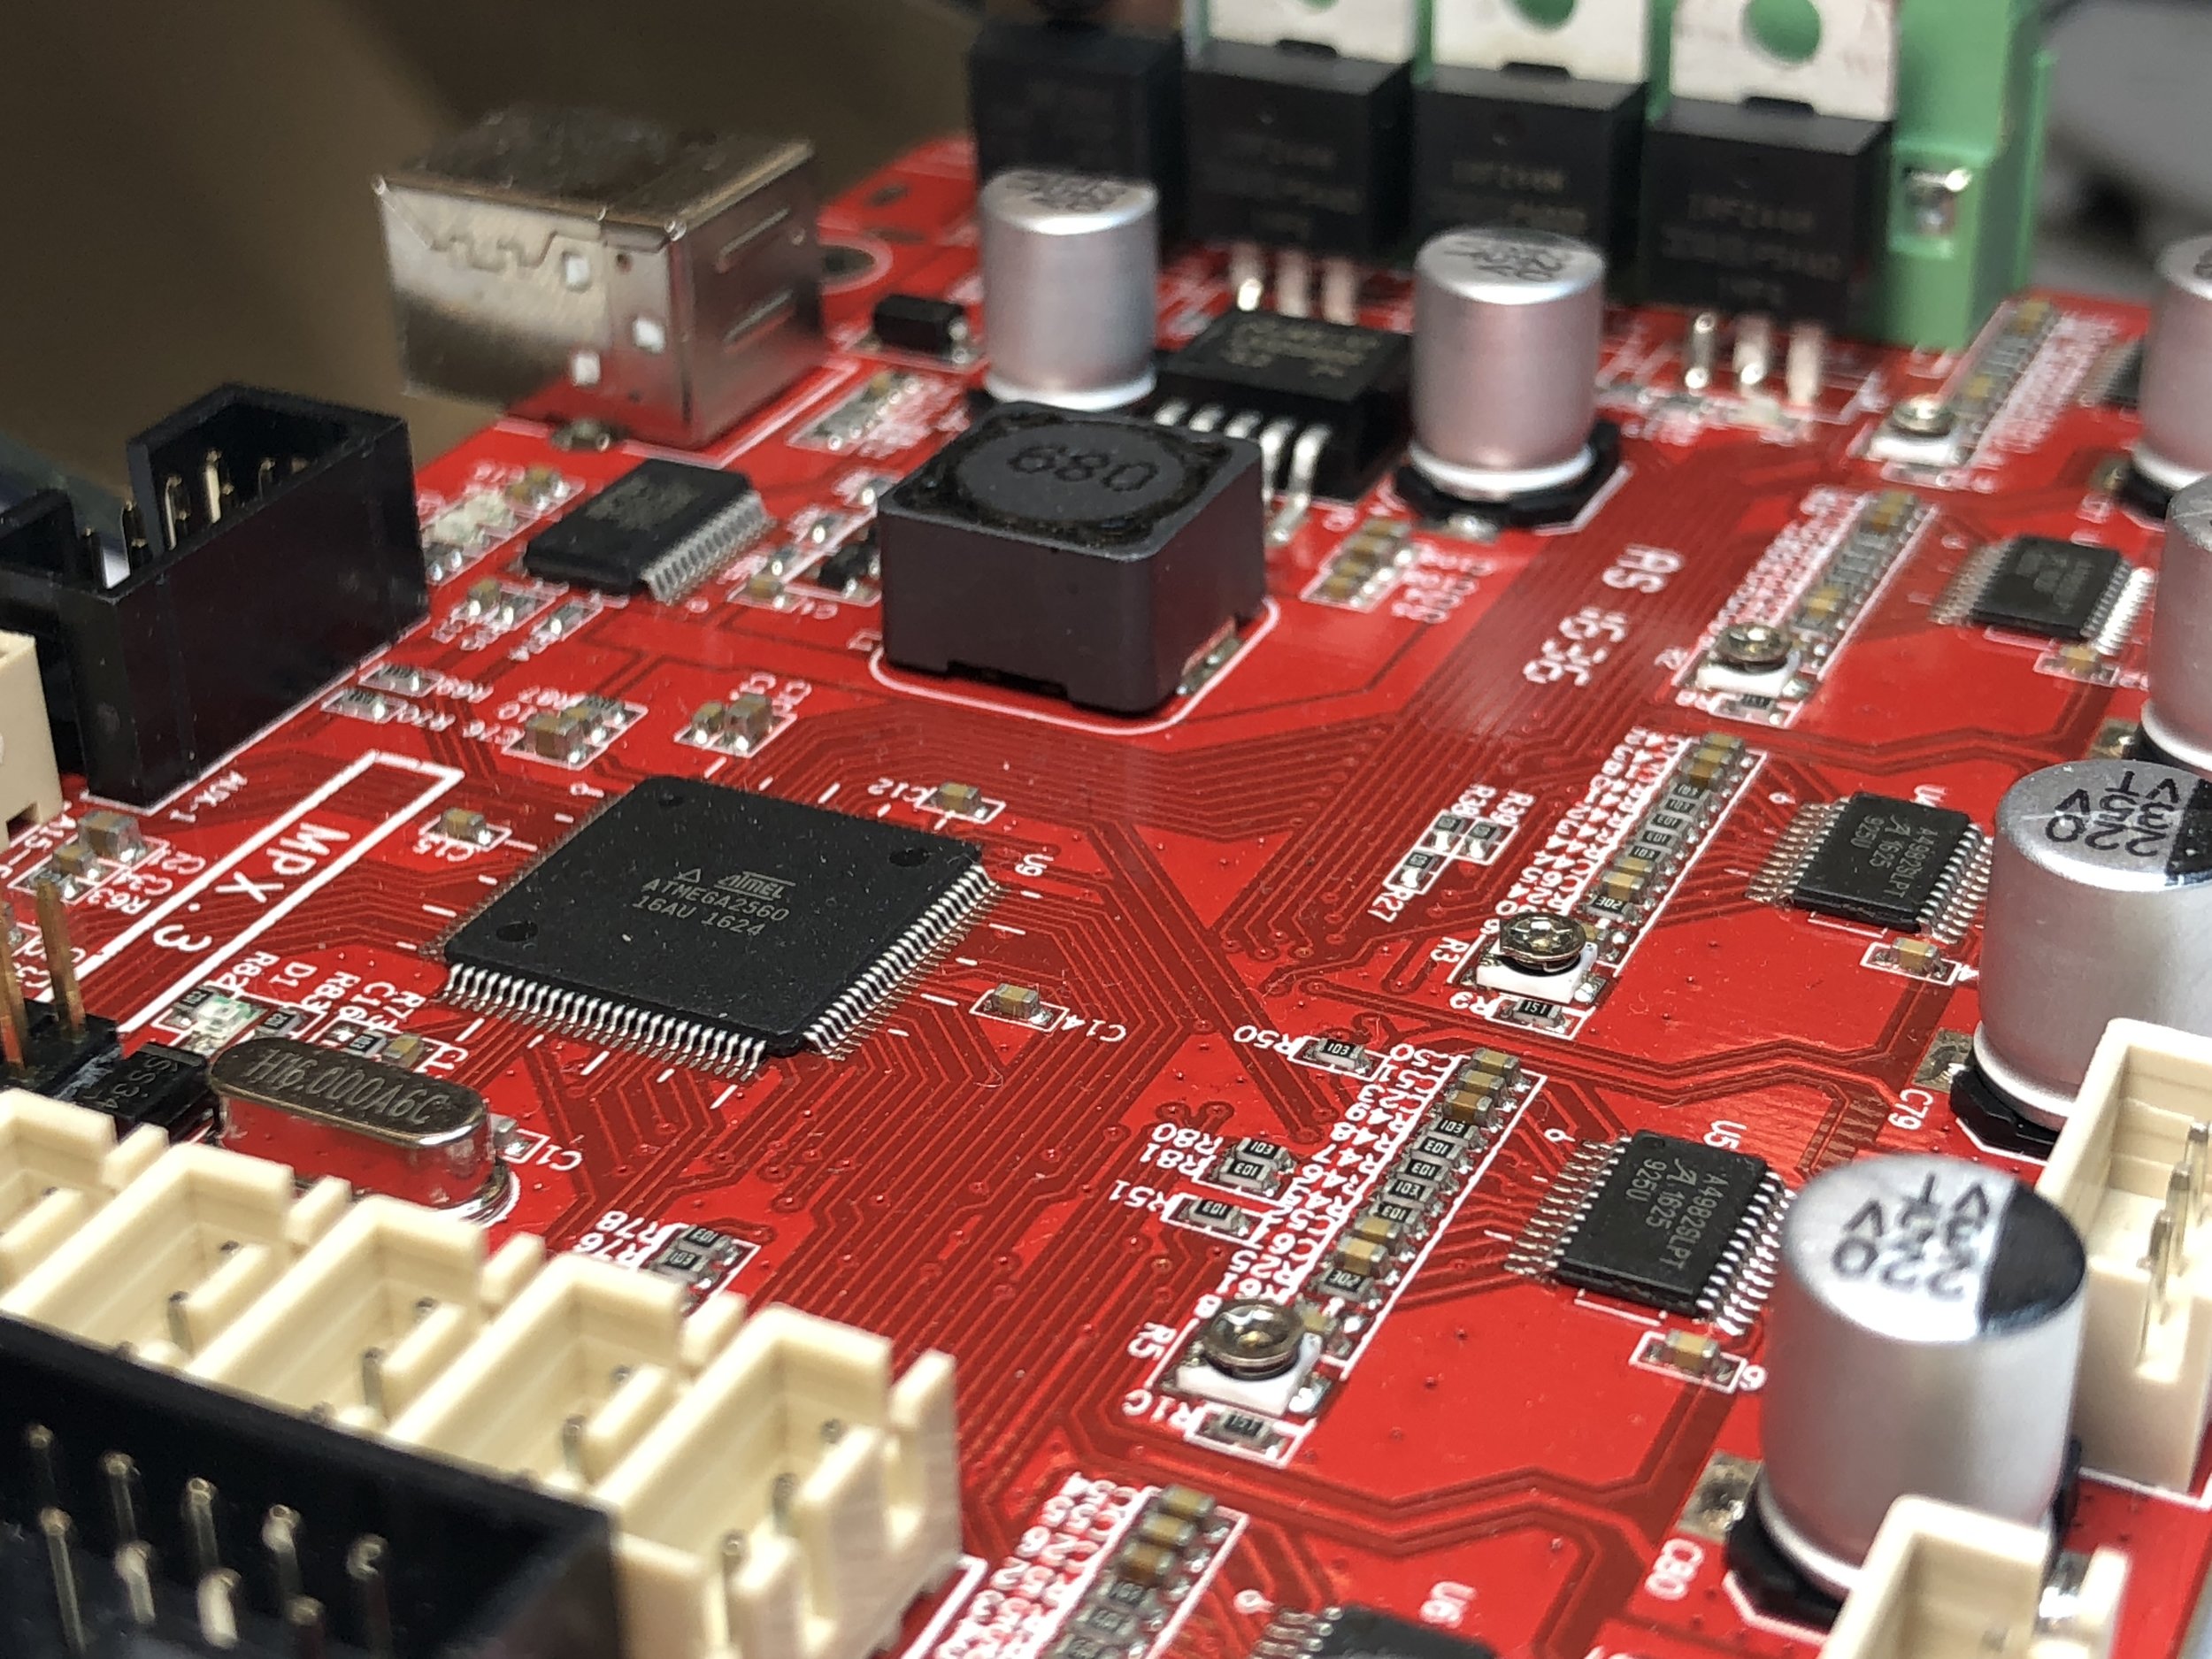
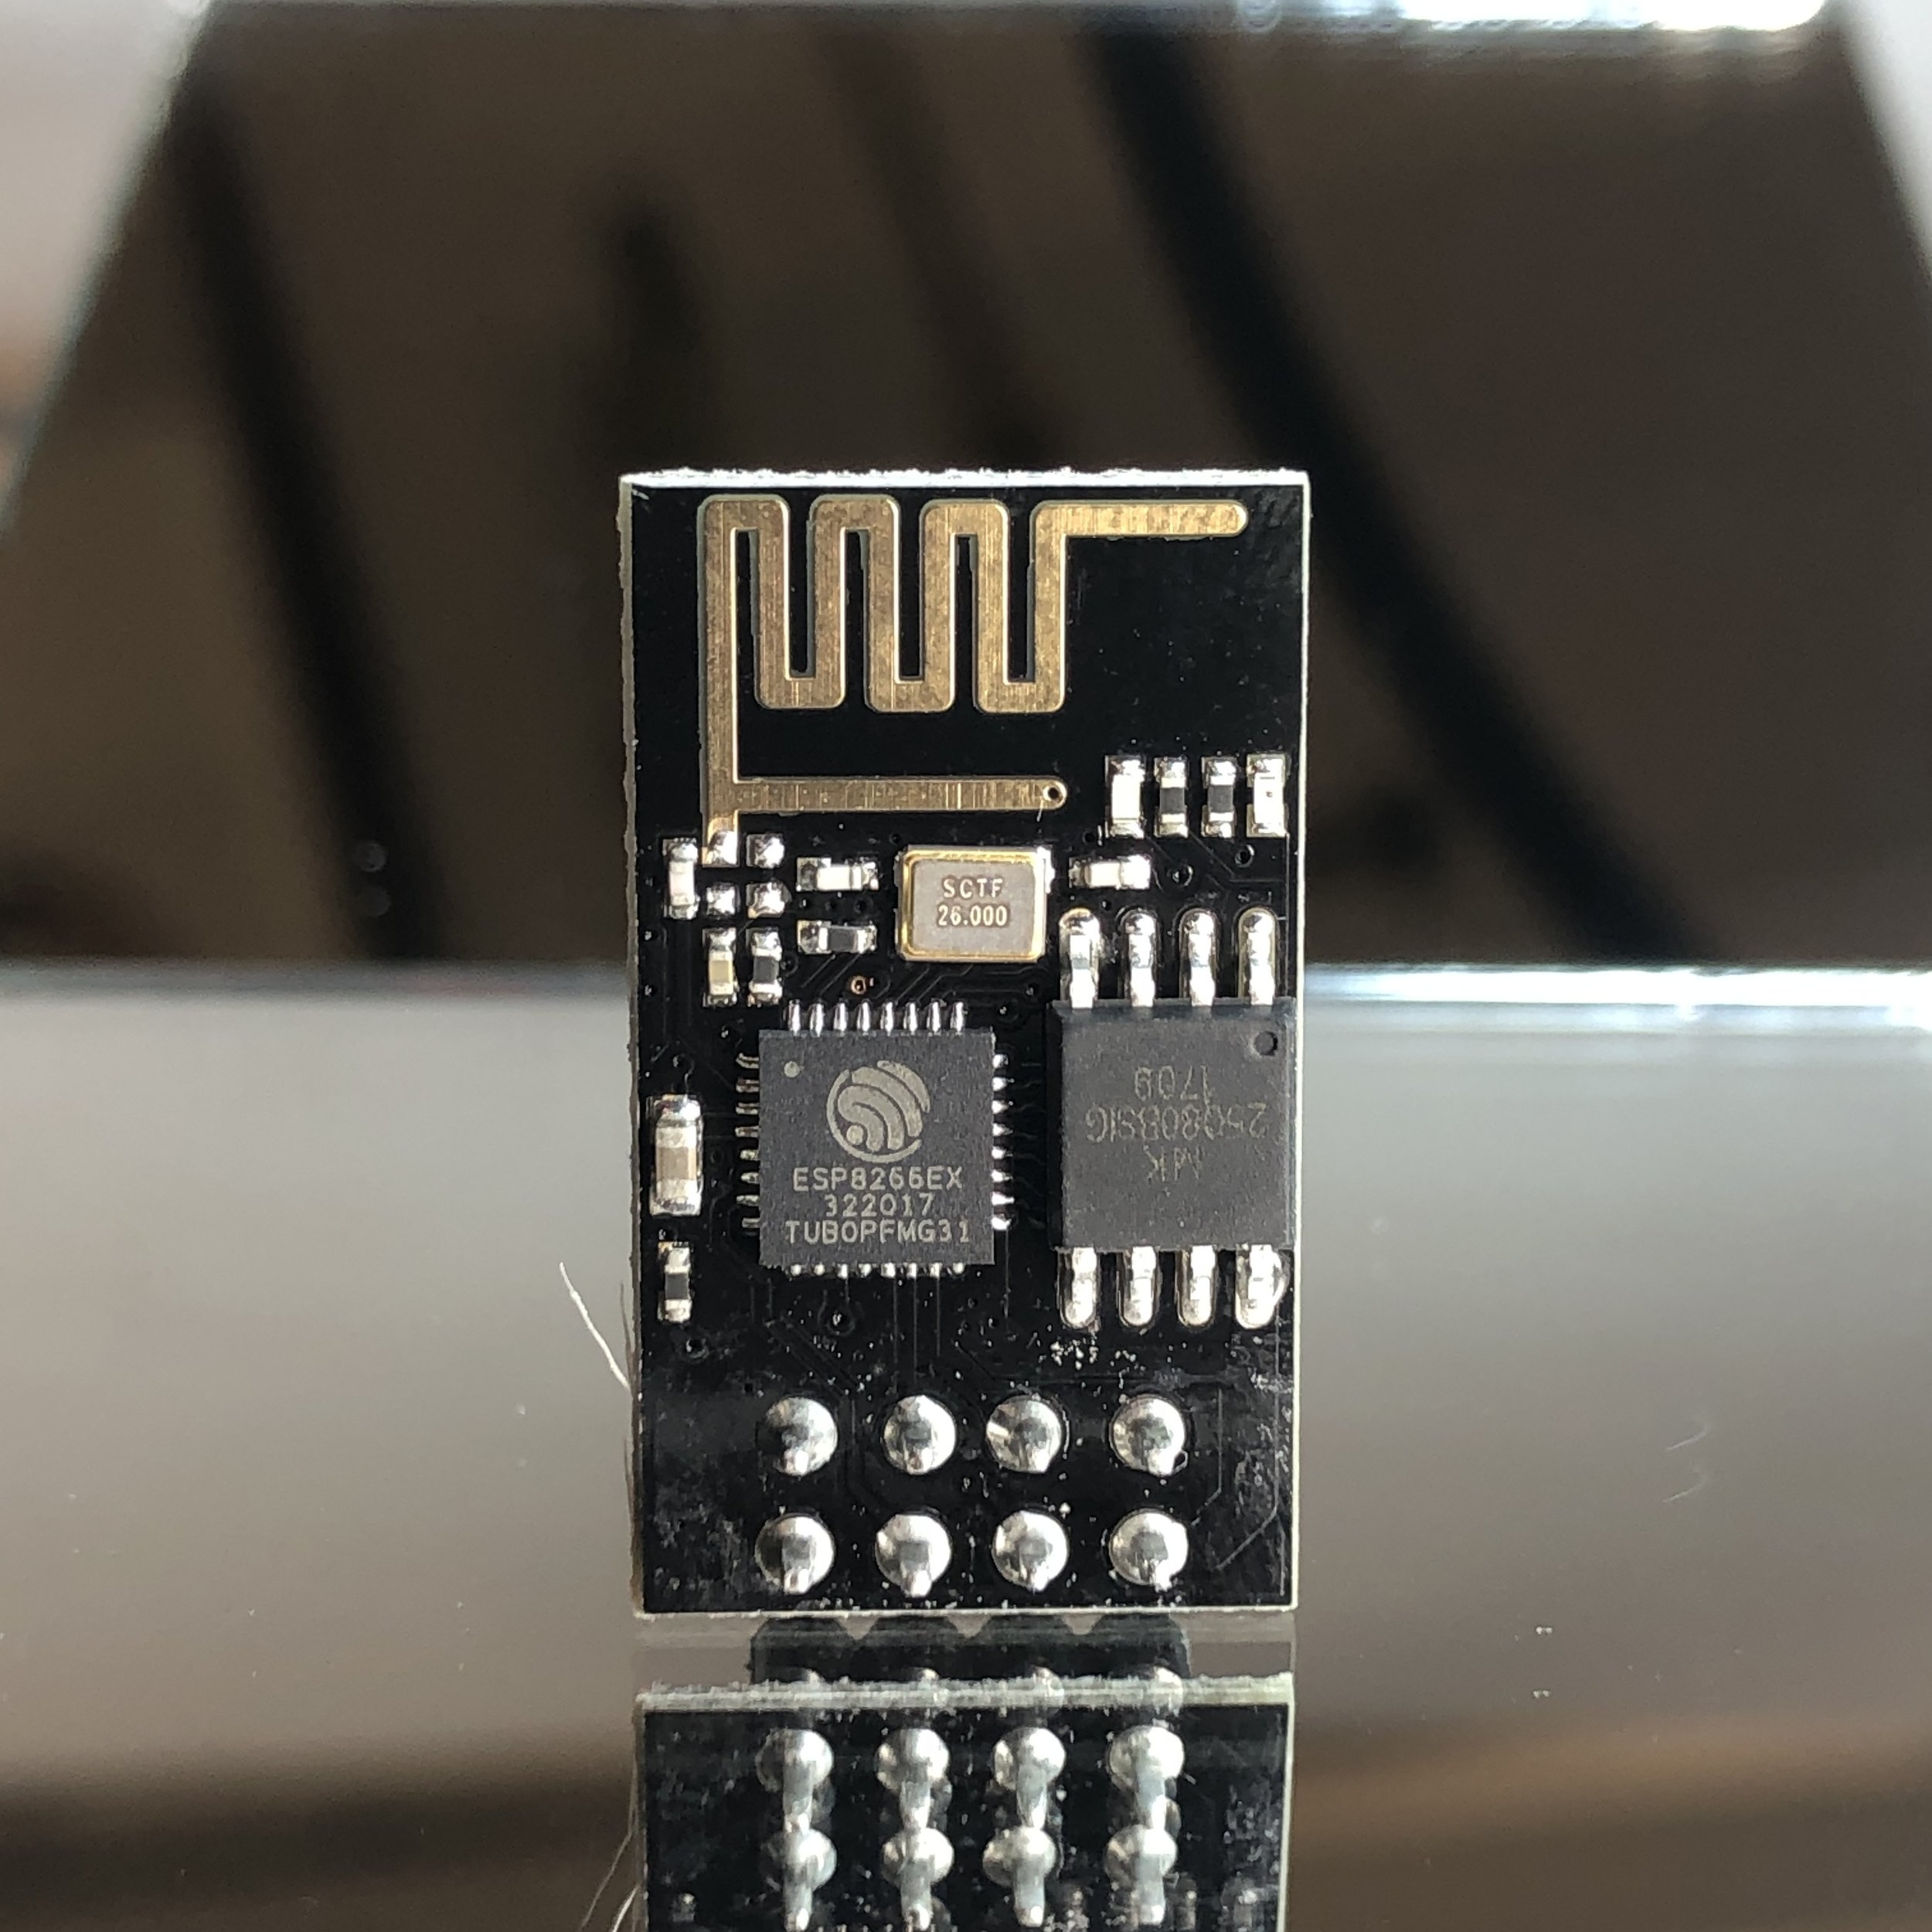
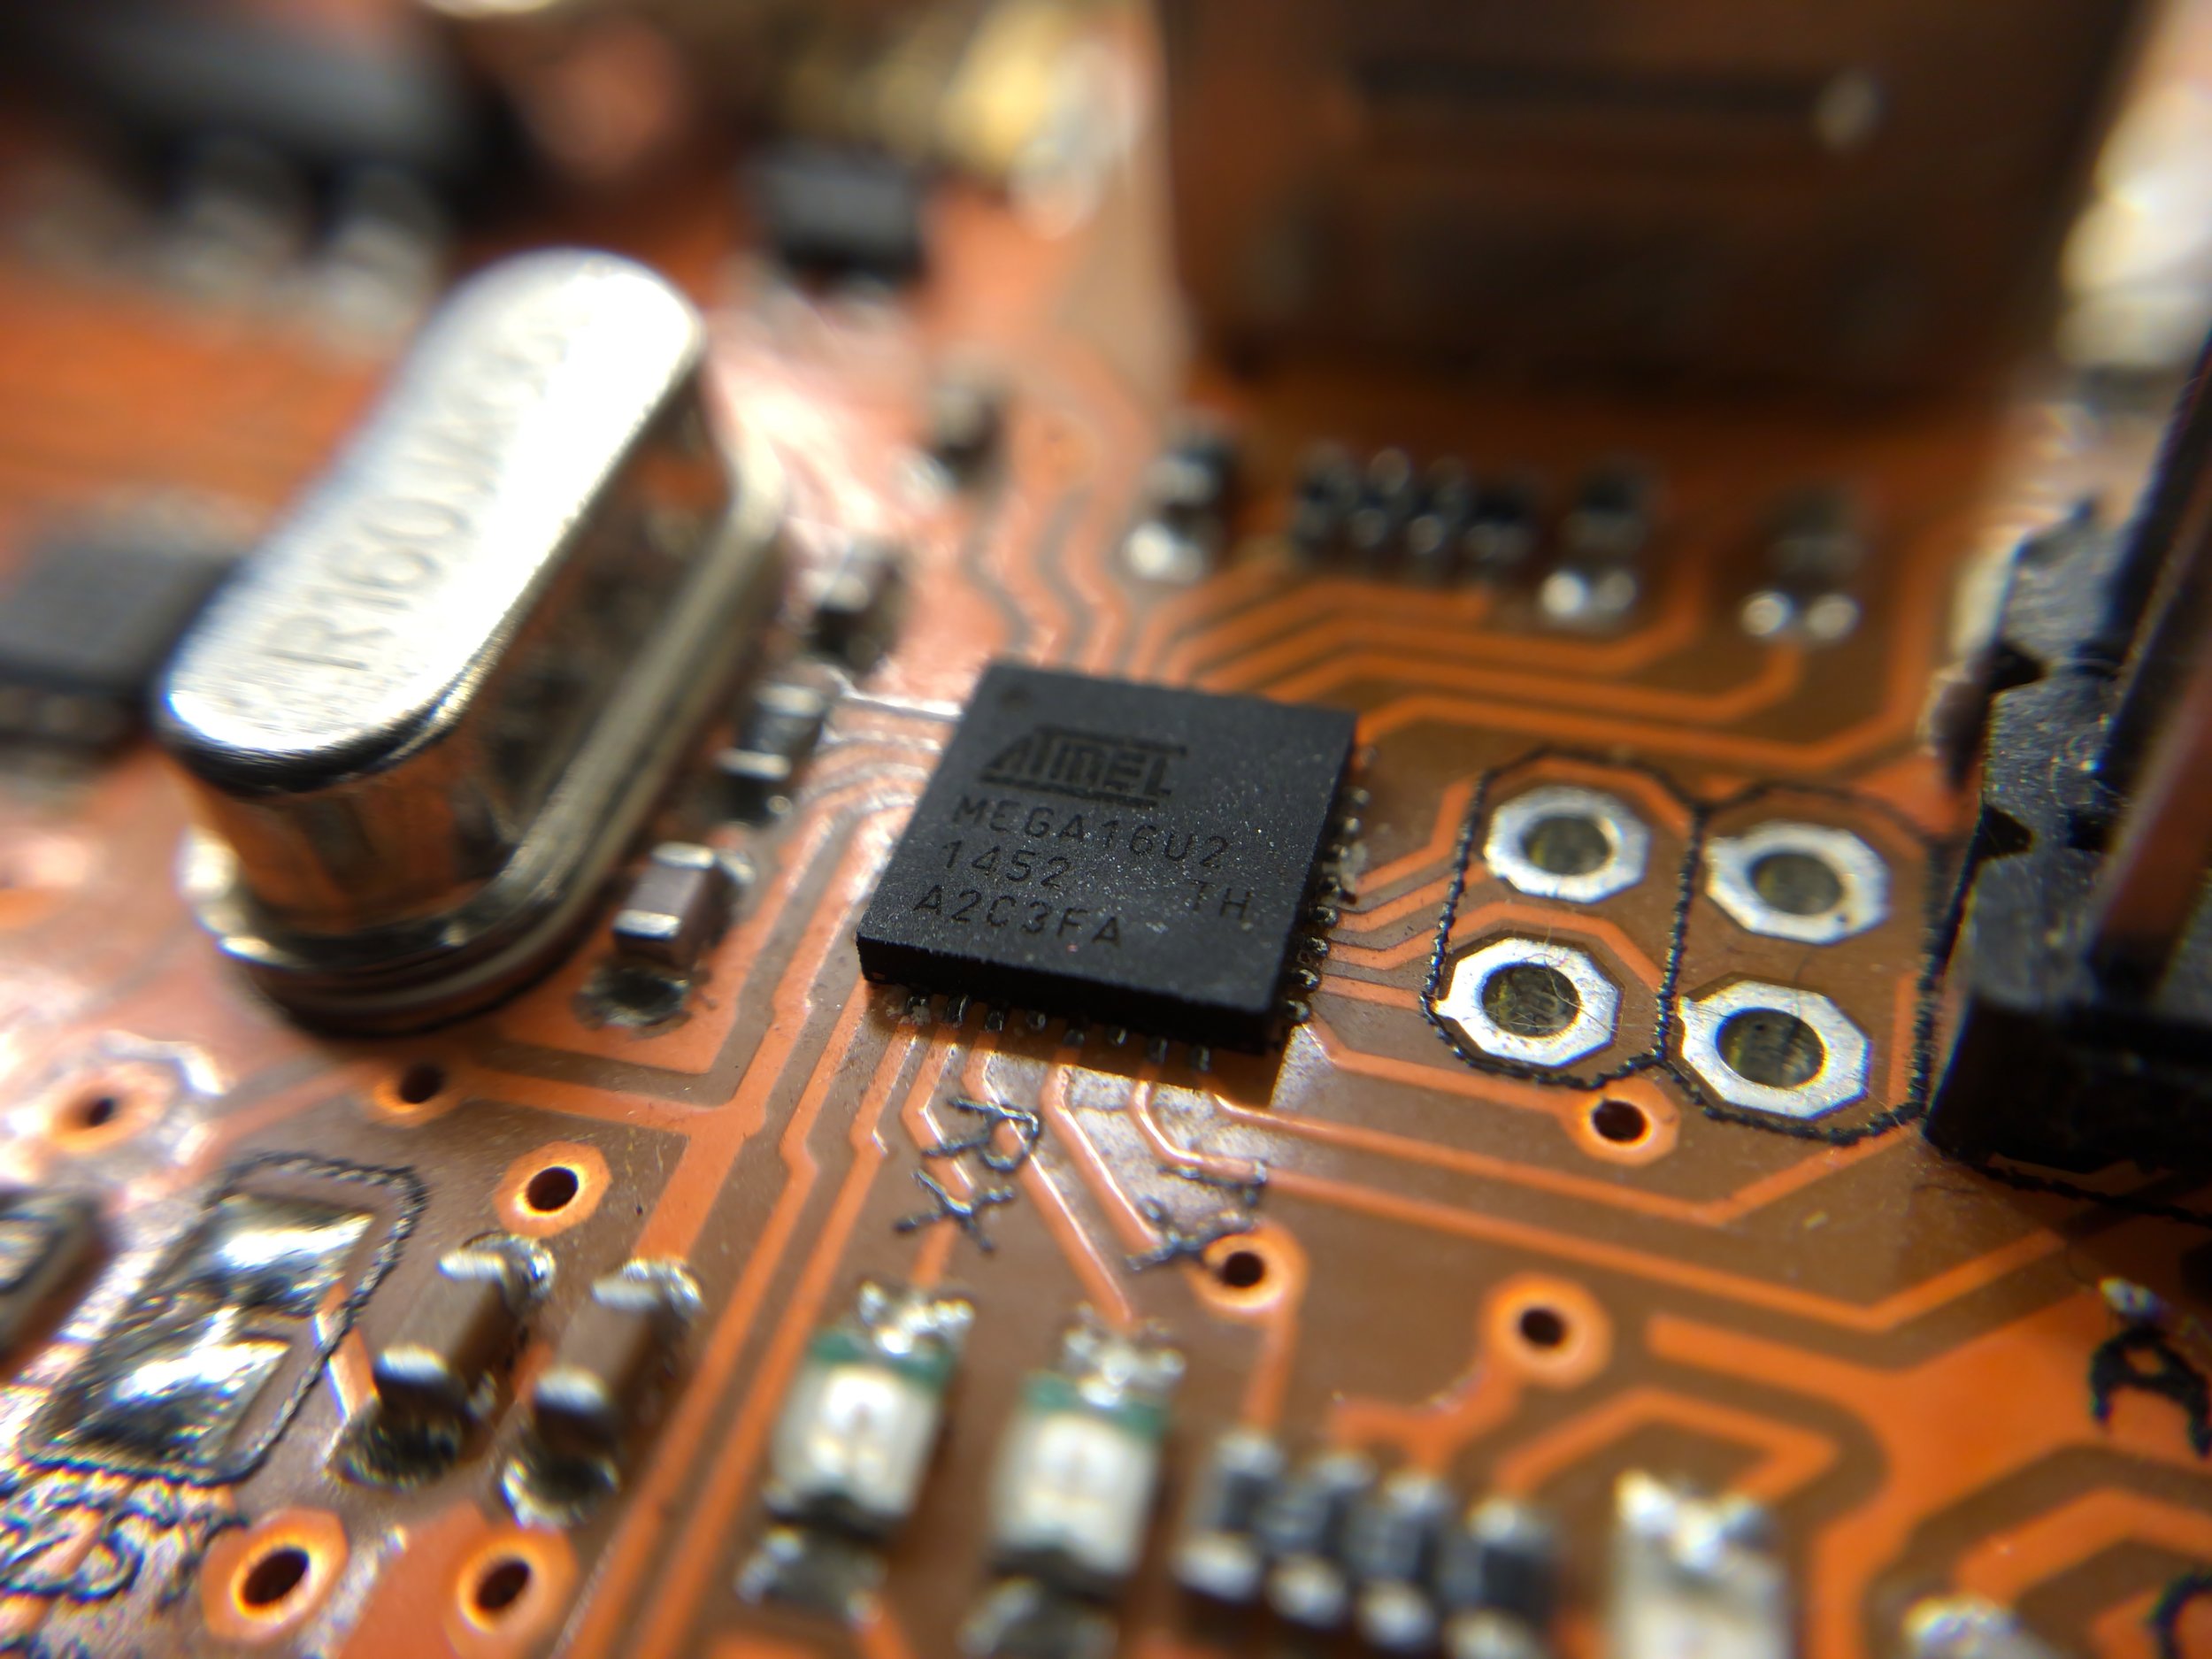
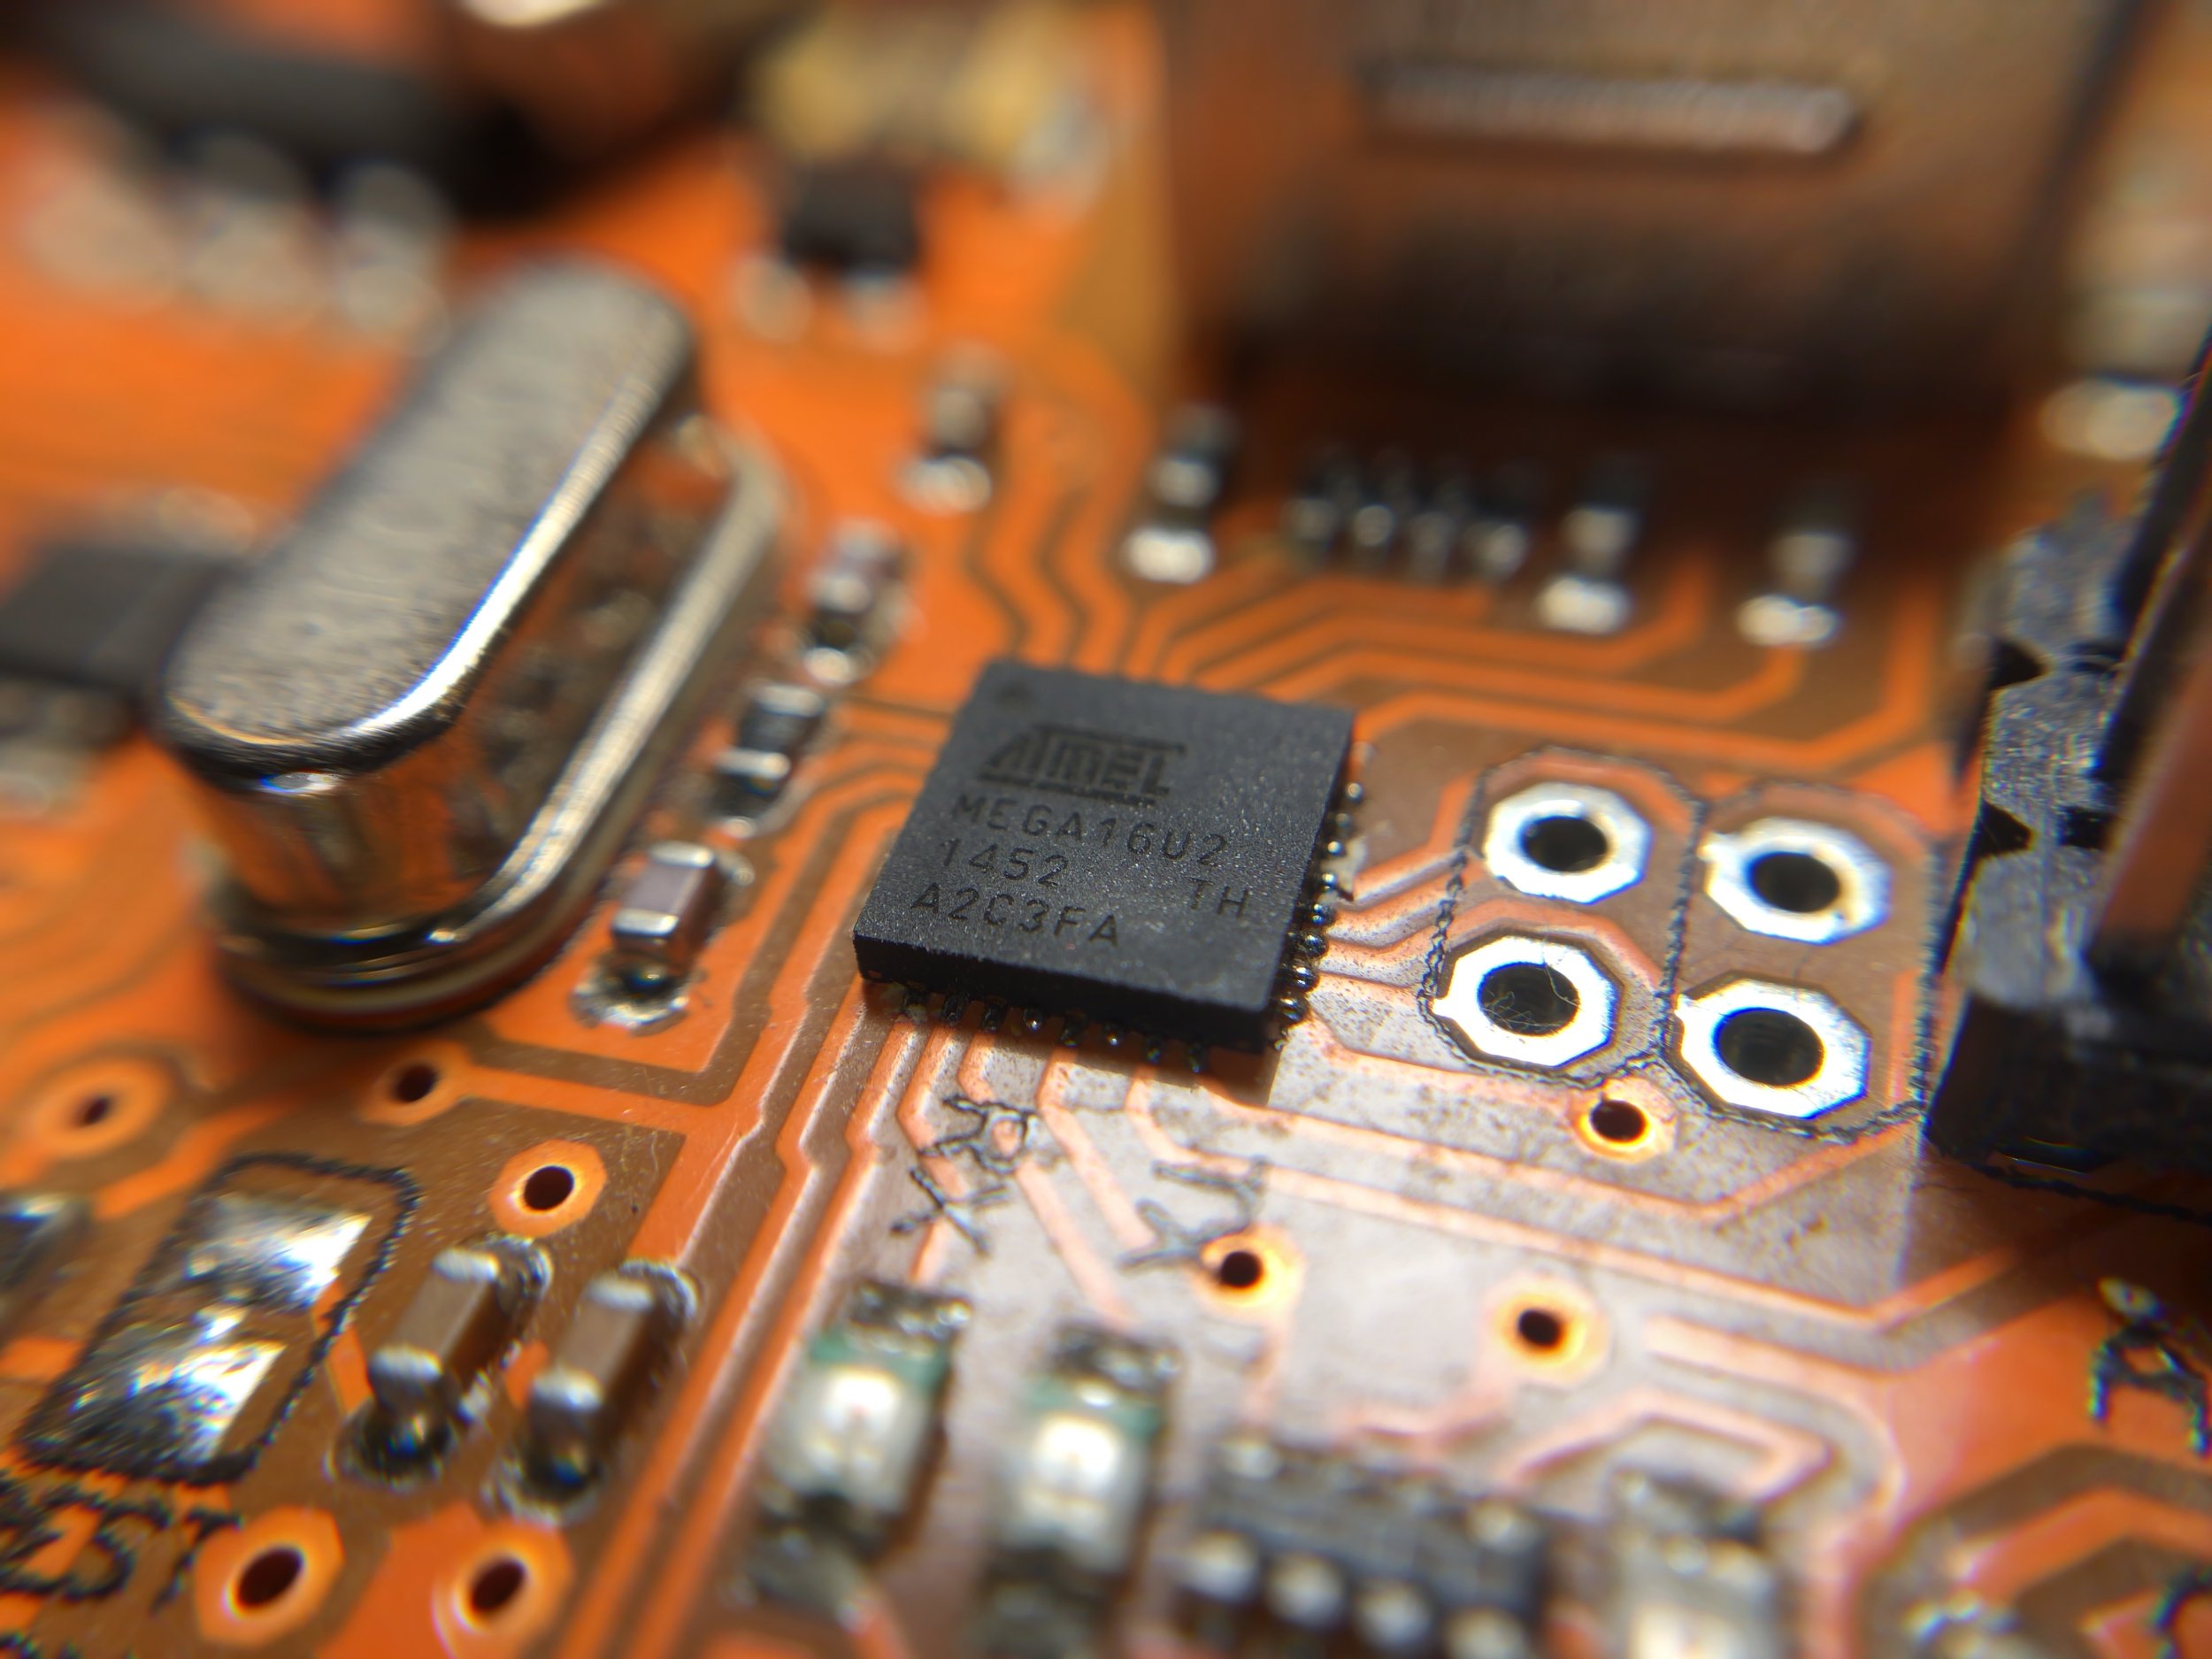
Below I have setup a few examples of how lighting, background, and redirection of light (mirrors) can improve the quality of a tech photograph. I also used a tripod to stabilize the images so that the impacts of each tool can be exhibited. Scroll through the image galleries to experience the full effect. I used a 3-D printer driver board (ATmega at the core) in the first gallery, and I used an ESP8266 WiFi module in the second gallery. Both are typical setups that I would use to take photographs.
NOTE: No filters have been applied to the images below. All of the photographs are taken directly from the iPhone X camera, without alteration.

Example Setup
Here you can see the LED magnifying glass, the mirrors, the white sheet of paper, and the electronic component. These pieces help create the beautiful photo shown above.


On the right I have produced another side-by-side reveal of how the implemented techniques can improve the photograph. This is certainly not an exact science, so I can imagine some viewers arguing that the before photos are better than the after - and that may be true somewhat. Because I also believe that errors can be tasteful, or unintentional background glares or blurs can be stylistic, these things are not a point of contention for me. I merely want to improve the camera performance by optimizing the surrounding environment. This results is why light, stable imagery, and resolution are of utmost importance here. Style is something gained with experience. Here, I want to stress the importance of getting the best image from the resources available.
Conclusion
I presented my methods for improving iPhone tech photography by employing several key components: LED lighting, tripods, lenses, and mirrors. I also stressed that the photographs shown were taken directly from the iPhone X and have not been altered in any way to meet my expectations or claims. The methods proposed stem from basic camera etiquette: lighting is paramount; use lenses when necessary, i.e. macro/telephoto, instead of zoom; simplify the scene, i.e. use color/mirrors to de-clutter the background; and shoot raw instead of filtering, i.e. try iPhone apps where the image is exported raw and the user has control over shutter, white balance, focus, etc. These simple tips can help improve the quality of photography in your research and professional portfolio, and may help reach a broader audience. Because many of us enjoy the beauty of photography and the art of technology - so why not marry the two?